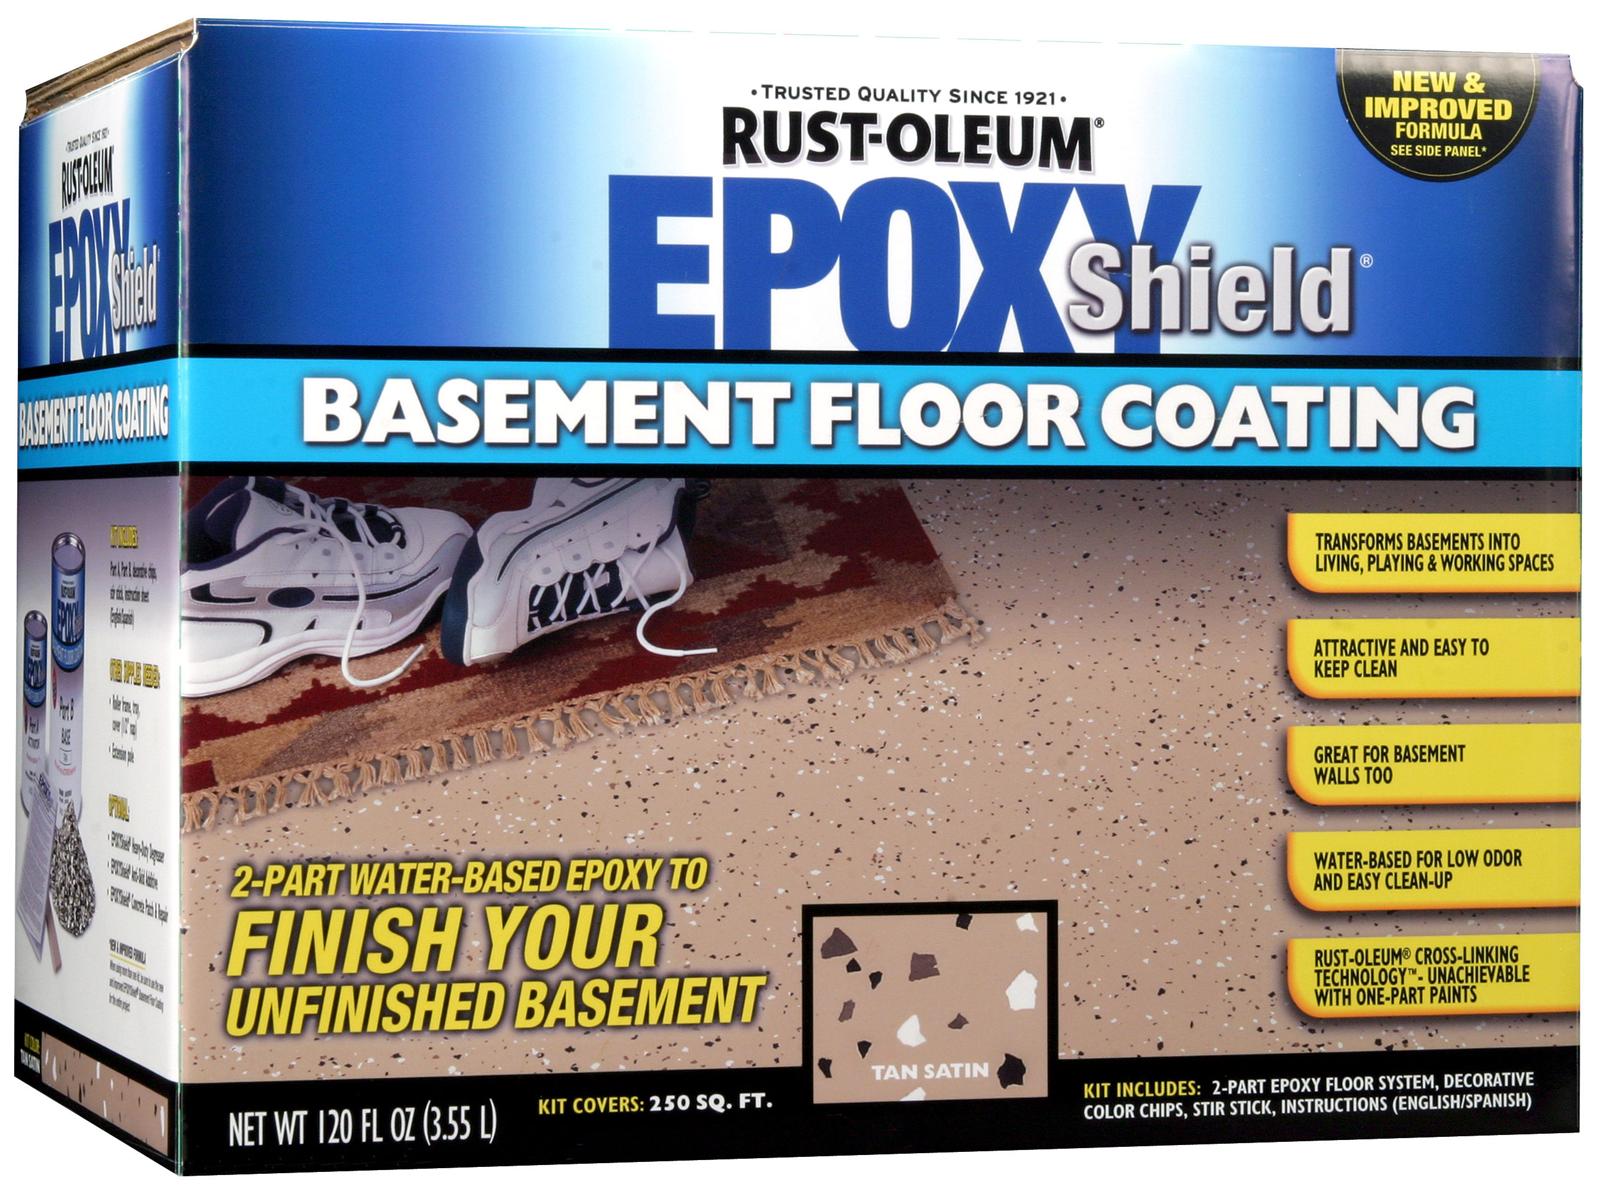
Rustoleum Basement Floor Epoxy Instructions

Rustoleum Basement Floor Epoxy Instructions – Flooring Ideas
Rustoleum Basement Floor Epoxy Instructions – Flooring Ideas

Rustoleum Basement Floor Epoxy Instructions – Flooring Site
Rustoleum Basement Floor Epoxy Instructions – Flooring Site

Rustoleum Basement Floor Epoxy Instructions – Flooring Site
Rustoleum Basement Floor Epoxy Instructions – Flooring Ideas
Rust-Oleum RockSolid Flooring Kit – Doing our Basement Floors

Rustoleum Basement Floor Epoxy Instructions – Flooring Ideas

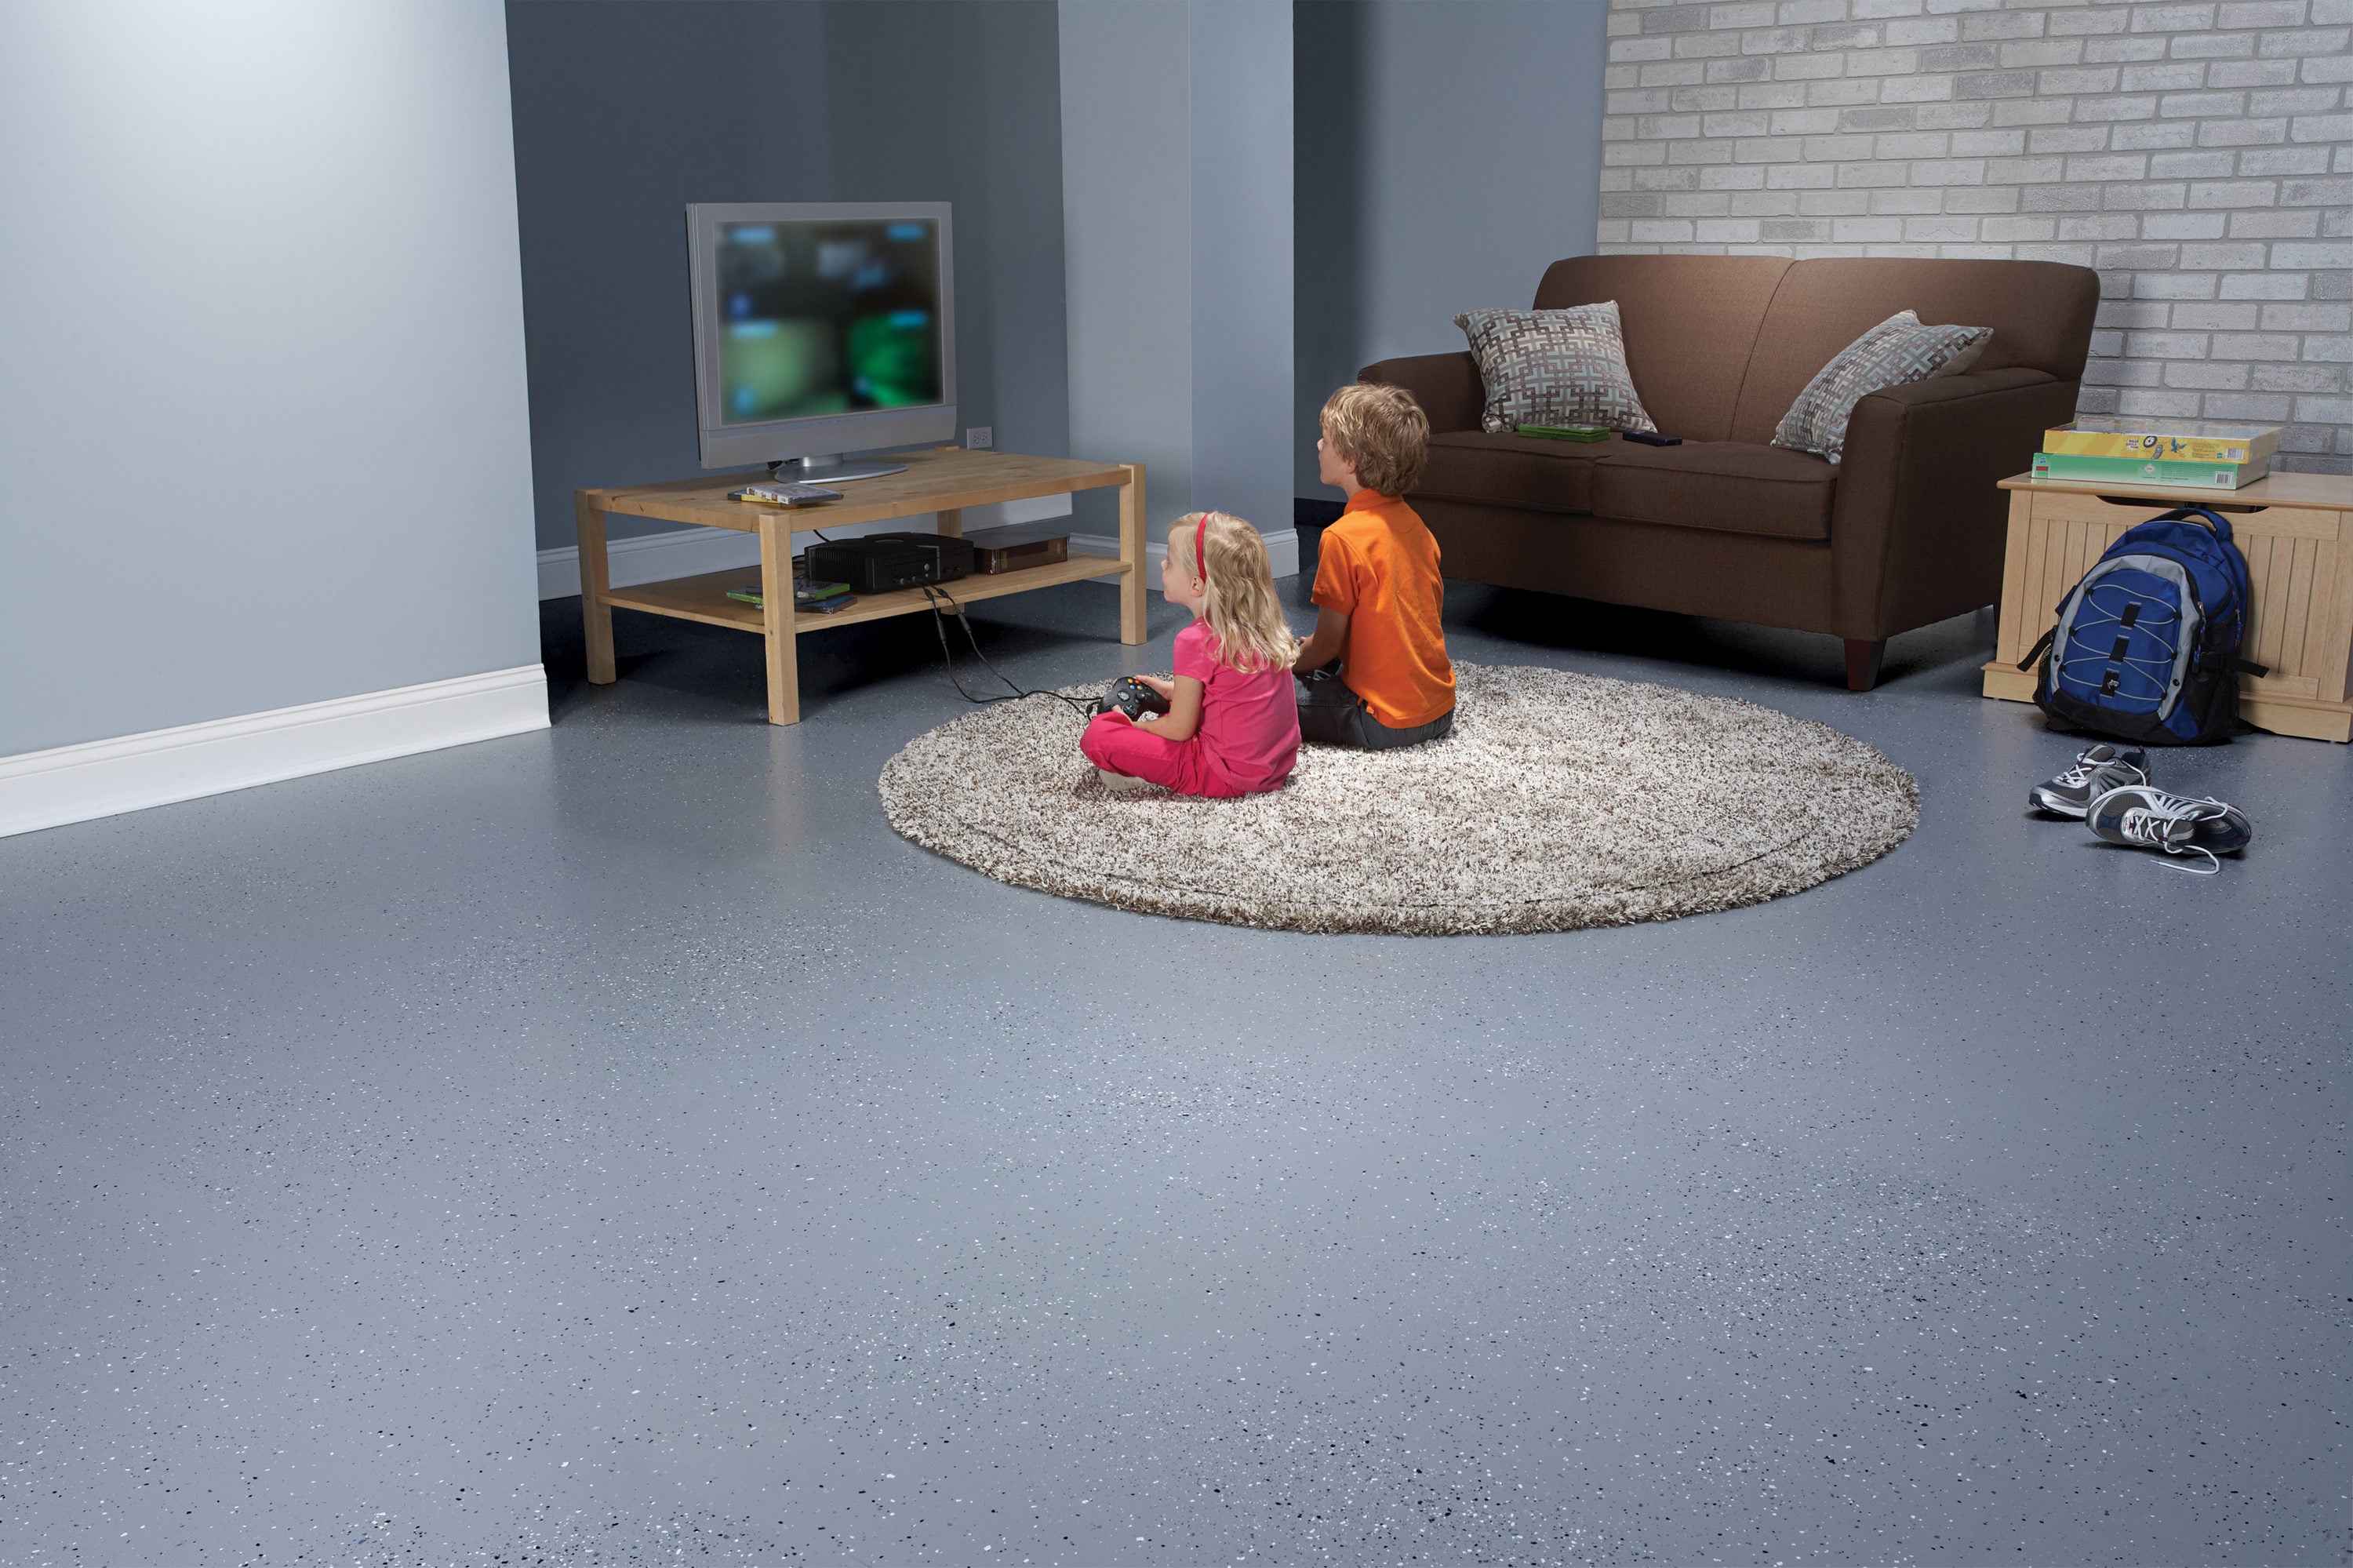
Epoxy Basement Floor Paint Pictures – Flooring : Home Design Ideas #2mD9ZZNqQO88467

Rustoleum Basement Floor Epoxy Instructions – Flooring Ideas
Rustoleum Basement Floor Coating – Flooring Blog
Related Posts:
- Fast Cure Epoxy Floor Coating
- Stone Hard Epoxy Flooring
- How To Epoxy Flooring Garage
- How To Repair Epoxy Floor Coating
- Non Slip Epoxy Flooring
- Solid Epoxy Garage Floor
- Quikrete Floor Epoxy
- Paint Flakes Epoxy Floor
- Cheap Epoxy Floor
- Rock Solid Epoxy Floor
Are you looking to upgrade your basement floor with Rustoleum epoxy? If so, you’ve come to the right place. Installing an epoxy floor coating is a great way to protect your basement from water damage and make it look more attractive. In this guide, we’ll provide step-by-step instructions for preparing and installing Rustoleum epoxy on your basement floor.
## Preparing the Basement Floor
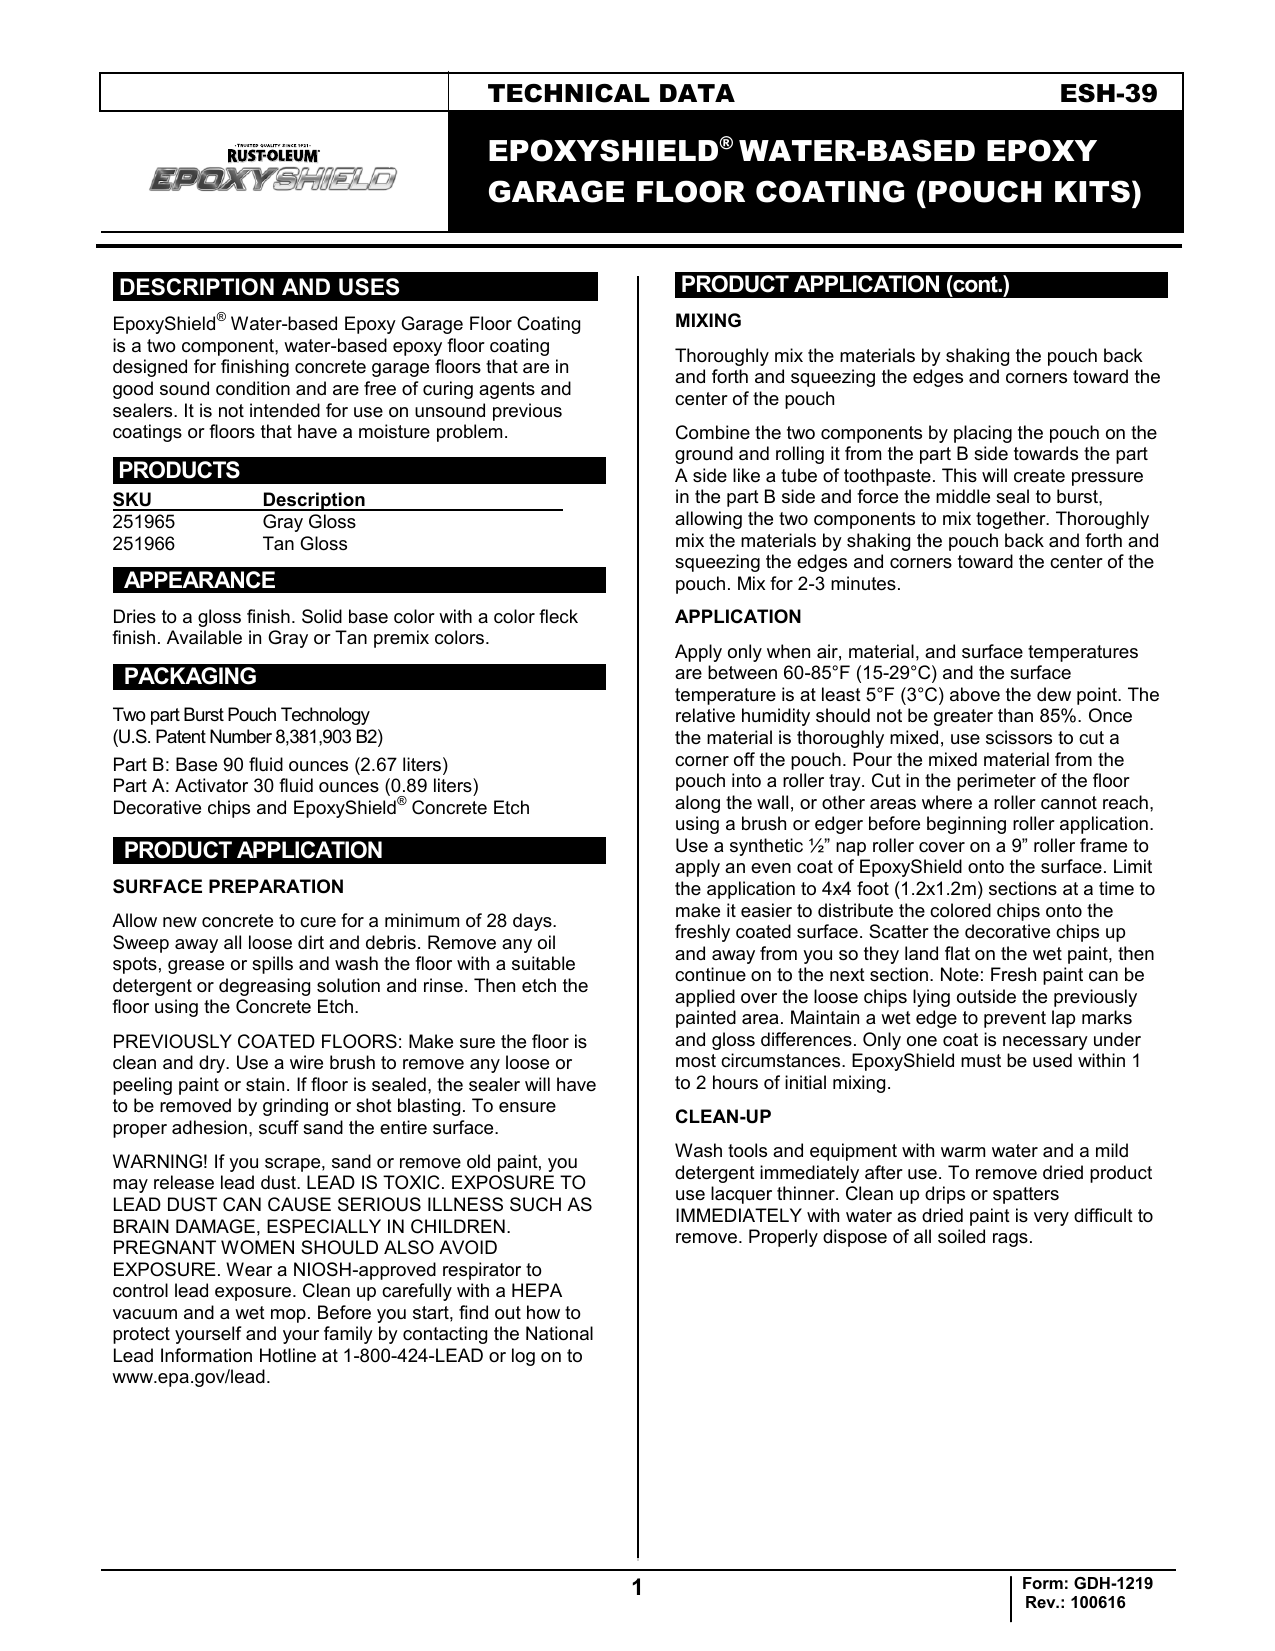
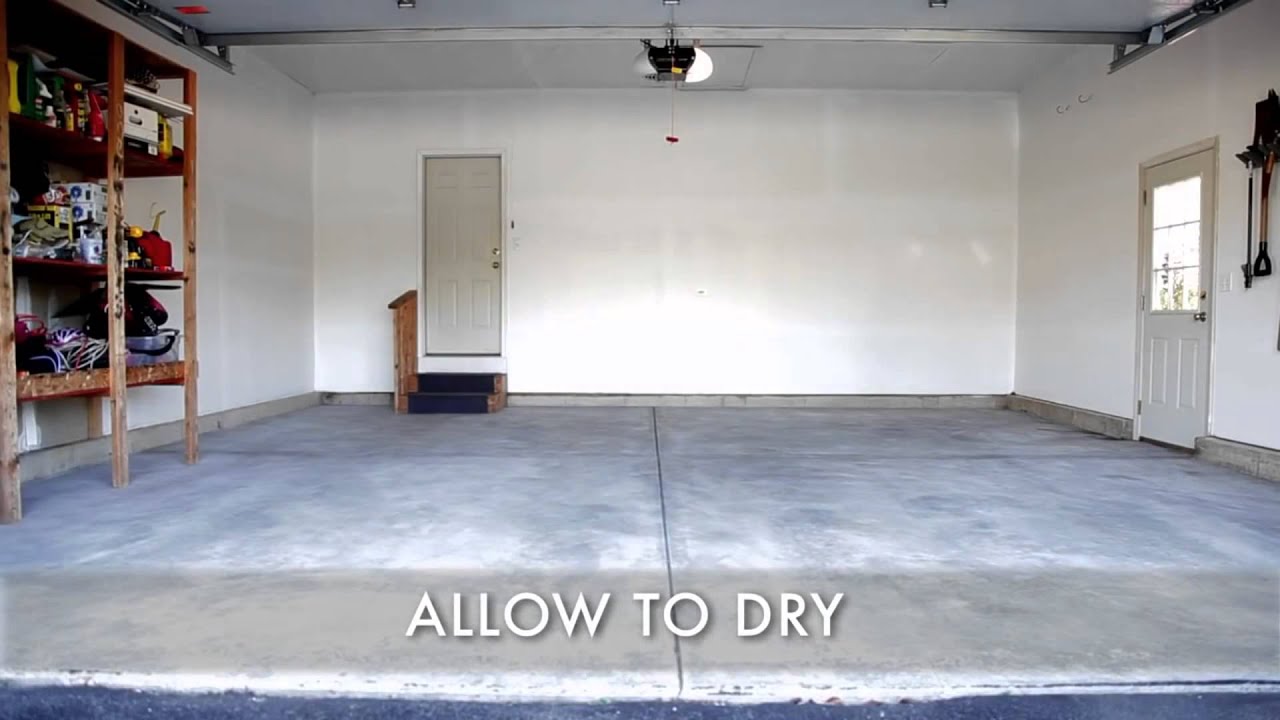
The key to successful installation of Rustoleum epoxy is proper preparation of the basement floor. Before you begin applying the epoxy, you’ll need to make sure the flooring is clean and free of any dirt, dust, or debris. Start by sweeping the floor with a broom and then use a vacuum to remove any remaining particles. Once the floor is completely clean, use a degreaser to remove any oil, grease, or other contaminants that may be present.
## Applying the Primer
Once your basement floor is clean and dry, you can begin applying the primer. Rustoleum epoxy comes with an included primer that should be used before applying the product. Start by using a paint roller to apply the primer in even, vertical strokes. Make sure to cover all areas of the floor and allow the primer to dry for at least 24 hours before moving on to the next step.
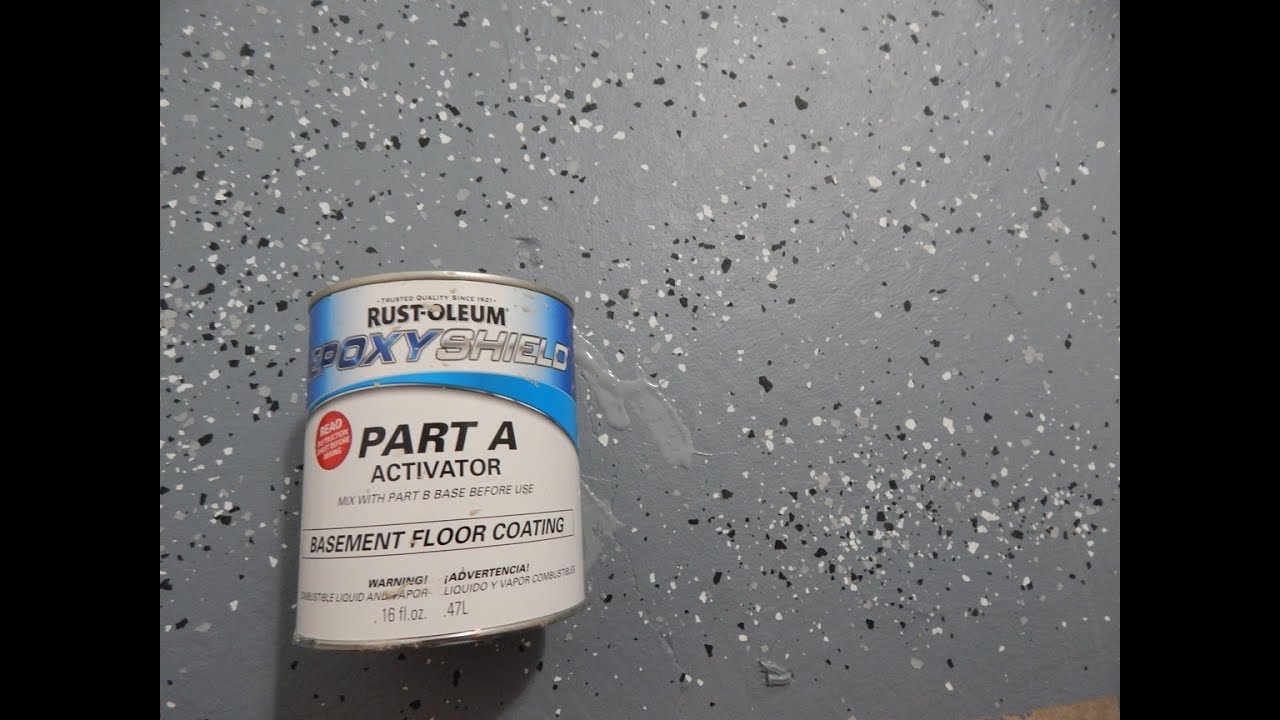
## Mixing the Epoxy
When you are ready to mix the epoxy, start by pouring the two components into a large bucket according to the directions on the package. Once both components are in the bucket, use a stir stick to mix them together until they are fully combined and have a consistent texture. Be sure to wear gloves during this process as the mixture can be dangerous if it comes in contact with your skin.
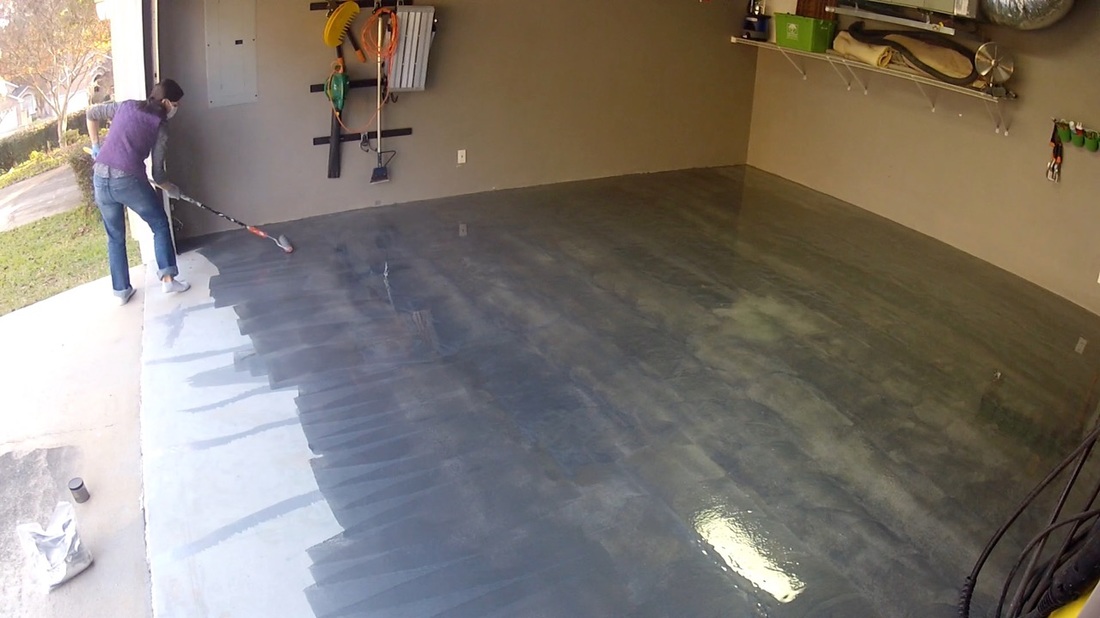
## Applying the Epoxy
Once your epoxy mixture is ready, you can begin applying it to your basement floor using a rubber squeegee. Start in one corner and work your way across the room in overlapping strokes. Make sure that you cover every inch of the floor with a thin layer of epoxy and use a brush or roller to get into any hard-to-reach spots. Allow the epoxy to cure for at least 24 hours before walking on it or adding any furniture or decorations.
## Finishing Touches
After your epoxy has had time to cure, you can add some finishing touches like decorative chips or colorants to give your basement floor a unique aesthetic. Add these items according to the manufacturer’s instructions and then use a broom or vacuum to remove any excess material. Your new Rustoleum Basement Floor Epoxy is now complete!
Installing Rustoleum Basement Floor Epoxy is a great way to protect your basement from water damage and improve its overall appearance. With proper preparation and installation, you can enjoy your new epoxy floor for years to come!