Tile Floor Demolition
Ceramic Tile Floor Demolition 3 Stock Image – Image of person, business: 11944909

Tile Removal Brisbane Efficient Floor Solutions

Renovation of Old Floor. Demolition of Old Tiles with Jackhammer Stock Image – Image of people

Demolition of Old Tiles with Jackhammer. Renovation of Old Floor Stock Image – Image of

Bathroom Demolition: A Step-by-Step DIY Guide Dumpsters.com
Demolition Of Old Tiles With Jackhammer Renovation Of Old Floor Stock Photo – Download Image Now
Tile Removal Melbourne Efficient Floor Solutions

Demolition Of Old Tiles With Jackhammer Renovation Of Old Floor Stock Photo – Download Image Now
Ceramic Floor Tile Removal Made Easy – YouTube

Tile Demolition – YouTube

Fed efengyl
Related Posts:
- Cuban Tile Floors
- Easy Way To Grout Tile Floor
- Types Of Marble Tile Flooring
- Slate Tile Floor
- Classic Bathroom Tile Floors
- Tile Floor Color Ideas
- Wet Mops For Tile Floors
- Staining Saltillo Tile Floors
- Terrazzo Tile Floor Outdoor
- Tile Flooring For Screened Porch
Removing an old tiled floor can be a difficult and time-consuming process. Although it may seem like a daunting task, it is possible to safely and efficiently demolish a tile floor with the right tools, preparation, and a bit of know-how. In this article, we’ll provide you with a step-by-step guide to tile floor demolition and provide you with tips on how to make sure the job is done right.
## Gather the Right Tools for Tile Floor Demolition
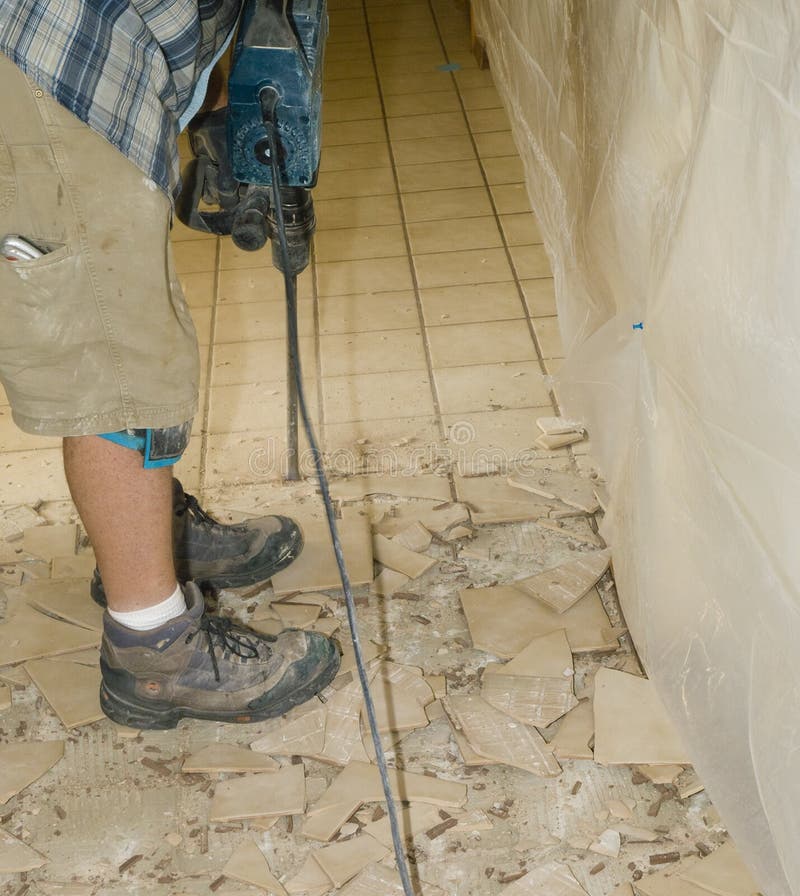
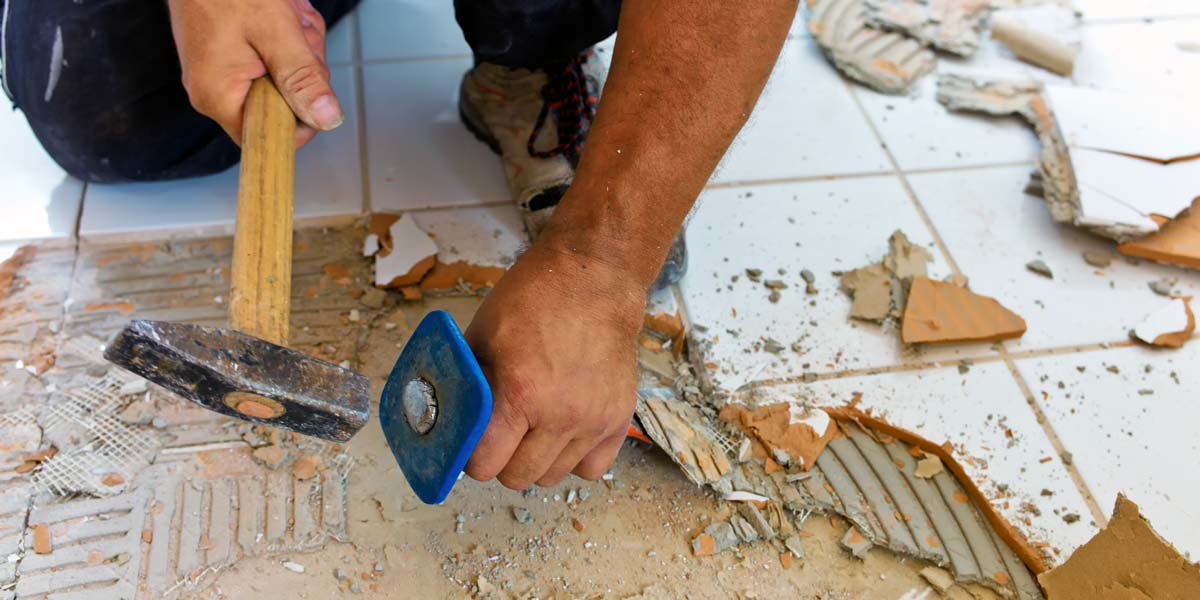
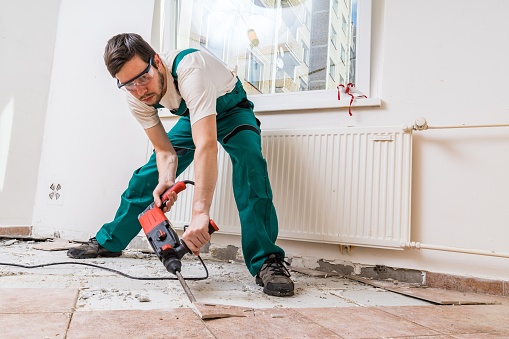
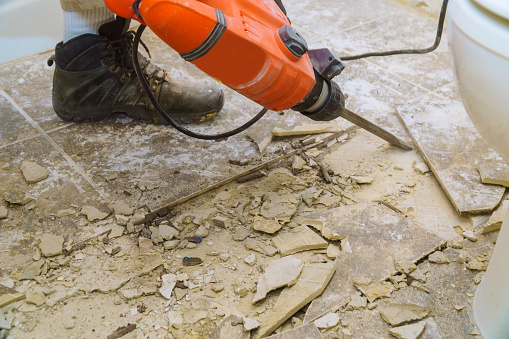
The first step in tile floor demolition is to gather the right tools for the job. You’ll need a hammer, chisel, pry bar, safety glasses, dust mask, work gloves, and a dustpan. You may also want to invest in a wet/dry vacuum cleaner to make cleanup easier. Additionally, if you’re dealing with a particularly large area of tile, renting a jackhammer or demolition hammer may be necessary.
## Prepare the Area for Tile Floor Demolition
Once you’ve gathered the right tools for the job, the next step is to prepare the area for demolition. Start by removing all furniture and other items from the room. If you can’t move them out of the room entirely, cover them with tarps or plastic sheets to protect them from debris. Next, turn off all power sources in the room by flipping off the circuit breaker in your home’s electrical panel. Finally, inspect the area for any hazardous materials such as asbestos before beginning work.
## Perform Tile Floor Demolition Carefully
When it’s time to start demolishing the tile floor, start by taking off any baseboards or trim around the edges of the room with your pry bar or hammer. This will help prevent any damage when you start removing tiles. Next, begin using your hammer and chisel to loosen and remove individual tiles one at a time. For best results, work from one corner of the room towards the opposite corner in neat rows. If your floor has mortar beneath it that needs to be removed as well, you can use your chisel to chip away at it until it’s gone.
## Clean Up After Tile Floor Demolition
Once all of the tiles have been removed from your floor, it’s time to do some cleanup. Vacuum up any loose debris and then sweep up any bits that remain on the floor before wiping down all surfaces with a damp cloth or mop. Once everything is clean, you’re ready to begin installing new tile or whatever other type of flooring you’ve chosen.
Tile floor demolition can be tricky if you don’t know what you’re doing. However, by following the steps outlined above and taking proper safety precautions, you can successfully remove an old tiled floor and prepare for new floor installation without any difficulty. With the right tools and a bit of patience, you’ll have your new flooring installed in no time!