Valspar Garage Floor Epoxy Instructions
Valspar Garage Floor Epoxy Instructions – Flooring Guide by Cinvex

Valspar Garage Floor Epoxy Instructions – Flooring Blog
Valspar Garage Floor Coating Kit Instructions – Flooring : Home Design Ideas #8yQR33VoPg87819

Valspar Epoxy Flooring – Flooring Guide by Cinvex
Valspar Garage Floor Epoxy Colors – Flooring : Home Design Ideas #a8D7rxeXnO96501

Valspar Garage Floor Epoxy Instructions – Flooring Ideas
Valspar Garage Floor Epoxy Colors – Flooring : Home Design Ideas #a8D7rxeXnO96501

Valspar Garage Floor Paint Instructions – Flooring : Home Design Ideas #A3npM06ZD696327
Valspar Garage Floor Epoxy Instructions – Flooring Ideas
Amazon.com: Valspar (81020) Light Gray Garage Floor Coating Kit – 120 oz.: Automotive

Valspar Garage Floor Epoxy Colors – Flooring : Home Design Ideas #a8D7rxeXnO96501

Related Posts:
- 2 Part Epoxy Floor Coating
- Enclosed Trailer Floor Epoxy
- Outdoor Epoxy Resin Flooring
- Professional Epoxy Garage Floor Coating
- Epoxy Flooring Solutions
- Epoxy Garage Floor Crack Filler
- Buy Epoxy Floor Coating
- Best Garage Floor Paint Or Epoxy
- How To Clean Garage Floor Before Epoxy
- How Long Does It Take To Epoxy A Garage Floor
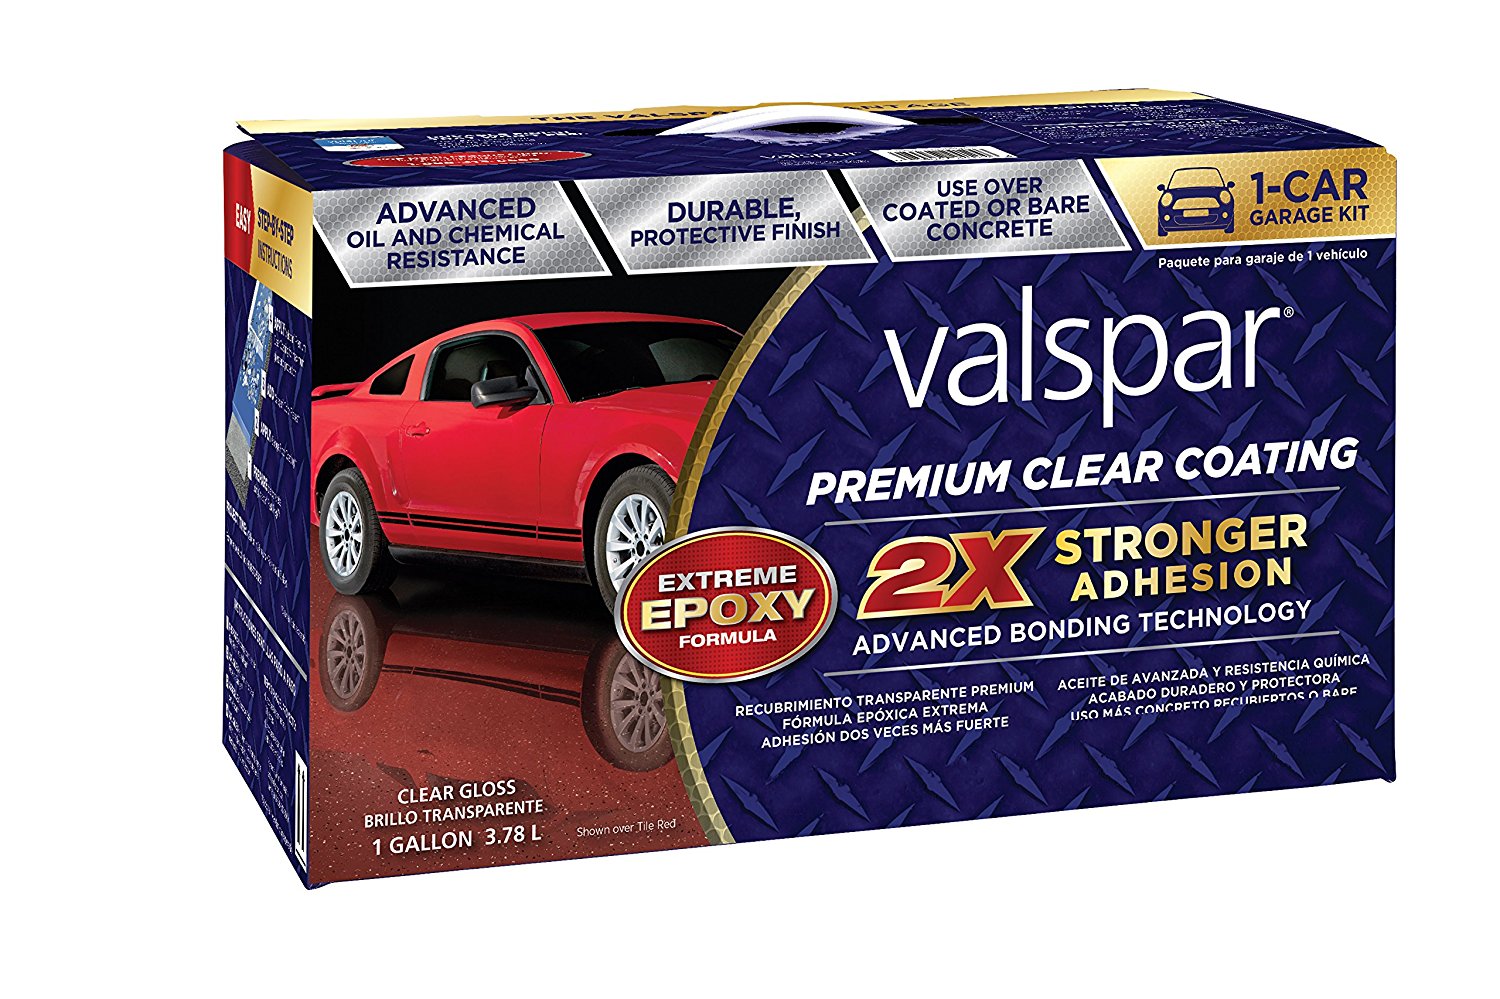
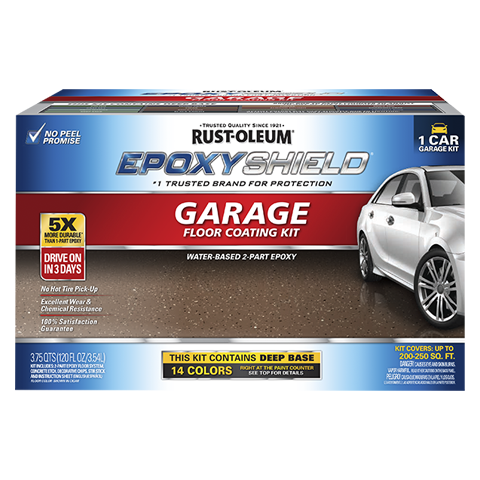
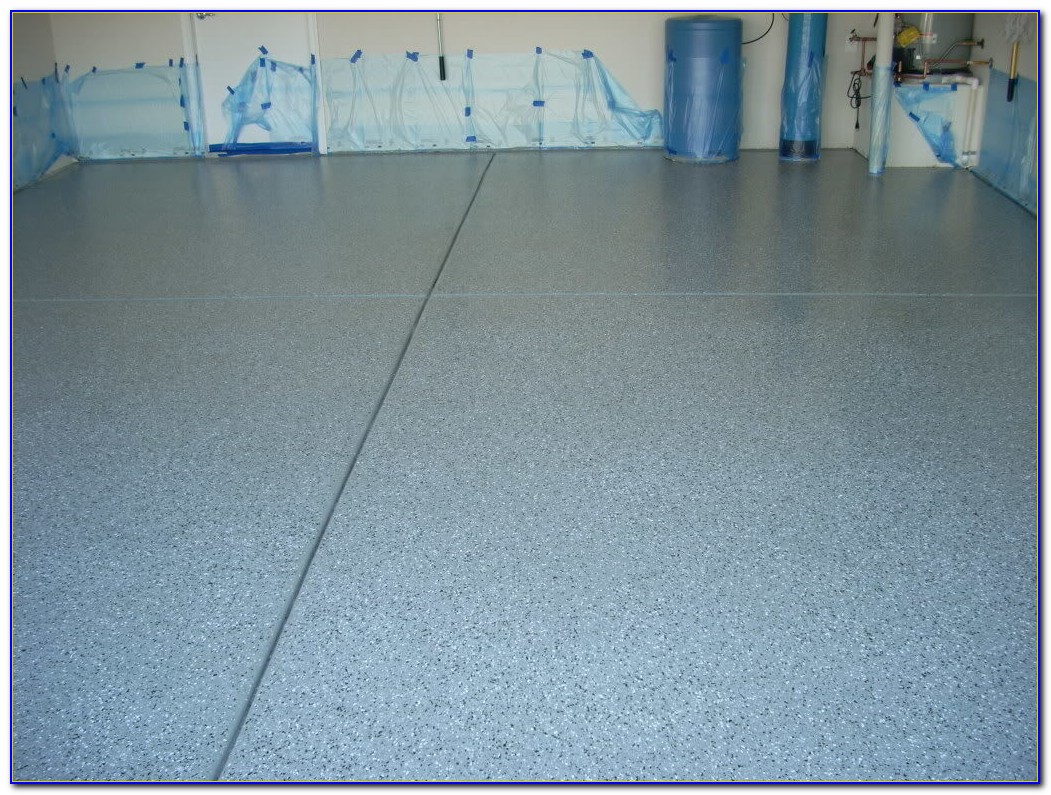
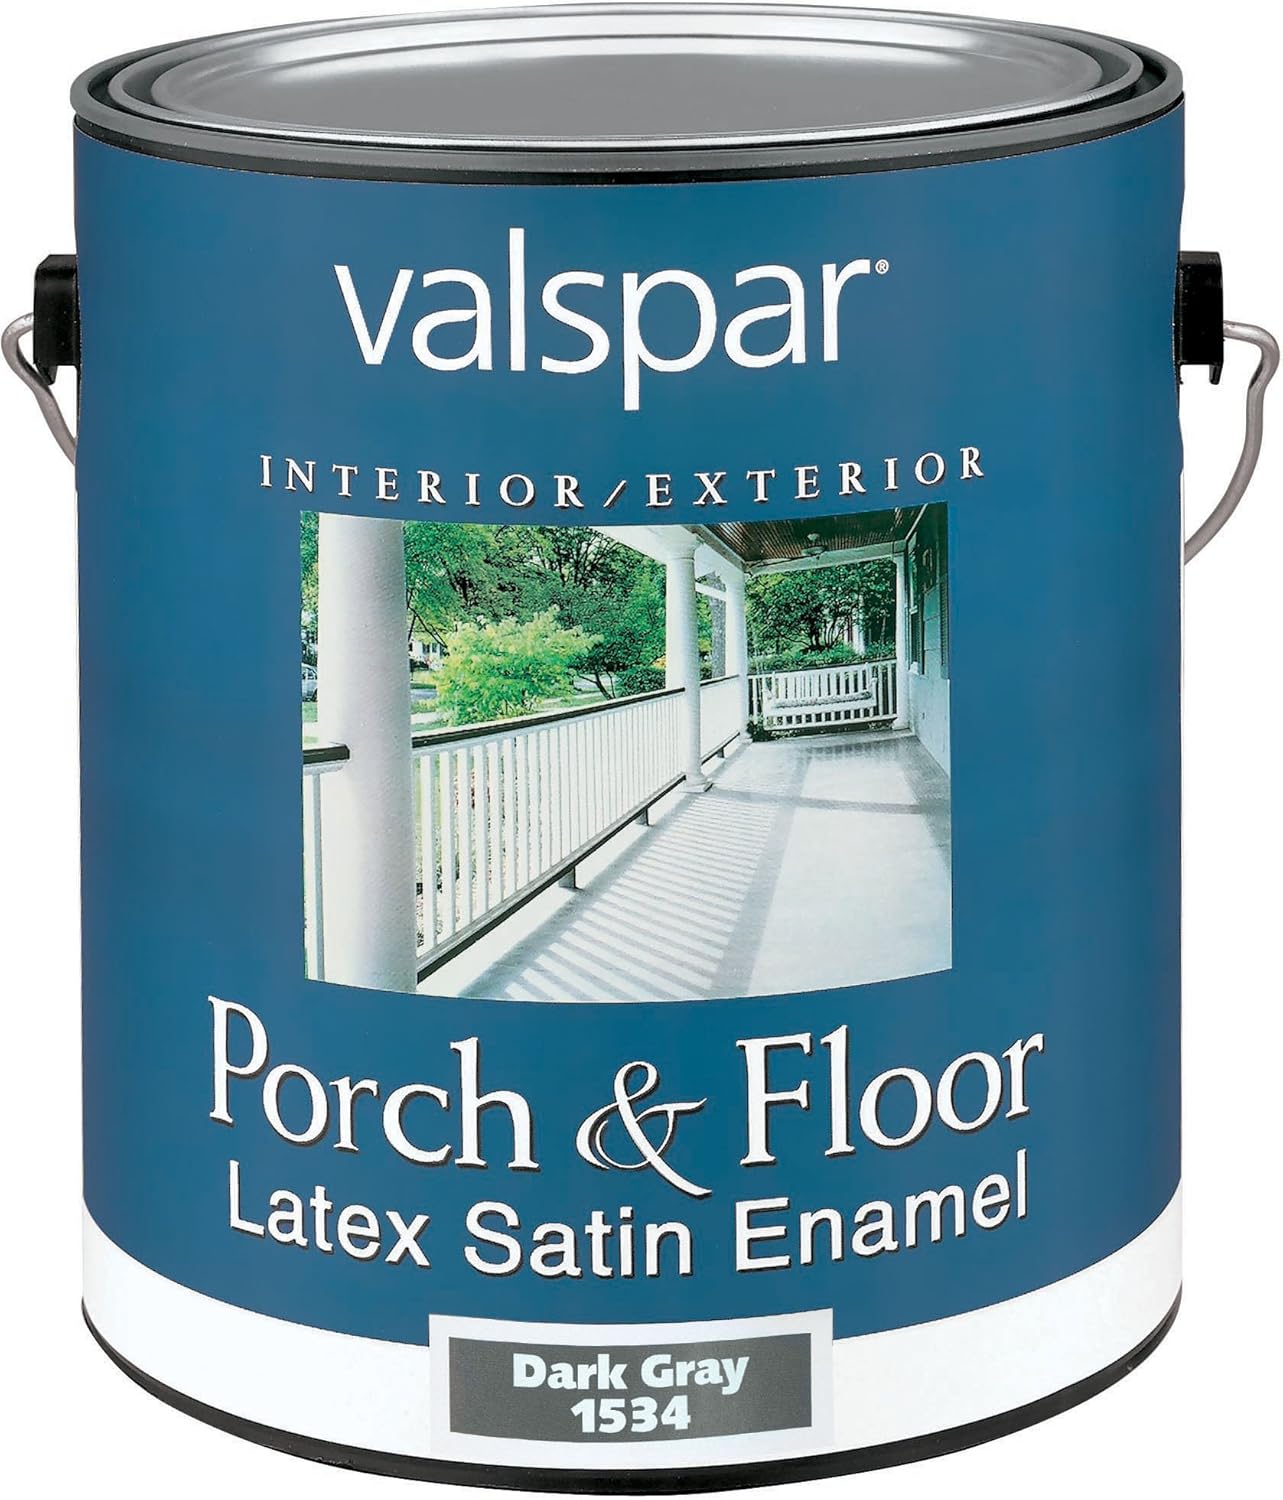
Sprucing up your garage with a sleek epoxy coating is a great way to improve the look and feel of your space. The Valspar brand offers a range of garage floor epoxy products, each designed to provide a durable, easy-to-clean surface for your garage. Here is a step-by-step guide to help you put down a Valspar epoxy coating on your garage floor.
## Preparation
Before you get started with the application process, there are some preparations that need to be taken into account. The first step is to ensure the surface is free from any debris, oils, and grease. To do this, you should sweep and vacuum the floor thoroughly. Once the surface is clear, use a degreaser to remove any additional residue or oil stains. If there are any deep cracks or holes in the concrete, these should be filled with a concrete patching compound before proceeding.
## Primer Application
The next step is to apply the Valspar concrete primer. This is an essential step that will help ensure that the epoxy coating adheres properly. Start by mixing the primer as directed on the package instructions, then apply it to the floors using a roller or brush. The primer should be thoroughly spread across the entire surface of the floor, paying special attention to corners and edges. Allow it to dry completely before proceeding to the next step.
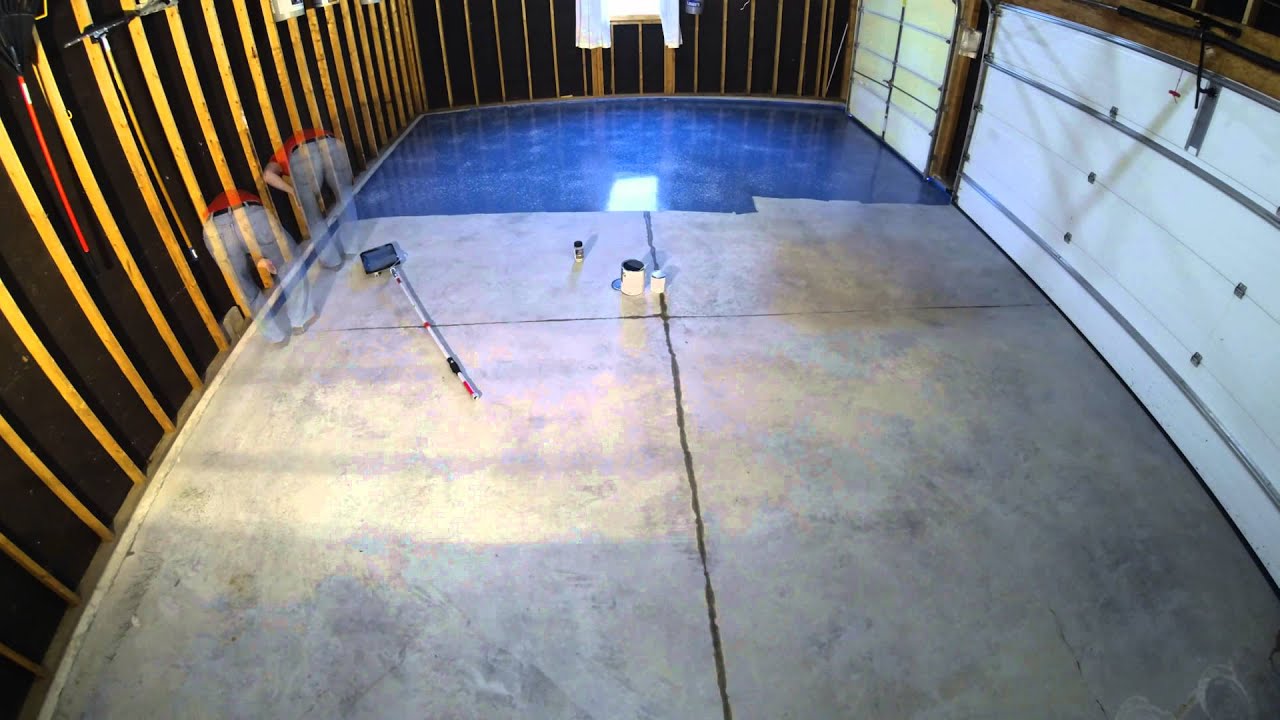
## Application of Epoxy Coating
Once the primer has dried, it is time to apply the epoxy coating itself. Start by mixing the epoxy as instructed on the package, then pour it out onto the floor and spread it across the surface with a roller or brush. Again, take special care when applying it near corners and edges. Once finished, allow it to dry totally before applying additional layers (if desired).
## Finishing Touches
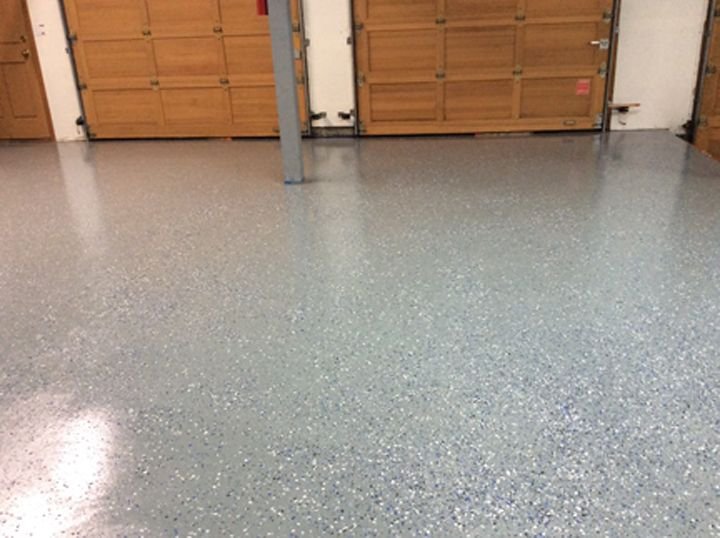
The final step is to add any additional details that you want for your garage floor epoxy coating. If you plan on adding decorative chips or flakes, these should be applied after the epoxy has dried completely but before any additional layers are added. You can also add colorant or other additives as desired at this stage. Once everything has been applied as desired, allow it all to dry fully before walking on it or using your garage again.
Putting down an epoxy coating on your garage floor can quickly transform your space and make it look more attractive and inviting. With Valspar’s range of high-quality products, you can easily complete this project yourself with great results. Simply follow these steps for successful installation of your Valspar garage floor epoxy coating!