Installing Laminate Flooring On Ceiling
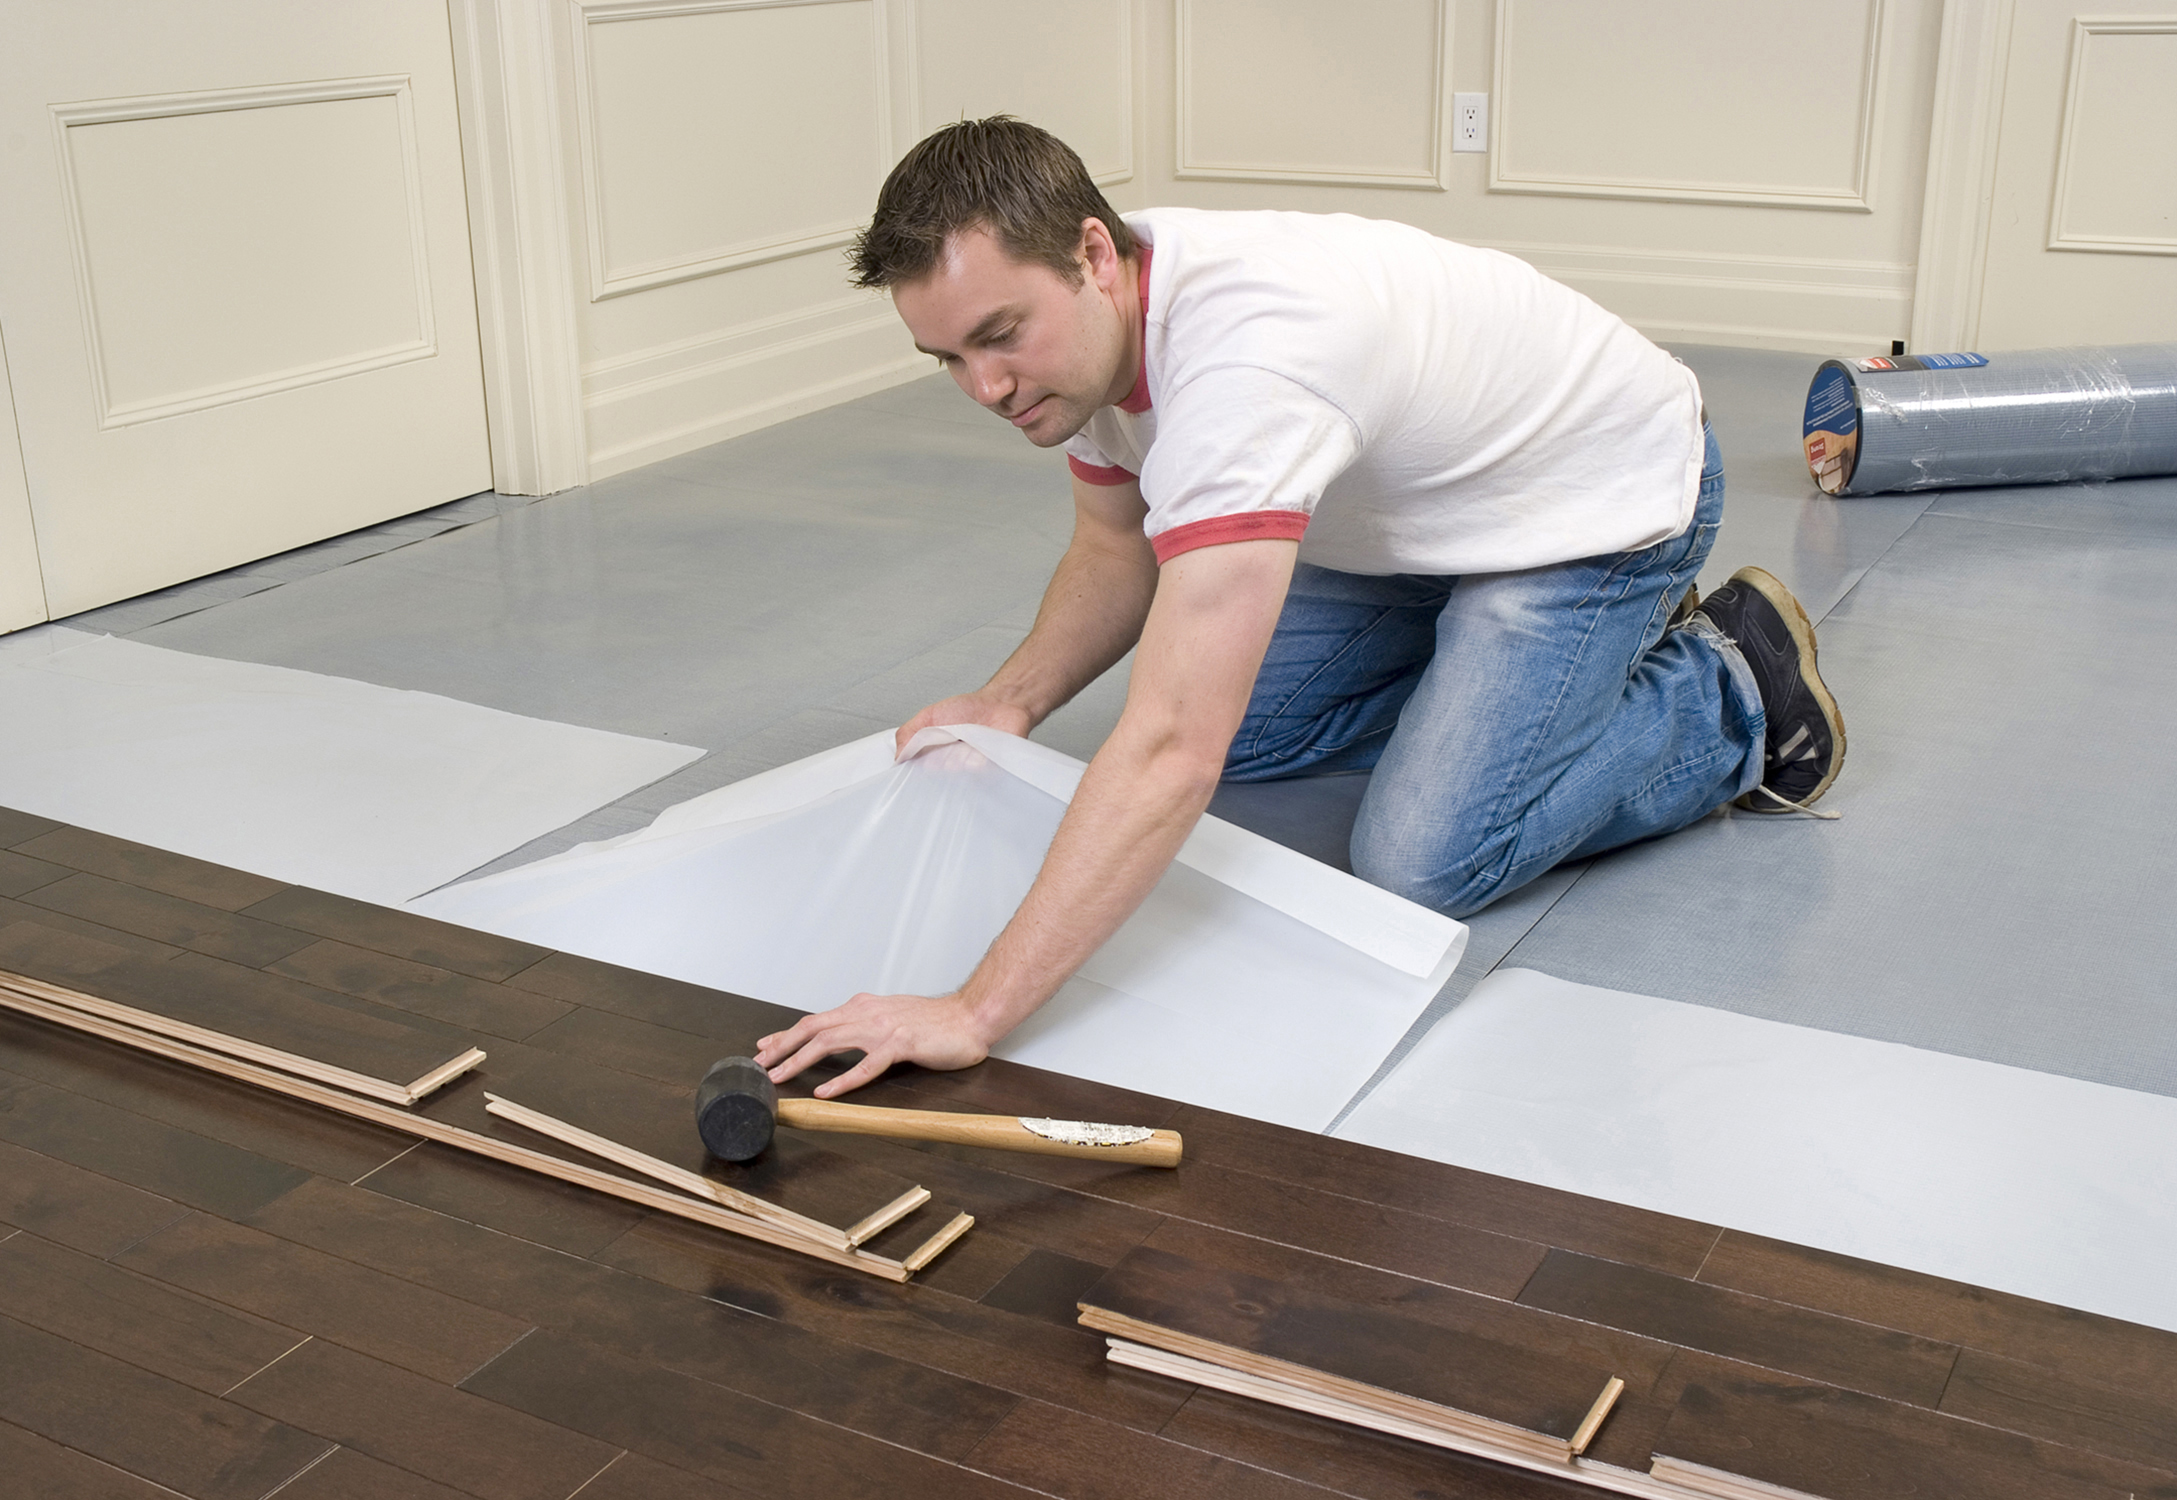
11 Steps How to Install Laminate Flooring HireRush Blog
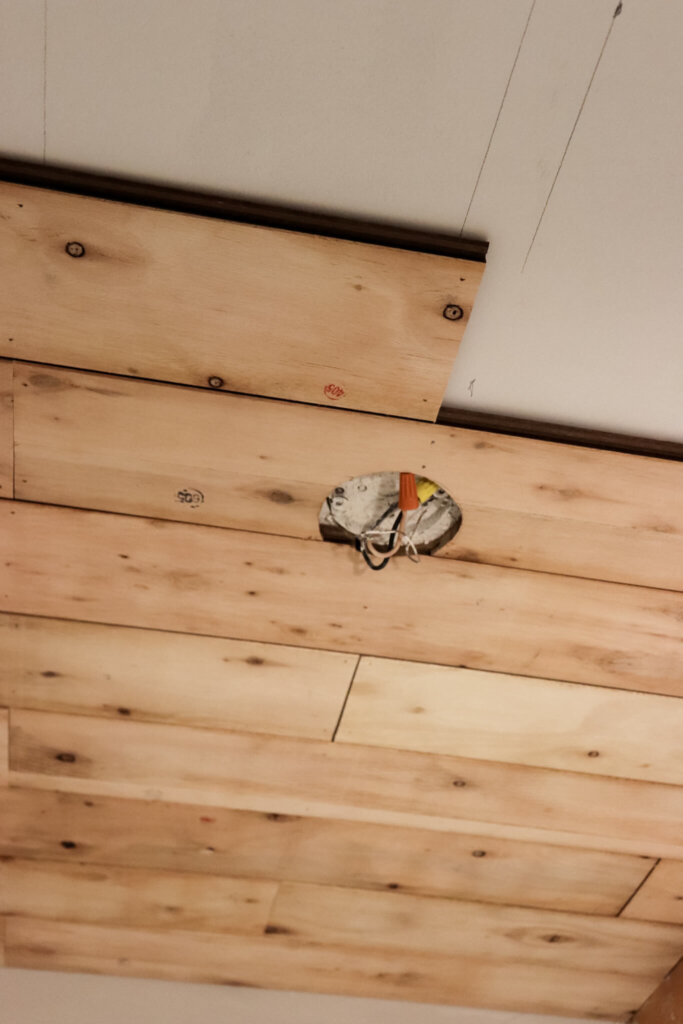
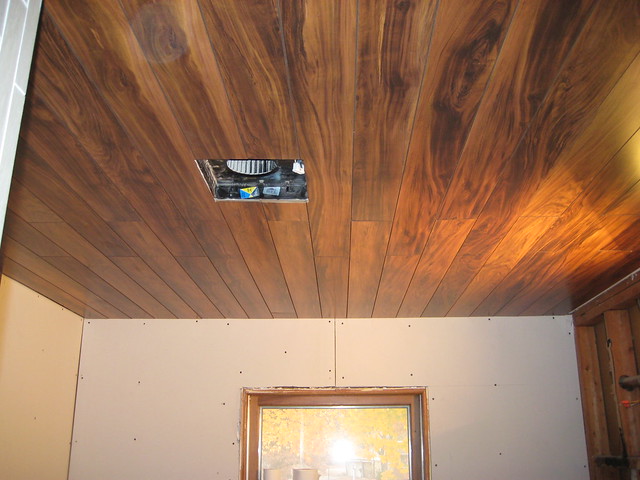
flooring used as ceiling Flickr – Photo Sharing!
How to Avoid Common Problems when Installing Laminate Flooring Installing laminate flooring

Pin on DIY

Pin on Home

Guide to Installing Laminate Flooring Installing laminate flooring, Laying laminate flooring

Upgrade the ceiling of any space by installing laminate plank. From the experts at DIYNetwork

Installing Laminate Flooring For The First Time Installing laminate flooring, Laminate

Laminate Ceilings. It’s nice to see this in process! Vinyl laminate flooring, Laminate

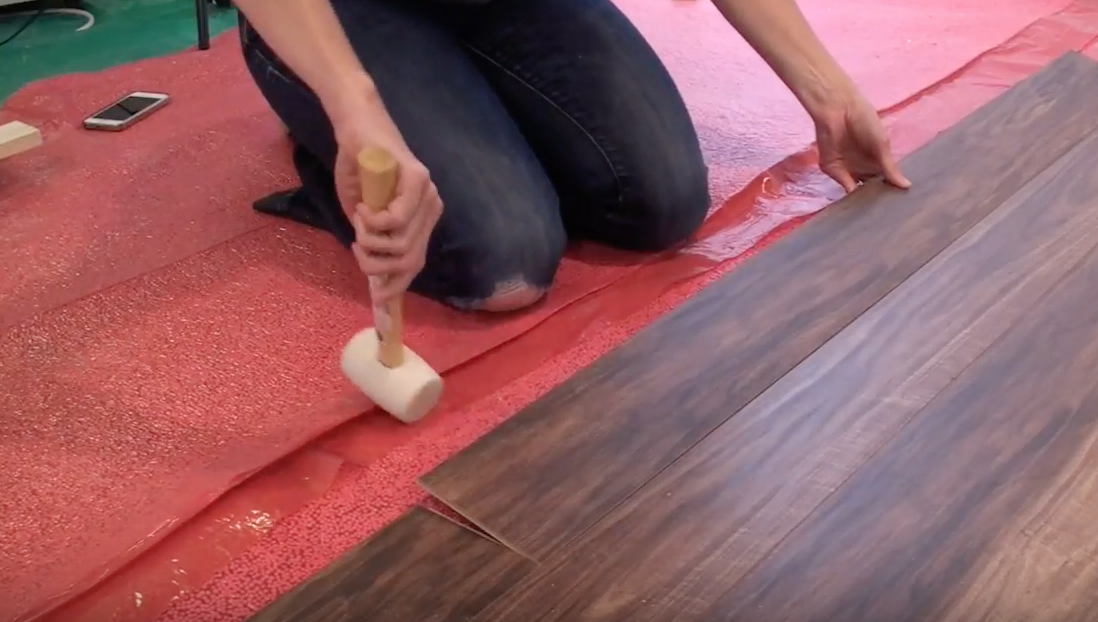
Laminate Floors: Installation tips to help you avoid humps, bumps, gaps and cracks. Installing

How to Install a Laminate Floor in a Basement [Video Tutorial] – The Chronicles of Home
Related Posts:
- Oak Grey Laminate Flooring
- Laminate Flooring Living Room Ideas
- How To Remove Laminate Flooring
- Gray Laminate Flooring Ideas
- How To Remove Laminate Floor Glue
- Laminate Floor Edge Filler
- Farmhouse Laminate Flooring
- Dark Laminate Flooring Ideas
- Laminate Floor Uneven Transition
- Laminate Floor Colors Ideas
Are you looking for a unique way to spruce up your home? Installing laminate flooring on the ceiling may be the perfect solution. It’s an easy and inexpensive way to give your home a new look. Plus, it’s simple to do yourself.
In this article, we’ll provide a step-by-step guide to installing laminate flooring on your ceiling. We’ll take you through the process from start to finish so you can get the job done right. Let’s get started.
## Preparing for Installation
The first step is preparing for installation. You’ll need to make sure that you have all of the necessary tools and supplies before you begin. This includes a miter saw, power drill, tape measure, level, hammer, nails, screws, and laminate flooring.
Once you have all of your supplies ready, it’s time to begin the installation process. You’ll want to start by measuring the space where you’ll be installing the laminate flooring. Measure both the width and length of the area to make sure that you have enough material for the job.
You’ll also need to make sure that the walls and ceiling are in good condition before you start. Any holes or cracks should be filled with a patching compound before you begin. This will help ensure that your new flooring will stay in place for years to come.
## Installing the Laminate Flooring
Once you’ve prepared the space, it’s time to start installing the laminate flooring on your ceiling. Begin by laying out your boards in the desired pattern. Make sure that they fit together tightly and that there are no gaps between them. If necessary, use sandpaper to smooth out any rough edges or corners.
Once you’ve laid out all of your boards, it’s time to attach them to the ceiling. Use a power drill to screw each board into place. Make sure that each board is securely attached and that there are no gaps between them.
When all of your boards are securely attached, it’s time to finish up the installation process. Use a miter saw to cut off any excess material around the edges of each board. This will help ensure a clean finish and prevent any damage from occurring due to water or moisture entering into the gap between boards.
## Finishing Touches
After all of your boards have been installed, it’s time for the finishing touches. You may want to add some trim around the edges of each board for an extra decorative touch. Alternatively, you could also paint or stain your boards for a more personalized look.
Once all of these steps have been completed, your laminate flooring on ceiling project is complete! With just a few simple steps, you can give your home a much needed upgrade with minimal effort and cost. Installing laminate flooring on your ceiling is an easy and affordable way to give your home a whole new look!