Vinyl Flooring Removal Tips

Vinyl Flooring Removal Tips!! (With images) Vinyl flooring, Vinyl sheet flooring, Vinyl tile

Vinyl Flooring Solutions near me [Vinyl Flooring installations]

How To Remove Vinyl Flooring And Subfloor – how thick should plan vinyl flooring be
How to Install Vinyl Plank Flooring
:max_bytes(150000):strip_icc()/easy-install-plank-vinyl-flooring-1822808-02-19a3b80cd59943938a401560203706f3.jpg)
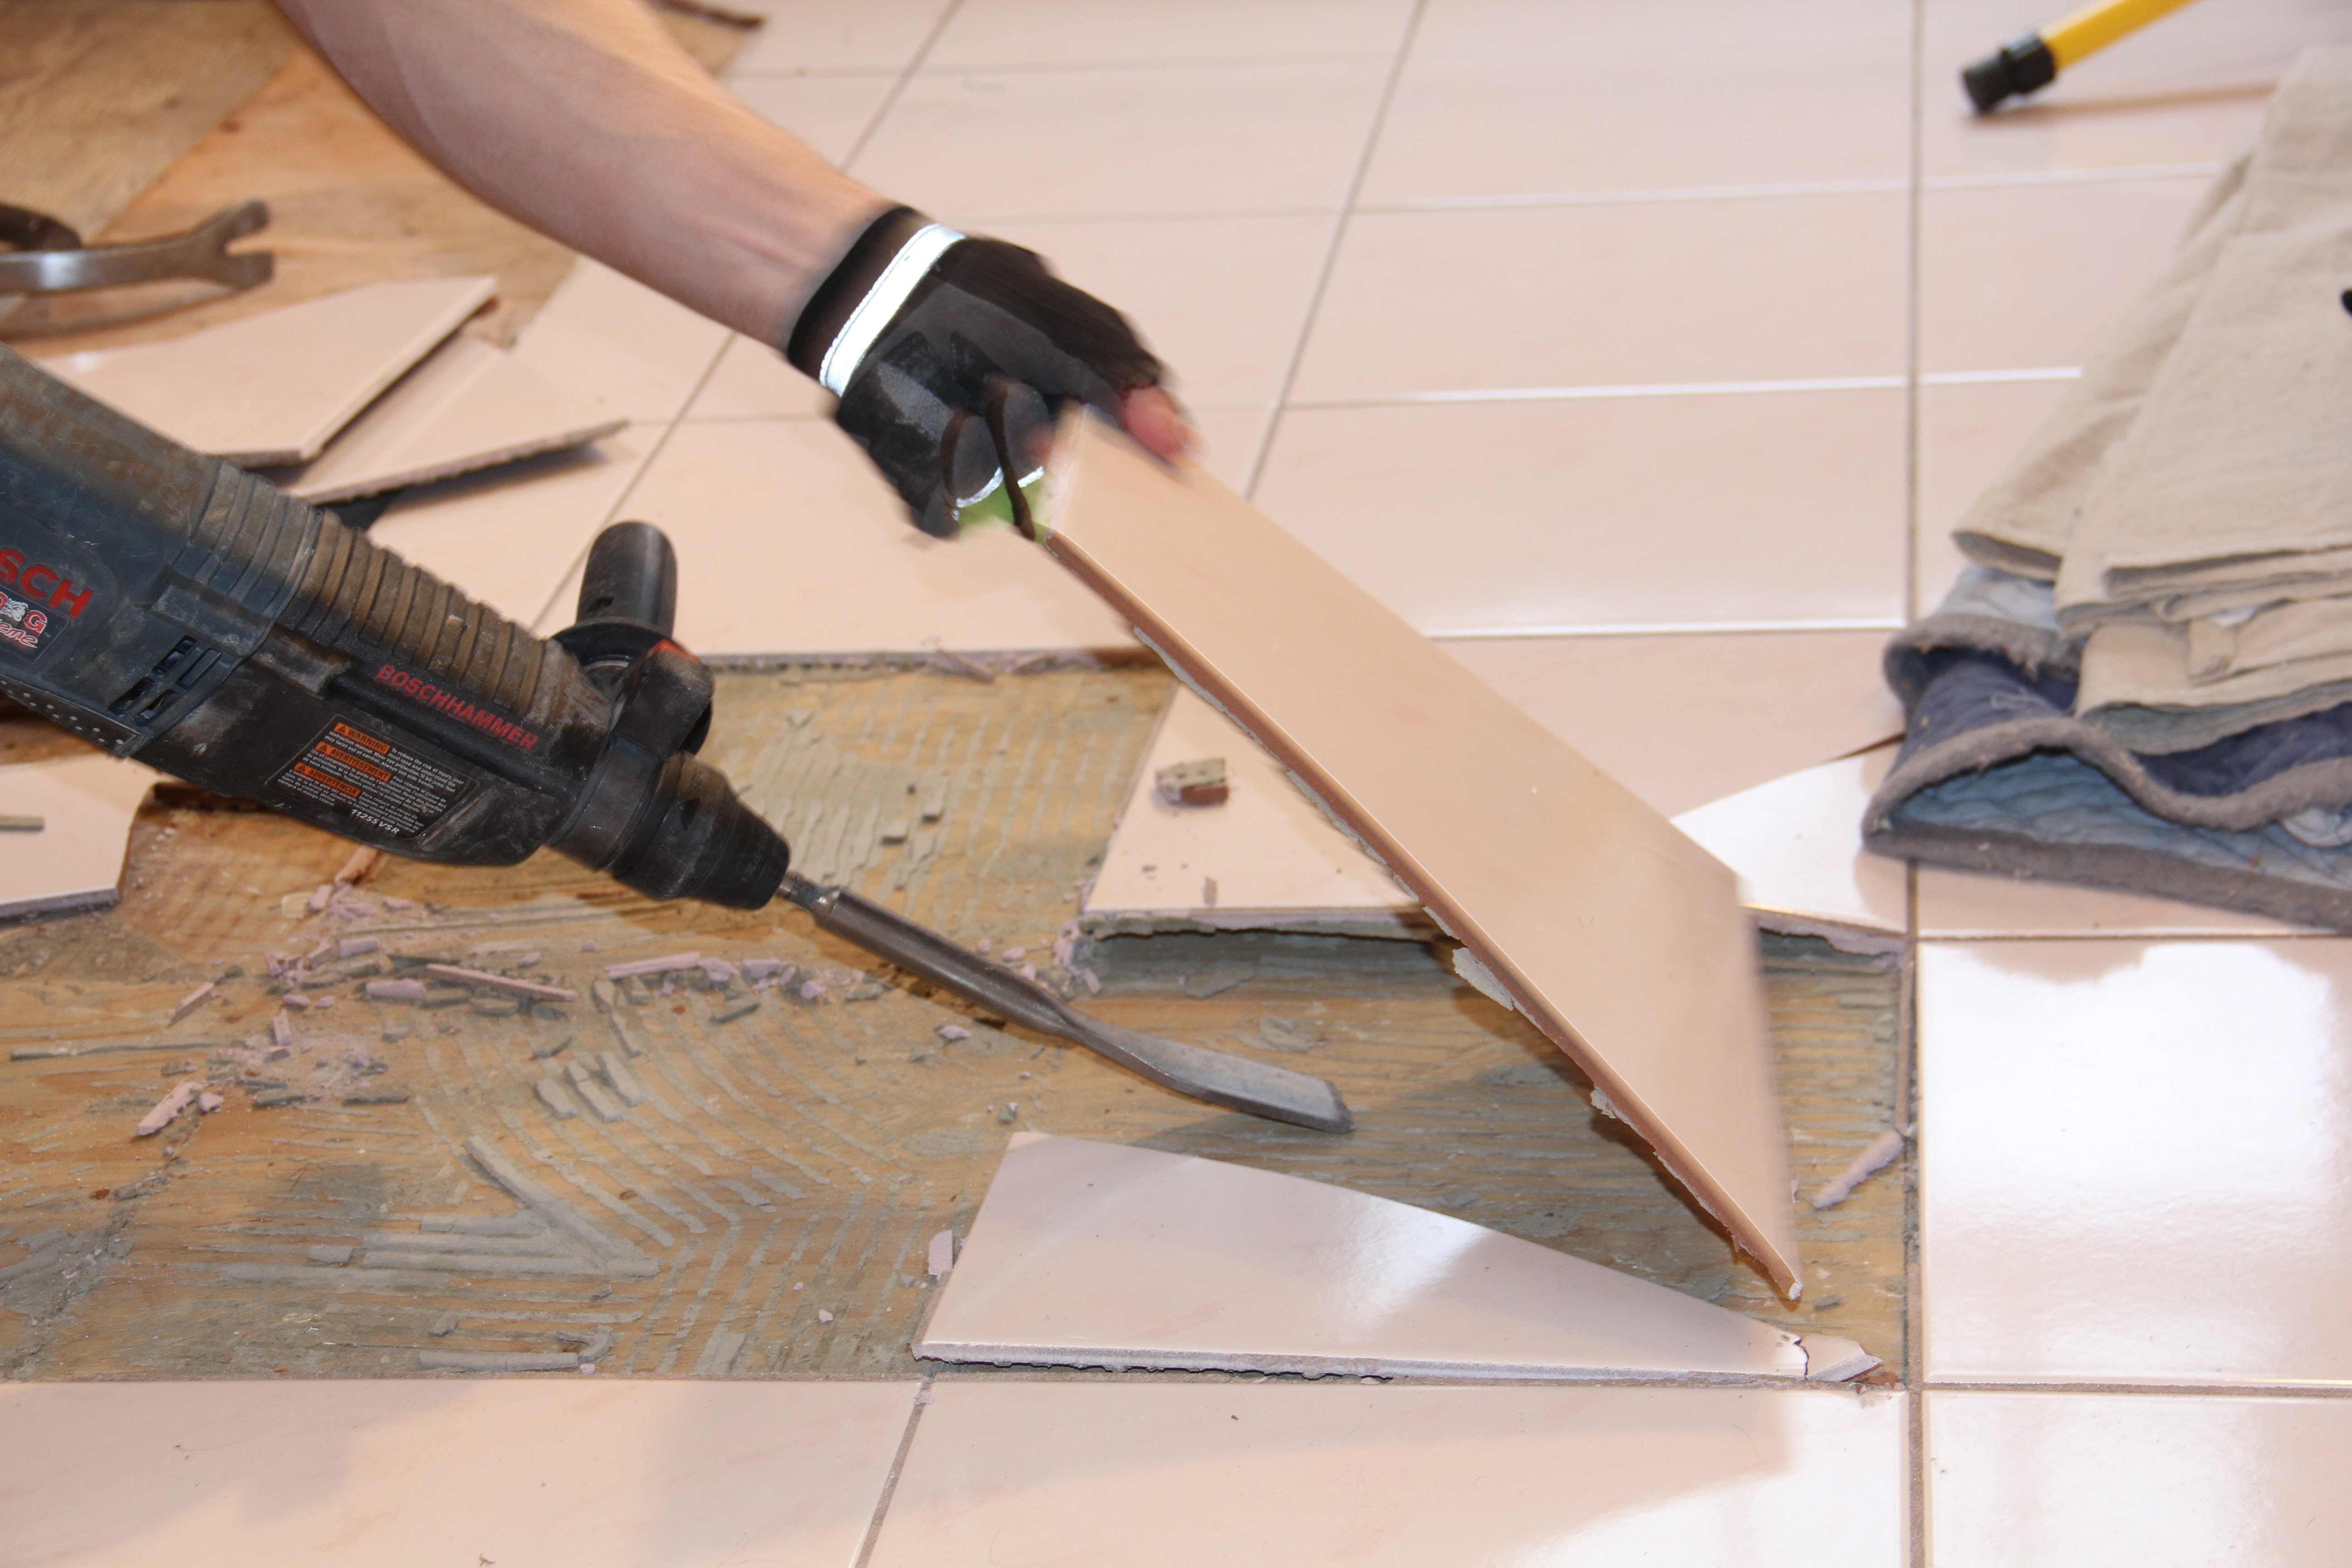
Best Way To Remove Floor Tile GoodDesign

How to Remove Vinyl Flooring
:max_bytes(150000):strip_icc()/CutFlooringinNarrowStrips-5b56605d46e0fb0037eb8b56.JPG)
How To Remove Vinyl Flooring And Subfloor – how thick should plan vinyl flooring be
How Do You Remove Vinyl Floor Glue – how to remove old vinyl floor glue
:max_bytes(150000):strip_icc()/RemovingVinylFlooring-5b561e26c9e77c00372a8ae6.JPG)
How to Remove Vinyl Flooring
:max_bytes(150000):strip_icc()/Remove-Vinyl-Take-Down-Trims-2-56a49e405f9b58b7d0d7ddd1.JPG)
10 Beginner Mistakes Installing Vinyl Plank Flooring FixThisBuildThat
How to Remove Vinyl Flooring
:max_bytes(150000):strip_icc()/Remove-Vinyl-Score-and-Accordian-56a49e3c3df78cf772834b10.JPG)
Related Posts:
- Pine Vinyl Flooring
- Vinyl Floor Laying DIY
- Cortex Vinyl Flooring
- Grey Slate Effect Vinyl Floor Tiles
- Dark Oak Vinyl Flooring
- Limestone Effect Vinyl Flooring
- Vinyl Floor With Border
- Adhesive For Vinyl Flooring To Concrete
- Teak Wood Vinyl Flooring
- Cheap Vinyl Flooring
Removing vinyl flooring is not an easy task, especially if you don’t have the right tools and know-how. But if you take the time to properly prepare and follow these simple tips, you’ll be able to get the job done quickly and with minimal effort.
1. Gather the Right Tools
Before you begin removing old vinyl flooring, you’ll need to make sure that you have all the necessary tools on hand. This includes a utility knife, a putty knife, a pry bar, rubber gloves, safety glasses, a dust mask, and a vacuum cleaner.
2. Measure the Room
Before you start tearing up the old vinyl flooring, it’s important to measure the room so that you know how much material you’ll need to purchase for your new flooring. This will also help you plan the removal process so that you don’t end up with pieces of vinyl left over after the job is done.
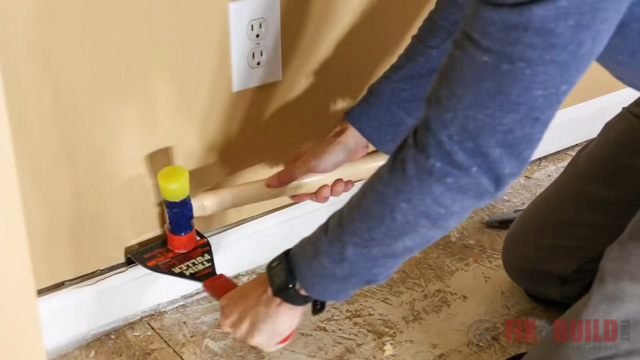
3. Remove the Baseboards
Once you have all of your tools and measurements, it’s time to begin removing the baseboards around the perimeter of the room. Carefully pry away each board using a pry bar and make sure that you don’t damage any of the walls in the process. Once they are removed, take care to save all of the nails and screws so that they can be reused when installing your new flooring.
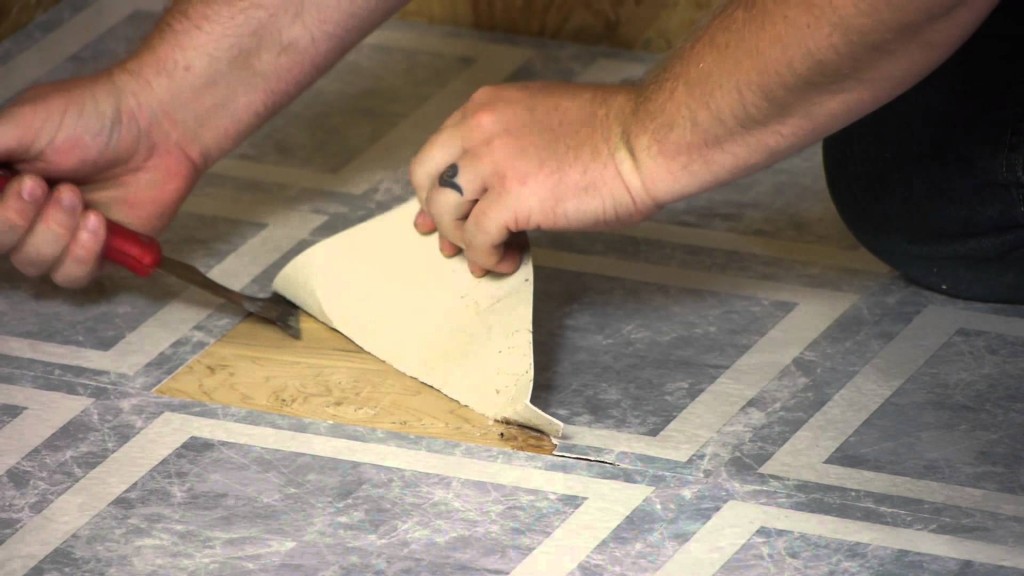
4. Remove any Adhesive
If there is any adhesive remaining on the subfloor after removing the baseboards, use a putty knife or scraper to carefully remove it. If there is any glue remaining on the subfloor, use a solvent designed for removing vinyl adhesive to dissolve it before proceeding with the removal process.
5. Cut Away Any Seams
If there are any seams between different pieces of vinyl flooring, carefully cut them away with a utility knife or by hand if necessary. Make sure that you don’t damage any of the underlying subfloor while doing so.
6. Vacuum Up Debris
After all of the vinyl flooring has been removed from the room, use a vacuum cleaner to clear away any debris that may still remain on the subfloor. This will help ensure that your new flooring is installed properly and looks great once it’s in place.
7. Dispose of Vinyl Flooring Properly
When disposing of old vinyl flooring, make sure that it is disposed of in accordance with local regulations for hazardous materials or recyclable items depending on your area’s laws. Failing to do so can result in hefty fines or other penalties.
Removing old vinyl flooring doesn’t have to be a daunting task if you take your time and follow these simple tips. With the right preparation and proper disposal practices, you can make this job easy and quick while ensuring that your new floor looks great after installation.