Wood Floor Installation Guide

How to Install Prefinished Solid-Hardwood Flooring in 2020 Laying wood floors, Diy flooring

Guide to Installing Laminate Flooring Installing laminate flooring, Laminate flooring diy

Snap Laminate Wood Flooring LaptrinhX / News
Amazon.com: Hardwood Floor Installation Guide: How to Install 3/4″ Oak Hardwood Flooring eBook

Hardwood Floor Installation – A Step By Step Guide My Decorative

A Complete Guide For Hardwood Floor Installation In Quincy – TONY FLOOR
DIY Flooring: How to Install Hardwood Floors HubPages
Wood Laminate Flooring Installation Instructions – Flooring Blog
engineered-wood-flooring-installation-guide Maintenance

DIY Wood Flooring Installation Guide – Wood and Beyond Blog

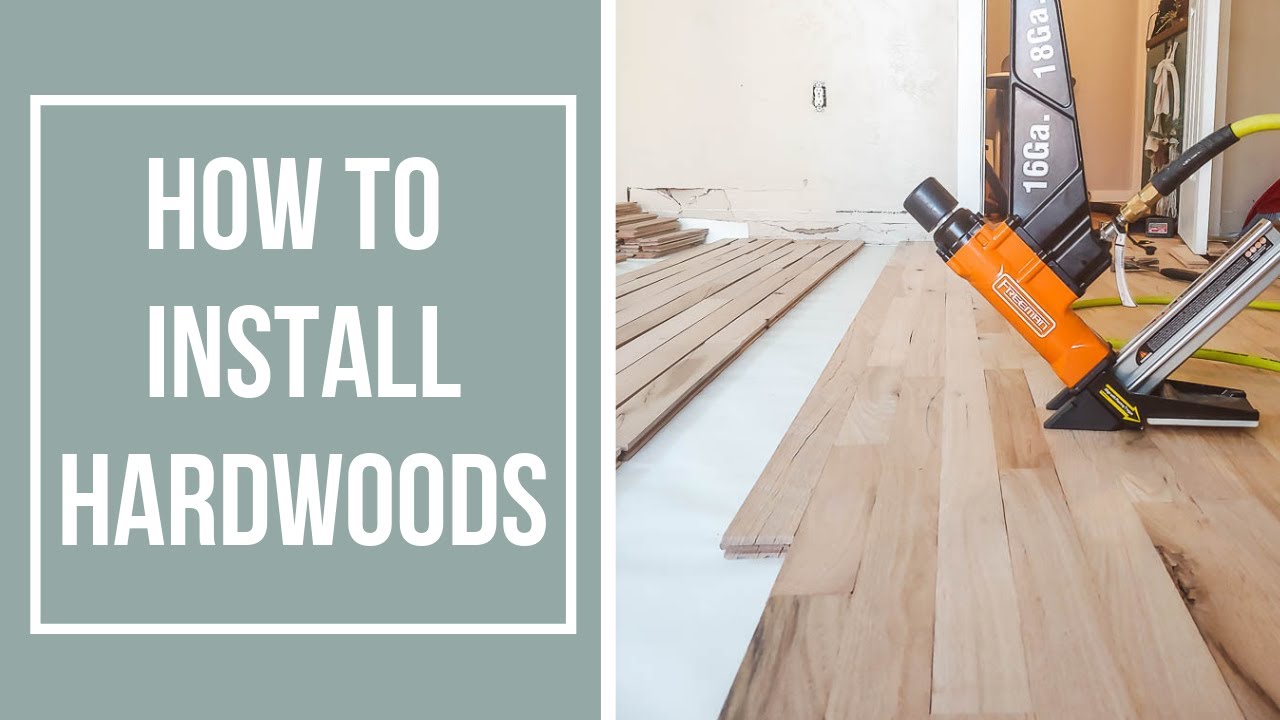
How To Install Hardwood Floors – YouTube
Related Posts:
- Grey Parquet Wood Flooring
- How To Install Pergo Wood Flooring
- Dark Black Wood Flooring
- Solid Wood Flooring White
- Pallet Wood Flooring Ideas
- Wood Floor Chevron Pattern
- Wood Flooring Home Ideas
- Wood Floor Filler Resin
- Glossy Wood Flooring Ideas
- Pergo Wood Flooring Installation
# Wood Floor Installation Guide
Are you thinking about installing wood floors in your home? Installing wood floors can be a great way to give your home an updated and modern look, while also providing a comfortable, natural surface to walk on. With so many different types of wood flooring available, it can be difficult to know where to start. This guide will help you understand the basics of wood floor installation, as well as the different types of wood flooring available.
## What You Need to Know Before Installing Wood Floors
Before you begin installing wood floors in your home, there are a few things you should consider. First and foremost, determine what type of subfloor you have in your home. Wood flooring can be installed on concrete, plywood, or a combination of both. Once you know what type of subfloor you have, you can decide which type of wood flooring is best suited for your home.
You should also familiarize yourself with the different types of wood flooring available. Hardwood flooring is one of the most popular choices for homeowners because it is durable and easy to maintain. However, there are also other options such as laminate and engineered wood flooring that are more affordable and easier to install.
Finally, make sure you have all of the necessary tools and materials before beginning your project. Depending on the type of flooring you choose, you may need a variety of tools such as saws, sanders, and nail guns. You will also need to purchase the correct type of adhesive for your flooring and any other materials needed to complete the installation.
## Types of Wood Flooring
When it comes to selecting the right type of wood flooring for your home, there are several options available. Here is an overview of some of the more common types:
– Hardwood: Hardwood is one of the most popular types of wood flooring due to its classic look and durability. It is also relatively easy to install and maintain. The most common hardwood species used in flooring include oak, maple, cherry, walnut, mahogany and hickory.
– Engineered Wood: Engineered wood is a more affordable option than hardwood and is made from several layers of plywood that are pressed together. It is more resistant to moisture than hardwood and is often used in basements where moisture levels may be higher than normal.
– Laminate: Laminate is made from several layers of plastic that are fused together to create a durable surface that looks like real wood. It is one of the most affordable options available and is relatively easy to install.
– Bamboo: Bamboo is quickly becoming one of the most popular types of wood flooring due to its eco-friendly nature and affordability. Bamboo floors are slightly softer than hardwoods but still offer plenty of durability.
## Installation Tips & Techniques
Once you’ve selected the right type of wood flooring for your home, it’s time to begin installation. Here are some tips and techniques for installing wood floors:
– Make sure the subfloor is clean and level before beginning installation. Any bumps or uneven areas should be filled in with a leveling compound prior to installation.
– If using hardwood floors, make sure they are acclimated before installation by allowing them to sit in the space for at least 48 hours prior to installation. This will help ensure that the boards do not shrink or expand after installation due to changes in temperature or humidity levels in the space.
– If installing over concrete subfloors, make sure they are tested for moisture content before proceeding with installation as too much moisture can cause damage to the boards over time.
– Use an adhesive specifically designed for use with wood floors when installing over plywood or concrete subfloors as this will help ensure a secure bond between the boards and subfloor.
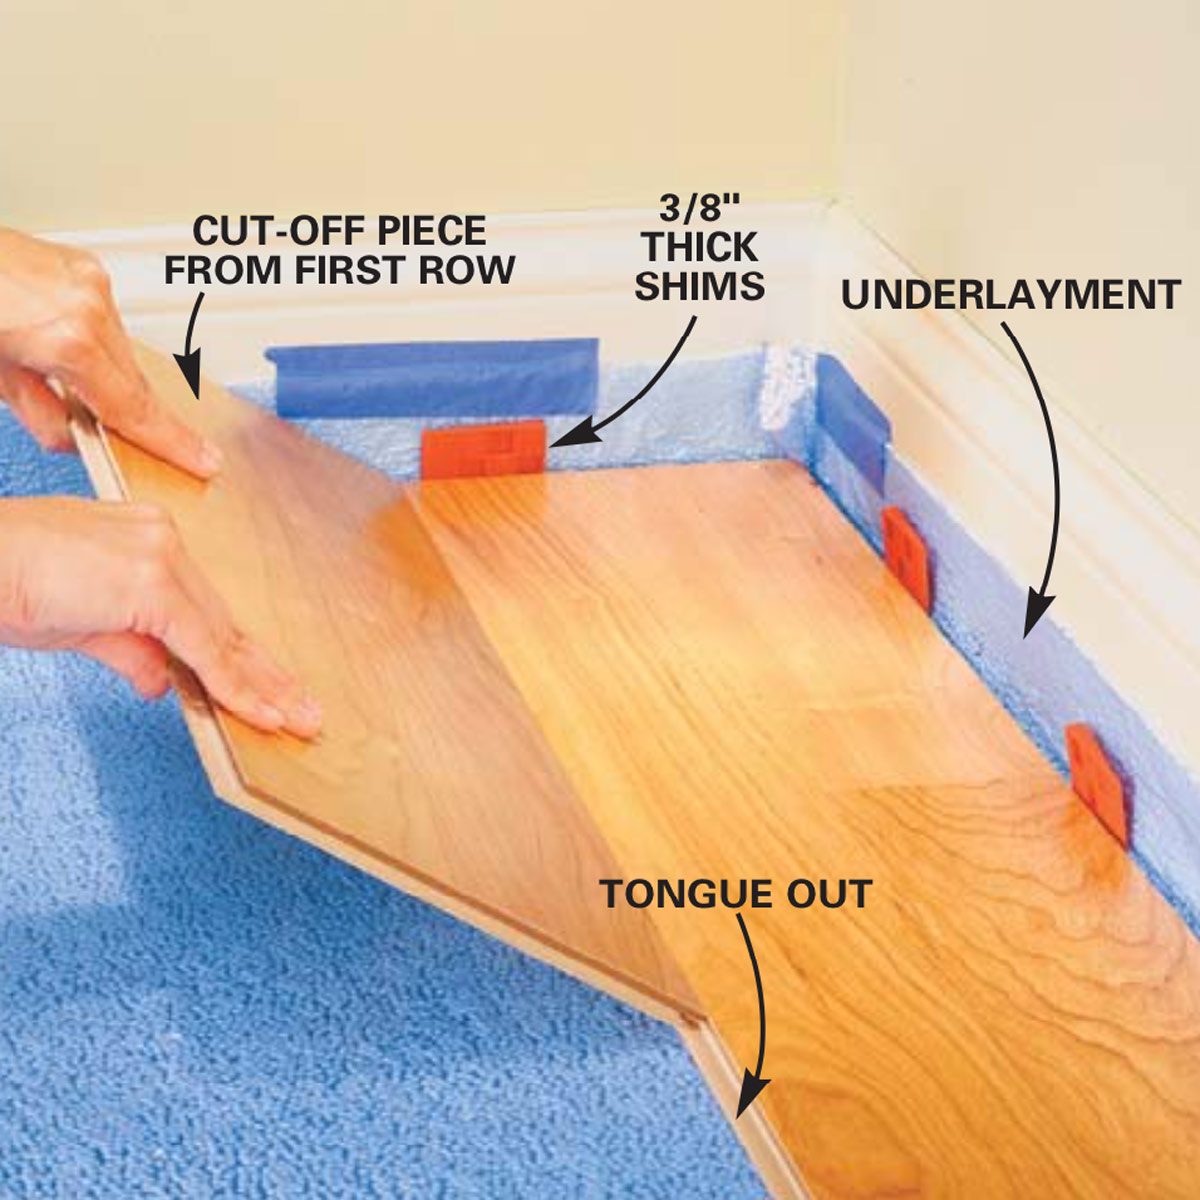
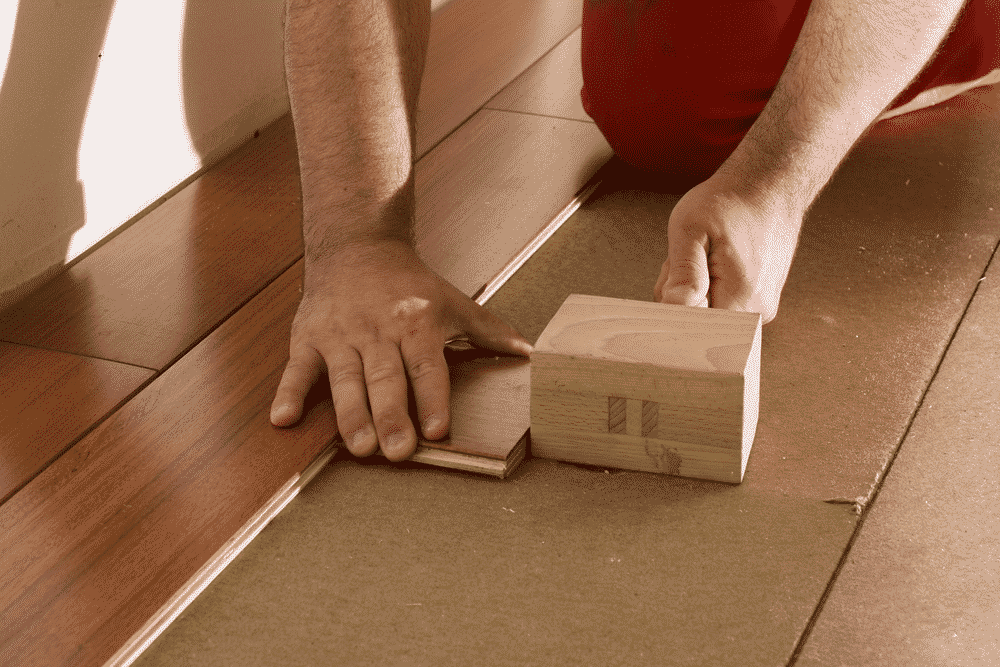
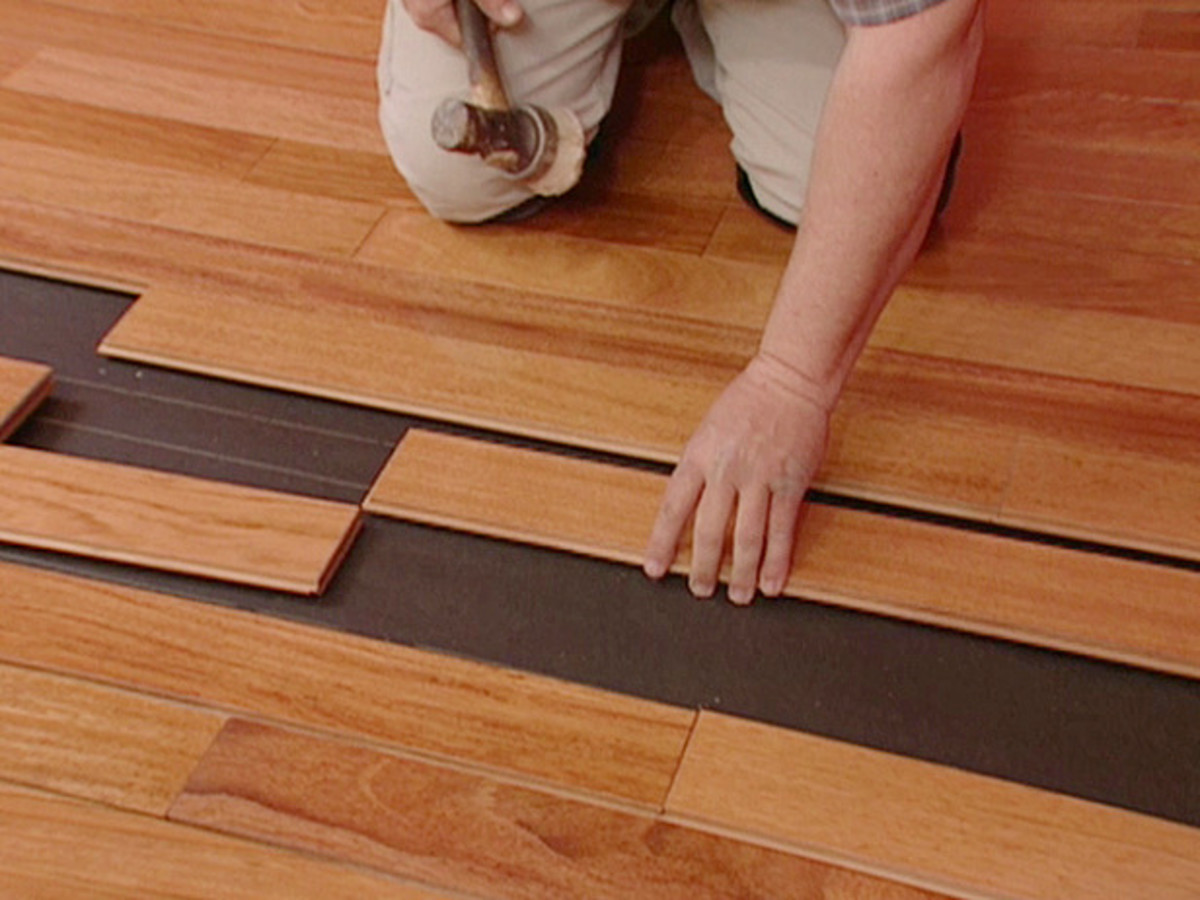
– Always use a tapping block when nailing down boards as this will help prevent damage from occurring due to hammer blows directly onto the boards themselves.
– When cutting boards for fitment around doorways or other tight spaces, always use a jigsaw with a fine tooth blade as this will help minimize splintering or damage when making cuts in tight spaces.