Cork Flooring Installation Video
Diy Cork Flooring Installation – Clsa Flooring Guide
Cork Flooring Over Concrete Slab – Flooring Guide by Cinvex
How Much Does Cork Flooring Installation Cost in 2022? Checkatrade
How to Install Cork Flooring – (Tips and Guidelines For Your DIY Project)

Cork Flooring How To Install – Flooring Site

How to Install Natural Cork Flooring how-tos DIY

Cork Flooring Installation Tips and Strategies to Consider – Nyingma Volunteer

Cork Flooring Installation Floor installation, Cork flooring, Tile installation

Cork Installation
How to Install Cork Flooring DoItYourself.com
Cork flooring installation Floor installation, Cork flooring, Building design

Related Posts:
- Glue Down Cork Flooring
- Cork Flooring for Exercise Room
- What Are The Benefits Of Cork Flooring
- Cork Flooring in Laundry Room
- Scandia Plank Cork Flooring
- Cork Floors That Look Like Hardwood
- How To Paint Cork Flooring
- Cork Flooring Renovation
- Cork Flooring Interior Design
- Natural Cork Flooring Ideas
Cork flooring is becoming increasingly popular due to its ability to provide a beautiful, natural look that is also comfortable and warm underfoot. Cork flooring is an ideal choice for any home or business because it is both durable and easy to install. In this article, we will provide an overview of the installation process for cork flooring, as well as a link to a helpful video that illustrates each step of the installation process.
## What Is Cork Flooring?
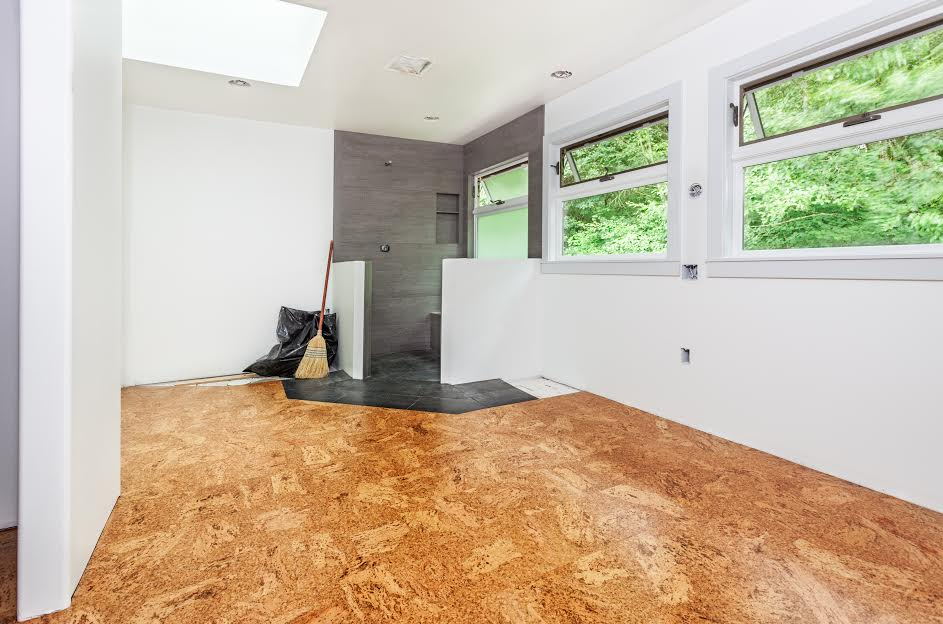
Cork flooring is made from the bark of a cork oak tree and is unique in its ability to absorb sound, making it great for high-traffic areas. It is also resistant to mold and mildew, making it an ideal choice for bathrooms and kitchens. Cork flooring comes in a variety of colors and styles, so there is sure to be something to match any décor.
## Benefits of Installing Cork Flooring
Installing cork flooring can offer several benefits for any space. The material is naturally resistant to water, making it a great option for bathrooms or kitchens. It is also easy to clean and maintain, as it does not require special treatments or waxes. Additionally, cork flooring offers superior insulation qualities compared to other materials, making it ideal for colder climates.
## Preparing for Installation
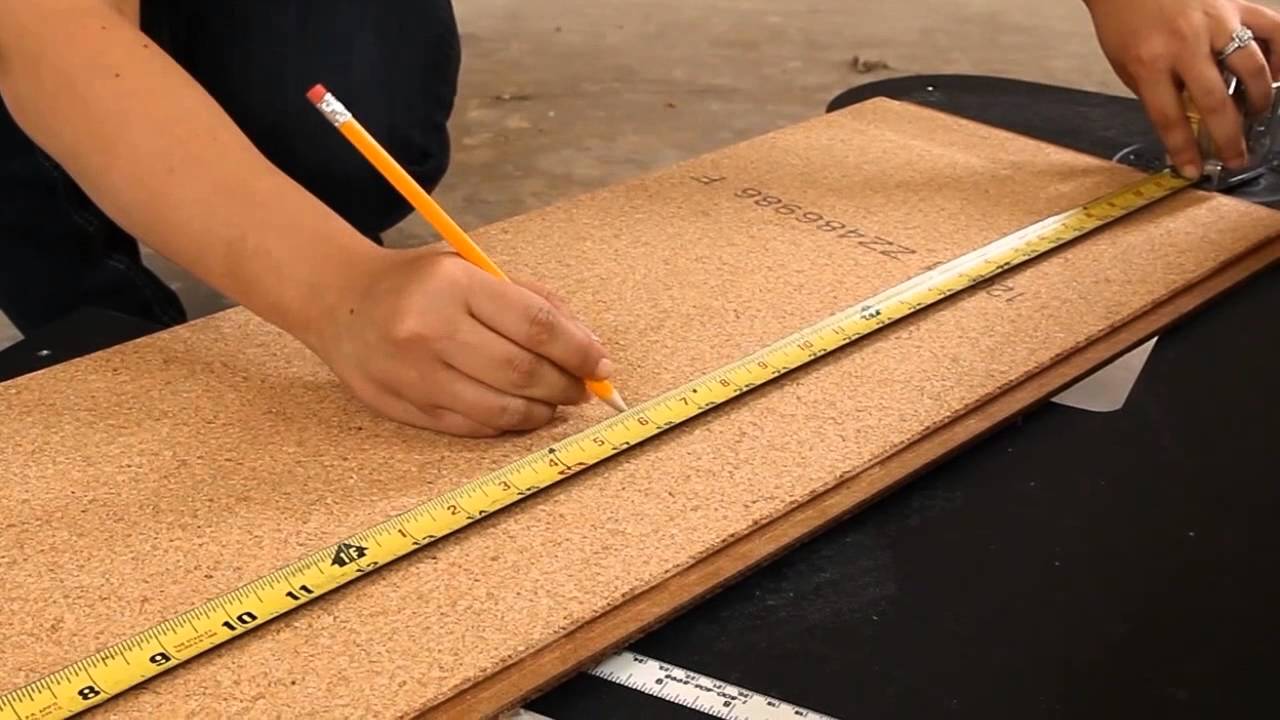
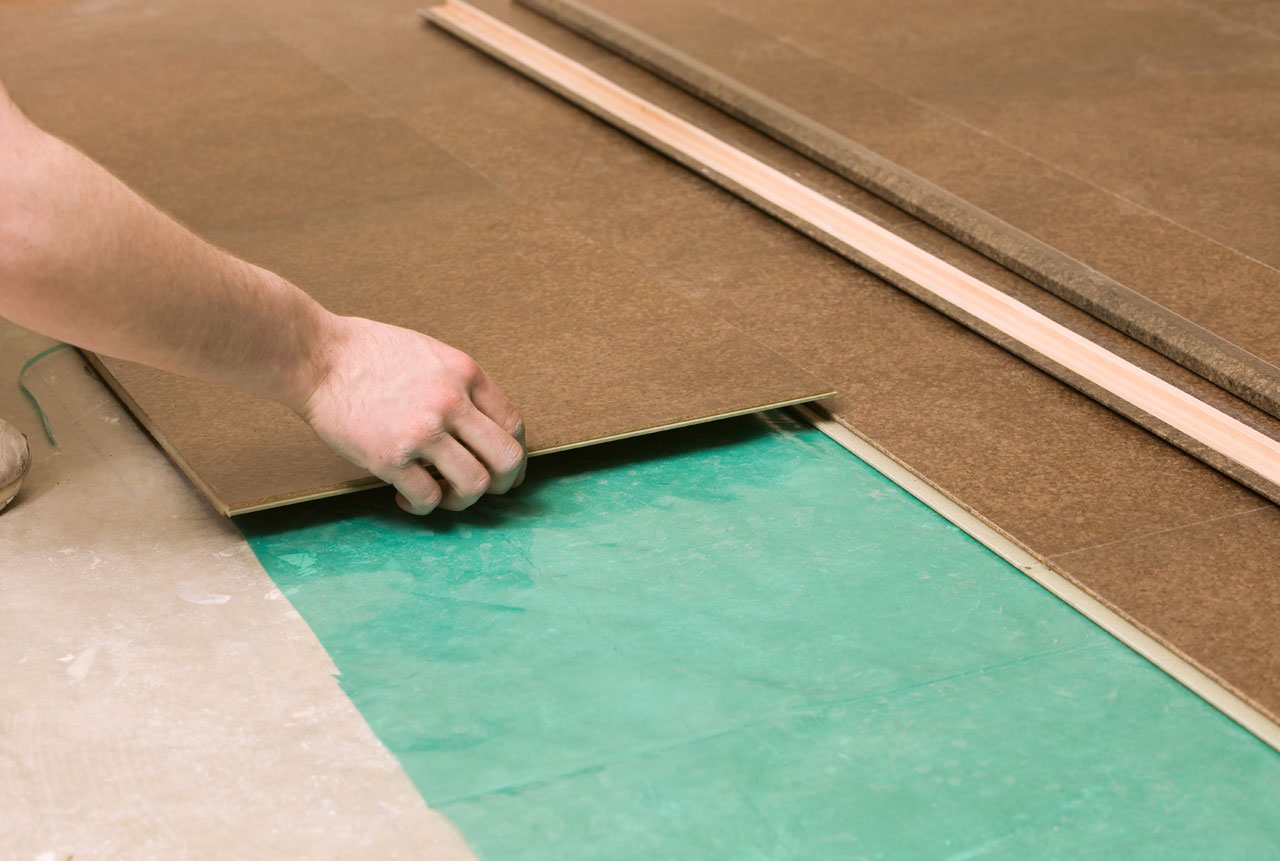
Before starting the installation process, make sure that the subfloor and surrounding area are clean and dry. A moisture meter should be used to ensure that the subfloor does not exceed 6-9% moisture content. Any existing material on the subfloor should also be removed prior to beginning the installation process.
## Installing Cork Flooring
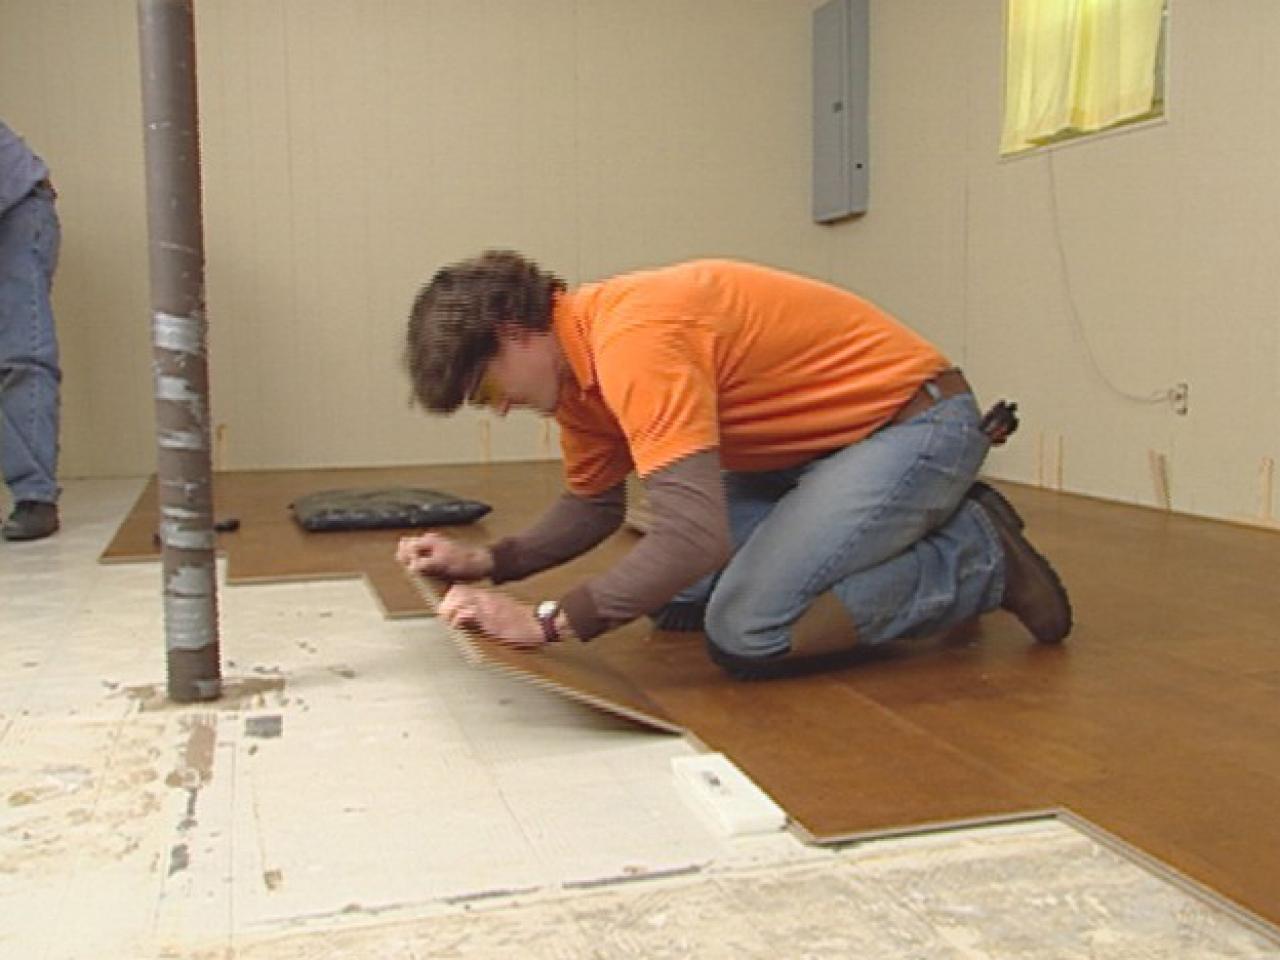
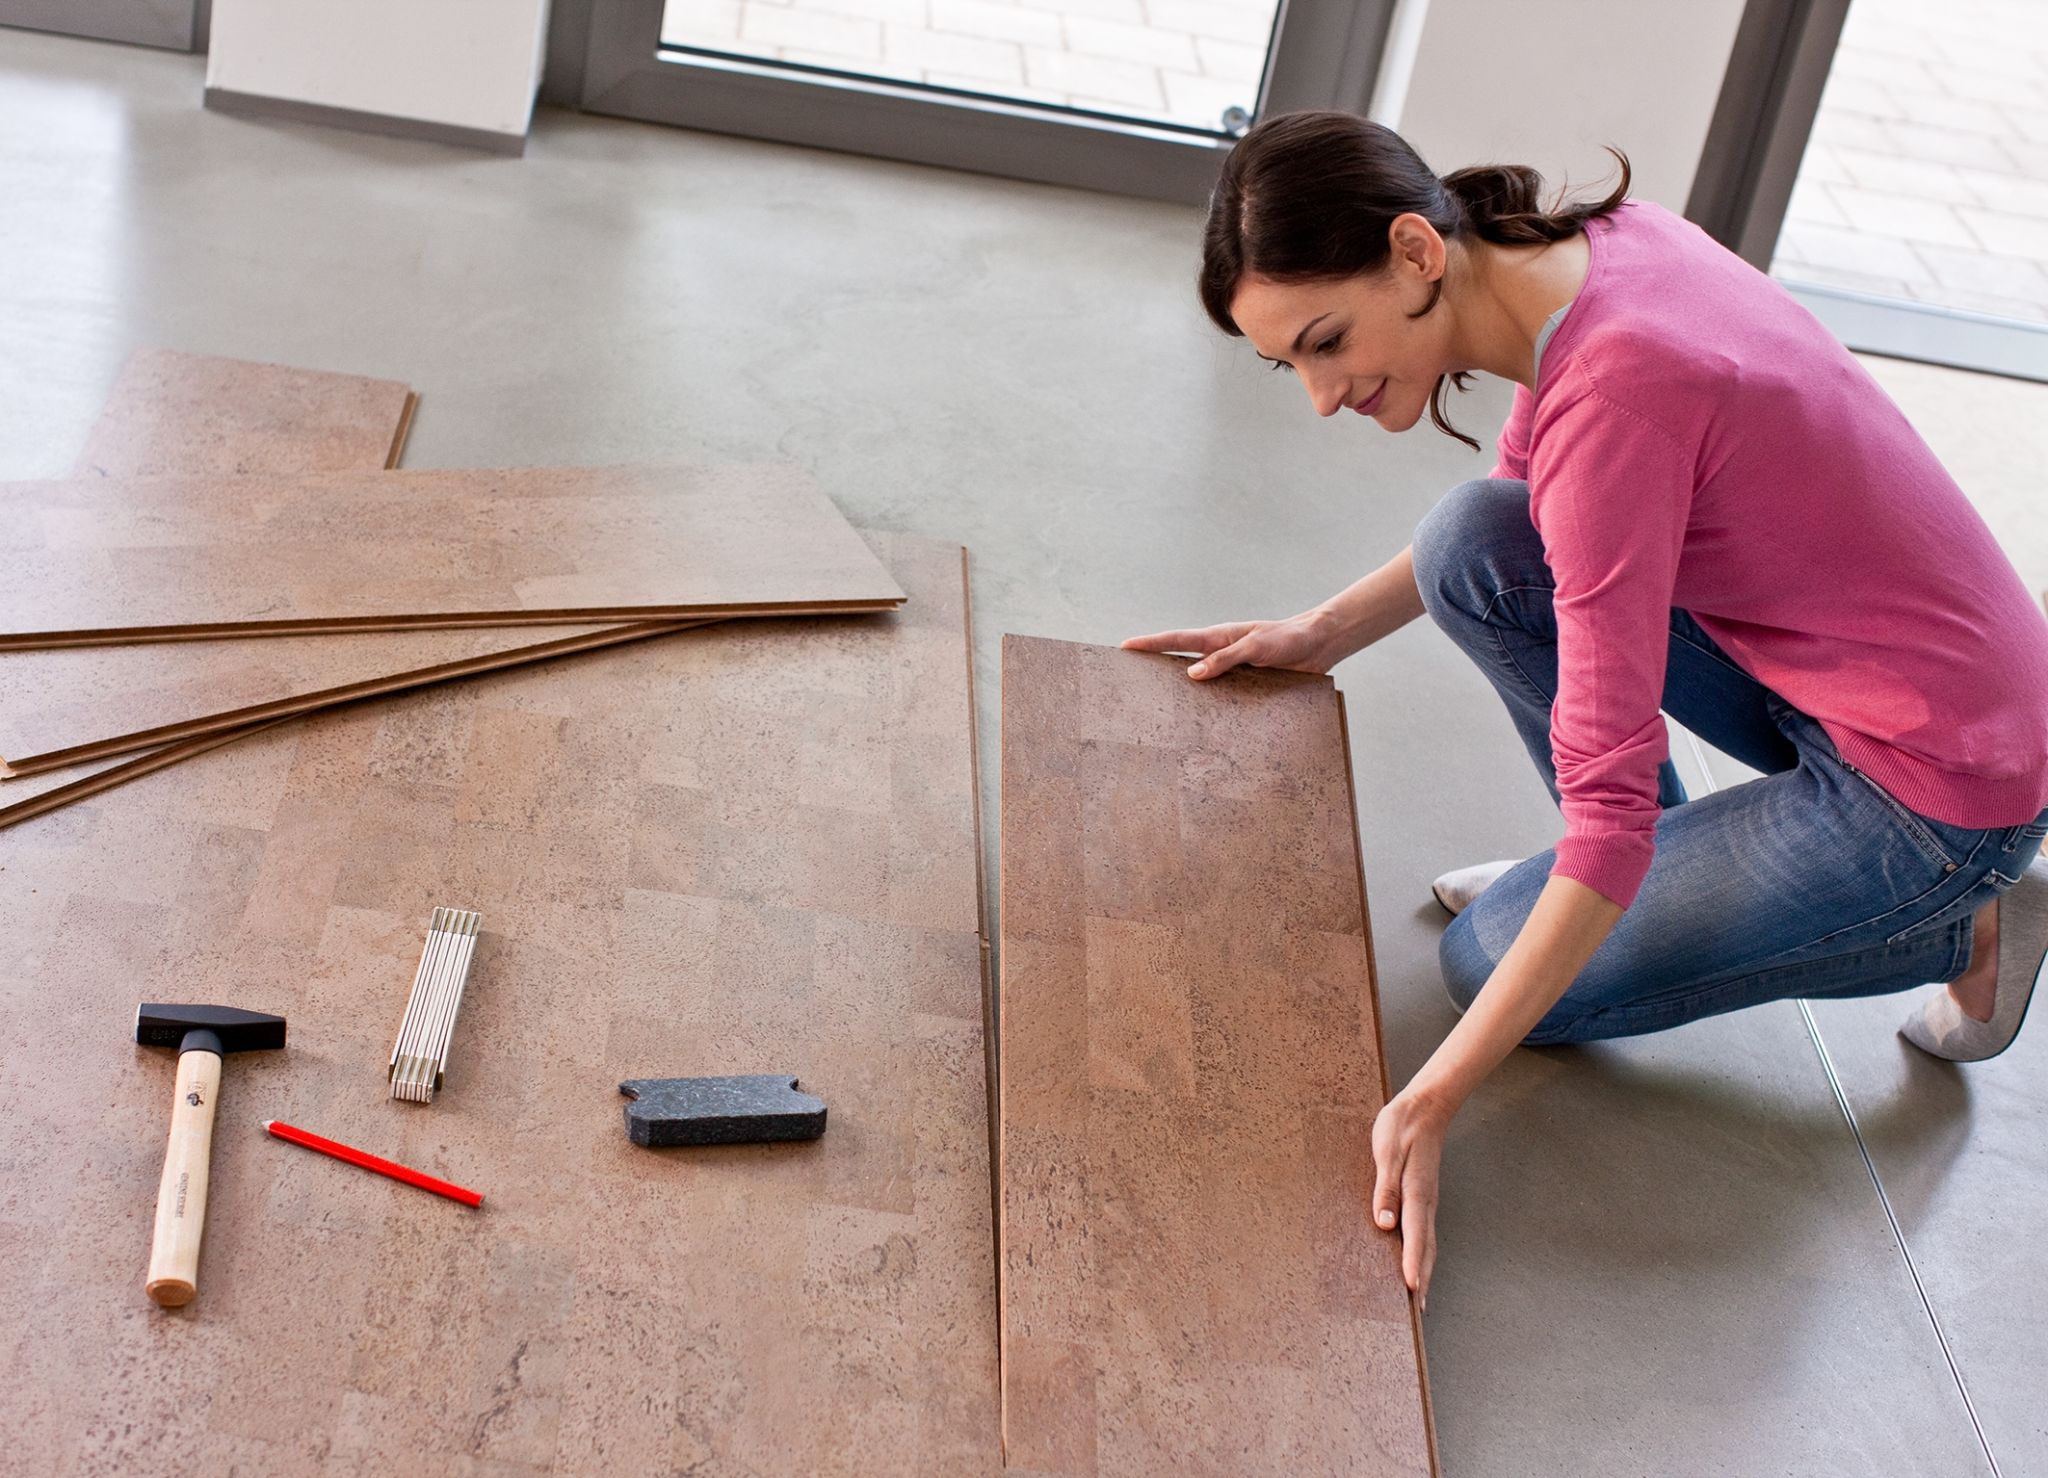
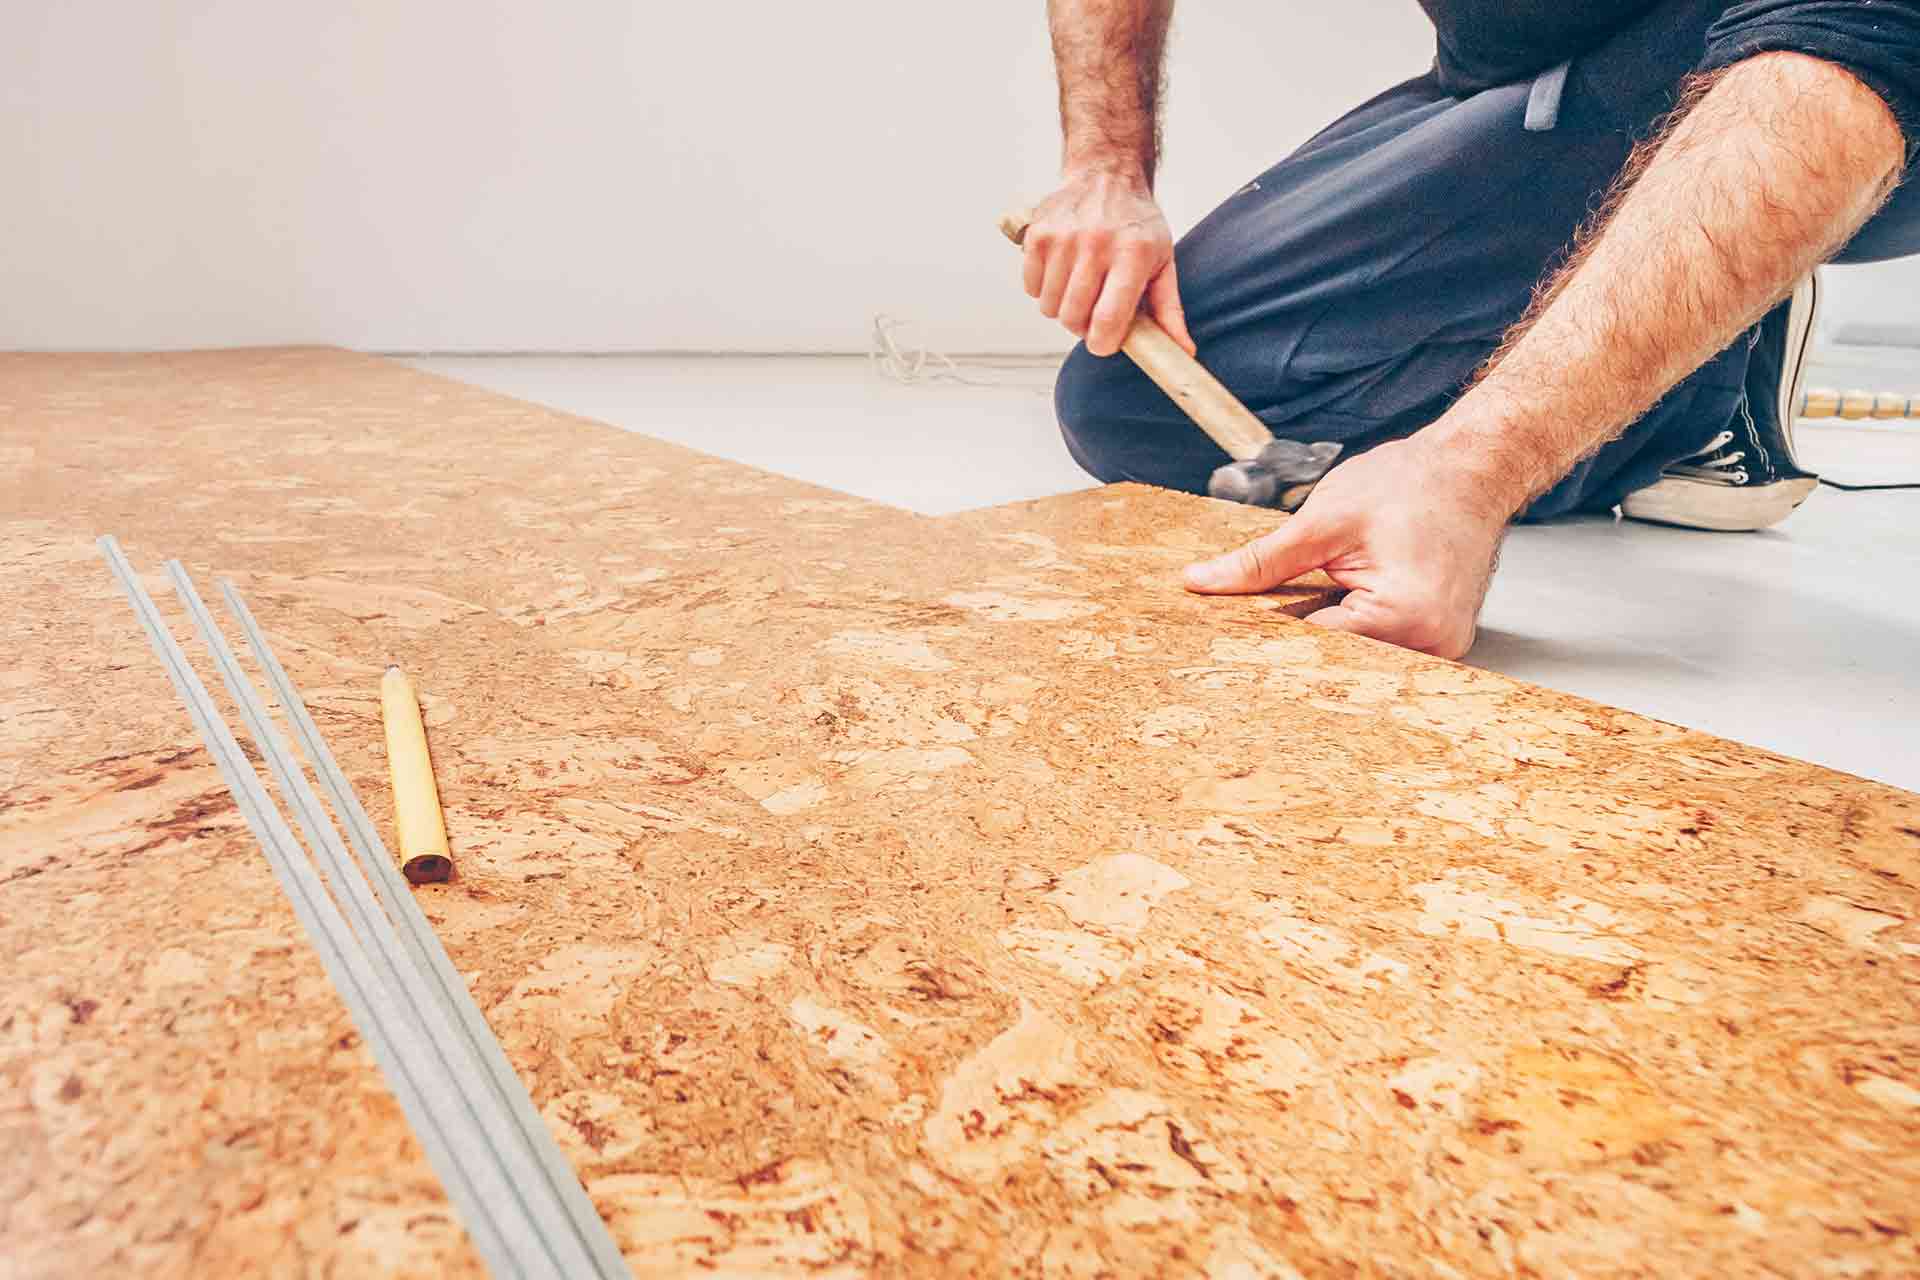
Once the subfloor has been adequately prepared, it’s time to begin laying down the cork planks or tiles. For best results, start in one corner of the room and work outward in straight rows. When laying down the planks, make sure that there is an expansion gap of at least ¼ inch around all four sides of the room. This will help ensure that the floor has room to expand and contract with changes in temperature and humidity levels.
## Finishing Up
Once all of the cork planks or tiles have been laid down, use a roller or weighted object to make sure that they are securely adhered to the subfloor. If using glue-down tiles or planks, use a trowel to spread adhesive evenly across the back of each piece before laying it down on the subfloor. Finally, once all of the pieces have been laid down and secured, allow them 24 hours to fully dry and cure before walking on them or placing furniture back into the room.
## Watch a Video On How To Install Cork Flooring
If you would like more guidance on installing cork flooring in your home or business, watch this helpful video that illustrates each step of the installation process: [Cork Flooring Installation Video](https://www.youtube.com/watch?v=P6gKAMOoLZY). This video will provide tips on how to properly prepare your subfloor, layout your cork planks or tiles, and finish up with rolling or adhering them into place. With this video as a guide, you will be able to successfully install your cork floor in no time!