Installing Your Peel-and-Stick Vinyl Tile Floor – YouTube

most-durable-kitchen-flooring-linoleum-flooring-kitchen-furniture-install-linoleum-vinyl

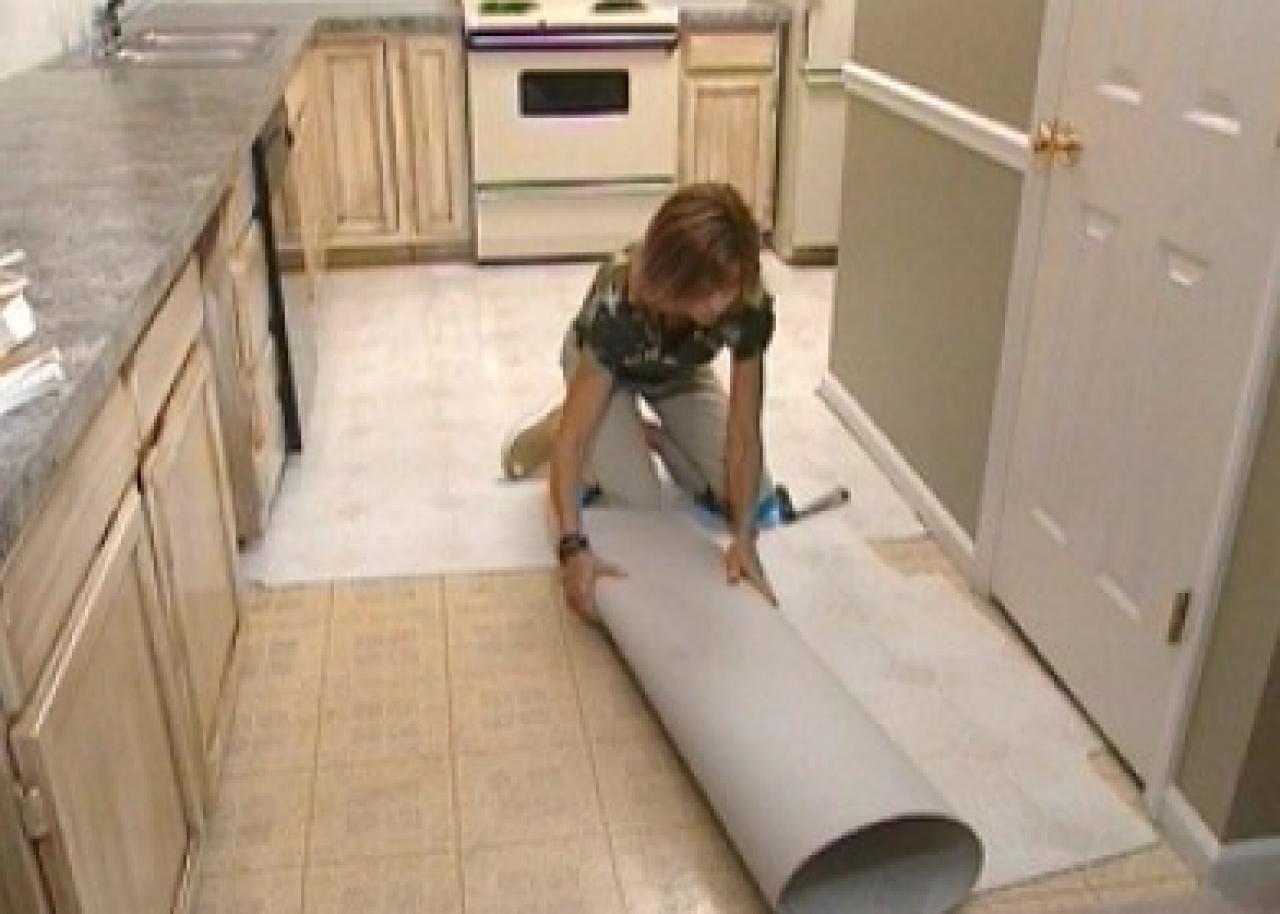
laying vinyl floor Laying vinyl flooring, Vinyl sheet flooring, Diy flooring

How To Install Vinyl Tile Flooring On Plywood – install laminate over vinyl flooring

How To Install Vinyl Tiles for your floor – YouTube

How to Cut In and Install A Vinyl Floor – YouTube

How to Cut In and Install A Vinyl Floor – YouTube
How to Install Luxury Vinyl Plank Flooring – YouTube
How To Lay Down Vinyl Flooring Without Removing Baseboards – how to remove old vinyl floor glue
Luxury Vinyl Tile Installation The Family Handyman
How to Install a Tile Floor In a Kitchen how-tos DIY
How To Lay Vinyl Flooring Over Existing Vinyl – a good glue to hold vinyl flooring tiles down

Related Posts:
- Small Kitchen Floor Plan Ideas
- Laminate Flooring In Kitchen
- Black Slate Tile Kitchen Floor
- How To Lay Tile In Kitchen Floor
- Red Kitchen Floor
- Cheap Kitchen Laminate Flooring
- Decorative Kitchen Floor Mats
- Contemporary Kitchen Flooring Ideas
- Kitchen Ceramic Tile Floor
- Quarry Tile Kitchen Floor
## How To Install Kitchen Vinyl Floor Tiles
Installing kitchen vinyl floor tiles can be a great way to give your kitchen a makeover while saving money at the same time. Vinyl floor tiles are easy to install, durable and come in a variety of styles and colors to suit any decor. Whether you’re looking to replace old, worn-out floors or want to upgrade the look of your kitchen, installing vinyl floor tiles is a great way to go.
### Gather Necessary Materials
Before starting any flooring project, it’s important to make sure you have all the necessary materials. For vinyl floor tile installation in your kitchen, you’ll need:
– Tape measure
– Pencil
– Utility knife
– Notched trowel
– Floor adhesive
– Vinyl floor tiles
– Grout
– Sponge
– Bucket
– Putty knife
– Spacer blocks
These materials will ensure that your kitchen vinyl floor tile installation goes smoothly and without any major issues.
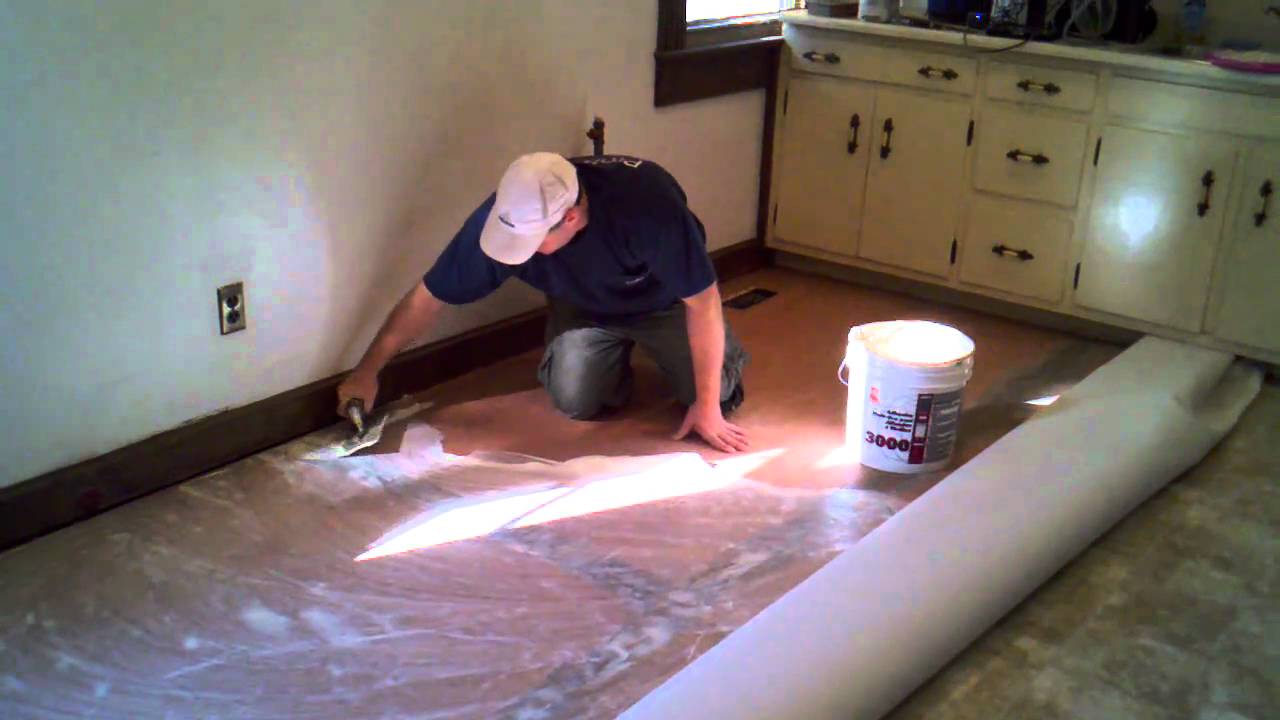
### Preparing the Subfloor
In order for your floor tile installation to be successful, it’s important that the subfloor is properly prepared. Check for any bumps or depressions in the subfloor and use a putty knife to level them out. Sweep away any dust and debris before applying the adhesive. Make sure the subfloor is clean and dry before you start the installation process.
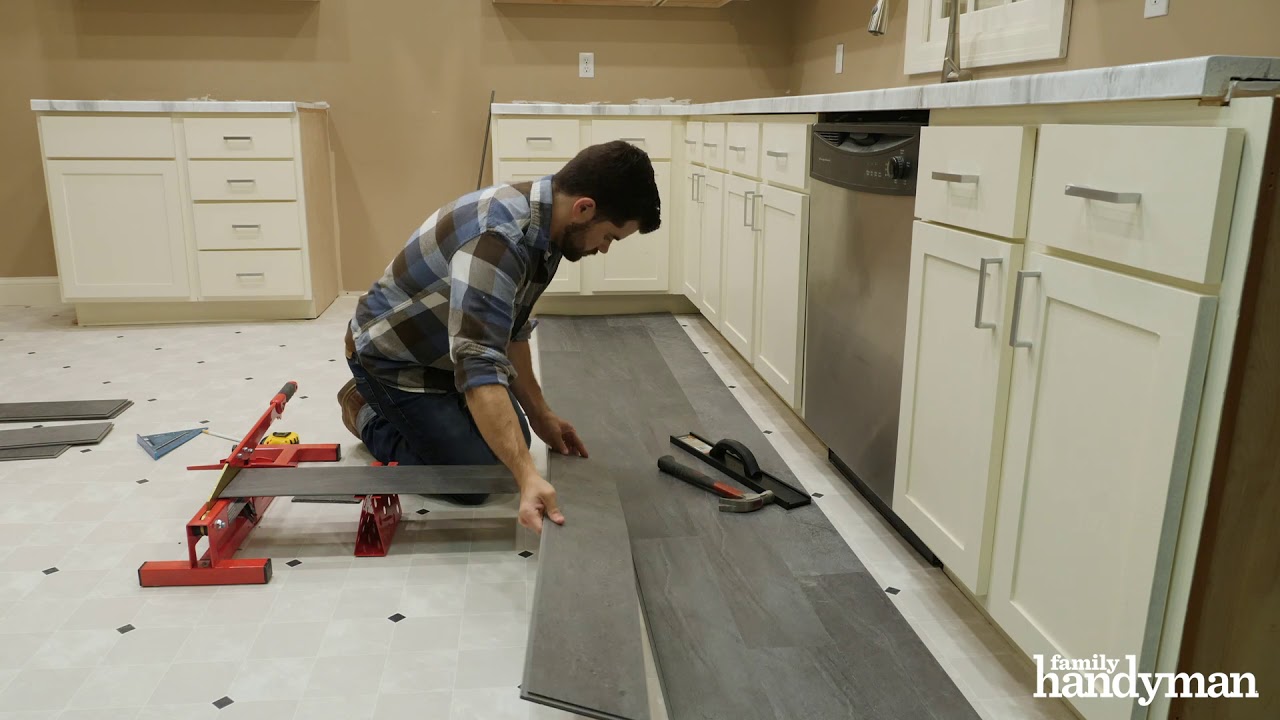
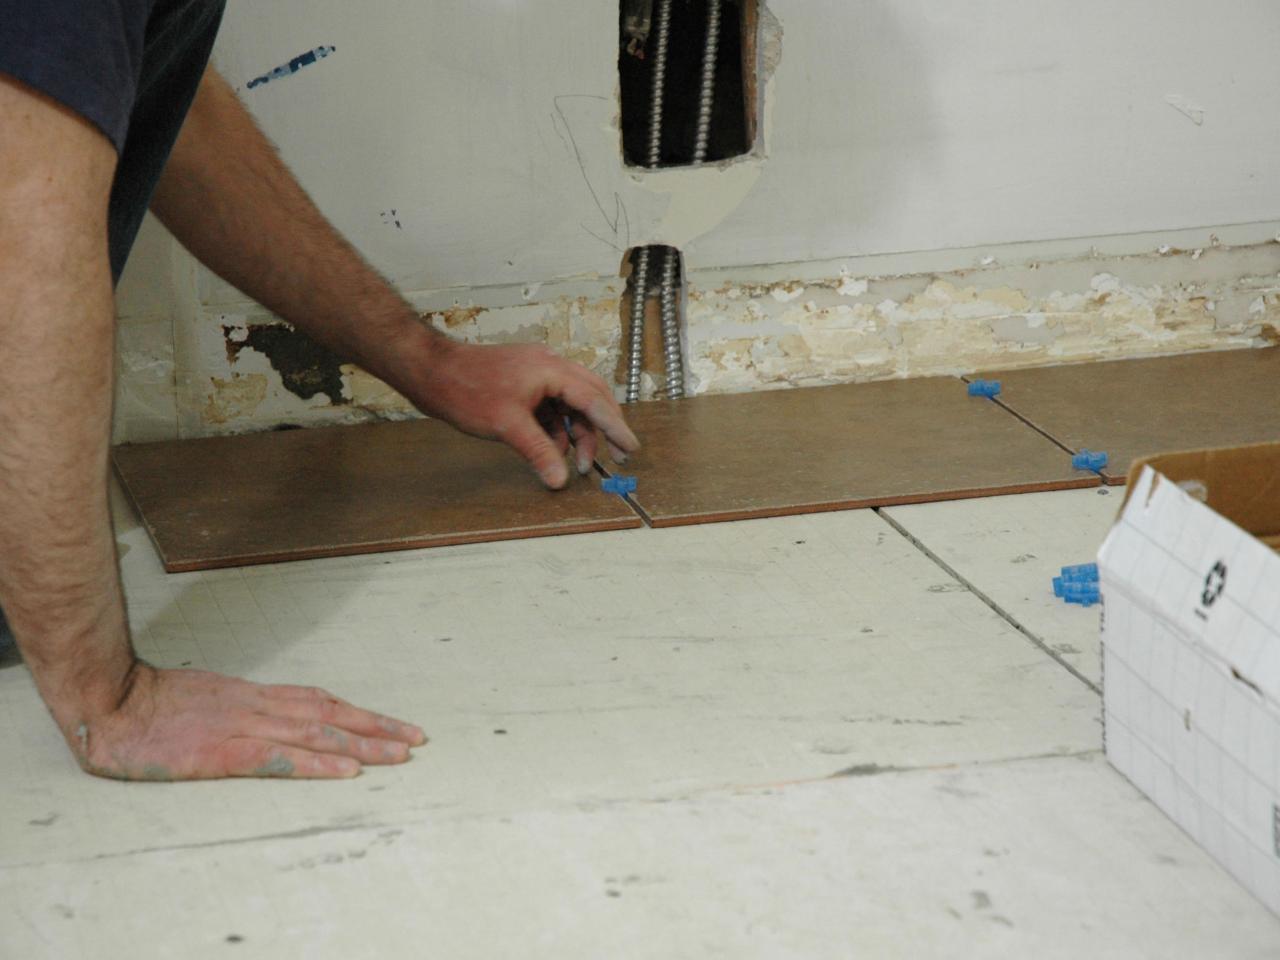
### Laying Out the Tiles
Once the subfloor is prepped, it’s time to begin laying out your vinyl floor tiles. Start by measuring the room and determining how many tiles you need. Be sure to factor in a few extra tiles in case of mistakes or damage. Use spacer blocks to create even spacing between each tile and lay them out on the floor. This will help ensure that everything fits together properly when it comes time to install them.
### Applying Adhesive and Installing Tiles
Once you’ve laid out all your tiles, it’s time to apply the adhesive and begin the installation process. Using a notched trowel, spread adhesive over a small section of the floor before placing down the first tile. Press firmly on each tile to ensure that it adheres properly to the adhesive and repeat this process until all tiles are installed. Let the adhesive dry overnight before moving on to grouting.
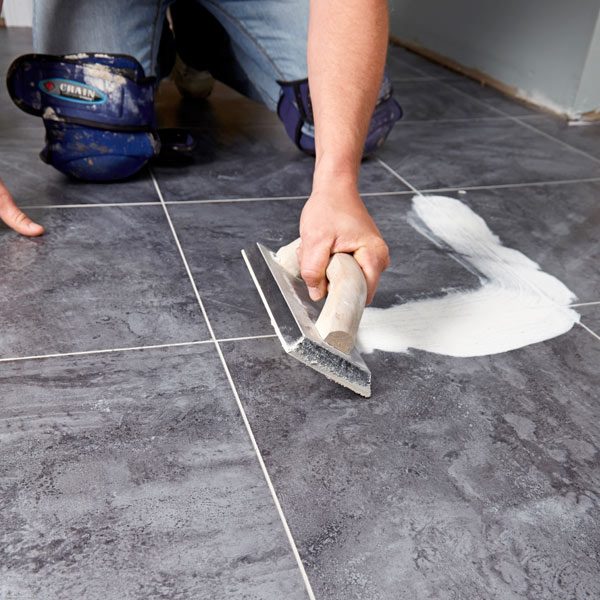
### Grouting and Finishing Up
Once everything is dried up, it’s time for grouting. Apply grout along the seams between each tile using a putty knife or trowel and use a damp sponge to wipe away any excess grout from the surface of the tiles. When all seams are filled with grout, let everything dry for 24 hours before walking on it or moving furniture back into place.
Installing kitchen vinyl floor tiles may seem like a daunting task but with the right materials and preparation, it can be done quickly and easily with great results! With these tips, you can give your kitchen an affordable makeover that will last for years!