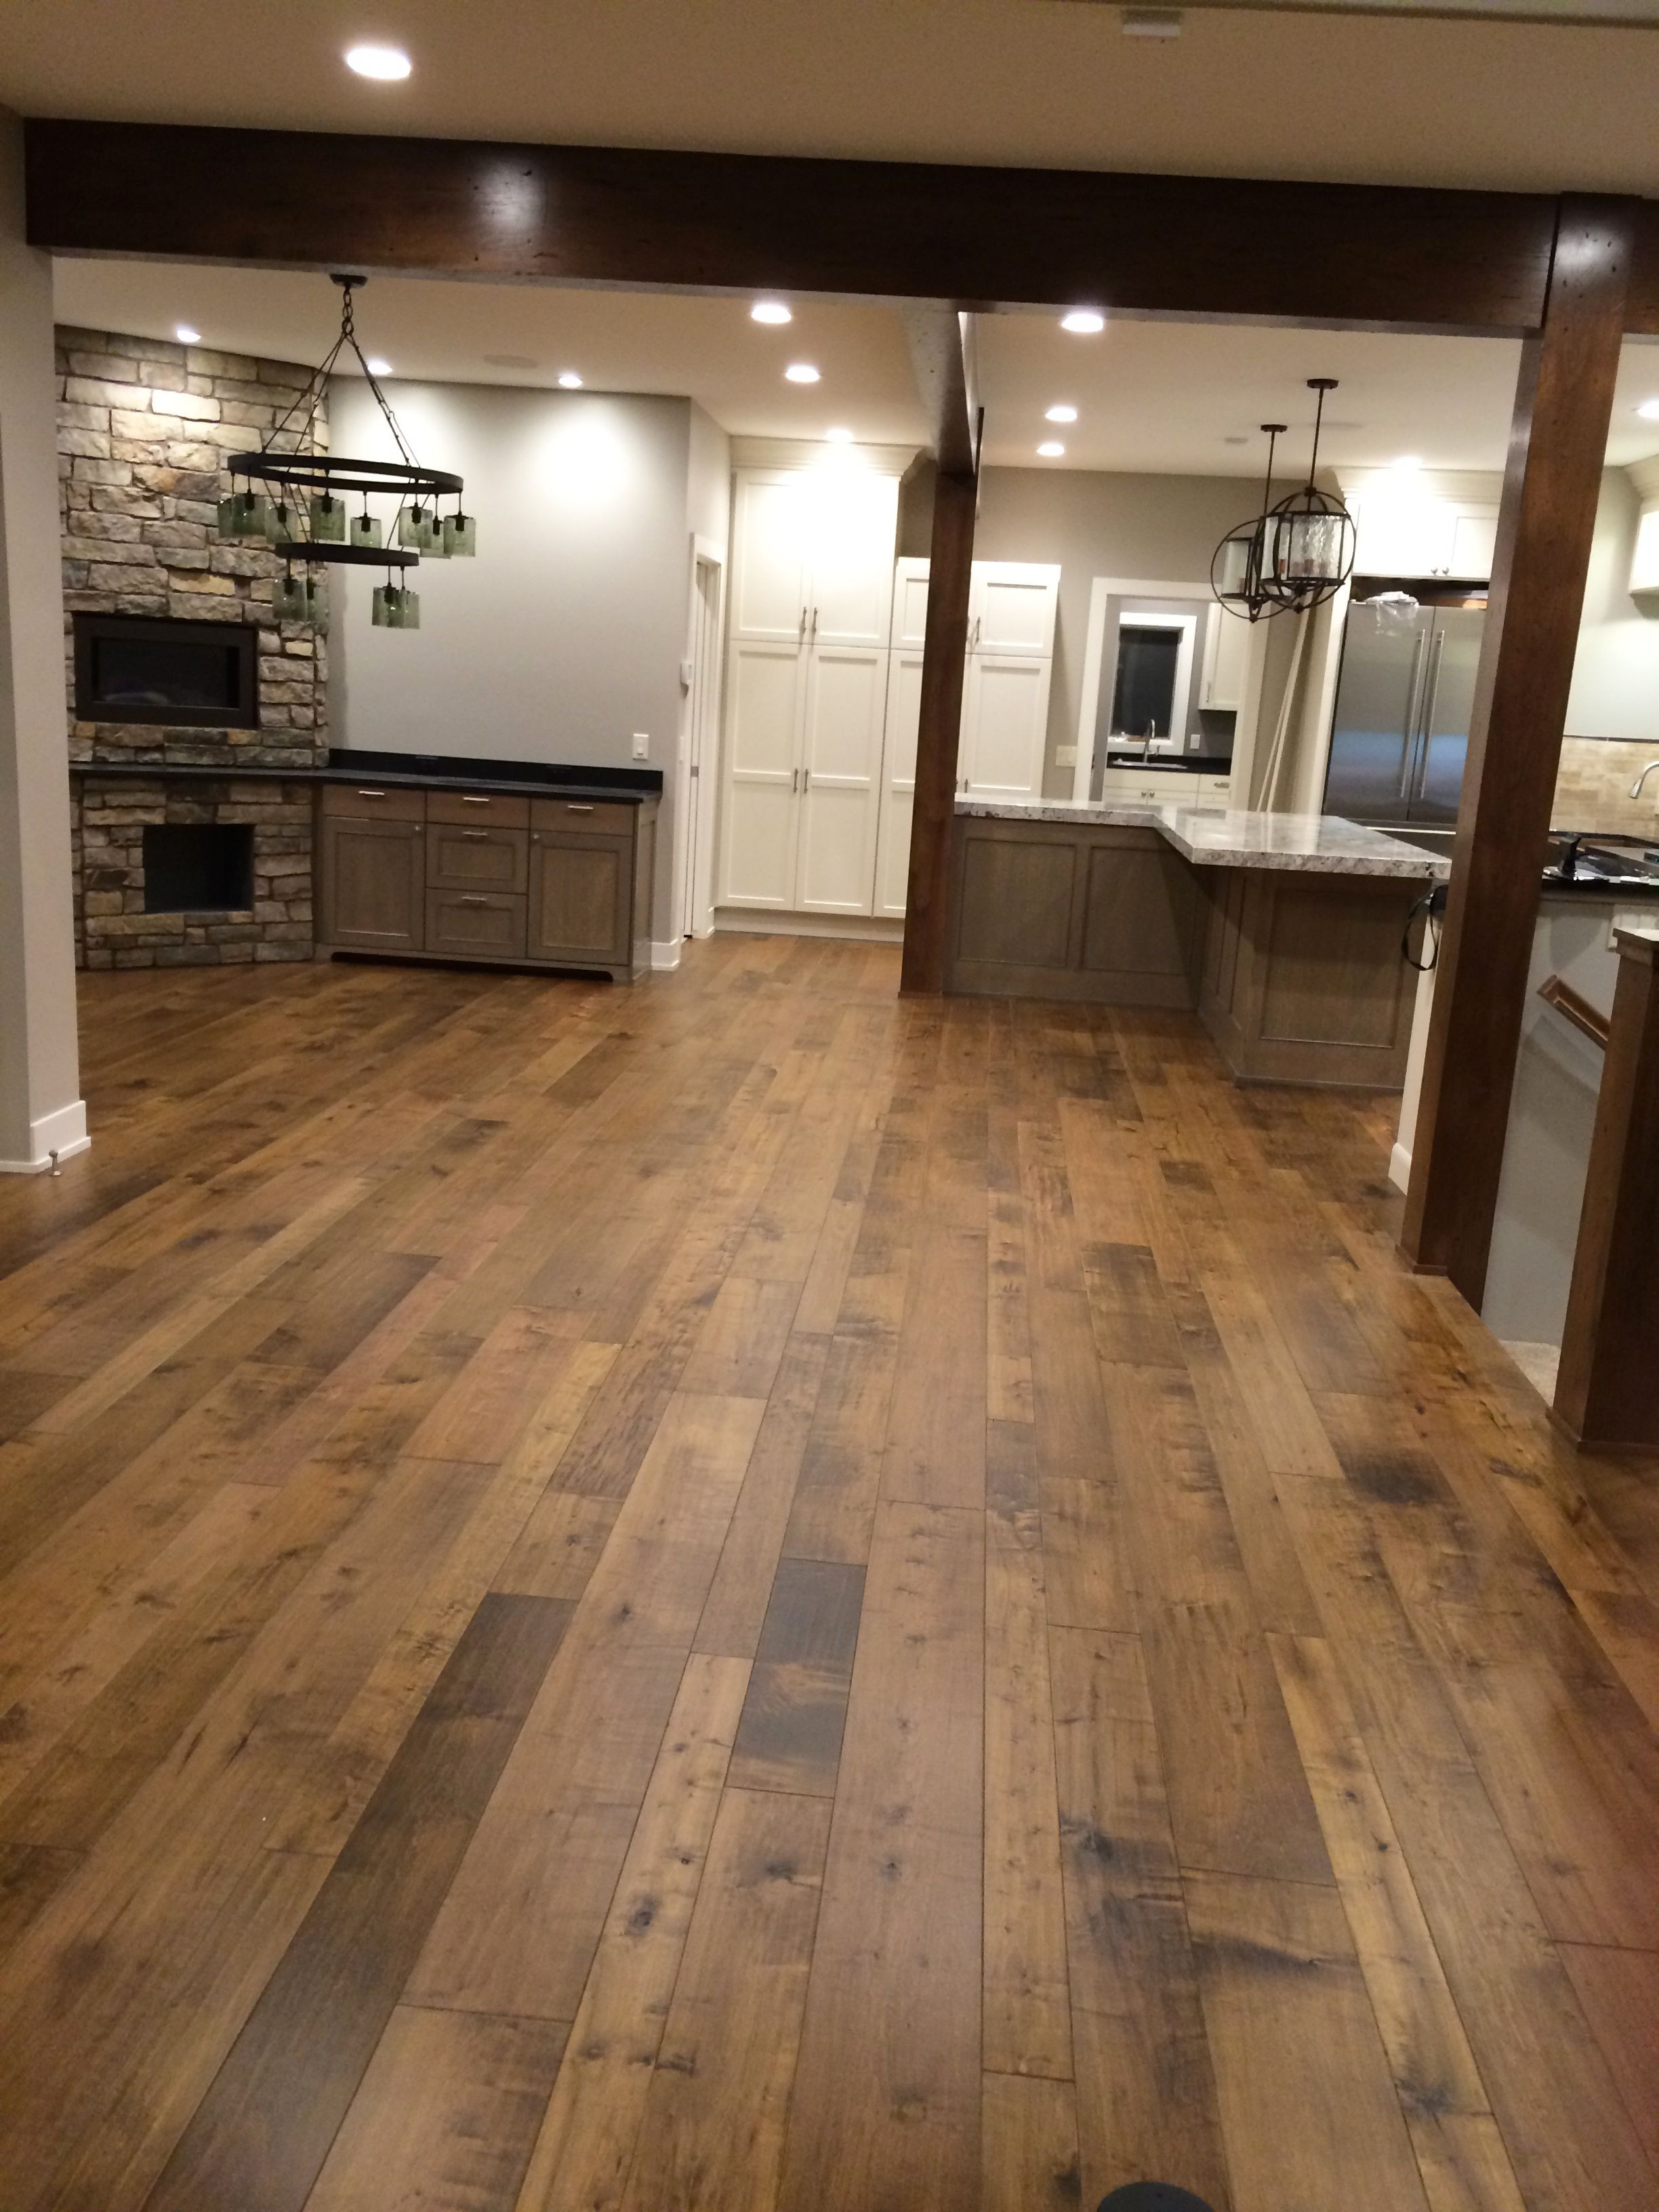
Engineered wood flooring offers the aesthetic appeal of hardwood combined with enhanced durability and stability. When it comes to installing this type of flooring over concrete, using glue as an adhesive can be an effective method. This guide provides detailed insights into the process, ensuring a successful installation.
Understanding Engineered Wood Flooring
Engineered wood flooring is a versatile and attractive option for many homeowners. Unlike solid hardwood, engineered wood is constructed from multiple layers of wood veneer. This layered construction gives engineered wood its remarkable stability, making it less susceptible to changes in temperature and humidity compared to solid hardwood.
The top layer, known as the wear layer, is made of genuine hardwood, providing the same visual appeal and texture as solid wood. Beneath the wear layer are multiple layers of plywood or high-density fiberboard (HDF), which are arranged in a crisscross pattern. This configuration helps to counteract the natural tendency of wood to expand and contract with changes in moisture levels.
Engineered wood flooring comes in a variety of finishes, colors, and styles, making it easy to match with different interior designs. Its durability also makes it suitable for high-traffic areas, such as living rooms and hallways. Moreover, engineered wood can be sanded and refinished, though typically not as many times as solid hardwood due to the thinner wear layer.
One of the key advantages of engineered wood flooring is its compatibility with different subfloor types, including concrete. This flexibility makes it a popular choice for installations in basements, over radiant heating systems, and in areas where moisture levels are higher. However, it’s important to follow specific guidelines to ensure a successful installation and long-lasting performance.
When installing engineered wood flooring over concrete, using glue as an adhesive method provides a strong bond and helps to reduce noise. This method also ensures that the flooring stays firmly in place, even in areas with higher foot traffic. In the following sections, we will explore the preparation, adhesive selection, and step-by-step installation process for gluing engineered wood flooring to concrete.
Preparing the Concrete Subfloor
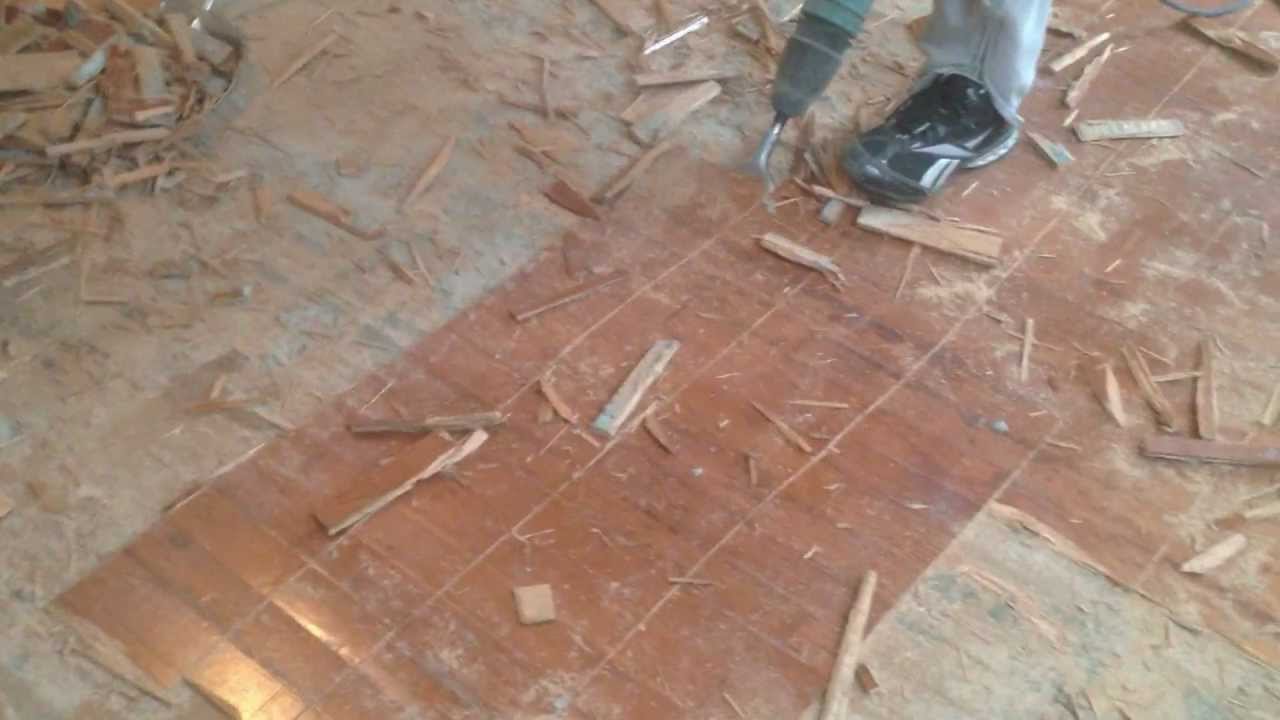
Proper preparation of the concrete subfloor is crucial for a successful installation of engineered wood flooring. This involves several steps, each aimed at ensuring the subfloor is clean, dry, level, and structurally sound.
Firstly, it’s important to thoroughly clean the concrete surface. Any dirt, debris, or old adhesive residues should be removed to ensure a strong bond between the concrete and the engineered wood. This can be achieved using a vacuum, broom, and mop. In some cases, a concrete grinder may be necessary to remove stubborn residues or to smooth out rough patches.
Next, check the moisture levels of the concrete subfloor. Concrete is porous and can hold moisture, which can adversely affect the engineered wood flooring if not properly managed. Use a moisture meter to measure the moisture content of the concrete. The recommended moisture level should be below 4%. If the moisture levels are too high, it may be necessary to use a moisture barrier or a vapor retarder to prevent moisture from seeping into the flooring.

Ensuring that the concrete subfloor is level is another critical step. Use a long straightedge or a level to check for any high or low spots. According to industry standards, the subfloor should be within 3/16 of an inch over a 10-foot span. Any uneven areas should be corrected using a self-leveling compound. This ensures a smooth and even surface for the engineered wood flooring to adhere to.
It’s also essential to inspect the concrete for any cracks or damage. Small hairline cracks can be repaired using a concrete patching compound. However, if there are large cracks or significant structural issues, it may be necessary to consult a professional to assess and repair the damage before proceeding with the installation.
Lastly, ensure that the concrete subfloor is structurally sound and stable. The surface should not have any loose or crumbling areas, and it should be strong enough to support the weight of the engineered wood flooring. Taking these preparation steps seriously will lay the foundation for a durable and long-lasting flooring installation.
Choosing the Right Adhesive
Selecting the appropriate adhesive is a crucial step in the process of gluing engineered wood flooring to concrete. The right adhesive ensures a strong bond, durability, and long-term performance of the flooring. There are several factors to consider when choosing an adhesive, including the type of engineered wood, the condition of the subfloor, and the environmental conditions of the installation site.
Polyurethane adhesives are commonly recommended for gluing engineered wood to concrete. These adhesives are known for their strong bonding properties and flexibility. They can withstand the natural expansion and contraction of wood, reducing the risk of gaps or buckling. Additionally, polyurethane adhesives are moisture-resistant, making them suitable for use in areas with higher humidity levels or where there is a risk of moisture exposure.
Another option is the use of silane-modified polymer (SMP) adhesives. These adhesives offer excellent bonding strength and flexibility, similar to polyurethane adhesives. They also provide moisture resistance and are easy to apply. SMP adhesives are often preferred for their lower volatile organic compound (VOC) emissions, making them a more environmentally friendly choice.

Epoxy adhesives are another viable option, especially for installations over concrete subfloors that may have higher moisture levels. Epoxy adhesives provide a strong and durable bond, and they are highly resistant to moisture. However, they can be more challenging to work with compared to polyurethane or SMP adhesives, requiring careful mixing and application.
When selecting an adhesive, it’s important to consider the manufacturer’s recommendations for the specific engineered wood flooring being installed. Some flooring manufacturers may have specific adhesive requirements to maintain warranty coverage. Always check the product specifications and guidelines to ensure compatibility.
In addition to the type of adhesive, consider the curing time and working time. Some adhesives have longer curing times, which may require a longer wait before the floor can be walked on or used. Working time refers to the period during which the adhesive remains workable and allows for adjustments. Choose an adhesive with a suitable working time for the size and complexity of the installation project.
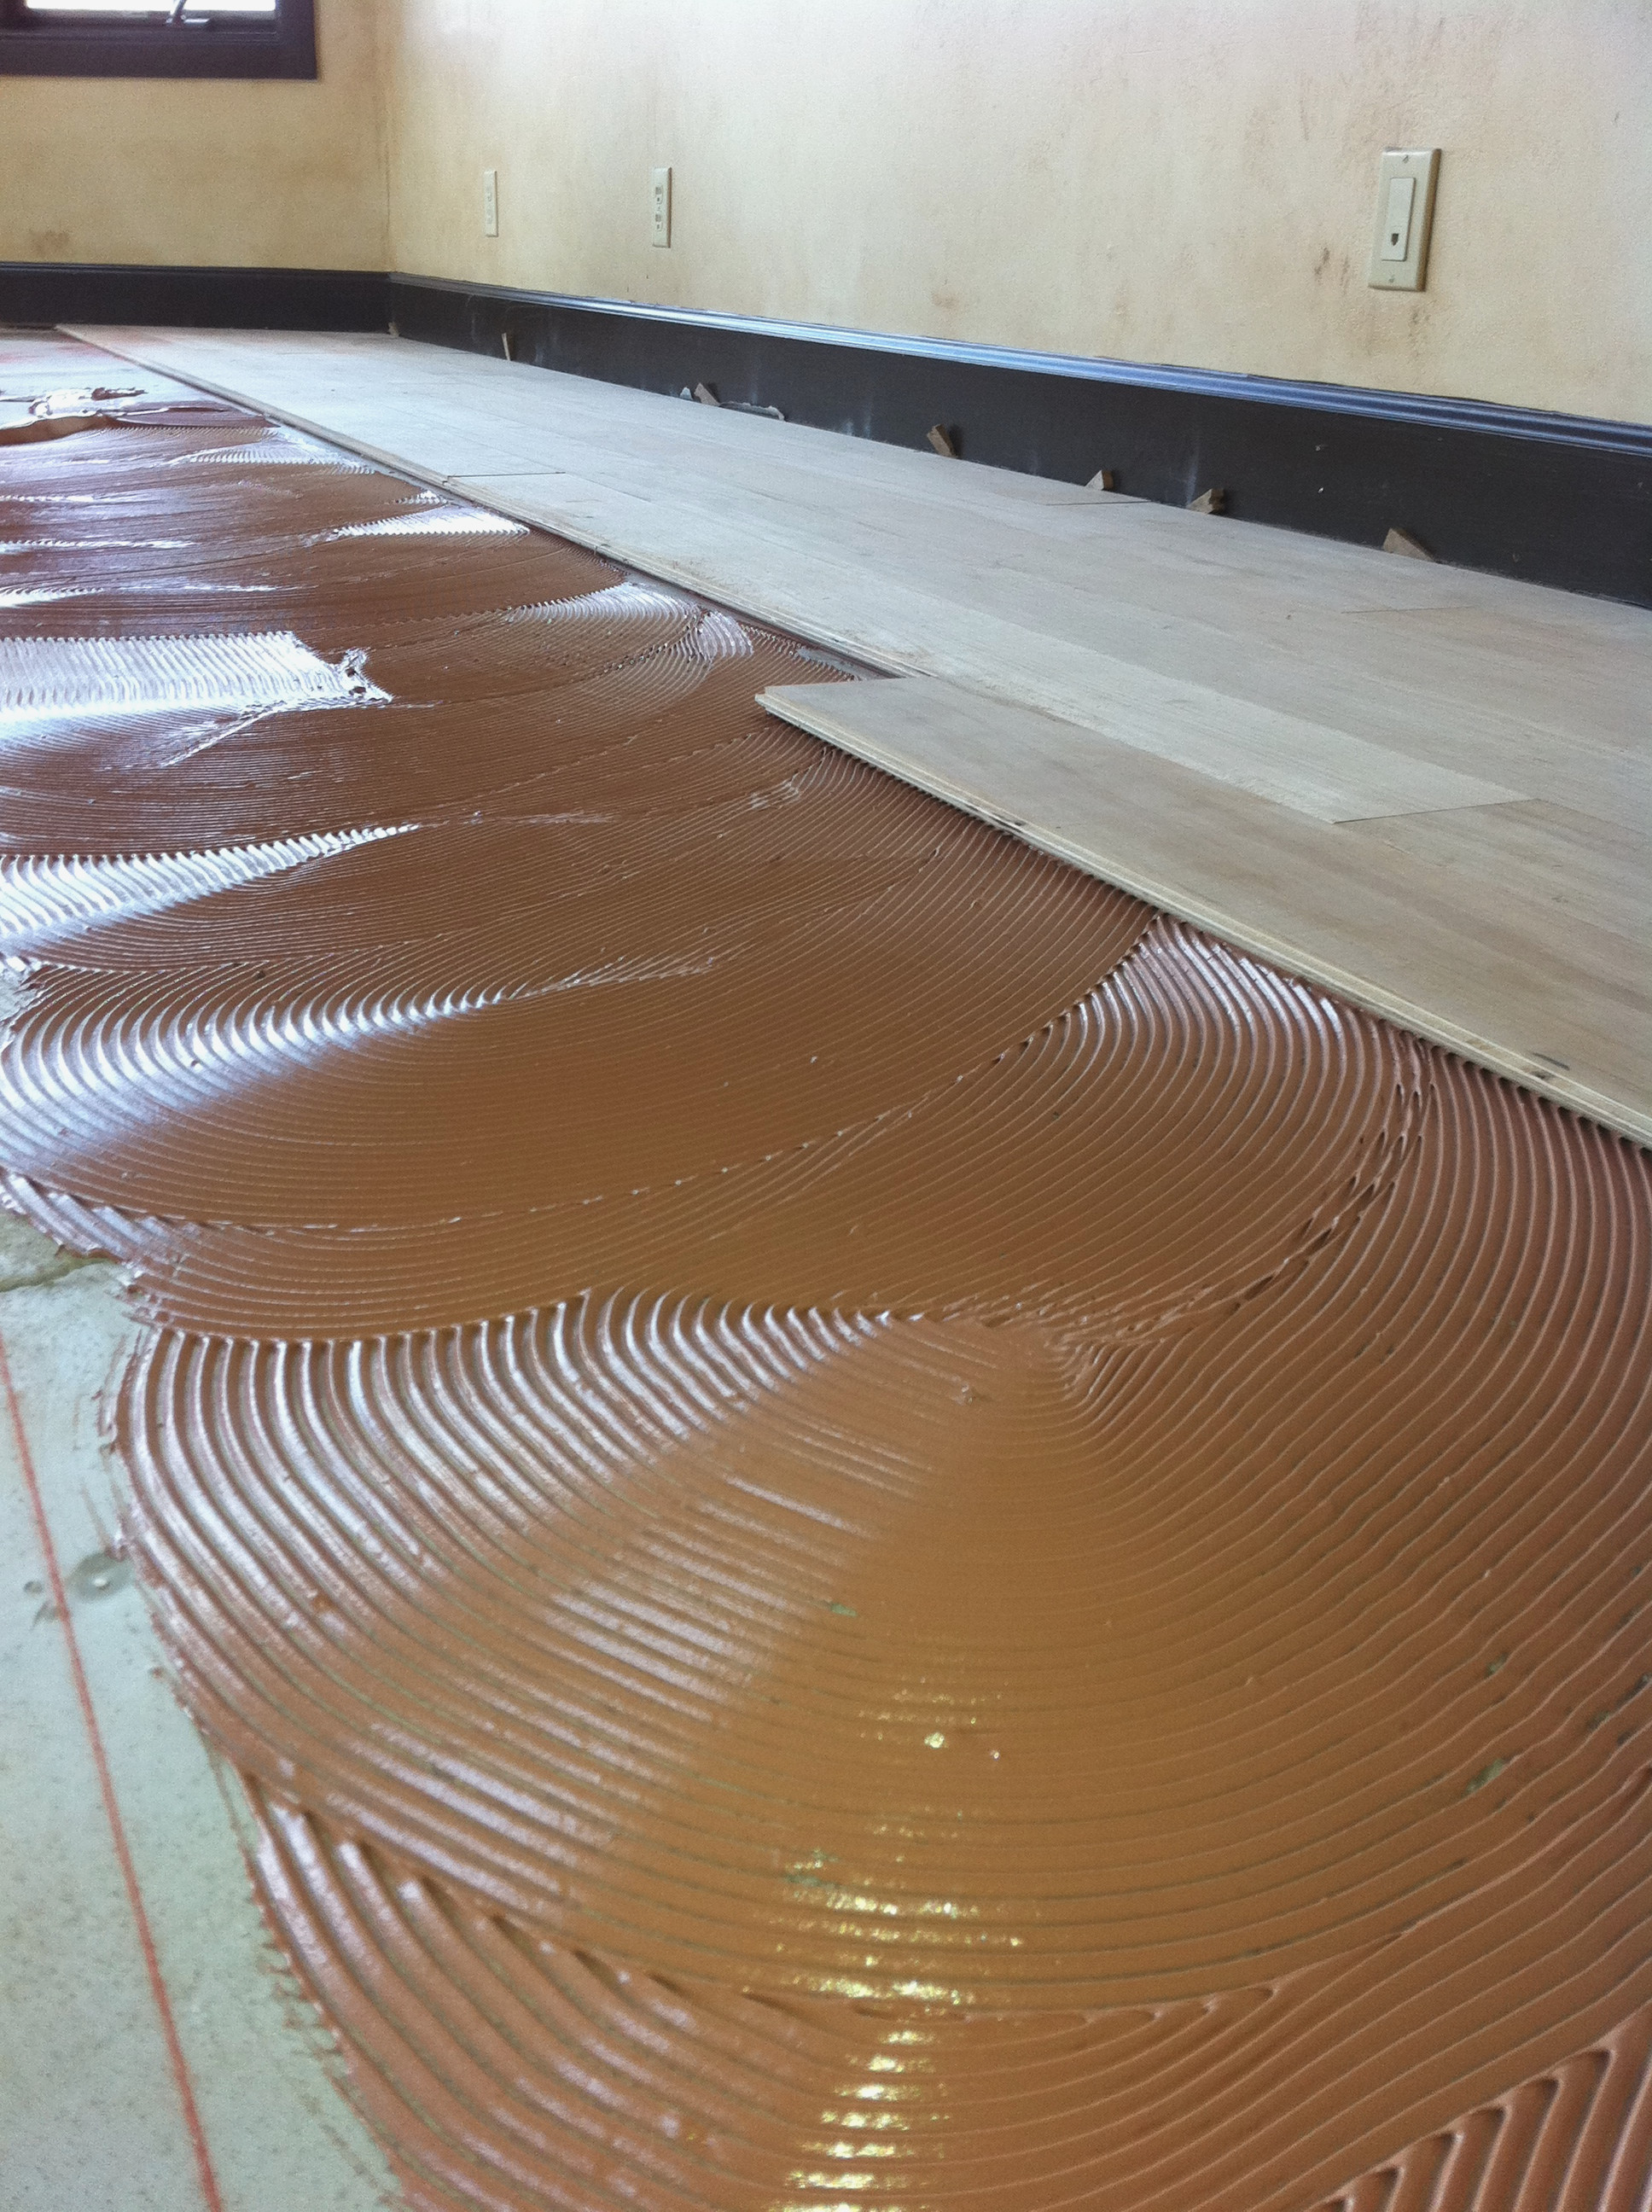
Last, consider the application method. Most adhesives are applied using a notched trowel, but the size and shape of the notches can vary. Follow the adhesive manufacturer’s guidelines for the appropriate trowel size and application technique to ensure even coverage and a strong bond.

Step-by-Step Installation Process
The installation process of gluing engineered wood flooring to concrete requires careful planning and execution. Follow these steps to ensure a successful and durable installation.
Step 1: Acclimate the Flooring Before installation, allow the engineered wood flooring to acclimate to the room’s temperature and humidity. This typically involves storing the flooring in the room where it will be installed for at least 48 hours. This step helps to minimize the natural expansion and contraction of the wood after installation.
Step 2: Layout and Planning Plan the layout of the flooring to ensure a visually appealing result. Determine the starting point, usually along the longest wall or the most visible area of the room. Dry lay a few rows of planks to check for any necessary adjustments and to ensure a staggered pattern that avoids repeating seams.
Step 3: Apply the Adhesive Using a notched trowel, spread the adhesive evenly on the concrete subfloor, covering a small section at a time. It’s important to work in manageable sections to prevent the adhesive from drying out before the flooring is installed. Follow the adhesive manufacturer’s guidelines for the recommended trowel size and application technique.

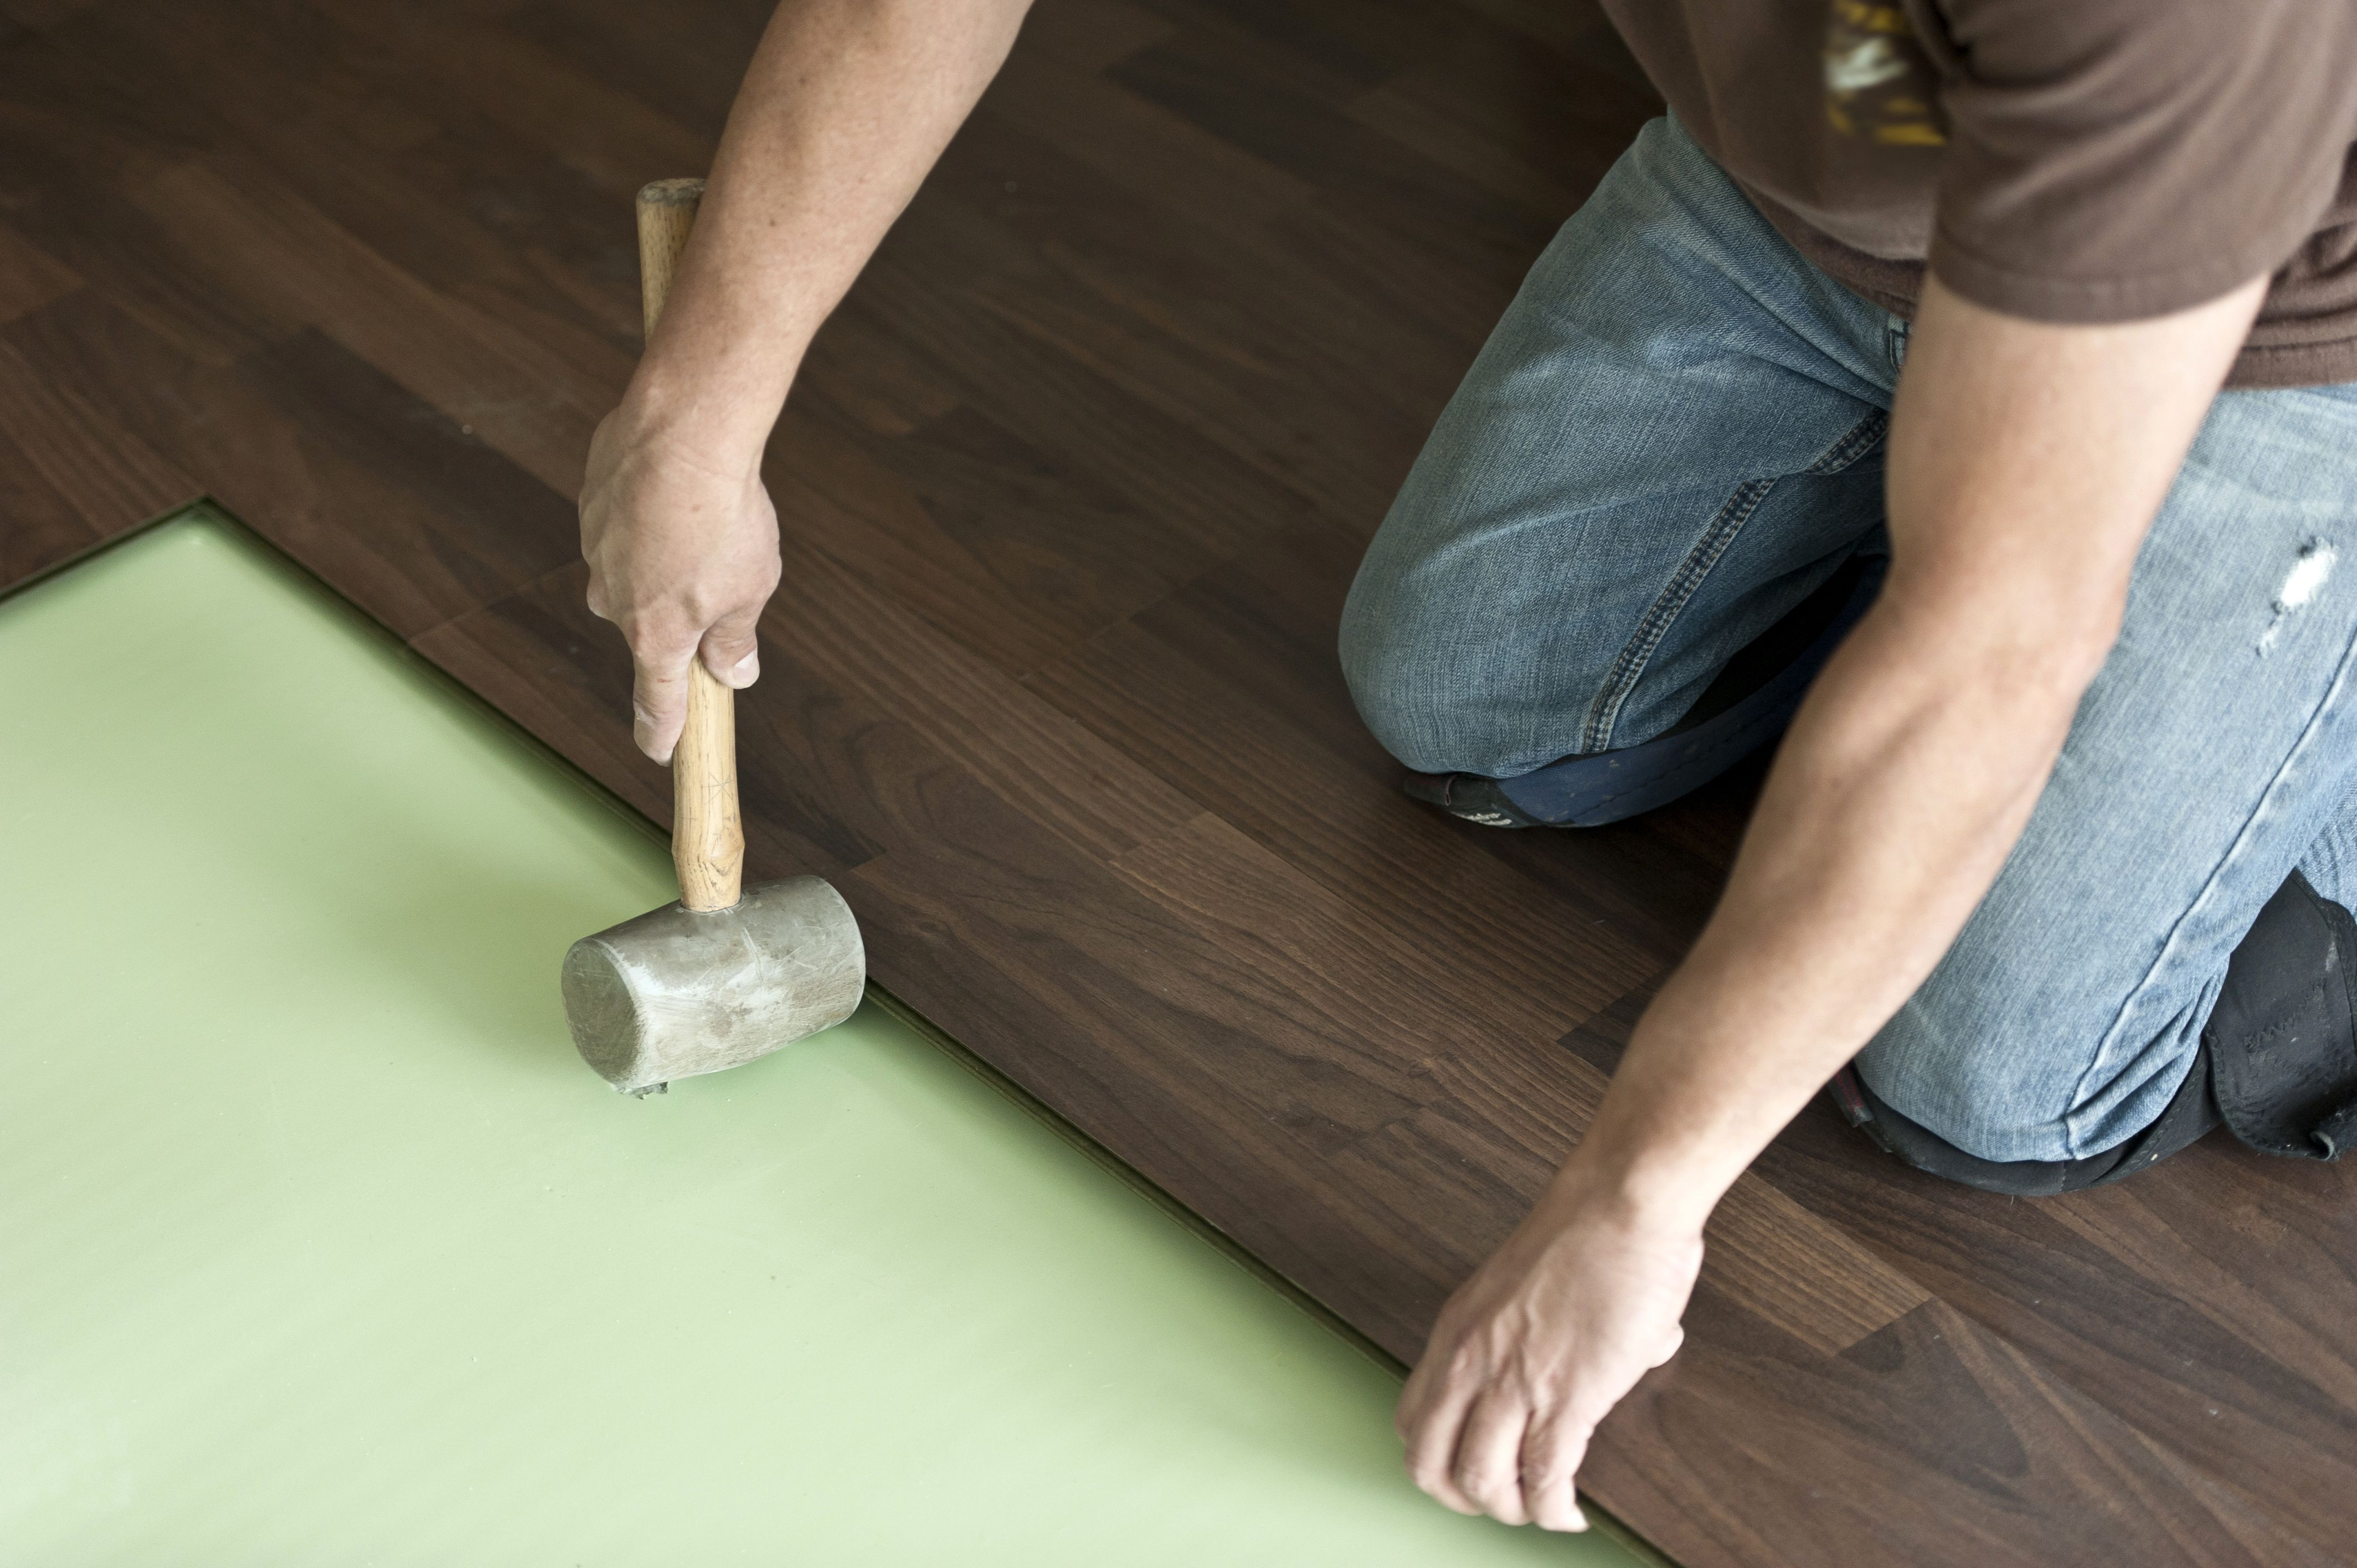
Step 4: Install the Flooring Begin laying the engineered wood planks into the adhesive, starting from the chosen starting point. Press each plank firmly into the adhesive, ensuring full contact with the subfloor. Use spacers to maintain an expansion gap around the perimeter of the room, typically 1/4 inch to 1/2 inch. This gap allows for natural movement of the flooring.
Step 5: Cut and Fit Planks As you approach the edges of the room, you may need to cut the planks to fit. Use a saw to make precise cuts, ensuring a snug fit around walls, doorways, and other obstacles. Continue to stagger the seams and maintain the expansion gap.
Step 6: Roll and Secure the Flooring After laying the flooring, use a floor roller to press the planks firmly into the adhesive. This step ensures a strong bond and removes any air pockets. Follow the adhesive manufacturer’s guidelines for the appropriate rolling technique and pressure.
Step 7: Allow for Curing Allow the adhesive to cure according to the manufacturer’s instructions before walking on the floor or moving furniture back into the room. This typically involves waiting 24 to 48 hours, but curing times can vary based on the adhesive used and environmental conditions.

Post-Installation Care and Maintenance
Proper care and maintenance are essential to keep your engineered wood flooring looking beautiful and performing well for years to come. Follow these guidelines to protect your investment and ensure the longevity of your flooring.
Routine Cleaning Regular cleaning is crucial to prevent dirt, dust, and debris from scratching the surface of the flooring. Use a soft-bristle broom or a vacuum with a hardwood floor attachment to remove loose dirt and dust. Avoid using vacuums with beater bars, as they can damage the flooring.
Damp Mopping For deeper cleaning, use a damp mop with a microfiber pad. Ensure the mop is only slightly damp, as excessive water can damage the wood. Use a hardwood floor cleaner recommended by the flooring manufacturer. Avoid using harsh chemicals, abrasive cleaners, or steam mops, as these can damage the finish.
Protecting the Surface To prevent scratches and dents, place felt pads under furniture legs and avoid dragging heavy objects across the floor. Use area rugs or mats in high-traffic areas and near entryways to catch dirt and moisture. Be cautious with high-heeled shoes, pet claws, and heavy furniture, as these can cause damage.

Humidity Control Maintain a consistent indoor humidity level to minimize the natural expansion and contraction of the wood. Use a hygrometer to monitor humidity levels, keeping them between 30% and 50%. Use a humidifier or dehumidifier as needed to maintain the recommended humidity range.
Dealing with Spills Immediately wipe up any spills or standing water to prevent moisture damage. Use a soft, dry cloth to blot the spill, and avoid rubbing, which can spread the liquid. For sticky or stubborn spills, use a damp cloth with a mild hardwood floor cleaner.
Preventative Maintenance Periodically inspect the flooring for any signs of wear, damage, or loose planks. Address any issues promptly to prevent further damage. Consider applying a protective finish or sealer recommended by the flooring manufacturer to enhance the durability and appearance of the flooring.
Troubleshooting Common Issues
Despite careful installation and maintenance, engineered wood flooring can sometimes encounter issues. Understanding and addressing these problems promptly can help maintain the beauty and functionality of your flooring.
Gapping and Buckling Gapping occurs when the planks pull away from each other, creating visible gaps. This can be caused by changes in humidity or improper installation. Buckling happens when the planks lift off the subfloor, often due to excessive moisture. To address these issues, maintain consistent humidity levels and ensure proper installation techniques are followed.
Squeaking and Creaking Squeaking or creaking noises can result from loose planks or subfloor movement. Check for any loose planks and secure them with additional adhesive or fasteners. Ensure the subfloor is level and stable. Using an underlayment with sound-dampening properties can also help reduce noise.
Scratches and Dents Scratches and dents are common in high-traffic areas or from heavy furniture. Use touch-up kits or wood fillers recommended by the flooring manufacturer to repair minor scratches. For deeper dents, you may need to replace the affected planks. Prevent future damage by using protective pads under furniture and placing rugs in high-traffic areas.

Moisture Damage Moisture can cause warping, cupping, or discoloration of the wood. If you notice signs of moisture damage, identify and address the source of moisture immediately. Use dehumidifiers, fix any leaks, and ensure proper ventilation. In severe cases, you may need to replace the affected planks.
Adhesive Issues If the flooring is not adhering properly to the subfloor, it could be due to incorrect adhesive application, using the wrong type of adhesive, or subfloor issues. Check the adhesive manufacturer’s guidelines and ensure the subfloor is properly prepared. Reapply adhesive as needed to secure loose planks.
Fading and Discoloration Prolonged exposure to sunlight can cause fading or discoloration of the wood. Use window treatments, such as blinds or curtains, to reduce direct sunlight exposure. Rearrange furniture and rugs periodically to ensure even exposure. Consider using UV-protective finishes or coatings to minimize fading.
Common Mistakes to Avoid
When gluing engineered wood flooring to concrete, several common mistakes can impact the success of the installation. By being aware of these pitfalls, you can avoid them and ensure a smooth and durable installation.
Inadequate Subfloor Preparation Failing to properly prepare the concrete subfloor is a common mistake. Ensure the subfloor is clean, dry, level, and structurally sound before applying adhesive. Any debris, moisture, or unevenness can compromise the bond and cause issues down the line.
Using the Wrong Adhesive Choosing the wrong adhesive can lead to poor adhesion, moisture issues, and even damage to the flooring. Always use an adhesive recommended by the flooring and adhesive manufacturers for the specific type of engineered wood and subfloor.
Ignoring Moisture Levels Not checking and managing the moisture levels of the concrete subfloor can result in moisture-related problems, such as warping and buckling. Use a moisture meter to ensure the subfloor is within the acceptable moisture range before installation.
Skipping Acclimation Skipping the acclimation process can cause the flooring to expand or contract after installation, leading to gaps or buckling. Allow the engineered wood flooring to acclimate to the room’s conditions for at least 48 hours before installation.
Incorrect Adhesive Application Improper application of adhesive, such as applying too much or too little, can affect the bond strength. Follow the adhesive manufacturer’s guidelines for the correct trowel size and application technique to ensure even coverage and a strong bond.
Failing to Maintain Expansion Gaps Neglecting to maintain proper expansion gaps around the perimeter of the room can cause the flooring to buckle as it expands. Use spacers to ensure a consistent gap, typically 1/4 inch to 1/2 inch, to allow for natural movement of the wood.

How long should I let the adhesive cure before walking on the floor?
The curing time for the adhesive can vary based on the type of adhesive used and the environmental conditions. Typically, it is recommended to wait 24 to 48 hours before walking on the floor. Check the adhesive manufacturer’s guidelines for specific curing times. It’s important to allow the adhesive to fully cure to ensure a strong bond and prevent any movement or damage to the flooring.
Can I install engineered wood flooring over radiant heating systems?
Yes, engineered wood flooring can be installed over radiant heating systems. However, it’s essential to follow the manufacturer’s guidelines for both the flooring and the heating system. Ensure the subfloor temperature does not exceed the recommended limits, usually around 85°F (29°C). Use an adhesive that is compatible with radiant heating systems and maintain consistent temperature and humidity levels to prevent any damage to the flooring.
What should I do if I notice gaps between the planks after installation?
Gaps between the planks can occur due to changes in humidity or improper installation. To address this issue, first, check the humidity levels in the room and maintain them within the recommended range (30% to 50%). If the gaps are significant, you may need to fill them with a wood filler or consider replacing the affected planks. Ensuring proper acclimation and installation techniques can help prevent gaps in the future.
How can I protect my engineered wood flooring from scratches and dents?
To protect your engineered wood flooring from scratches and dents, use felt pads under furniture legs and avoid dragging heavy objects across the floor. Place area rugs or mats in high-traffic areas and near entryways to catch dirt and moisture. Be cautious with high-heeled shoes and pet claws, as they can cause damage. Regularly inspect the flooring for any signs of wear and address any issues promptly to prevent further damage.
Is it necessary to use a moisture barrier when installing engineered wood flooring on concrete?
Using a moisture barrier is recommended, especially if the concrete subfloor has higher moisture levels. A moisture barrier helps to prevent moisture from seeping into the flooring, which can cause warping, buckling, or mold growth. Follow the flooring and adhesive manufacturer’s guidelines for moisture barrier requirements and ensure proper installation to protect your flooring from moisture-related issues.
Can I install engineered wood flooring myself, or should I hire a professional?
While it is possible to install engineered wood flooring yourself, it requires careful planning, preparation, and attention to detail. If you have experience with similar projects and feel confident in your skills, you can undertake the installation. However, hiring a professional installer can ensure a higher quality and more efficient installation, especially for larger or more complex projects. A professional can also help address any subfloor issues and ensure the flooring is installed according to manufacturer guidelines.

Related Posts: