Cleaning a basement cement floor can seem like a daunting task, but with the right approach and tools, it can be a manageable and rewarding project. Cement floors in basements are prone to accumulating dirt, dust, and stains over time. Regular cleaning not only improves the appearance of the space but also helps maintain a healthier environment by preventing mold and mildew growth. Let me walk you through the steps and tips for effectively cleaning your basement cement floor.
Understanding the Basics of Cement Floor Cleaning
Why Regular Cleaning is Essential
- Preventing Dust Accumulation: Cement floors can gather dust quickly, which can spread to other areas of your home if not regularly cleaned.
- Avoiding Stains: Spills and other stains can become permanent if not addressed promptly, making the floor look unsightly.
- Mold and Mildew Prevention: Basements are typically more humid, making them susceptible to mold and mildew. Regular cleaning helps prevent these issues.
- Improving Air Quality: A clean basement floor can significantly enhance the overall air quality in your home, reducing allergens and irritants.
- Prolonging Floor Life: Routine maintenance can extend the life of your cement floor by preventing damage from dirt and grime buildup.
- Enhancing Aesthetic Appeal: A clean and well-maintained basement floor looks better and can make the space more usable for storage or as a functional room.

Tools and Supplies You Will Need
Here are several tools and supplies you will need to get the job done.
- Broom and Dustpan: For initial sweeping to remove loose dirt and debris.
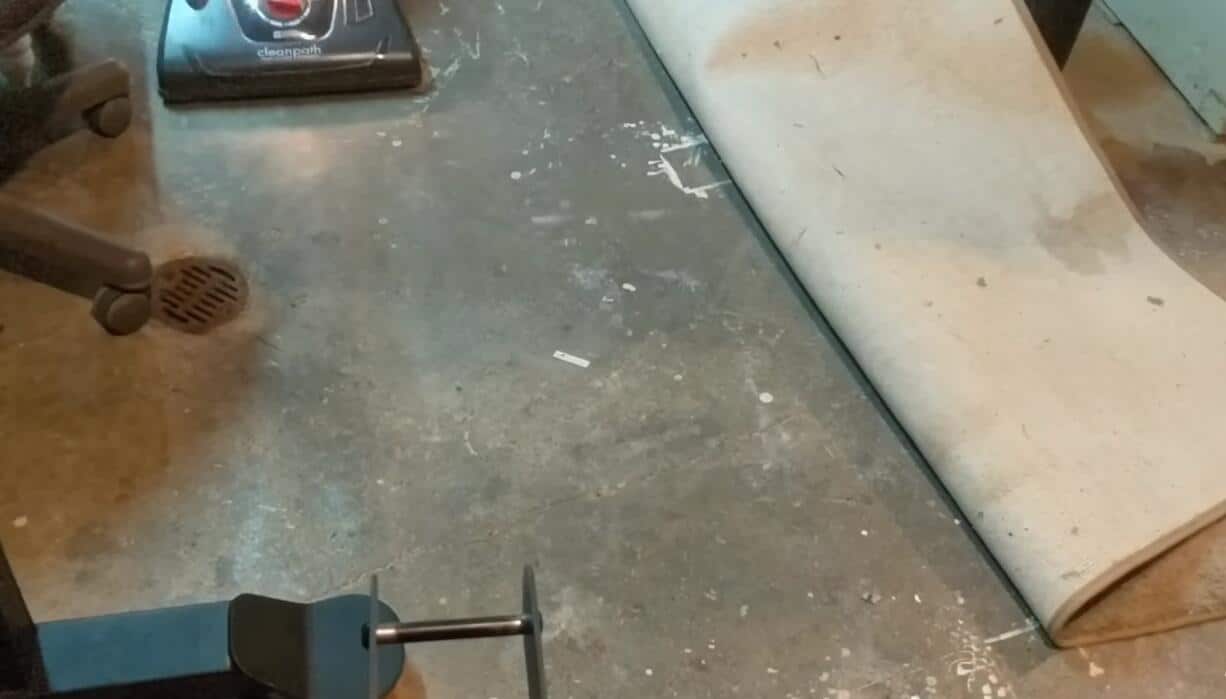
- Vacuum Cleaner: A vacuum with a hard floor attachment can help pick up finer particles.
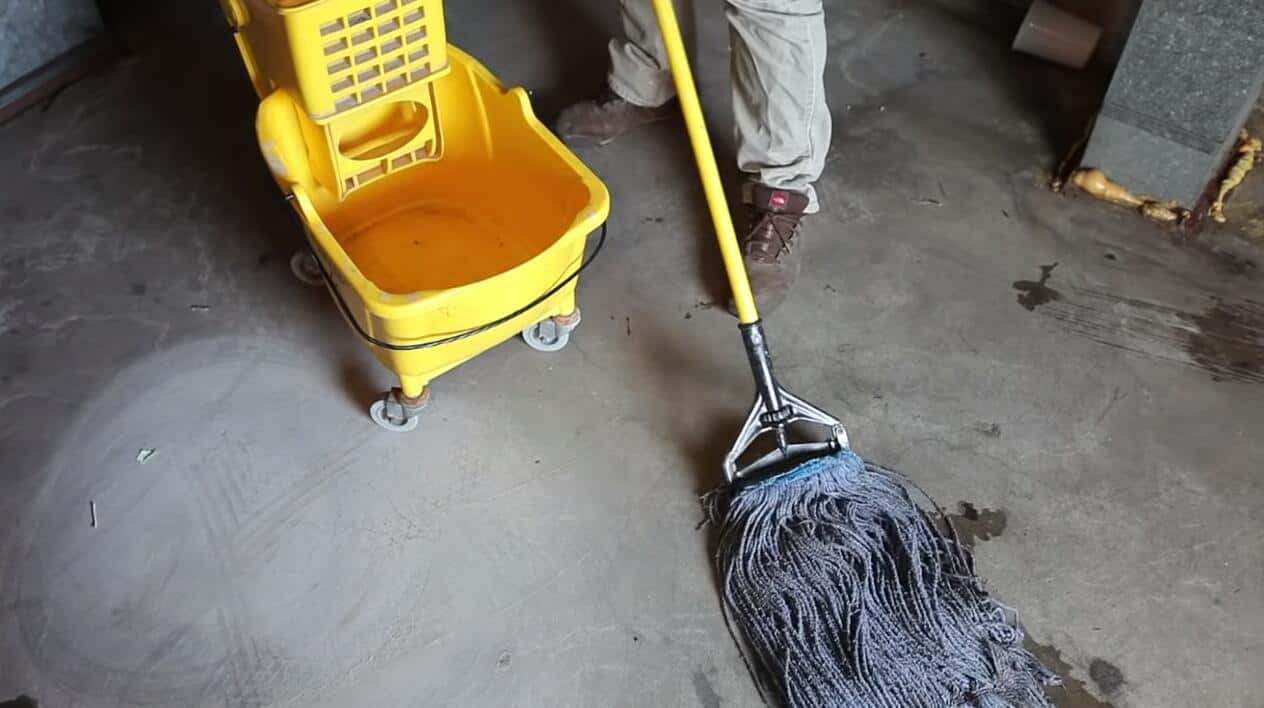
- Mop and Bucket: Essential for washing the floor with water and cleaning solutions.
- Scrub Brush: For tackling tough stains and scrubbing grout lines if needed.
- Cleaning Solution: Depending on the type of stains, you may need a variety of cleaners, such as mild detergent, vinegar, or specialized concrete cleaners.
- Protective Gear: Gloves and safety glasses to protect yourself from harsh chemicals.
Preparing the Basement for Cleaning
Clear the Area: Move any furniture, storage boxes, or other items out of the way to have a clear working area.
Inspect for Damage: Check the floor for any cracks or damage that might need repair before cleaning.
Ventilation: Ensure the basement is well-ventilated. Open windows and doors if possible, or use fans to circulate air.
Remove Loose Dirt: Start with a thorough sweeping or vacuuming to remove loose dirt and debris.
Protect Walls and Baseboards: Use painter’s tape or plastic sheeting to protect walls and baseboards from splashes.
Gather Supplies: Ensure all your cleaning tools and supplies are within reach to streamline the cleaning process.
Safety Precautions
Wear Protective Gear: Use gloves, safety glasses, and a mask to protect yourself from dust and chemical fumes.
Read Labels: Carefully read and follow the instructions on any cleaning products you use.
Test Cleaning Solutions: Test any new cleaning solution on a small, inconspicuous area first to ensure it doesn’t damage the floor.
Avoid Harsh Chemicals: Use environmentally friendly and non-toxic cleaners whenever possible to minimize exposure to harmful chemicals.
Work in Sections: Clean the floor in manageable sections to avoid slipping and to ensure thorough cleaning.
Keep Children and Pets Away: Ensure children and pets are kept out of the basement during the cleaning process to prevent accidents.
Common Types of Stains and How to Tackle Them
General Dirt and Grime: Use a mixture of warm water and mild detergent. Mop the floor thoroughly and rinse with clean water.
Oil Stains: Sprinkle baking soda over the stain, let it sit for a few minutes, then scrub with a brush and rinse.
Rust Stains: Apply a paste made from vinegar and baking soda, scrub with a brush, and rinse with water.
Mold and Mildew: Use a mixture of water and vinegar or a commercial mold cleaner. Scrub the affected area and rinse thoroughly.
Paint Spills: If the paint is water-based, it can be cleaned with soap and water. For oil-based paint, you may need a specialized paint remover.
Efflorescence: This white, powdery substance can be removed with a mixture of water and vinegar. Scrub with a brush and rinse well.
Regular Maintenance Tips
Sweep Frequently: Regular sweeping prevents dirt and debris from building up.
Spot Clean Spills Immediately: Address any spills or stains as soon as they occur to prevent them from setting.
Use Mats and Rugs: Place mats or rugs at entry points to catch dirt before it reaches the floor.
Maintain Humidity Levels: Use a dehumidifier to keep humidity levels in check and prevent mold growth.
Seal the Floor: Consider applying a concrete sealer to protect the floor from stains and make cleaning easier.
Schedule Deep Cleanings: Plan for a thorough cleaning of the basement floor at least once or twice a year.
Step-by-Step Guide to Cleaning Your Basement Cement Floor
Step 1: Initial Sweeping and Vacuuming
Clear the Area: Remove any furniture, boxes, and other items to have a clear working space.
Sweep Thoroughly: Use a broom to sweep the entire floor, paying special attention to corners and edges where dust accumulates.
Vacuum for Finer Particles: Use a vacuum cleaner with a hard floor attachment to pick up any remaining dust and dirt.
Inspect the Floor: Check for any stains, cracks, or areas that may need extra attention during cleaning.
Dispose of Debris: Collect the swept and vacuumed debris and dispose of it properly.
Prepare for Mopping: Ensure the floor is free of loose dirt before moving on to mopping.
Step 2: Mopping the Floor
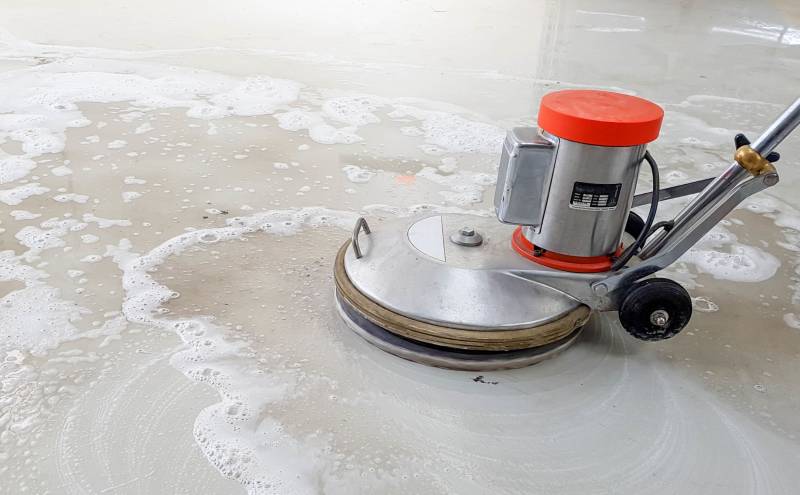
Mix Cleaning Solution: Fill a bucket with warm water and add a mild detergent or a recommended concrete cleaner.
Wet the Mop: Dip the mop into the cleaning solution and wring out the excess water.
Start Mopping: Begin mopping from one corner of the room, working your way across the floor in sections.
Rinse the Mop Frequently: Rinse the mop frequently to avoid spreading dirt around.
Change Water as Needed: If the water becomes too dirty, replace it with a fresh cleaning solution.
Final Rinse: After mopping, go over the floor with clean water to remove any residual cleaning solution.
Step 3: Scrubbing Stubborn Stains
Identify Stains: Locate any stubborn stains that were not removed during mopping.
Apply Cleaning Solution: Apply a specialized cleaner or a homemade solution (e.g., vinegar and baking soda) to the stain.
Let it Sit: Allow the solution to sit on the stain for a few minutes to break down the dirt.
Scrub with a Brush: Use a scrub brush to work the solution into the stain, using circular motions for best results.
Rinse the Area: Rinse the scrubbed area with clean water to remove any residue.
Repeat if Necessary: For particularly tough stains, you may need to repeat the process.
Step 4: Dealing with Mold and Mildew
Inspect for Mold: Check for any signs of mold or mildew, particularly in damp or dark areas.
Use a Mold Cleaner: Apply a commercial mold cleaner or a mixture of vinegar and water to the affected areas.
Scrub Thoroughly: Use a brush to scrub the mold or mildew, ensuring you reach into any crevices.
Rinse and Dry: Rinse the area with clean water and dry it thoroughly to prevent future growth.
Improve Ventilation: Ensure the basement is well-ventilated to reduce humidity and prevent mold reoccurrence.
Consider a Dehumidifier: Using a dehumidifier can help maintain appropriate moisture levels in the basement.
Step 5: Drying the Floor
Remove Excess Water: Use a mop or a wet/dry vacuum to remove any excess water from the floor.
Towel Dry: Use clean towels to further dry the floor, especially in areas where water tends to pool.
Allow to Air Dry: Let the floor air dry completely before returning any items to the basement.
Use Fans: Set up fans to circulate air and speed up the drying process.
Monitor Humidity: Keep an eye on the humidity levels to ensure the floor dries properly.
Inspect for Remaining Moisture: Check for any remaining damp spots and dry them as needed.
Step 6: Applying a Concrete Sealer
Choose the Right Sealer: Select a concrete sealer suitable for basement floors, considering factors like moisture resistance and durability.
Read Instructions: Carefully read and follow the manufacturer’s instructions for applying the sealer.
Prepare the Floor: Ensure the floor is completely clean and dry before applying the sealer.
Apply the Sealer: Use a paint roller or sprayer to apply the sealer evenly across the floor.
Allow to Dry: Let the sealer dry according to the manufacturer’s recommended drying time.
Apply Additional Coats: If necessary, apply additional coats for extra protection, allowing each coat to dry fully before applying the next.
Related Posts:


