How To Install Interlocking Vinyl Flooring

How to Install Luxury Vinyl Plank Flooring – Keenely Bliss

Interlocking Vinyl Floor Tiles Bathroom

Tips for Installing Our Interlocking Tiles
Blue Hawk Interlocking Vinyl Flooring

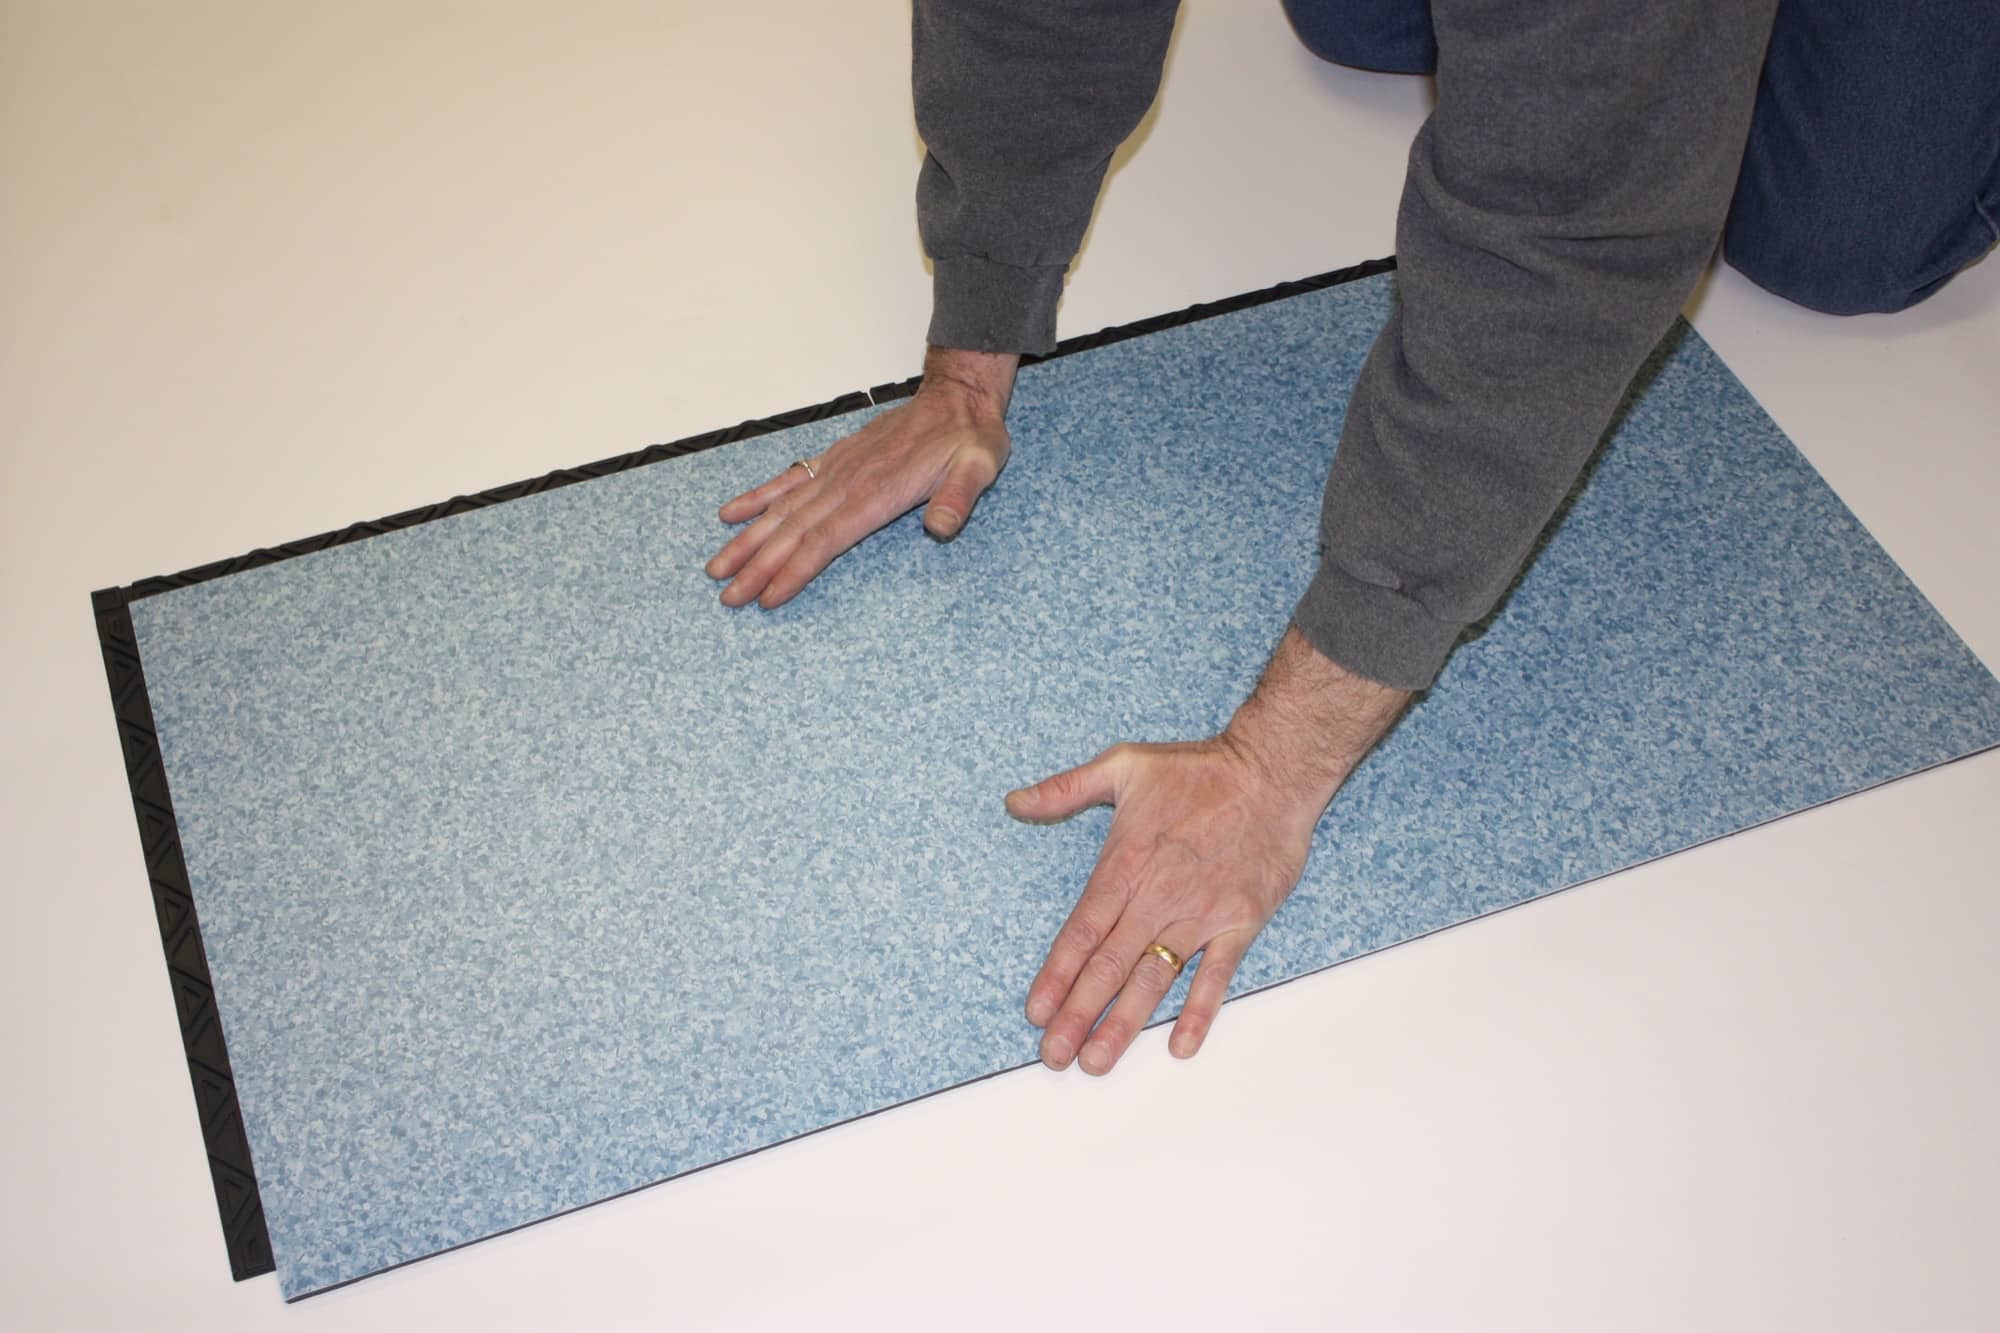
Two hands install a grip strip vinyl plank over a plywood subfloor. Installing vinyl plank

How to Install Vinyl Plank Flooring
:max_bytes(150000):strip_icc()/easy-install-plank-vinyl-flooring-1822808-06-3bb4422ca1bd49b080bfa73bce749acc.jpg)
How to Install Vinyl Plank Flooring as a Beginner Home Renovation – YouTube

How To Lay Vinyl Flooring Over Existing Vinyl – a good glue to hold vinyl flooring tiles down

How to Install Vinyl Plank Flooring as a Beginner (With 3 Options)

How To Install Luxury Vinyl Plank Flooring – Bower Power
Interlocking Floor Tiles – Installing – YouTube

Related Posts:
- Pine Vinyl Flooring
- Vinyl Floor Laying DIY
- Cortex Vinyl Flooring
- Grey Slate Effect Vinyl Floor Tiles
- Dark Oak Vinyl Flooring
- Limestone Effect Vinyl Flooring
- Vinyl Floor With Border
- Adhesive For Vinyl Flooring To Concrete
- Teak Wood Vinyl Flooring
- Cheap Vinyl Flooring
Interlocking vinyl flooring is a great way to add a modern touch to any room of your home. This type of flooring is relatively simple to install and provides a beautiful, durable, and waterproof floor that is easy to maintain. Here’s what you need to know about installing interlocking vinyl flooring.
## What Is Interlocking Vinyl Flooring?
Interlocking vinyl flooring is a type of waterproof flooring made out of vinyl with interlocking edges. It’s an attractive, low-maintenance flooring that is easy to install and generally considered one of the most affordable forms of flooring.
## Benefits Of Interlocking Vinyl Flooring
Interlocking vinyl flooring comes with a variety of benefits that make it an ideal choice for many homeowners. It’s very easy to install and doesn’t require any special tools or skills. It’s also waterproof, scratch-resistant, and quite durable, making it a great choice for kitchens, bathrooms, and other high-traffic areas of your home. Plus, it’s very gentle on the feet and can be installed over existing floors, making it a great choice for DIYers and those on a tight budget.
## Preparing To Install Interlocking Vinyl Flooring
Before you begin the installation process, there are some important steps you’ll need to take in order to ensure the best possible results. First, check the subfloor for any imperfections like unevenness or moisture issues. If you find any, address them before proceeding. Next, make sure that your subfloor is clean and free from dust and debris. Finally, make sure that your room is well-ventilated for the duration of the installation process.
## Installing Interlocking Vinyl Flooring
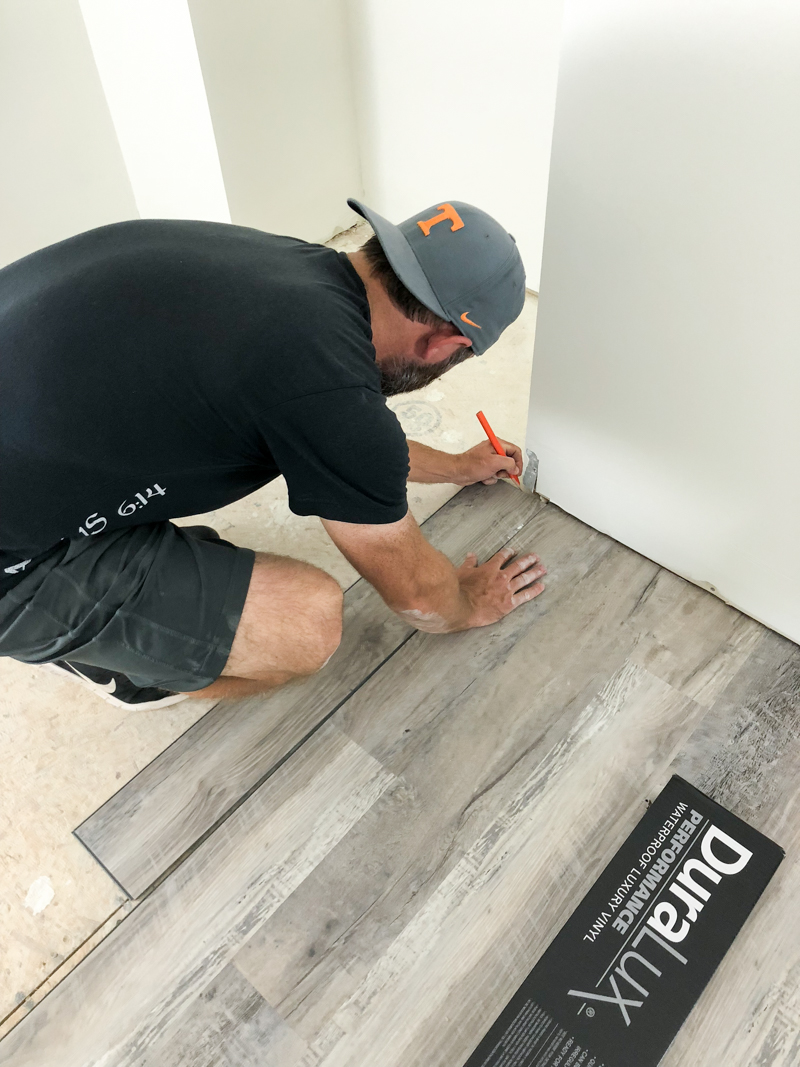
Once your subfloor is ready, it’s time to begin installing your interlocking vinyl flooring. Start by laying out the first row of tiles along one wall. Make sure the edges of the tiles are securely interlocked before moving on to the next row. Continue laying out tiles in rows until you reach the end of the room. Cut off any extra pieces with a utility knife if needed.
When the main area has been covered, you’ll need to install the trim pieces around the edges of the room. Depending on your particular flooring system, these pieces may be designed specifically for this purpose or may have come included with your purchase. Use adhesive around the edges of each trim piece to adhere them securely to your flooring before moving on to the next piece. Once all trim pieces are in place, allow adhesive to dry completely before walking on your new interlocking vinyl flooring.
## Caring For Interlocking Vinyl Flooring
Interlocking vinyl flooring requires minimal maintenance thanks to its water-resistant properties. Still, it should be regularly swept or vacuumed in order to prevent dirt buildup which can cause scratching or staining over time. To clean spills or stains quickly, simply wipe up messes with warm water and a soft cloth as soon as possible. Avoid using harsh chemical cleaners which may damage the finish or discolor your floor over time. With proper care and maintenance, your interlocking vinyl floor will look great for years to come!
Installing interlocking vinyl flooring is an easy way to give any room in your home a modern facelift without breaking the bank. This low-maintenance and attractive form of waterproof flooring will provide beautiful results when properly installed and cared for – so what are you waiting for? Get started on improving your home today!
What tools are needed to install interlocking vinyl flooring?
Tools needed to install interlocking vinyl flooring include:-A utility knife
-Tape measure
-Straight edge
-Pencil or marker
-Flooring planks
-Rubber mallet
-Vinyl tile spacers
-Adhesive
-Pry bar
-Tile cutter (if needed)
What preparation is needed before installing interlocking vinyl flooring?
Before installing interlocking vinyl flooring, the surface should be clean, level, and dry. If necessary, use a concrete patch to level any uneven surfaces, or install a vapor barrier over any concrete subfloors to prevent moisture from seeping through. The subfloor should also be swept and vacuumed to remove dirt and debris. Finally, make sure that you have all the necessary tools and supplies before beginning installation.What tools are needed for installing interlocking vinyl flooring?
Tools needed for installing interlocking vinyl flooring include:– Utility knife
– Measuring tape
– Pencil and straightedge
– Knee pads
– Hammer
– Rubber mallet
– Chalk line
– Tape measure
– Safety glasses
– Rubber gloves
– Flooring cutter
– Adhesive remover
– Underlayment
– Wedge spacers
– Tile cutter (if needed)