How To Replace Grout In Ceramic Tile Floor
:max_bytes(150000):strip_icc()/How_to_Regrout_Ceramic_Tile_64434_04-7d62a1243b314b628e8125818455cb67.jpg)
Replacing Grout In Floor Tiles MyCoffeepot.Org
How to Replace Grout in a Ceramic Tile Floor – LetsFixIt

Replacing Grout Madison WI
Best Tool To Remove Floor Tile Grout – bittorrentnorth
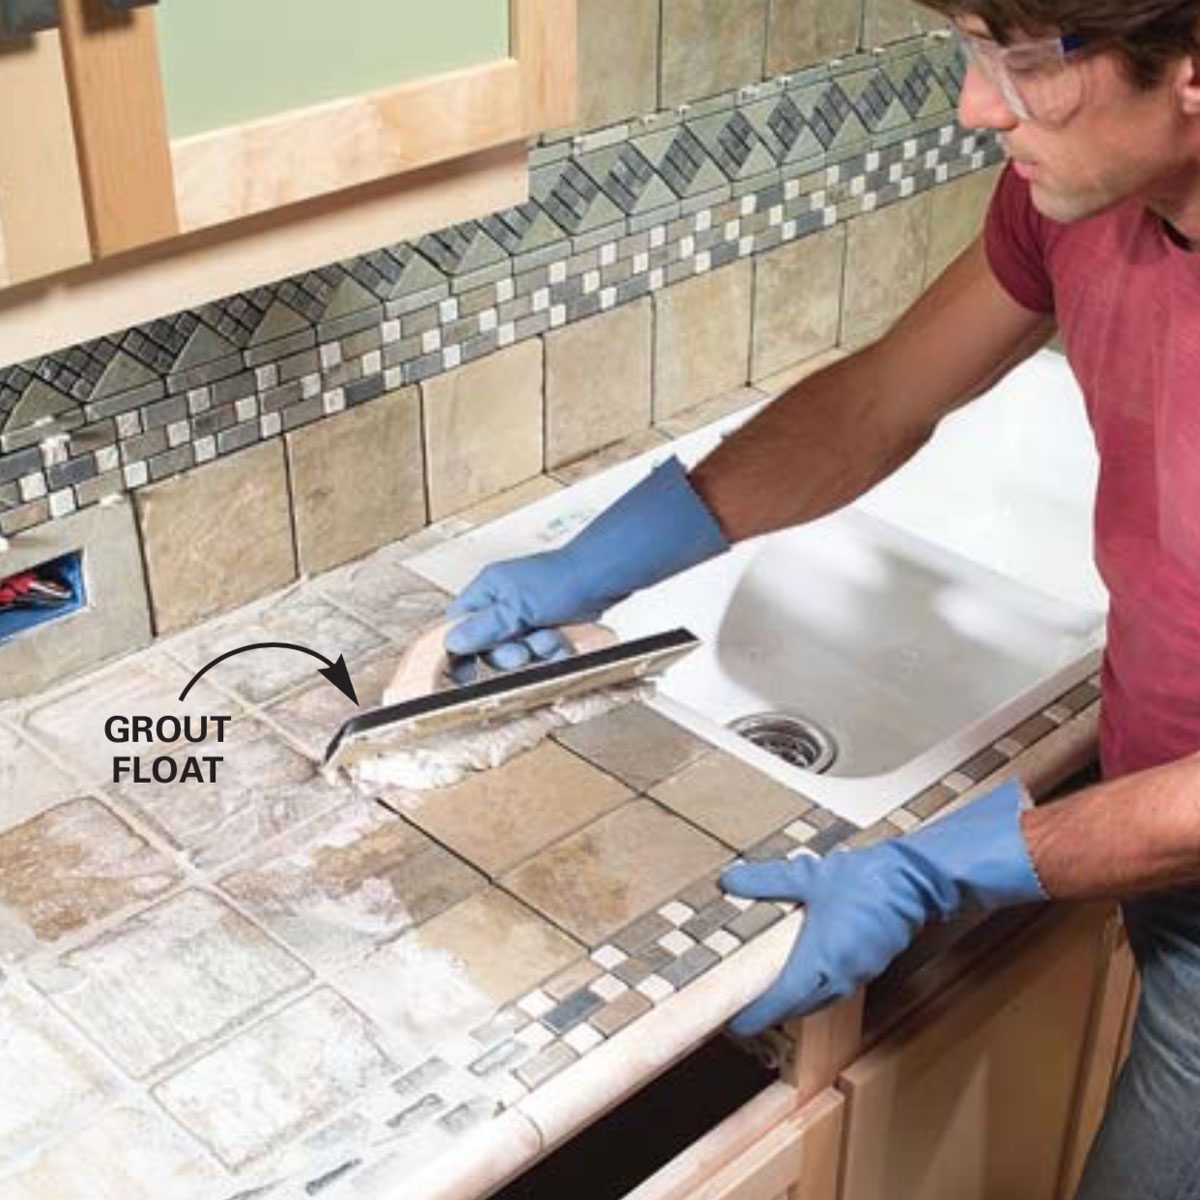
Installing Tile Countertops: Ceramic Tile Kitchen Countertops The Family Handyman
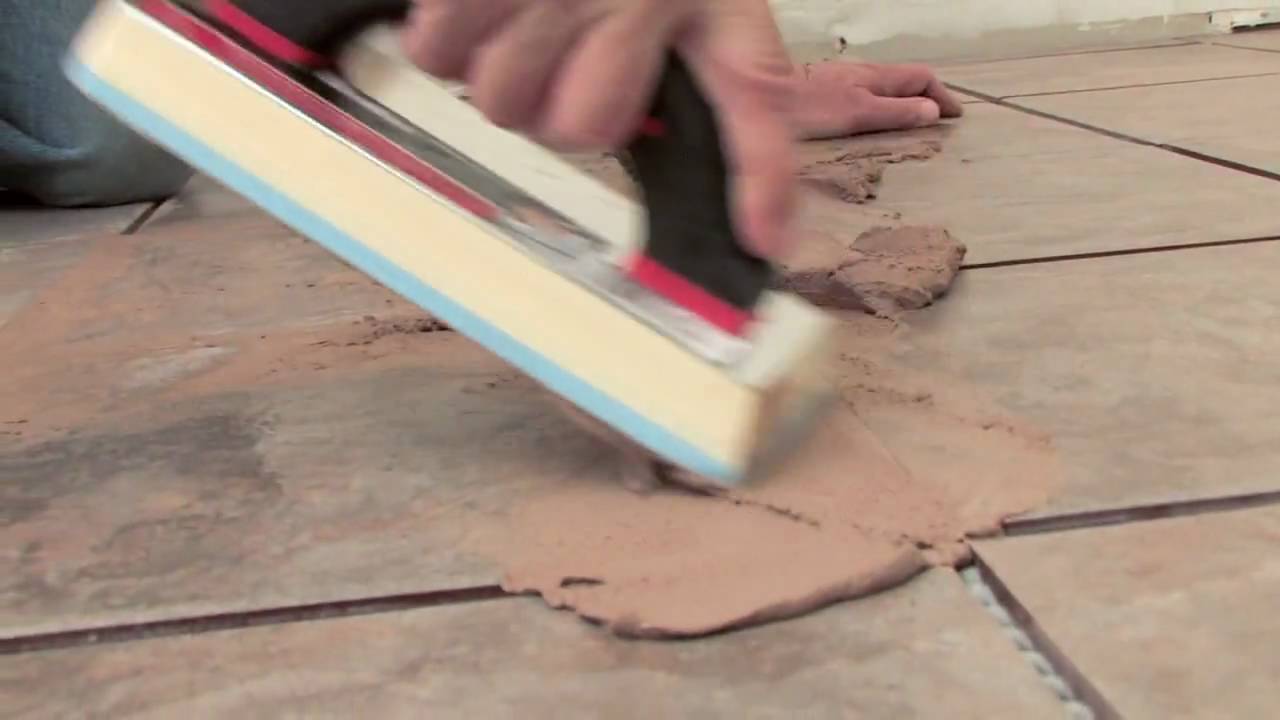
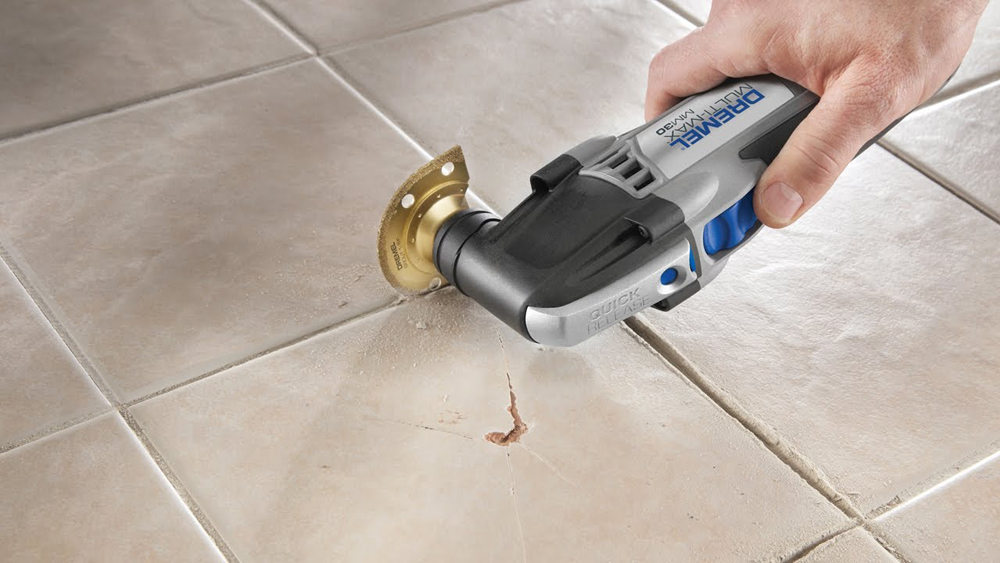
How to Regrout Ceramic Tile
/hand-spreading-grout-on-tiles-with-grout-spreader-80033352-583c5e073df78c6f6a2f22b6.jpg)
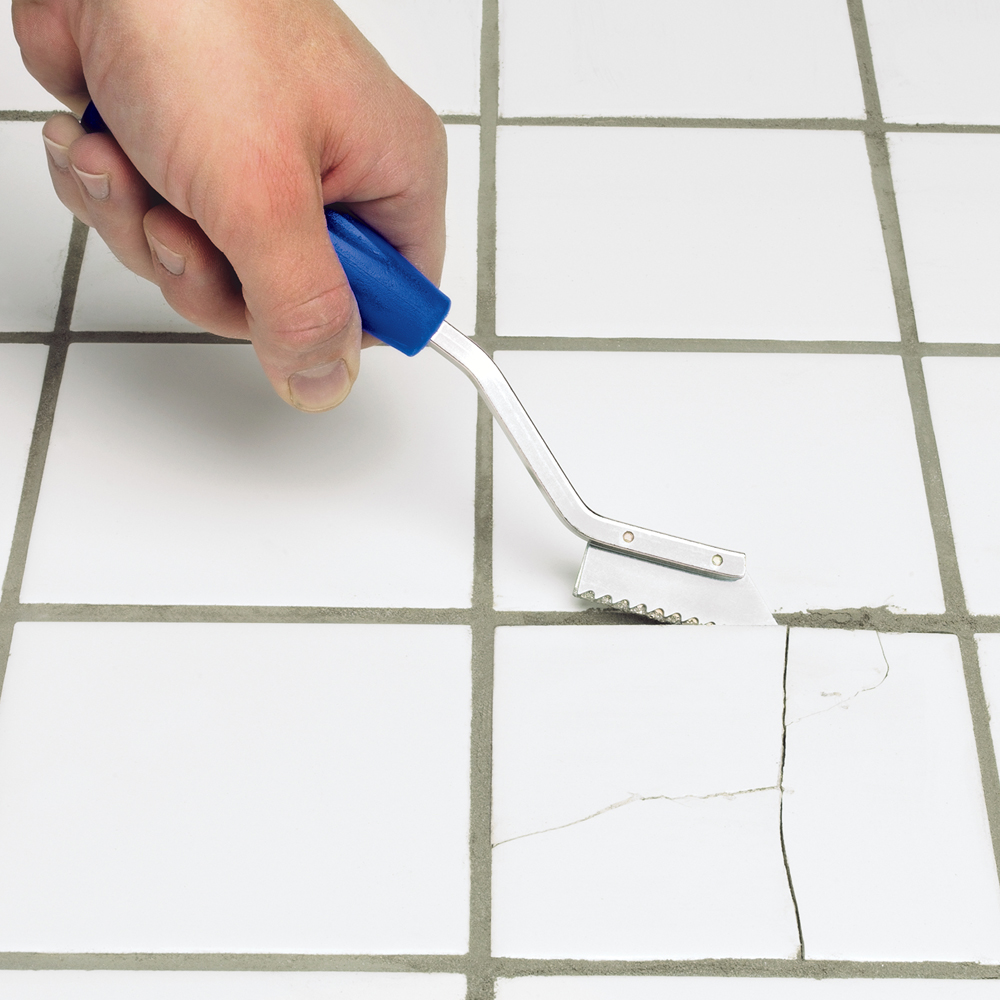
Removing Tile Grout in a Few Simple Steps
:max_bytes(150000):strip_icc()/remove_tile_grout_in_a_few_simple_steps_1822630_03-5d5a661a967b4aabab4f3411252508a5.jpg)
Replacing Grout Between Tiles and Raking Out Tiles for Regrouting DIY Doctor
Pin en DIY Home Improvement

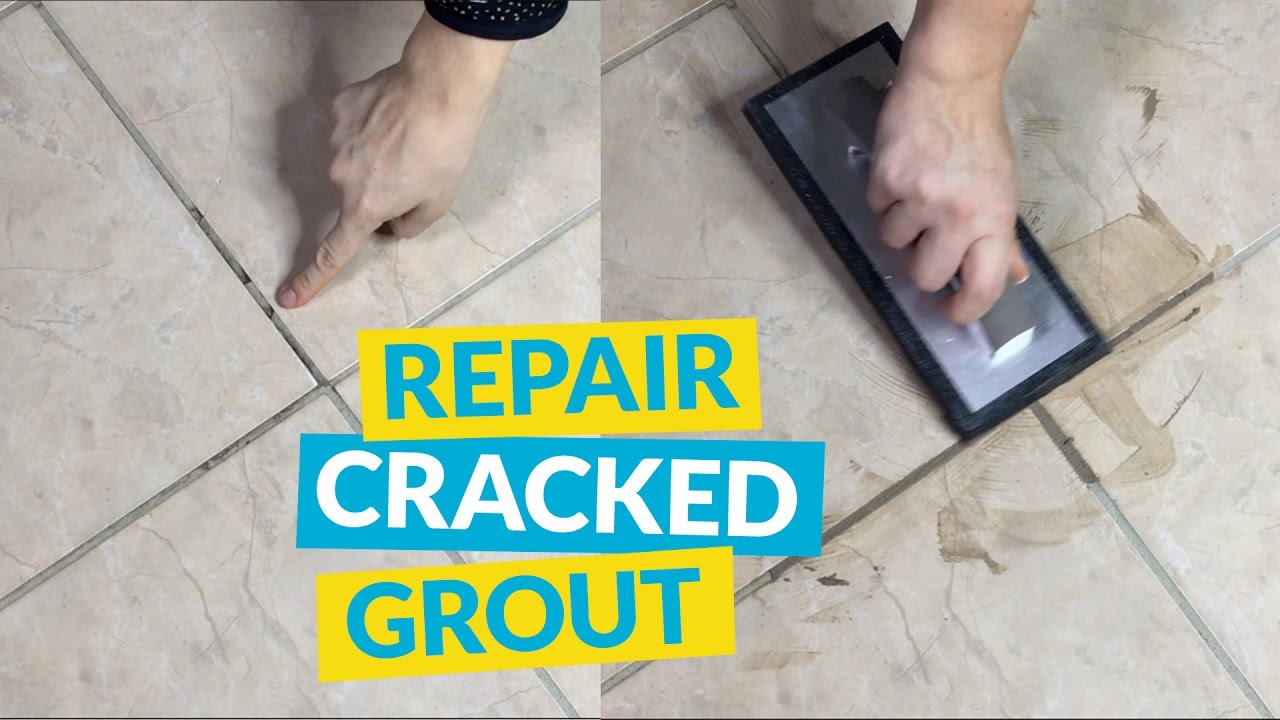
How Do I Repair a Crack in Tile Grout? : Ceramic Tile Repair – YouTube

Repairing Grout Between Your Tiles Is Easy To DIY

Related Posts:
- Cuban Tile Floors
- Easy Way To Grout Tile Floor
- Types Of Marble Tile Flooring
- Slate Tile Floor
- Classic Bathroom Tile Floors
- Tile Floor Color Ideas
- Wet Mops For Tile Floors
- Staining Saltillo Tile Floors
- Terrazzo Tile Floor Outdoor
- Tile Flooring For Screened Porch
Grouting ceramic tile floors is an important step in the installation process and requires some maintenance over time. If your grout has begun to crack, discolor, or just doesn’t look as good as it used to, it’s time to replace it. Replacing the grout between ceramic tiles is a relatively simple task that can be done with a few basic supplies and a bit of patience.
## What You’ll Need To Replace Grout
Before you begin, you’ll need to gather some supplies and materials. These include:
– Grout (either premixed or a grout mix)
– A grout float
– A damp sponge
– A bucket
– An old toothbrush
– A utility knife
– A vacuum with a crevice tool
– Sandpaper or a grinder (optional)
## Removing The Old Grout
Once you have gathered all the necessary supplies, you are ready to begin removing the existing grout. Start by using a utility knife to scrape away any loose or damaged grout. Then, use the crevice tool attachment on the vacuum to suck up any remaining debris from the tile joints. If there are any stubborn areas of grout that won’t budge, use sandpaper or a grinder to remove them.
## Applying The New Grout
Now it’s time to apply the new grout. Begin by mixing the grout according to the instructions on the package. Once it’s ready, use a damp sponge to wet the tile joints – this will help the new grout adhere better. Next, use the grout float to press the grout into the joints, making sure it’s evenly distributed. Finally, use an old toothbrush to smooth out any remaining irregularities in the grout lines. Allow the grout to dry for 24 hours before moving on to the next step.
## Cleaning Up The Excess Grout
After 24 hours has passed, use a damp sponge to wipe away any excess grout that may have dried on top of the tiles. Be sure not to scrub too vigorously – you don’t want to damage the surface of your tile flooring! After everything has been wiped down, use a dry cloth to buff away any remaining residue.
## Sealing The Grout Lines
The last step in replacing your ceramic tile floor’s grout is sealing the joints. Sealing your tile floor’s grout lines will help keep dirt and bacteria out while also preventing discoloration from dirt and stains. Use a sealant designed specifically for ceramic tile floors and apply it according to the manufacturer’s instructions. Once it has dried, your tile floor should be looking as good as new!
Replacing the grout in your ceramic tile floor is a relatively simple task that can be done with just a few basic supplies and a bit of patience. By following these steps, you can easily freshen up your floor and give it a brand new look without having to pay for professional installation services or costly repairs. Now you know how to replace grout in ceramic tile floors – so get out there and get started!