Glue Down Tile Flooring
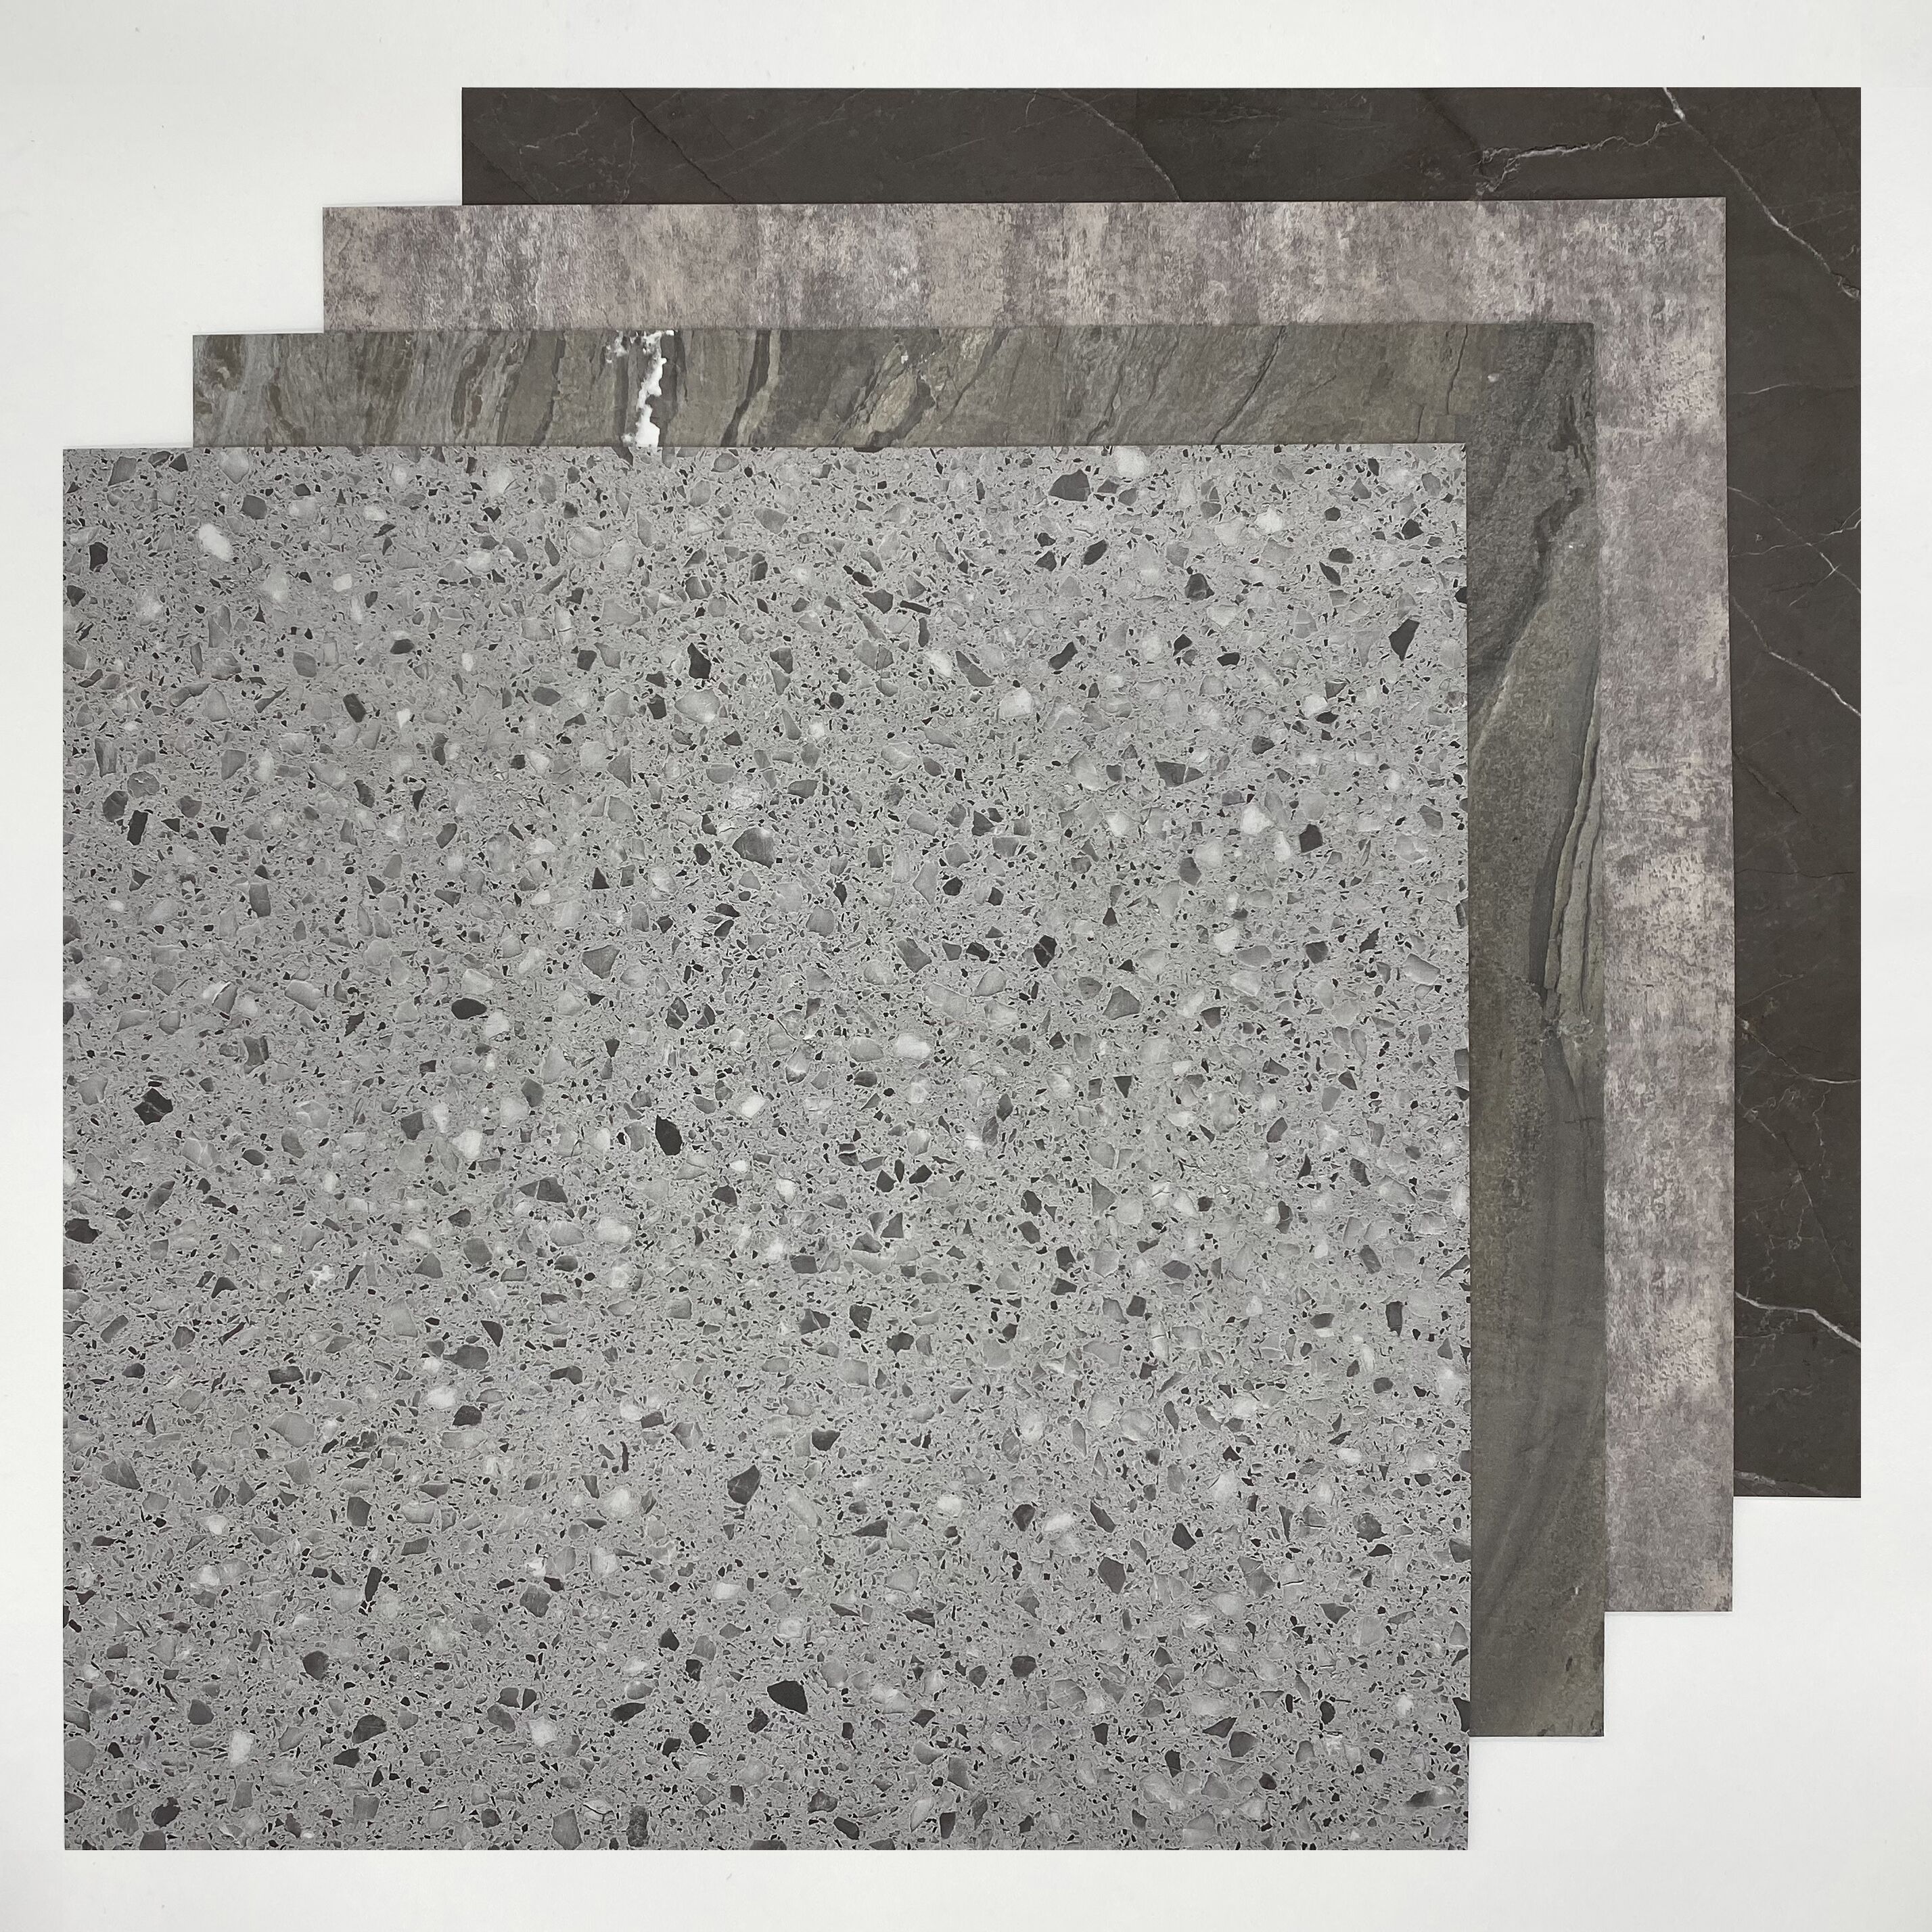
Luvanto Glue Down Stone Effect Polished Black Slate Deep Emboss 305x305mm Luxury Vinyl Flooring

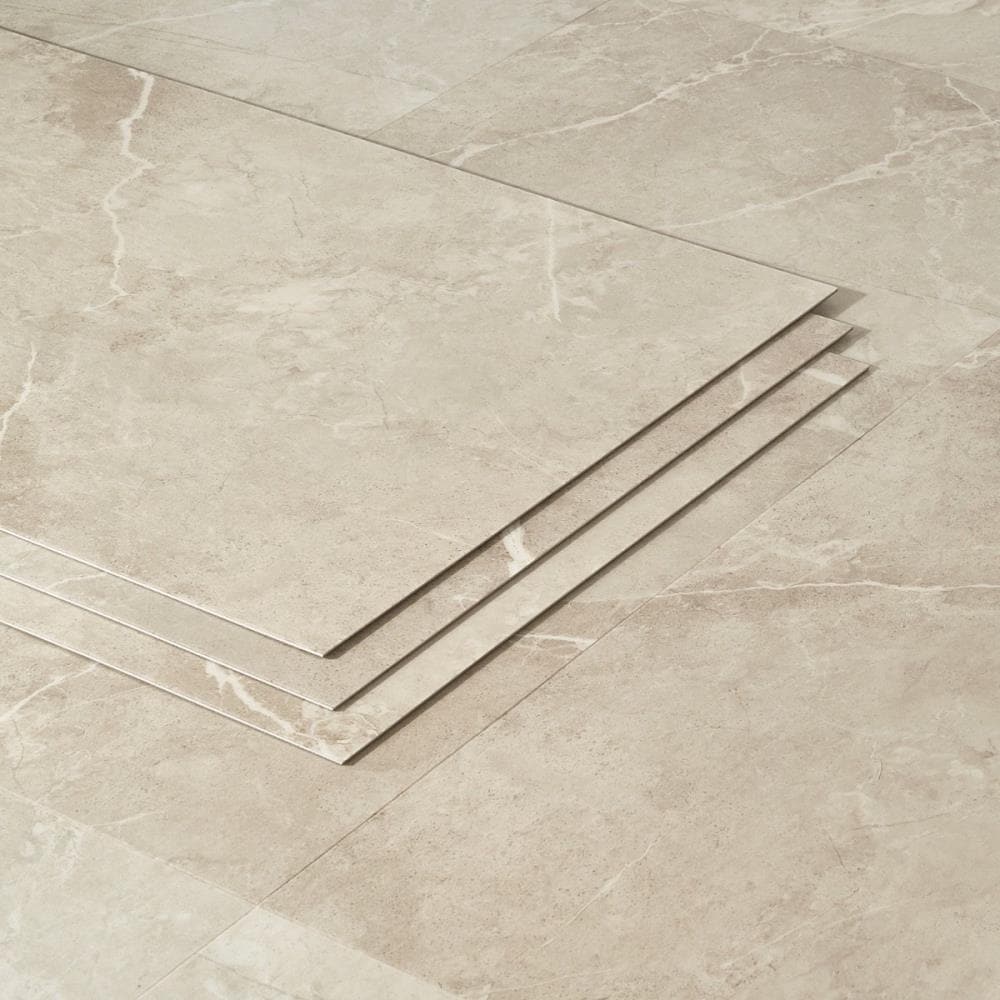
Resilient Glue Down Vinyl Flooring Tiles – TopJoyFlooring

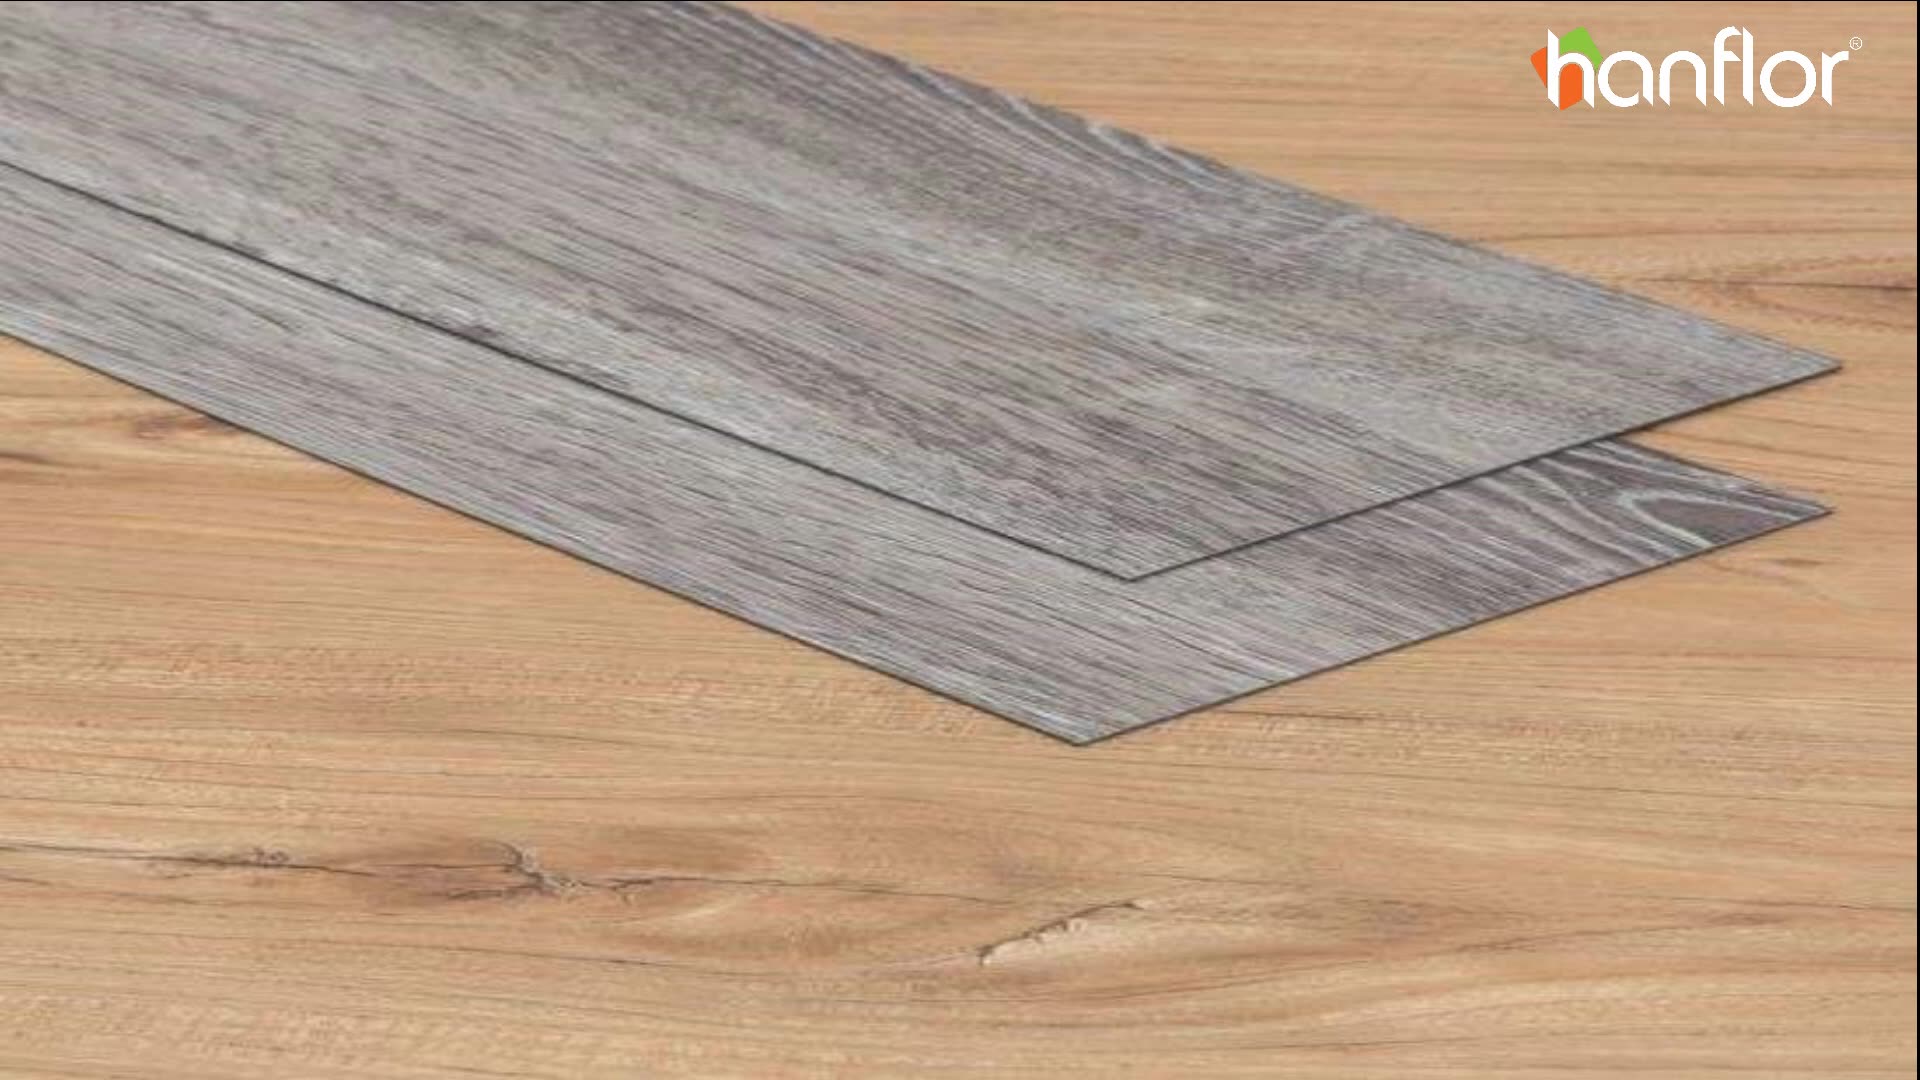
Glue Down Type Lvt Floating Luxury Vinyl Tile 2mm 3mm Dryback Vinyl Plank Flooring – Buy Glue
Glue down Vinyl Tile at Lowes.com
Spectra Bronze Metallic Tile Luxury Glue Down Vinyl Flooring

Cork Glue Down Floors — Jelinek Cork Group®

Advantages of Glue-Down Adhesive Floor Tiles
/Tiling-a-Floor-112790382-56a4a0685f9b58b7d0d7e3ca.jpg)
Spectra Bronze Metallic Tile Luxury Glue Down Vinyl Flooring

Fireproof Commercial Glue Down Vinyl Tiles – TopJoyFlooring

Glue Down Vinyl Plank Flooring Little Falls, NJ Floors Direct

2mm Glue Down Commercial Grade Luxury Vinyl Tile Flooring Great Fire Proof

Related Posts:
- Cuban Tile Floors
- Easy Way To Grout Tile Floor
- Types Of Marble Tile Flooring
- Slate Tile Floor
- Classic Bathroom Tile Floors
- Tile Floor Color Ideas
- Wet Mops For Tile Floors
- Staining Saltillo Tile Floors
- Terrazzo Tile Floor Outdoor
- Tile Flooring For Screened Porch
Installing a tile floor can be a great way to add style and durability to any room. Glue down tile flooring is one of the most popular methods of installing tile flooring due to its affordability, ease of installation and low-maintenance requirements. In this article, we’ll take a look at what glue down tile flooring is, the tools you’ll need to install it, and some tips for ensuring a professional looking installation.
What is Glue Down Tile Flooring?
Glue down tile flooring is exactly what it sounds like – tiles that are glued directly to the subfloor. This type of installation is ideal for areas that will experience heavy foot traffic, such as kitchens and bathrooms, since it can hold up to wear and tear better than other forms of tile flooring. It’s also one of the most cost effective solutions since there’s no need for additional materials like grout or mortar.
Tools Needed for Installation
When installing glue down tile flooring, you’ll need the following tools:
• Trowel
• Tile adhesive
• Tile cutter
• Measuring tape
• Grout float
• Chalk line
• Caulk gun
• Notched trowel
• Grout sealer
• Spacers
• Level
• Utility knife
• Soft-bristled brush
• Grout sponge
Preparing the Subfloor
Before you begin installing your glue down tile flooring, it’s important to make sure that the subfloor is clean, dry and level. If there are any cracks or holes in the subfloor, they should be filled in with concrete patch. You’ll also want to make sure that the subfloor is free of dust, dirt and debris before applying the adhesive. Once you’ve prepped the subfloor, you can begin laying out your tiles.
Laying Out The Tiles
Before you begin laying down your tiles, it’s important to make sure that they are laid out correctly. Start by measuring the room and marking off any corners or edges with a chalk line. Then, use spacers to create a uniform pattern across the entire area. Make sure to double check your measurements before you start applying adhesive.
Applying Adhesive and Setting Tiles
Once you’ve laid out your tiles correctly, you can begin applying adhesive with a notched trowel. Make sure to cover each tile completely with adhesive and press firmly into place. Once all of your tiles have been applied, use a soft-bristled brush to remove any excess adhesive from the surface of the tiles. Allow the adhesive to set according to manufacturer’s instructions before grouting.
Grouting and Sealing Your Tile Floor
Once your adhesive has set completely, it’s time to grout your tile floor. Begin by mixing grout according to manufacturer’s instructions and then apply it with a grout float over all of the joints between tiles. Once all of the joints have been filled, use a damp sponge to remove any excess grout from the surface of the tiles. Finally, seal your tile floor with a grout sealer for extra protection against moisture and staining.
Conclusion
Installing glue down tile flooring is a great way to add style and durability to any room in your home. With some basic tools and supplies, you can create a professional looking installation in no time at all. Just make sure that you prepare your subfloor properly before laying down tiles and follow all manufacturer’s instructions carefully when applying adhesive and grout. With just a little bit of effort, you can enjoy a beautiful tile floor for years to come!