How to lay a tile floor today’s homeowner
How to lay a tile floor today’s homeowner
How to lay a tile floor today’s homeowner

How to lay a tile floor today’s homeowner

How to lay a tile floor today’s homeowner

How to lay a tile floor today’s homeowner

How to lay a tile floor today’s homeowner

How to lay a tile floor today’s homeowner

How to lay a tile floor today’s homeowner
How to lay a tile floor today’s homeowner
How to lay a tile floor today’s homeowner

How to lay a tile floor today’s homeowner
Related Posts:
- French Country Bathroom Flooring
- Mid Century Modern Bathroom Flooring
- Rustic Bathroom Floor Tiles
- Purple Bathroom Flooring
- How To Clean Bathroom Floor Stains
- Tile Design Bathroom Floor
- Terracotta Bathroom Floor
- Cool Bathroom Floor Ideas
- Light Bathroom Floor Tiles
- Classic Bathroom Floor Tile Ideas
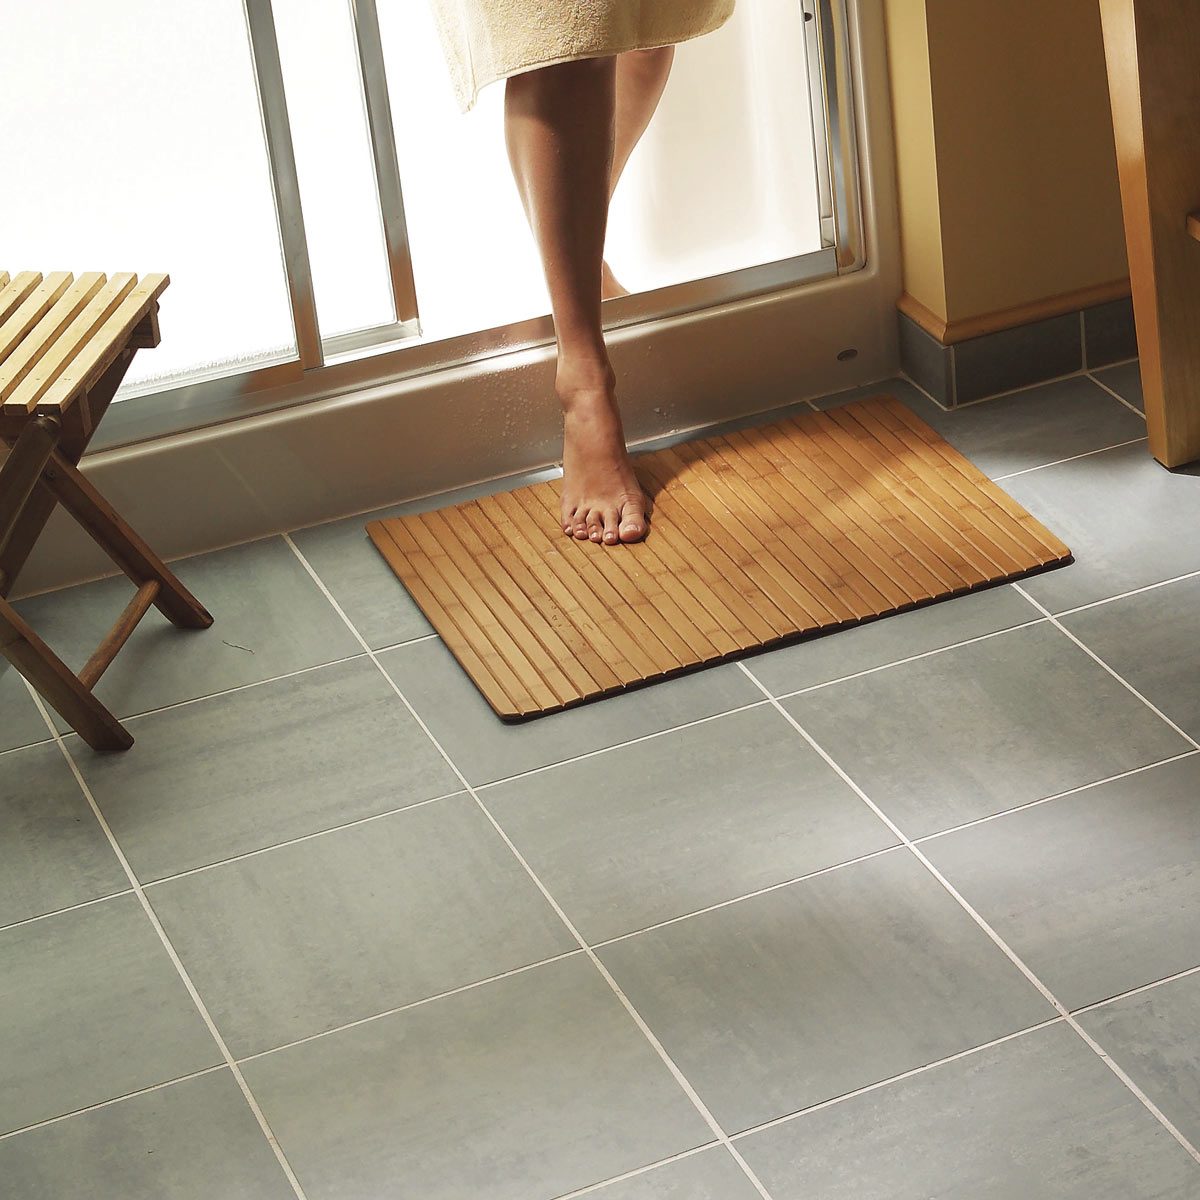
Tiling your bathroom floor can transform the look of the whole space. Not only does it create a fresh, clean aesthetic, but it can also make your bathroom floor easier to clean and maintain. But before you can enjoy the beauty of tiled floors, there’s the matter of laying out the tiles properly. To help you out, we’ve put together a step-by-step guide on how to lay out bathroom floor tile.
## Measure Your Room
The very first step when laying out bathroom floor tile is to measure your room. You’ll need to know the length and width of the area you’re going to be tiling so that you can determine how many tiles you’ll need. Once you have your measurements, you should also take into account any fittings or fixtures in the room that will need to be worked around when laying the tiles. This could include toilets, sinks, or bathtubs.
## Make a Template
Once you have all of your measurements and have taken into account any fixtures in the room, it’s time to make a template. Use graph paper to map out a plan for where each tile will go in relation to the fixtures in the room and to each other. This will help you visualize how many tiles you need and what size they should be.
## Determine Tile Size
Now that you have your measurements and template prepared, it’s time to figure out the size of the tiles you’ll be using in your bathroom. Generally speaking, larger tiles are better for smaller bathrooms as they make the space appear bigger, but it’s important to consider how much extra space you’ll need for grout. If possible, try to choose a size that has a grout line of 1/8 inch or less.
## Cut Tiles as Needed
Once you have determined what size tiles you will be using, it’s time to cut them as needed. If you’re using standard square tiles, then this likely won’t be necessary; however, if you’re using any kind of irregular shape then it will be essential. Measure carefully and use a wet saw or other cutting tool to ensure that all of your pieces are properly sized for your space.
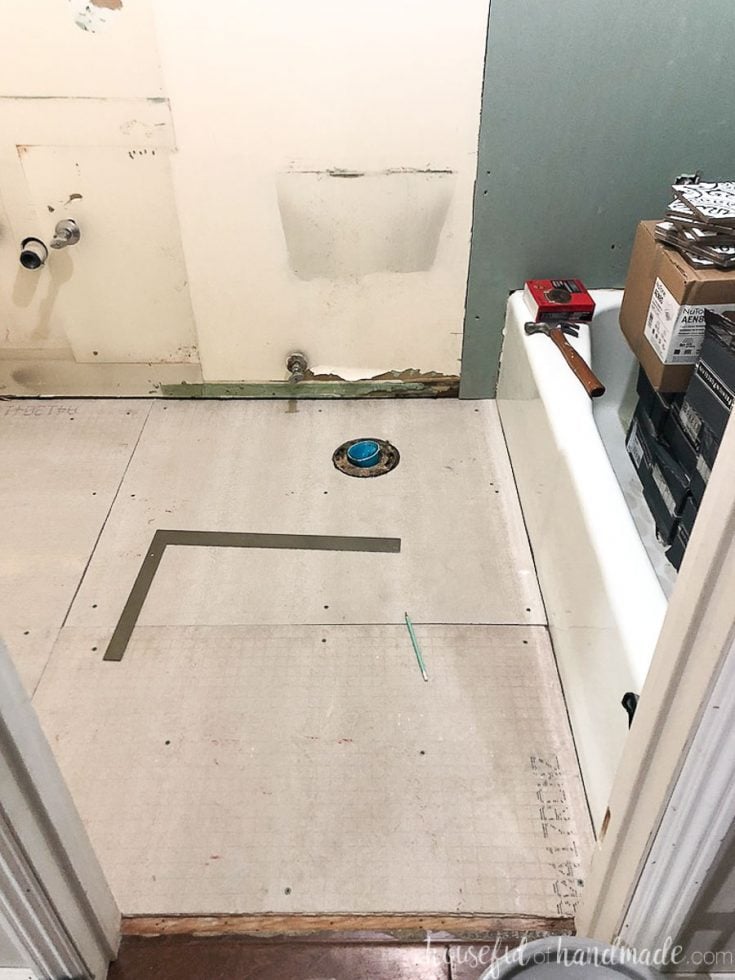
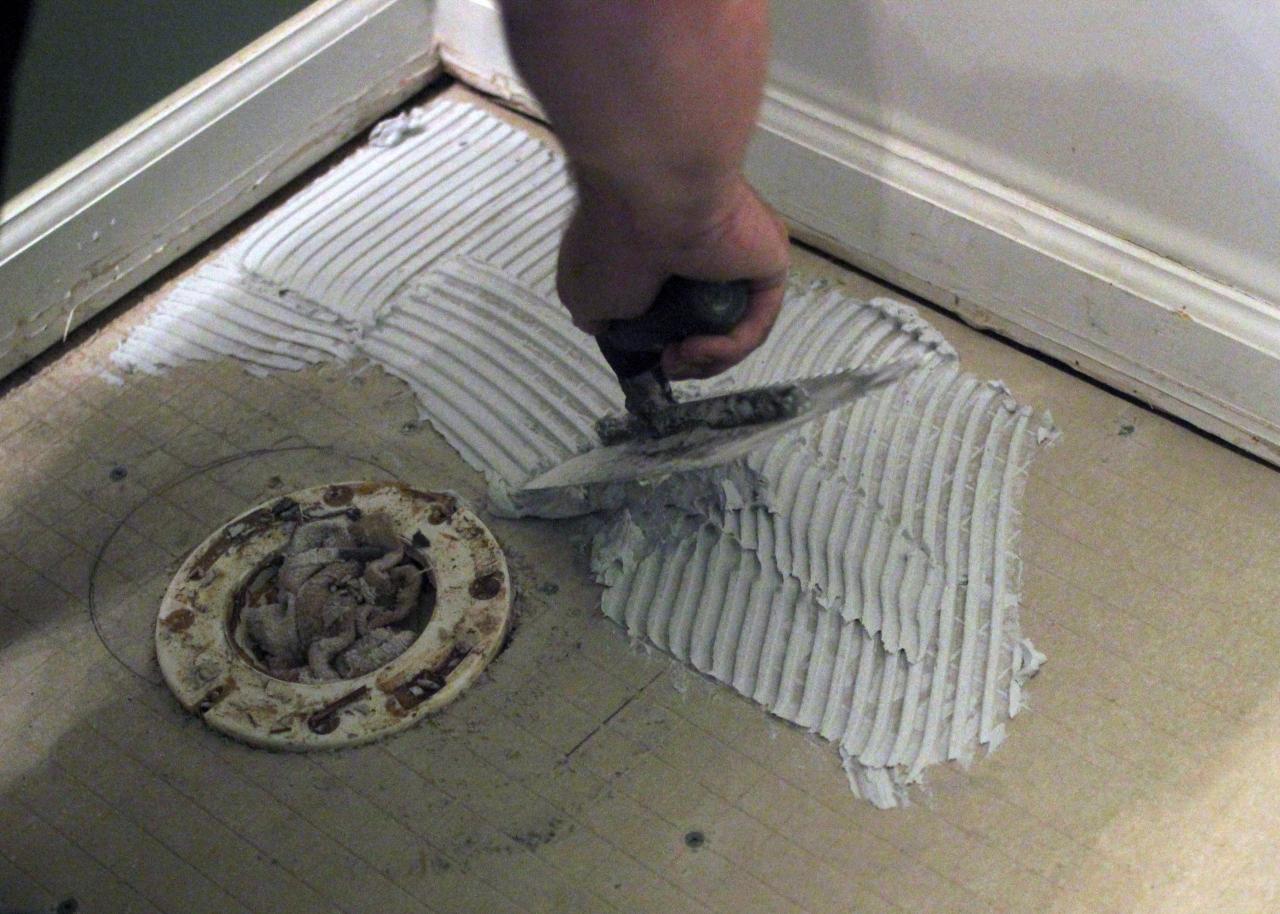
## Prepare Substrate
Now that all of your pieces are cut and ready to go, it’s time to prepare the substrate for tiling. This means making sure that the surface is as flat as possible so that your tiles will lay evenly when installed. Start by removing any old tile or debris from the surface and then apply a thin layer of thinset mortar or cement board adhesive with a notched trowel.
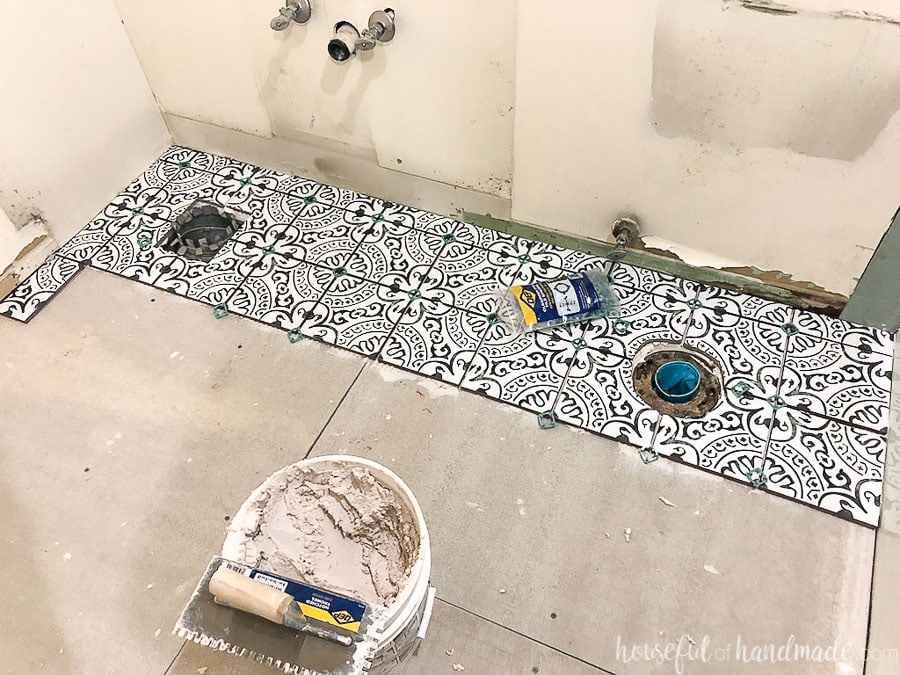
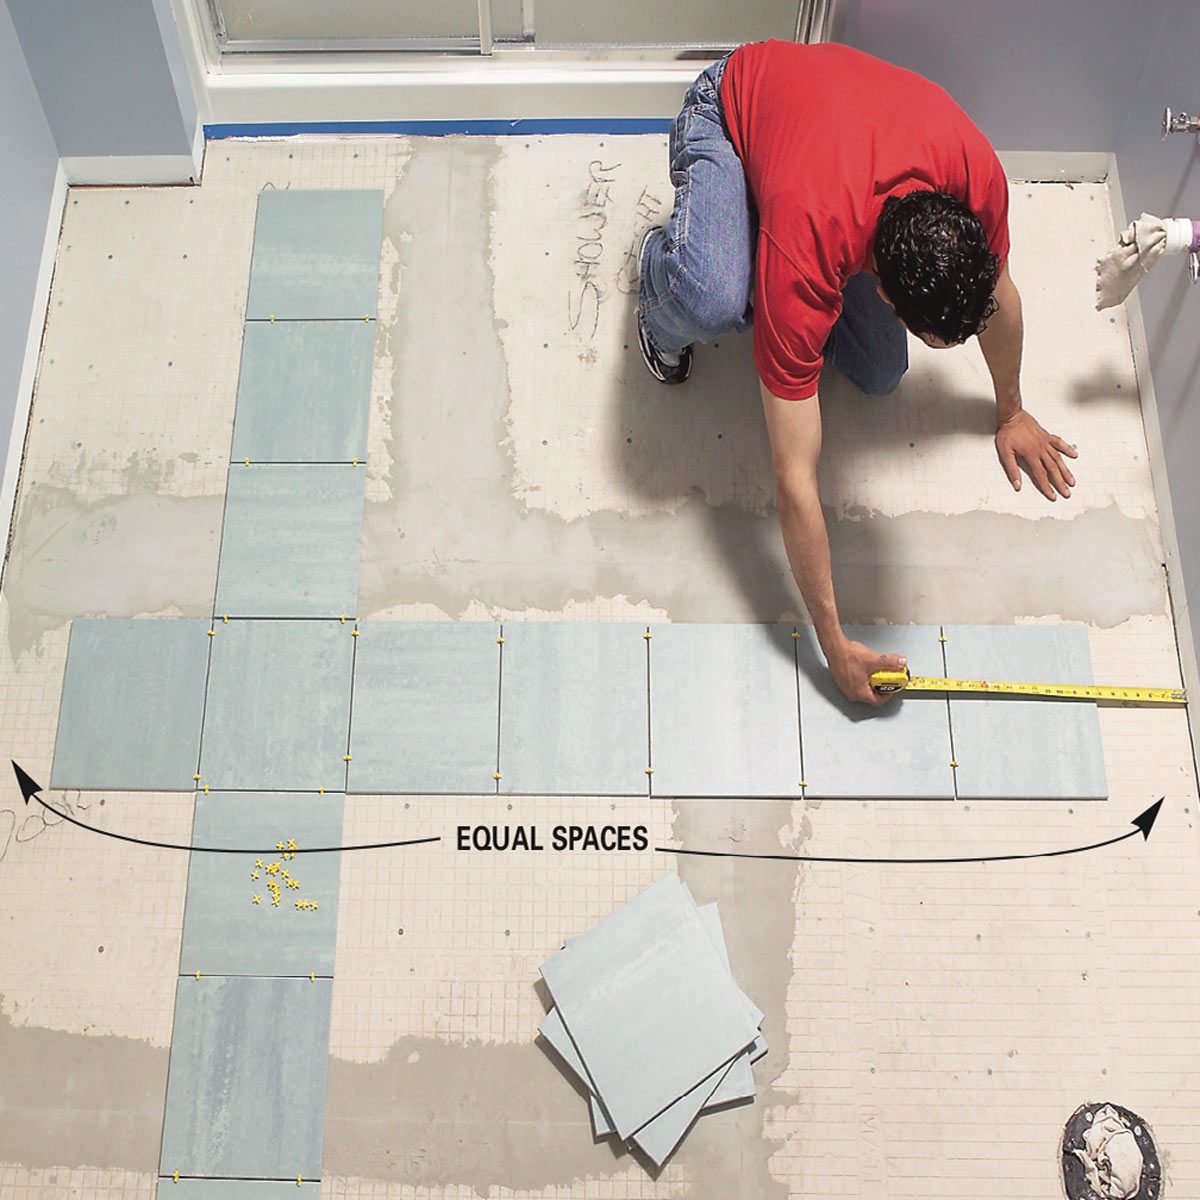
## Dry Fit Tiles
Once your substrate is ready, it’s time to start laying out your tiles. Begin by dry-fitting them onto the substrate without using any adhesive or mortar so that you can get an idea of where each piece should go and make any necessary adjustments before applying the adhesive. As you lay each piece out, make sure there is at least a 1/8 inch gap between each tile so that there is enough room for grout later on.
## Install Tiles
Now that all of your pieces are dry-fitted and ready to go, it’s time for installation. Start by mixing up some thinset mortar according to package instructions and then apply it with a notched trowel in small sections – about 2 feet by 2 feet is ideal – until all of your tiles are installed on the substrate. Once all of your pieces are installed, let them sit overnight to give the thinset time to cure before grouting.
## Grout Tiles
The last step in laying out bathroom floor tile is to grout them. Begin by mixing up enough grout for one section at a time so that it doesn’t dry out before you get a chance to use it all. Spread the grout over each section with a rubber grout float and then remove any excess with a damp sponge before allowing the grout 24 hours to cure completely before walking on it or applying sealant.
Tiling your bathroom floor may seem like an intimidating project but with these simple steps you’ll be able