DIY bathroom floor tile installation can be a rewarding project with the right preparation and tools. Begin by selecting tiles suitable for wet areas, such as porcelain or ceramic. Ensure the subfloor is clean, level, and waterproofed. Use a notched trowel to apply adhesive and lay tiles in a pattern of your choice, leaving space for grout. After the adhesive sets, fill the gaps with grout and seal the tiles for added protection. With attention to detail and patience, DIY bathroom floor tile installation can result in a professional and durable finish.
DIY Bathroom Floor Tile Installation

How to Install Bathroom Floor Tile how-tos DIY
How to Lay Tile: Install a Ceramic Tile Floor In the Bathroom Family Handyman

How to Install Bathroom Floor Tile how-tos DIY
How to Install Ceramic Tile Floor in the Bathroom Ceramic tile bathrooms, Ceramic floor tiles

How To Install Bathroom Tile Floor / How to Install Ceramic Tile Floor in the Bathroom – If
How to Install Bathroom Floor Tile how-tos DIY
How to Install Bathroom Floor Tile how-tos DIY
LVT Flooring Over Existing Tile the Easy Way – Vinyl Floor Installation DIY Vinyl plank

Hot to Tile a Bathroom Floor Tile installation, Tile floor diy, Bathroom flooring

How to Install Bathroom Floor Tile how-tos DIY
How to Install Tile on a Bathroom Floor Bathroom floors diy, Bathroom flooring, Tile installation

Related Posts:
- French Country Bathroom Flooring
- Mid Century Modern Bathroom Flooring
- Rustic Bathroom Floor Tiles
- Purple Bathroom Flooring
- How To Clean Bathroom Floor Stains
- Tile Design Bathroom Floor
- Terracotta Bathroom Floor
- Cool Bathroom Floor Ideas
- Light Bathroom Floor Tiles
- Classic Bathroom Floor Tile Ideas
## DIY Bathroom Floor Tile Installation
Installing bathroom floor tiles can be a tricky and time-consuming task. But if you have the right tools, the proper safety equipment, and a few helpful tips, it can be a relatively easy job. Here are some helpful guidelines for DIY bathroom floor tile installation.
### Gather the Necessary Materials and Tools
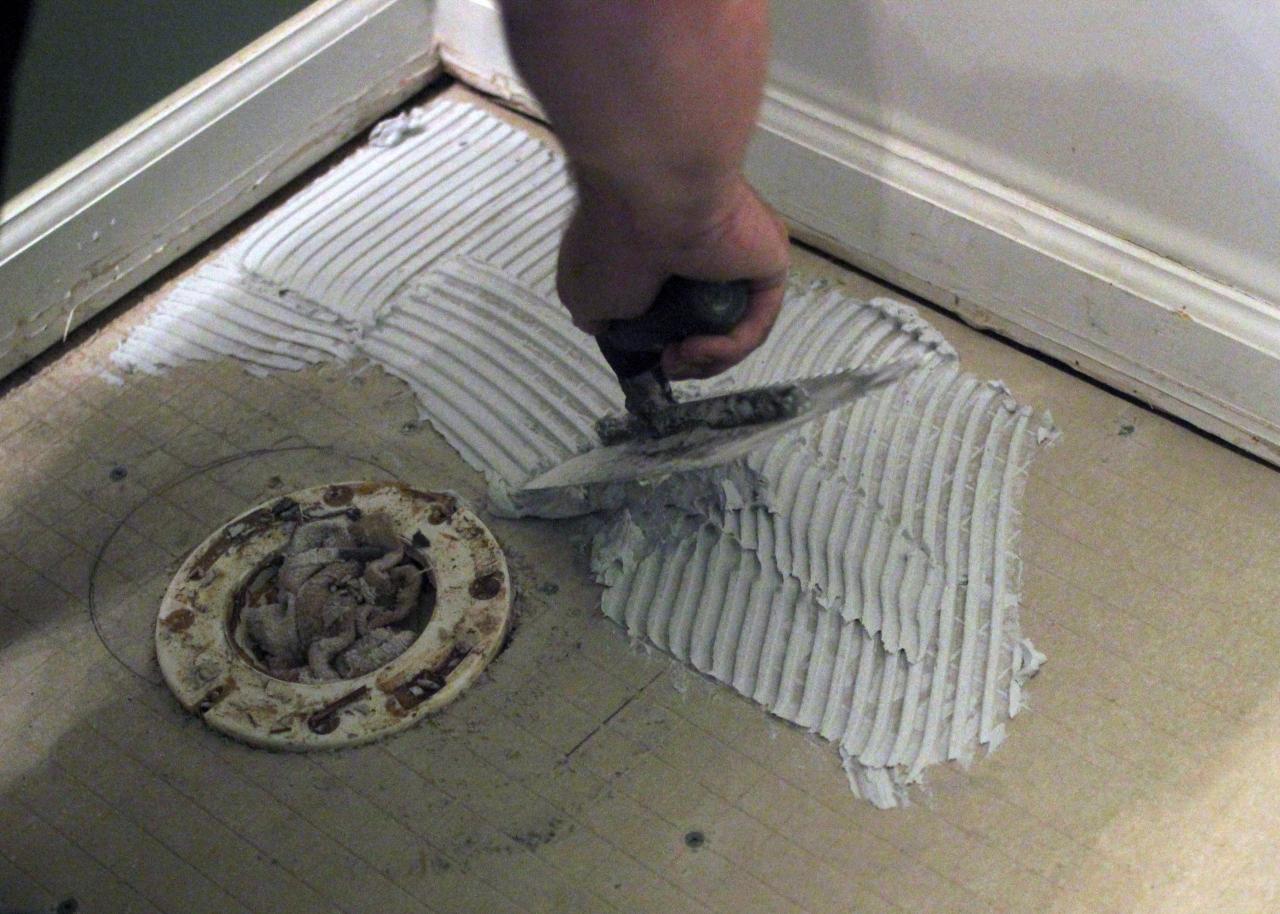
Before beginning the tile installation process, you will need to gather the necessary materials and tools. This will include the tiles, tile adhesive, grout, spacers, a trowel, a rubber float, a sponge, a wet saw, and a tile cutter. You may also want to purchase a tile nipper for cutting curved pieces.
### Prepare the Area
Before laying the tiles, you will need to prepare the area. This includes cleaning the floor thoroughly and making sure it is level and even. If there are any cracks or uneven surfaces, these should be filled in with concrete before proceeding. Once you have prepared the area, you can begin laying the tiles.
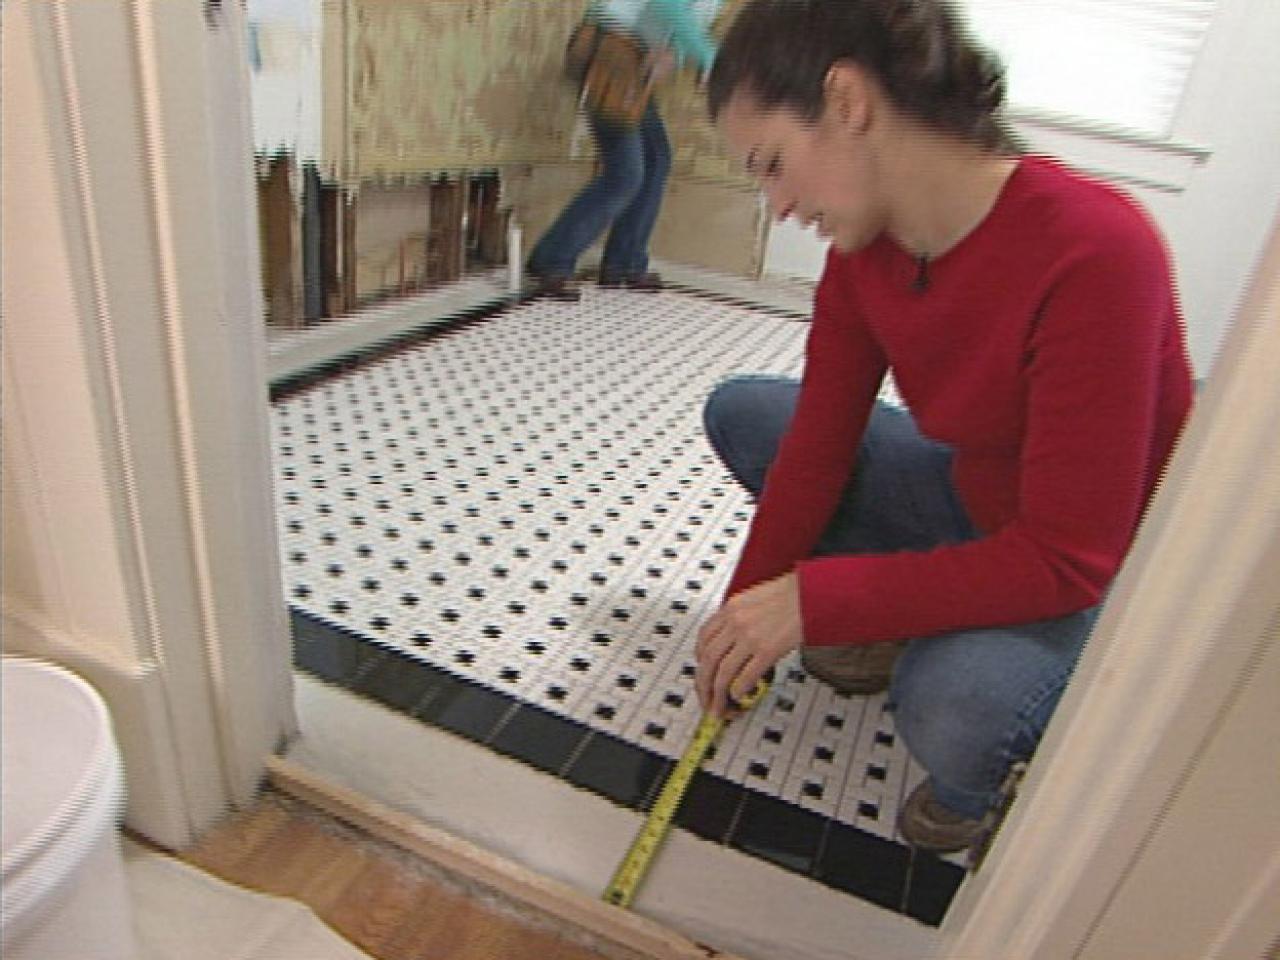
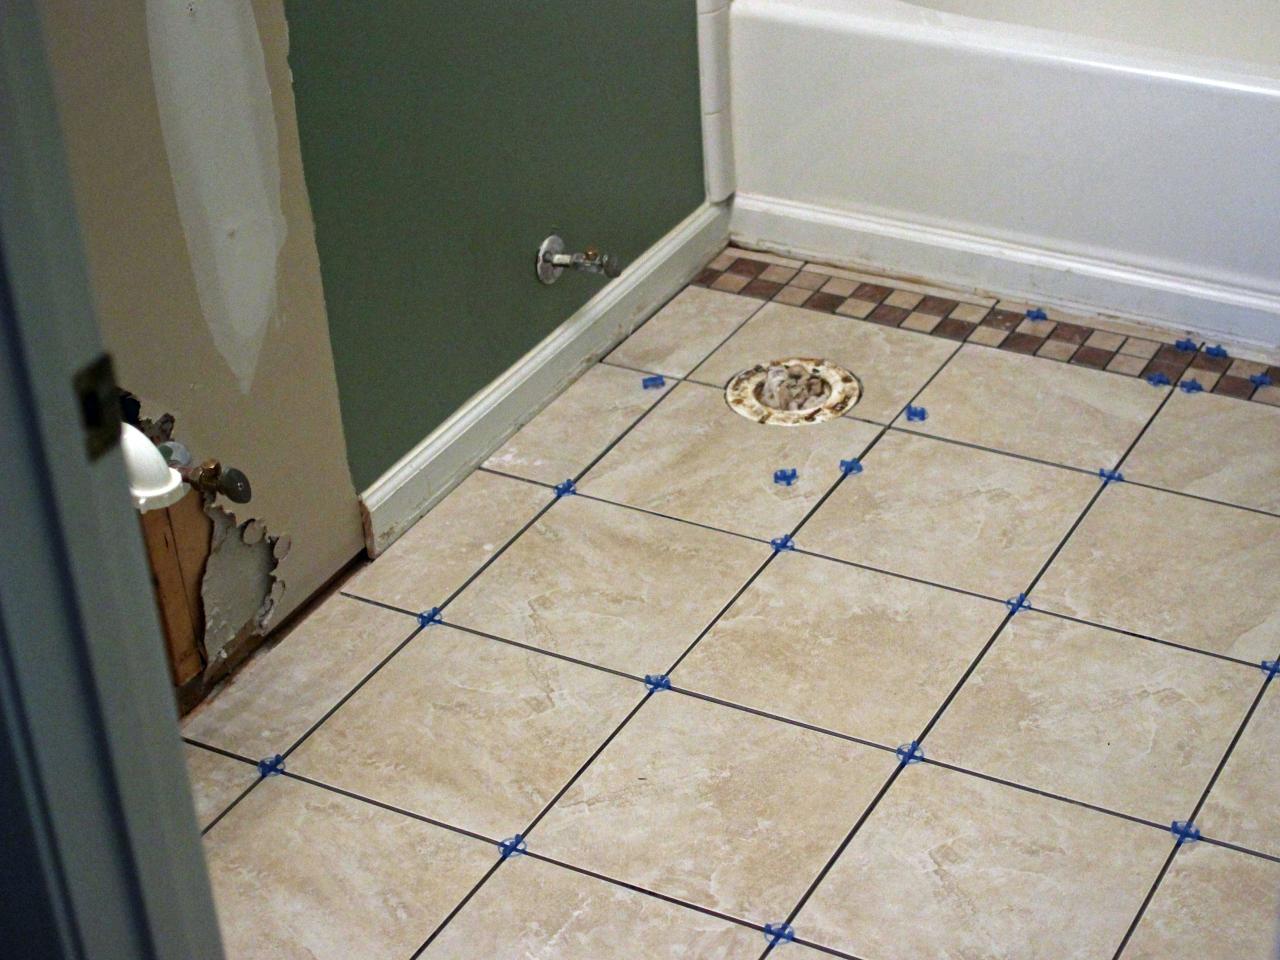
### Lay Out Your Tiles
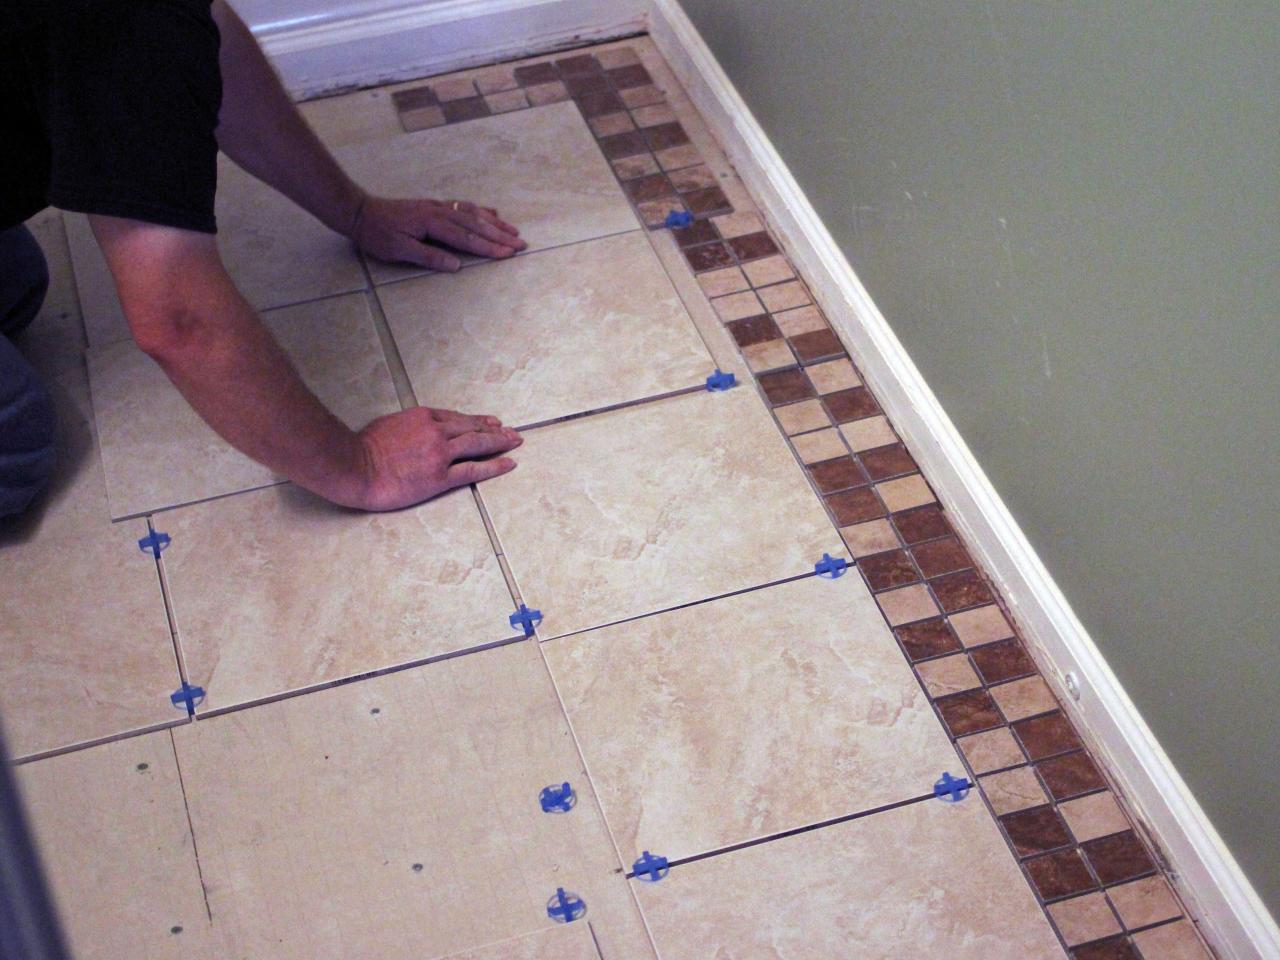
Once you have gathered all of the necessary materials and tools, you can begin laying out your tiles. Start by laying out your tiles on the floor to make sure they fit correctly. You may also want to draw an outline of your design on the floor before beginning to lay out the tiles. Use spacers between each tile to ensure that your design is even and visually appealing.
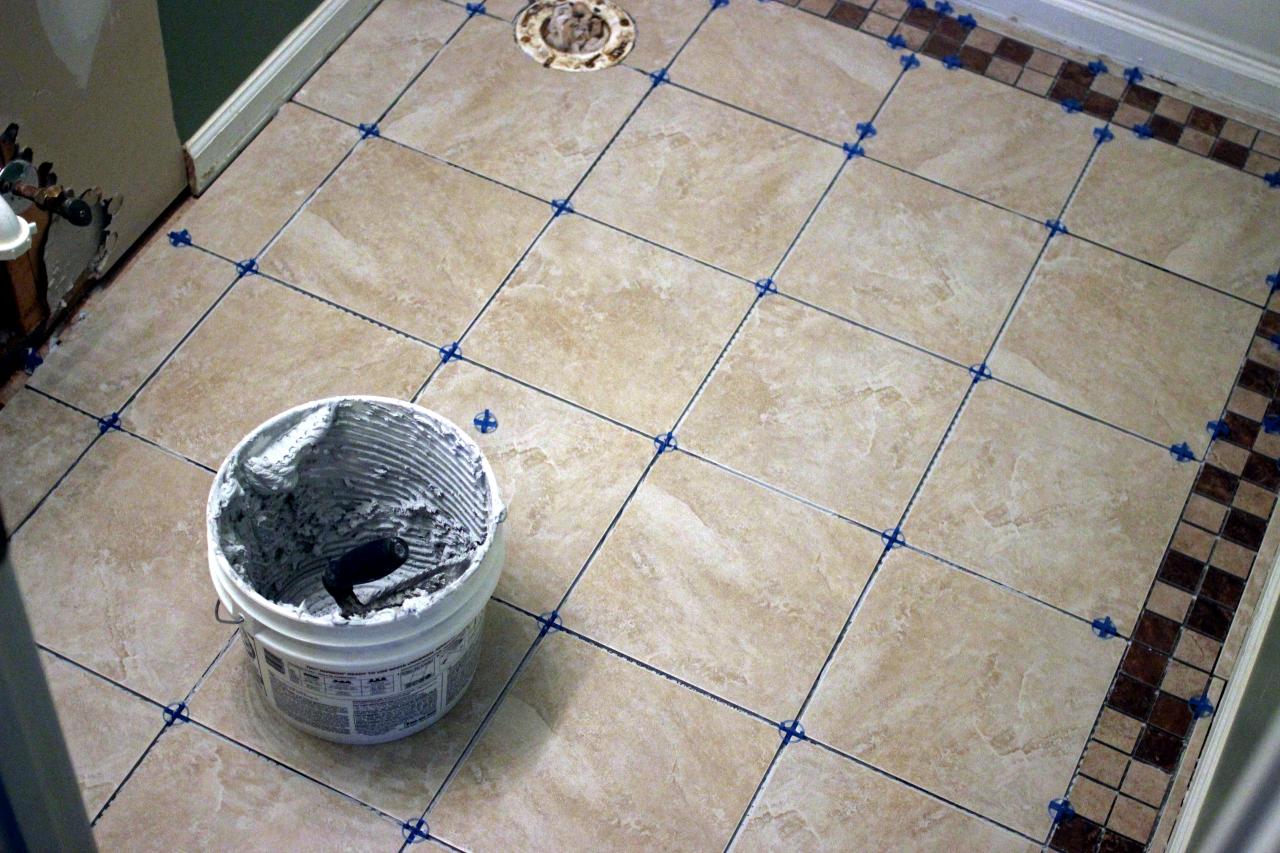
### Begin Tile Installation
Next, you can begin installing your tiles. Spread tile adhesive on the back of each tile before placing it on the floor. Use a rubber float to press down each tile and make sure it is firmly in place. Once all of the tiles are in place, wait for 24 hours before grouting them.
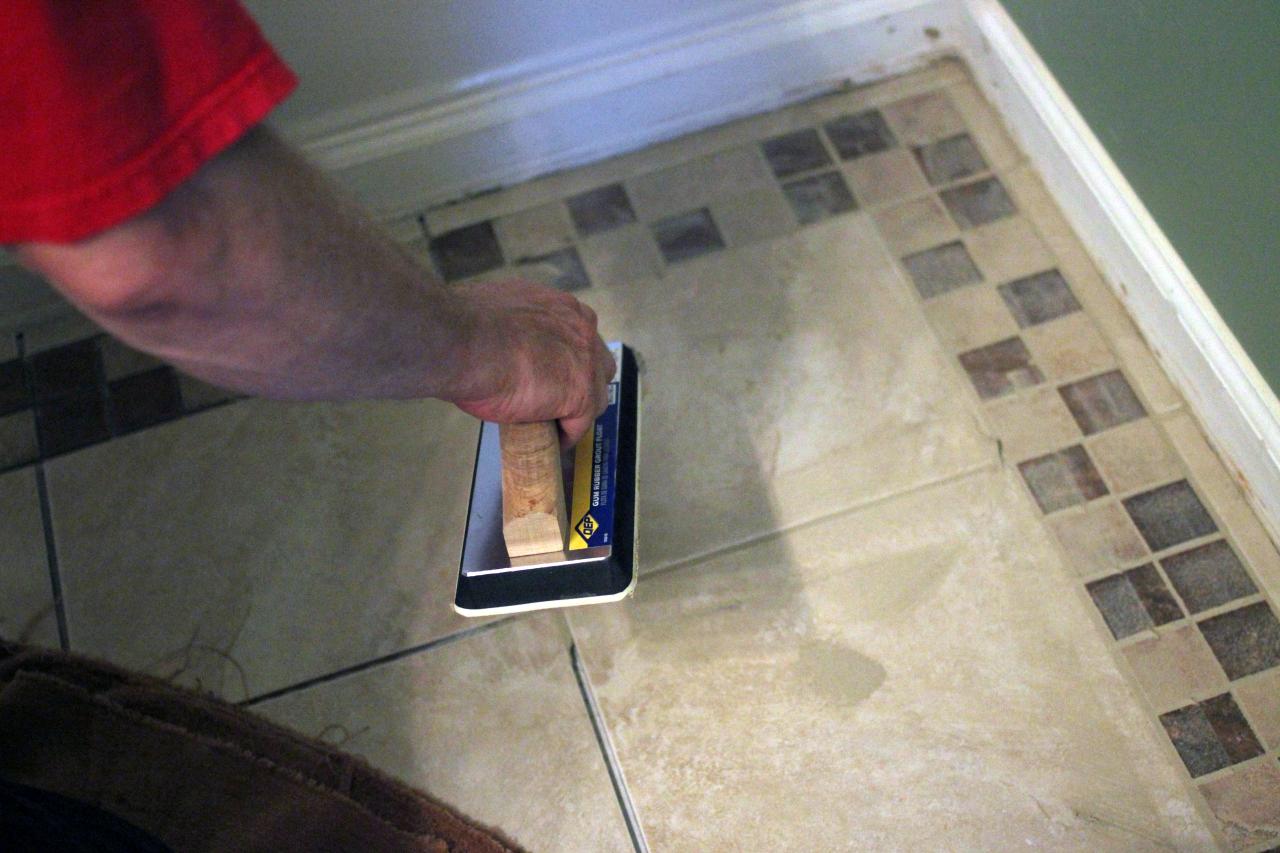
### Grout and Clean Up
After 24 hours have passed, you can begin grouting your tiles. Use a wet saw to cut away any excess grout from around the edges of each tile. Make sure to remove any excess grout from the surface of your tiles as well. After grouting is complete, use a damp sponge to wipe away any remaining grout residue from the surface of your tiles.
### Final Touches
Once your bathroom floor has been tiled and grouted properly, you can add some final touches such as sealant or specialised cleaning products. This will help to protect your tiles from water damage and staining over time. With proper care and maintenance, your bathroom floor should remain beautiful for many years to come!
Installing bathroom floor tiles is a great way to add visual appeal and value to your home without spending too much money or time on the project. By following these simple steps for DIY bathroom floor tile installation, you should be able to create a beautiful look that will last for years!