Replacing Carpet With Vinyl Flooring
Quick Tips to Replace Carpet with Vinyl Flooring Zameen Blog
Quick Tips to Replace Carpet with Vinyl Flooring Zameen Blog
Quick Tips to Replace Carpet with Vinyl Flooring Zameen Blog

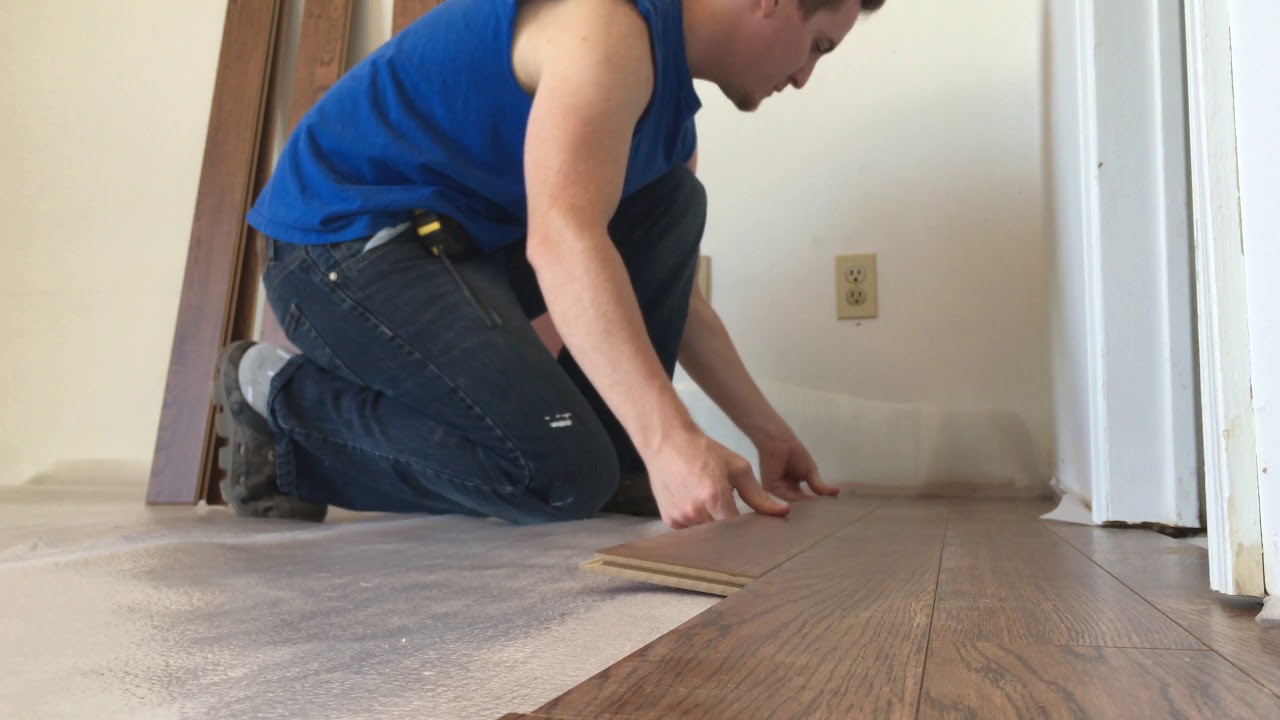
Replacing the Old Carpet With Vinyl Plank Flooring Hometalk
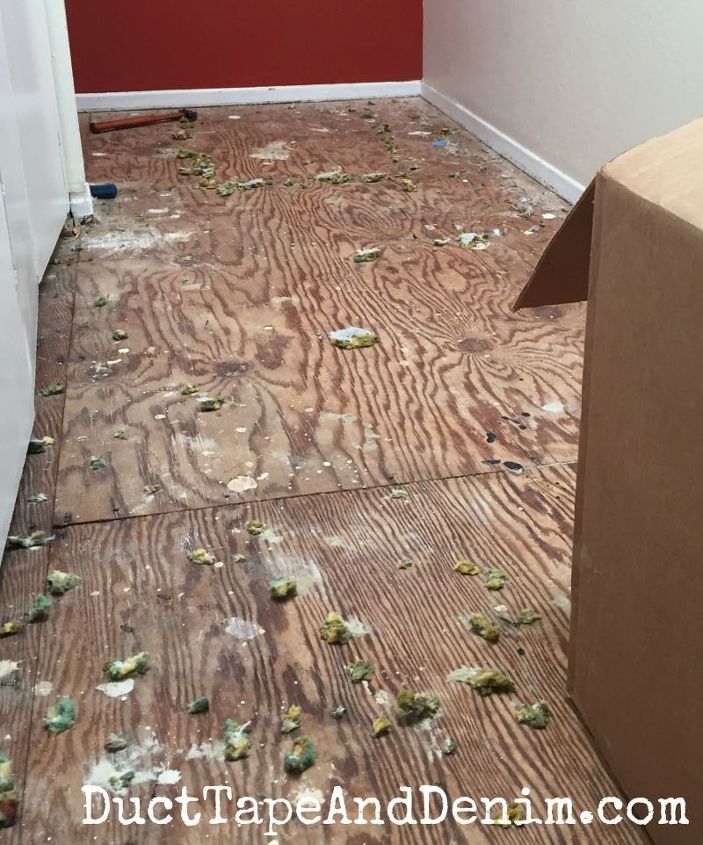
Replacing Carpet Laminate Flooring – Get in The Trailer

Replacing Carpet Laminate Flooring – Get in The Trailer

Replacing Carpet Laminate Flooring – Get in The Trailer

Carpet Into Vinyl • Flooring Plus
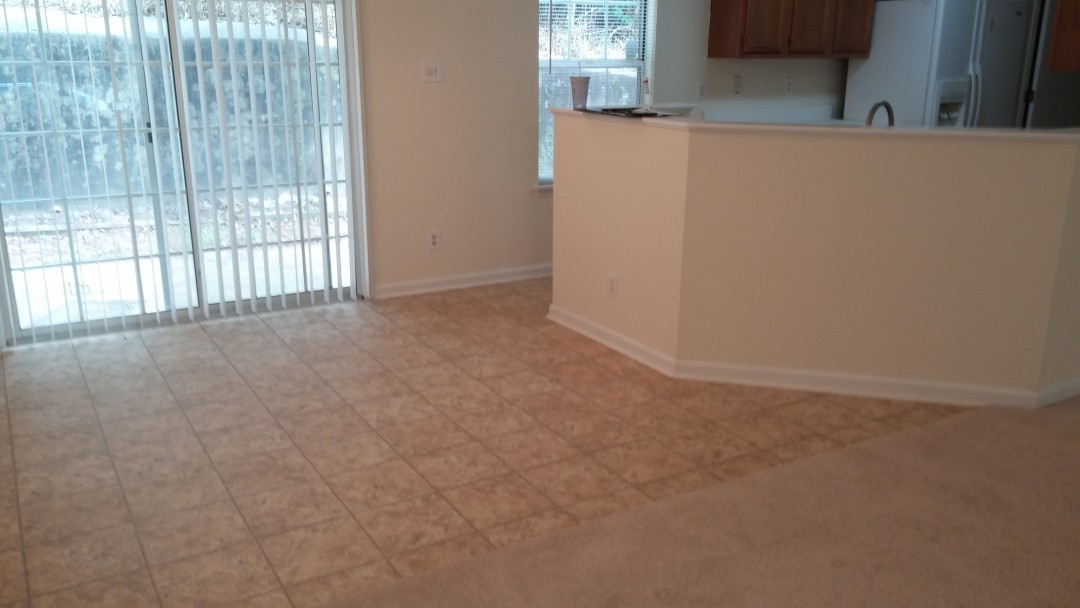
Replacing the Old Carpet With Vinyl Plank Flooring Hometalk
replacing carpet with laminate Replacing carpet, Laminate flooring, Laminate

How To Replace Your RV Carpet With Vinyl Flooring

Related Posts:
- Pine Vinyl Flooring
- Vinyl Floor Laying DIY
- Cortex Vinyl Flooring
- Grey Slate Effect Vinyl Floor Tiles
- Dark Oak Vinyl Flooring
- Limestone Effect Vinyl Flooring
- Vinyl Floor With Border
- Adhesive For Vinyl Flooring To Concrete
- Teak Wood Vinyl Flooring
- Cheap Vinyl Flooring
When it comes to interior design, replacing your old carpet with a new vinyl flooring is a great way to upgrade the look of any room. Not only does vinyl flooring come in a variety of styles and colors, but it is also very durable and easy to clean and maintain. One of the major advantages of vinyl flooring is that it is very affordable compared to other types of flooring.
If you are looking to replace your old carpet with vinyl flooring, there are a few things you should know before getting started. This comprehensive guide will walk you through the steps involved in replacing carpet with vinyl flooring so that you can get the job done right and have beautiful floors in no time.
## What You Will Need
Before you begin the process of replacing your old carpet with new vinyl flooring, it’s important to make sure you have all the necessary supplies on hand. Here is a list of items that you will need to get the job done:
* Vinyl Flooring
* Tape Measure
* Underlayment
* Utility Knife
* Moisture Barrier
* Seam Sealer
* Hammer
* Nails
* Trowel
* Putty Knife
* Adhesive
* Grout
* Spacer Blocks
## Step 1: Measure Your Room
The first step in replacing your old carpet with vinyl flooring is to measure your room. This will help you determine how much flooring you need to purchase and will also help you plan out where the seams should go so that they are not visible. Make sure to measure from wall to wall and take into account any furniture or other obstacles that may be in the way.
## Step 2: Install the Underlayment
Once you have measured your room, the next step is to install the underlayment. This is a thin layer of material that acts as a cushion between the vinyl flooring and the subfloor. It helps to reduce noise and provides additional insulation. It’s important to make sure that the underlayment is installed correctly so that it doesn’t interfere with the installation of the vinyl flooring.
## Step 3: Install the Moisture Barrier
In order for your new vinyl flooring to last, it’s important to install a moisture barrier between it and the subfloor. The moisture barrier helps keep liquids from seeping through and damaging your new flooring. It’s important to make sure that all seams are sealed properly so that there are no gaps where moisture can enter.
## Step 4: Lay Out Your Vinyl Flooring
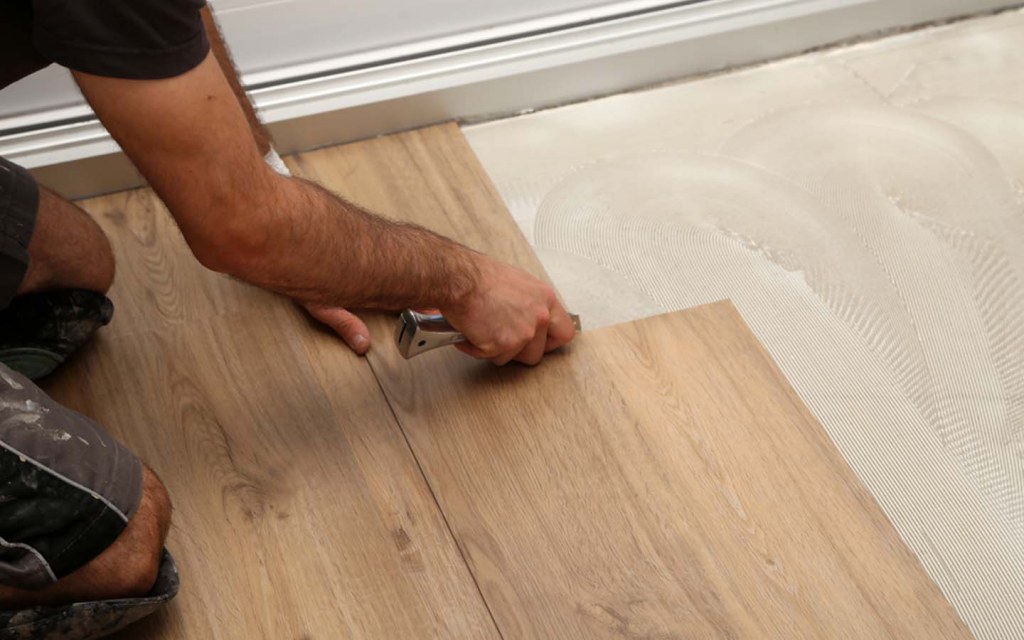
Once you have installed the underlayment and moisture barrier, the next step is to lay out your vinyl flooring. Start at one corner of the room and work your way out towards the opposite corner. Make sure to leave a small gap between each piece so that you can use seam sealer later on. Once all of the pieces have been laid out, double check them with a tape measure before moving on to the next step.
## Step 5: Secure Your Vinyl Flooring Into Place
Once all of your pieces are laid out, it’s time to secure them into place. This can be done by hammering nails through each piece or by using adhesive. If you choose to use adhesive, make sure to spread it evenly across each piece before pressing them into place. Once all of your pieces are secured, let them sit for at least 24 hours before moving on to grouting.
## Step 6: Grout Your Vinyl Flooring
Grouting helps fill in any gaps between each piece of vinyl flooring and gives your floors a seamless finish. Start by mixing up a batch of grout according to package instructions and then use a trowel to spread it across each seam in an even layer. Make sure not to use too much grout as this can make it difficult for it to set properly. Once all of your seams are filled in, let them sit for at least 24 hours before walking on them or adding furniture back into place.
## Step 7: Enjoy Your New Vinyl Floor!
Now that all steps have been completed, you can