Removing Vinyl Flooring From Concrete For Tile

How To Remove Vinyl Floor Tiles From Concrete
How to Remove Vinyl Flooring From Concrete Tilen.space

How To Remove Vinyl Glue From Concrete Floor – can vinyl flooring be painted over
DIY – Removing Vinyl or Flooring – See It Do It
Linoleum Flooring Removal From Concrete Jackd Rpaskal
How to Remove and Add Vinyl Flooring how-tos DIY
Removing Linoleum Glue From Concrete Floor – Flooring Ideas
Removing Vinyl Floor Tile From Concrete Slab – Carpet Vidalondon
How To Remove Commercial Vinyl Tile From Concrete Floor – how thick should plan vinyl flooring be
/woman-removing-old-tiles-645377785-5852d2215f9b586e02d2ee25.jpg)
How to Remove Vinyl Flooring Removing vinyl flooring, Vinyl flooring, Window cleaning tips

Removing Vinyl Flooring From Concrete – flooring Designs

Related Posts:
- Pine Vinyl Flooring
- Vinyl Floor Laying DIY
- Cortex Vinyl Flooring
- Grey Slate Effect Vinyl Floor Tiles
- Dark Oak Vinyl Flooring
- Limestone Effect Vinyl Flooring
- Vinyl Floor With Border
- Adhesive For Vinyl Flooring To Concrete
- Teak Wood Vinyl Flooring
- Cheap Vinyl Flooring
Remodeling your home is an exciting project, and replacing your old vinyl flooring with tile can be a great way to give your room a fresh new look. However, removing vinyl flooring from concrete can be challenging and time consuming. In this article, we’ll provide you with some tips on how to make the process easier.
## Preparing The Concrete For Tile Installation
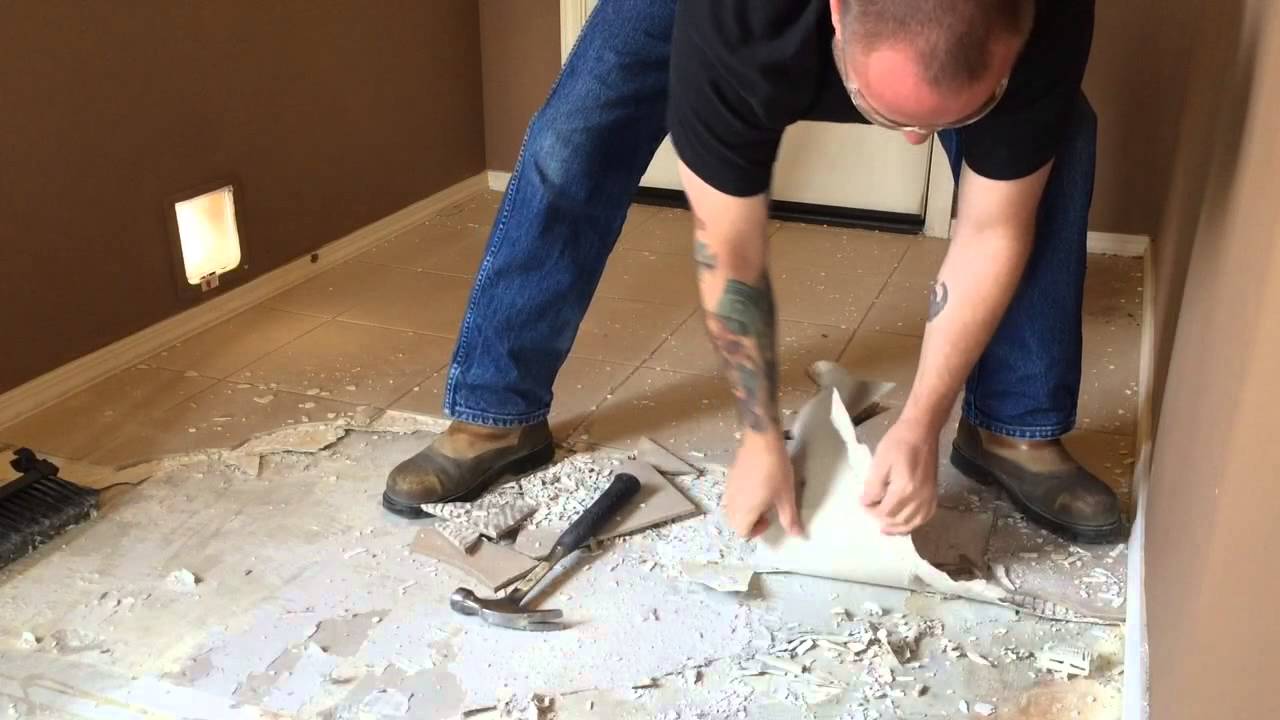
Before you can start laying down tile, you’ll need to prepare the concrete floor. This is important as any debris left behind could cause problems when it comes time to lay down the tile. To prepare the concrete, use a hammer to break up any large chunks of vinyl and sweep away any dust or debris. Then, use a vacuum cleaner to get rid of any remaining dirt or particles.
## Removing The Vinyl Flooring
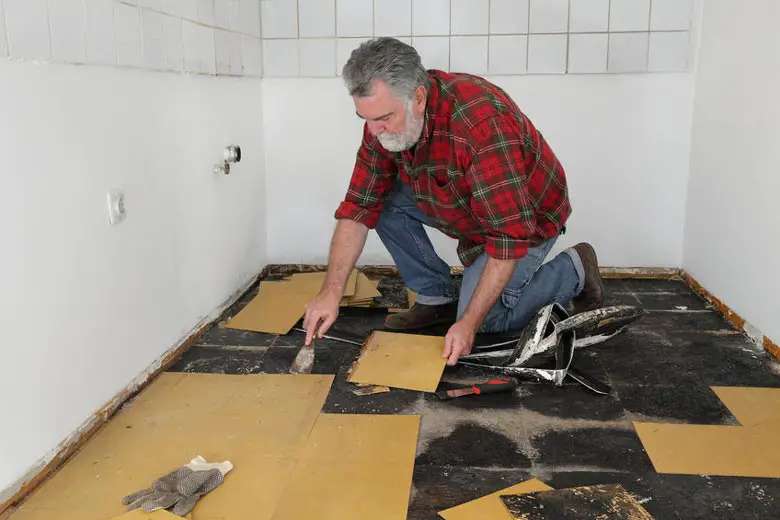
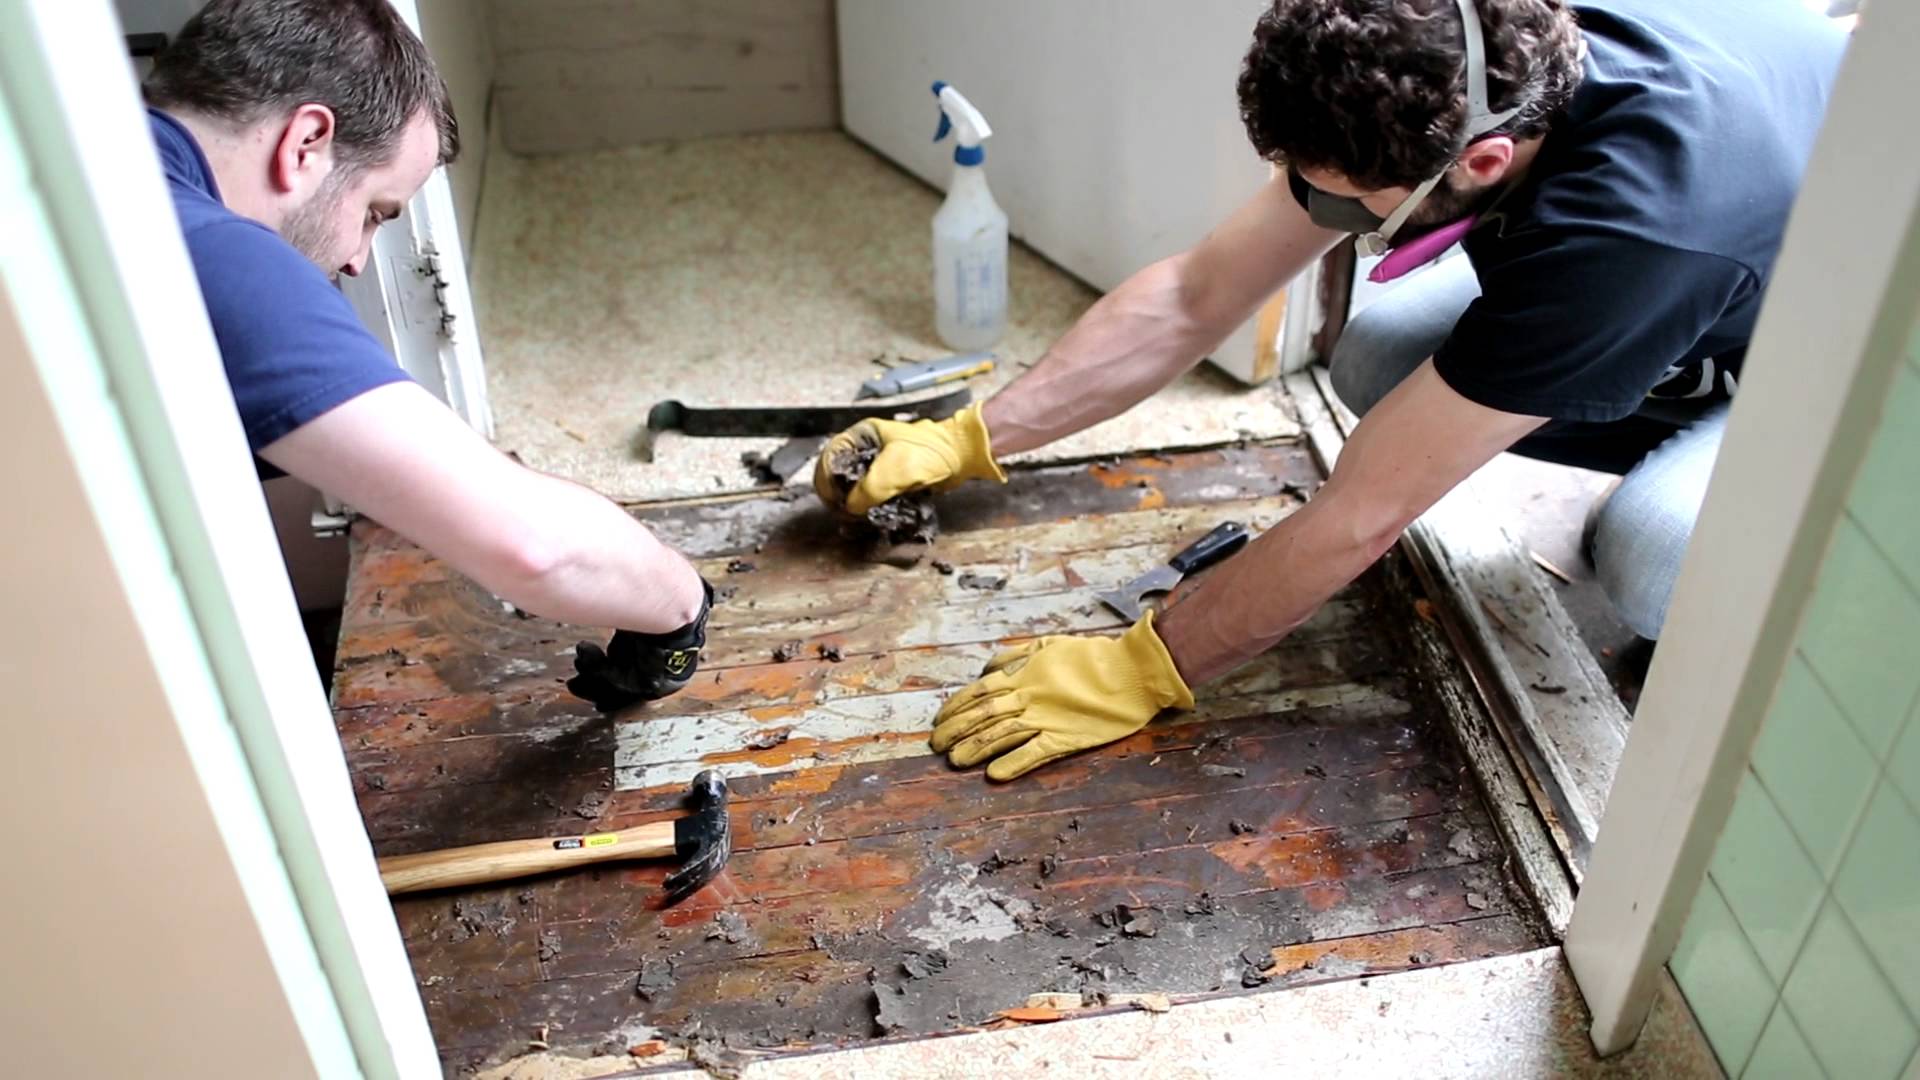
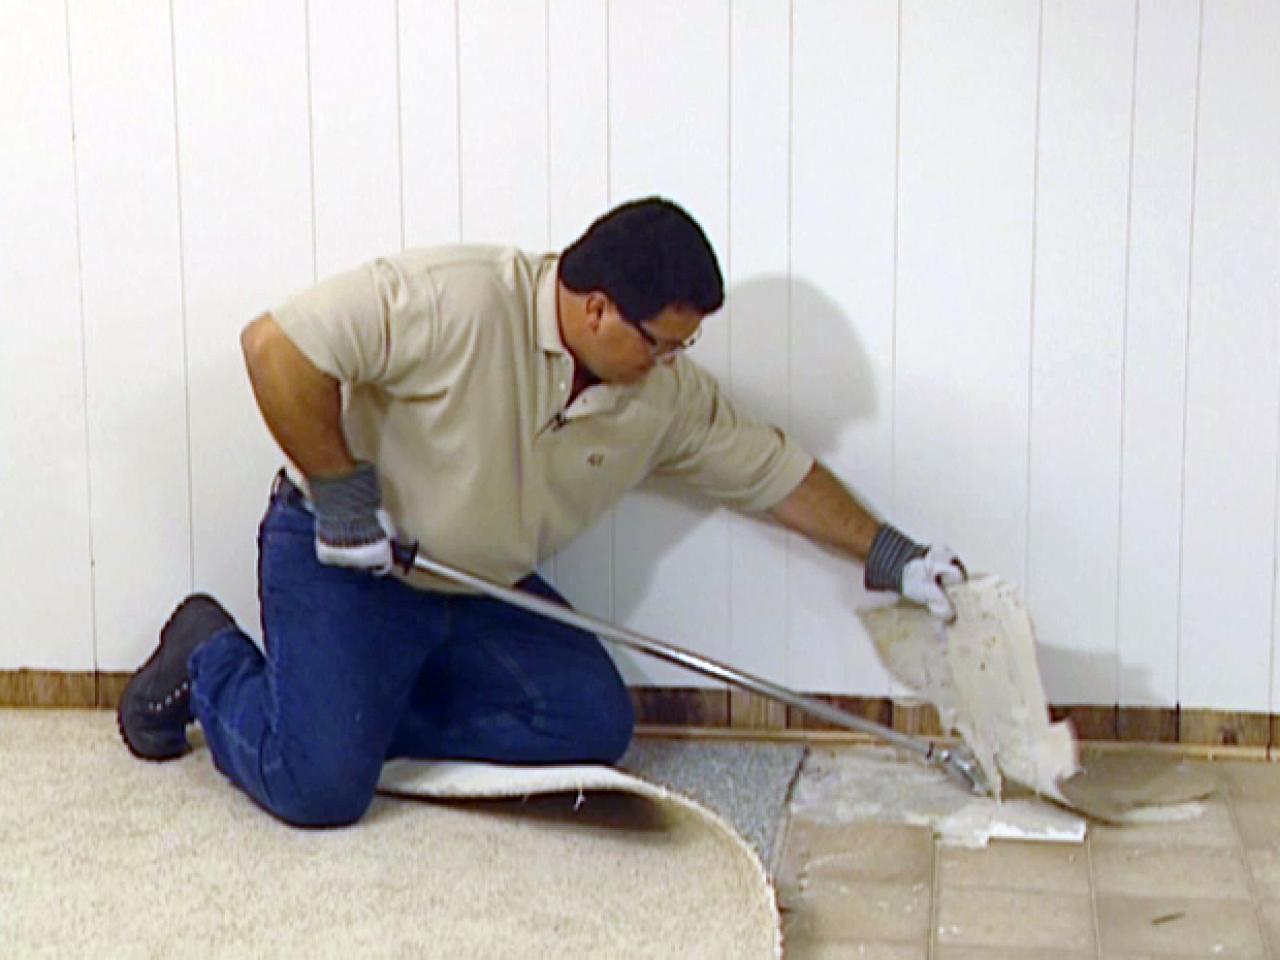
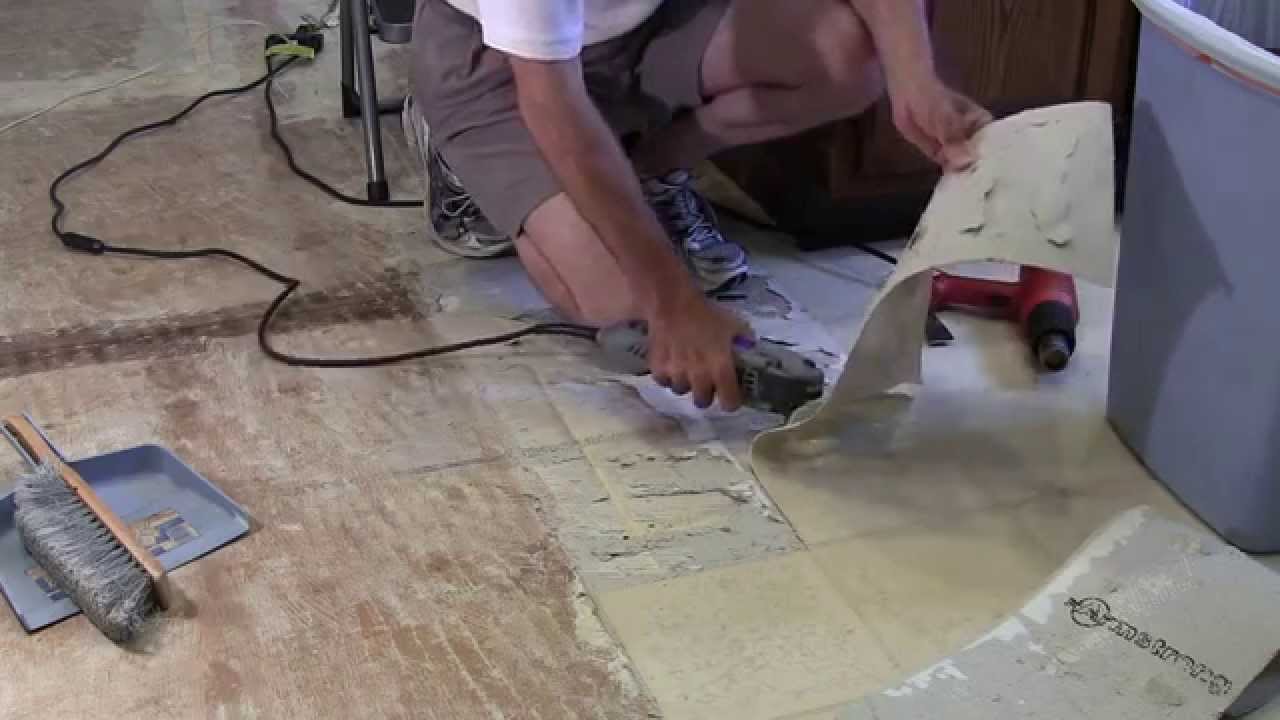
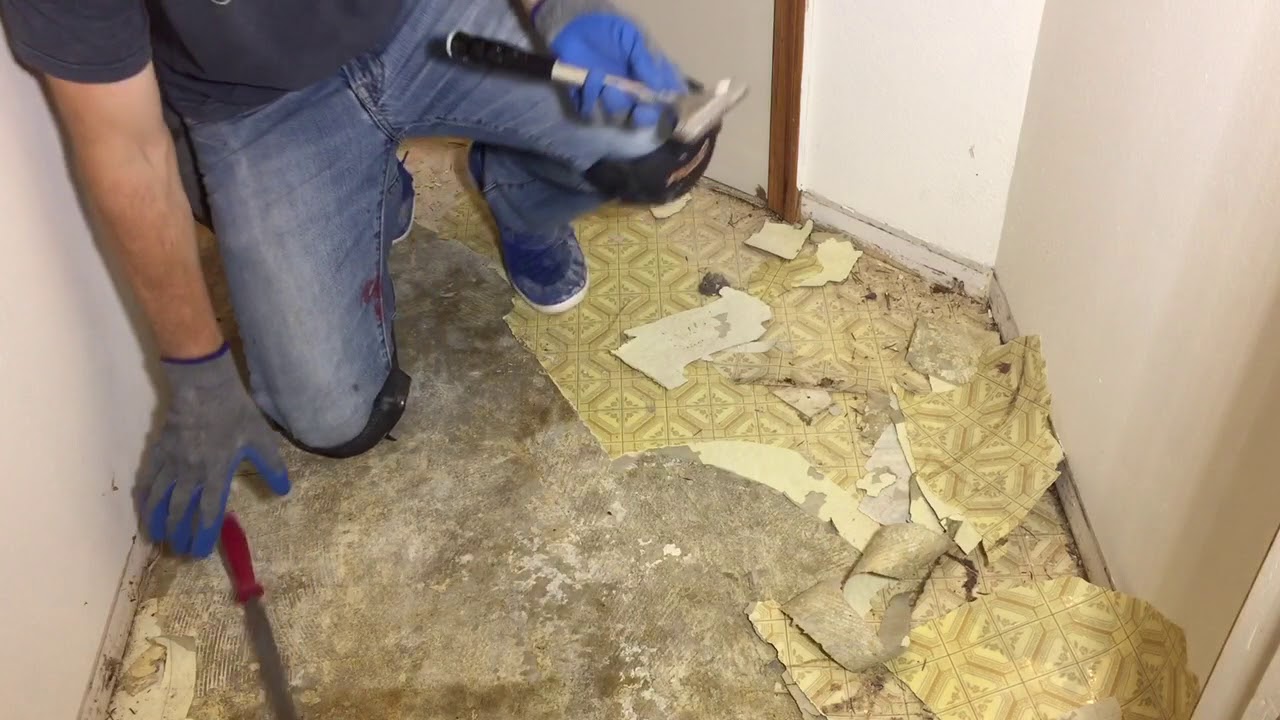
Once the concrete is prepared, it’s time to start taking up the vinyl flooring. Depending on the type of flooring you have, there are different methods you can use. If it’s a sheet vinyl, you can use a sharp utility knife or razor blade to cut it into strips. For tile-style vinyl, use a sharp pry bar to remove each tile individually. Make sure to wear safety glasses and protective gloves during this part of the process, as pieces of broken vinyl can fly off when being removed.
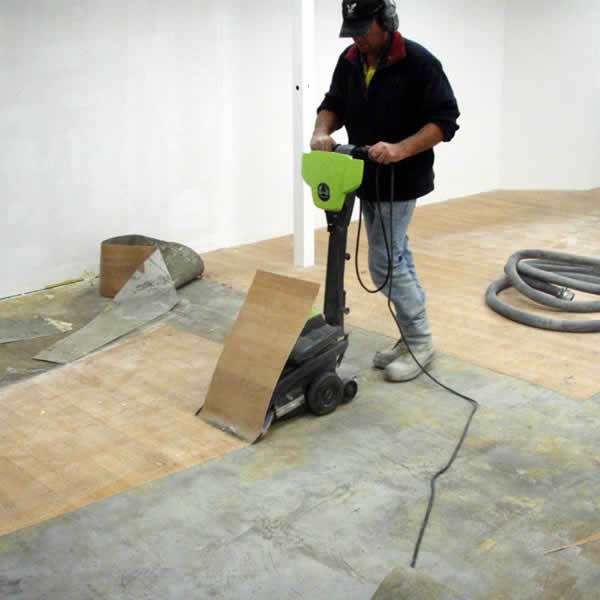
## Cleaning The Concrete
Once all the flooring has been taken up, you’ll need to clean the concrete surface once again. This will help get rid of any adhesive residue that may have been left behind during the removal process. Use a vacuum cleaner to get rid of any dust or dirt that may remain and then mop the floor with warm water and mild detergent. Allow the surface to dry completely before moving on to the next step.
## Applying A Primer
Before laying down tile, it’s important to apply a primer over the concrete surface. This helps ensure that your tiles adhere properly and won’t come loose over time. Be sure to read the instructions on your primer carefully before applying it and follow all safety precautions while doing so. Once applied, allow it to dry according to the manufacturer’s instructions before moving on to the next step.
## Laying Down The Tile
Now that your concrete is ready for tile installation, it’s time to actually start laying down the tiles themselves. There are several types of tile available for this type of project, so make sure to do research beforehand and choose one that fits your project’s needs. When laying down tiles, be sure to use spacers between each one in order to ensure they’re spaced evenly apart. Once they’re all in place, use a grout sealer over them in order to help protect them against water damage and staining.
Removing old vinyl flooring from concrete can be a challenging task but following these steps can help make it easier and ensure that your tile installation looks great for years to come. With proper preparation and careful attention to detail during each step of the process, you can create a beautiful new look in no time!