Best Bathroom Flooring Ideas DIY

18 Best Bathroom Flooring Ideas and Designs for 2020
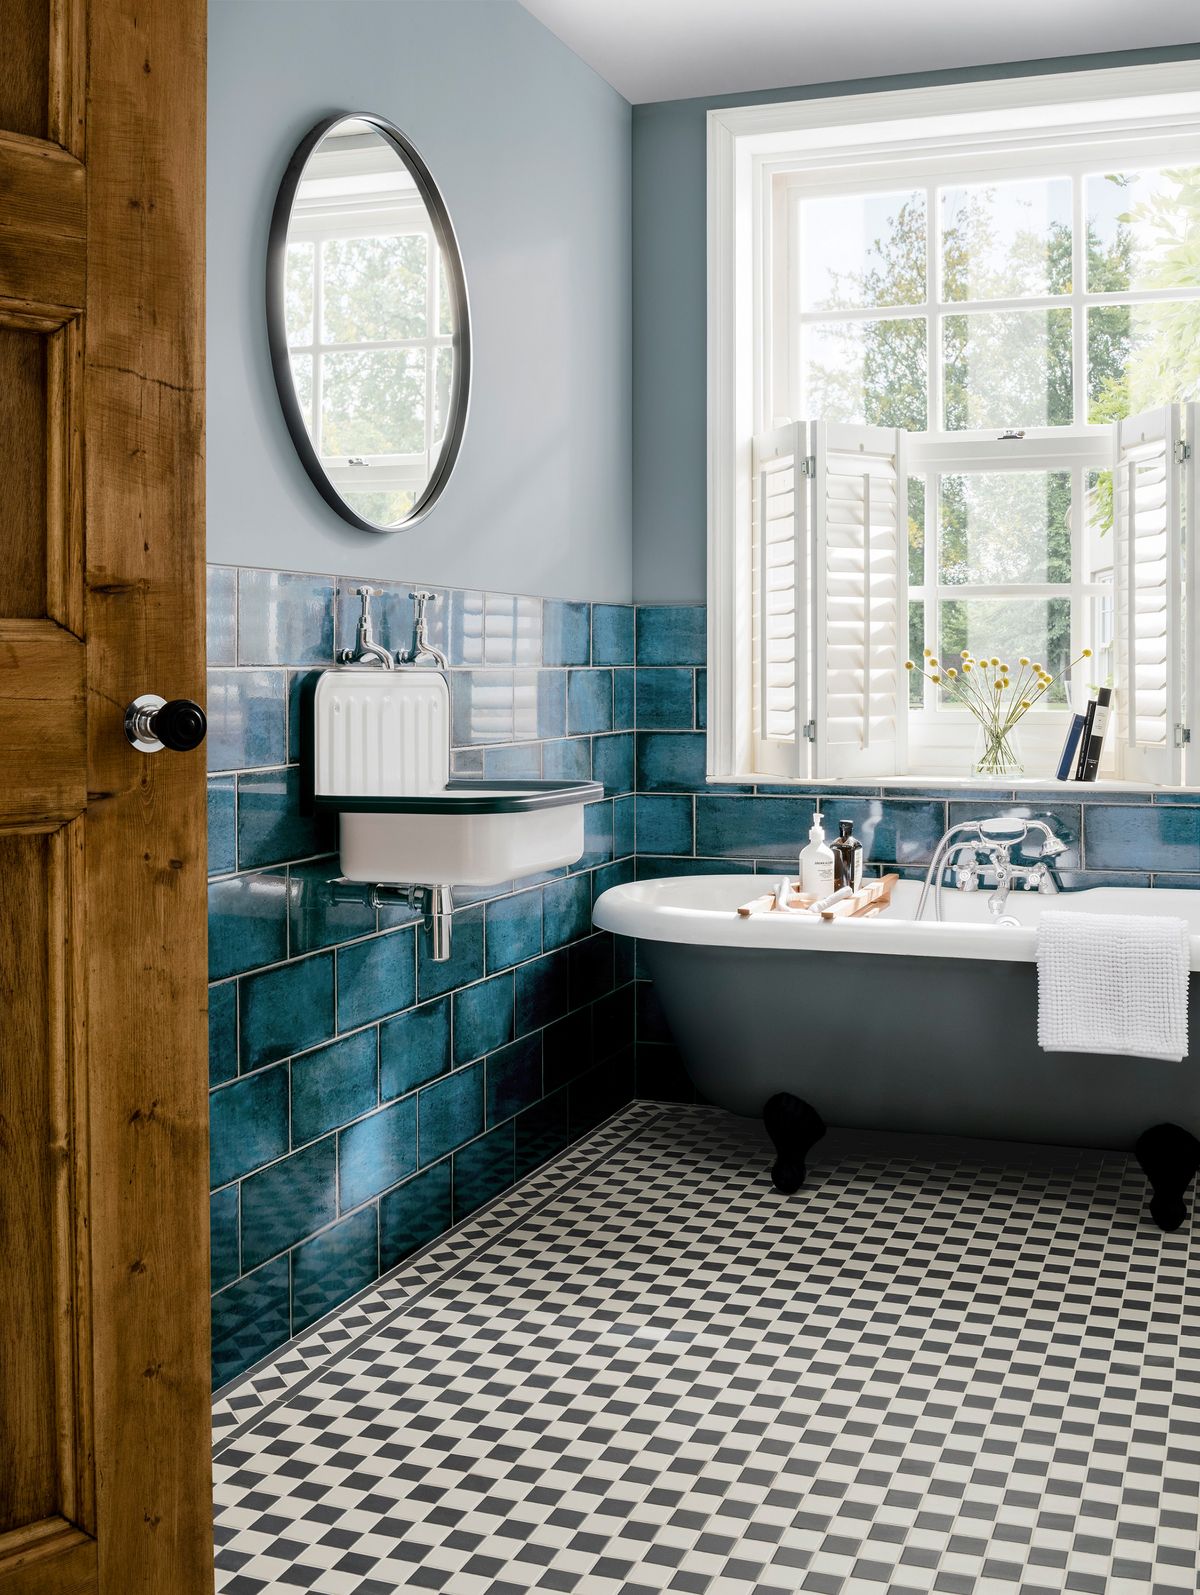
Bathroom floor tiles: 12 beautiful ideas to update your space Real Homes
Bathroom floor tiles: 12 beautiful ideas to update your space Real Homes
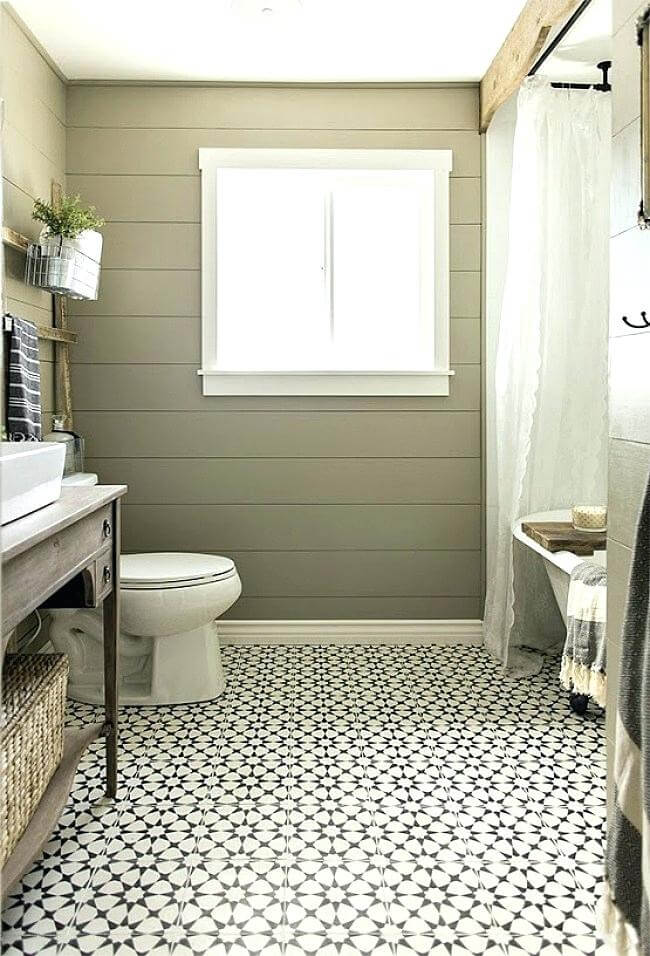
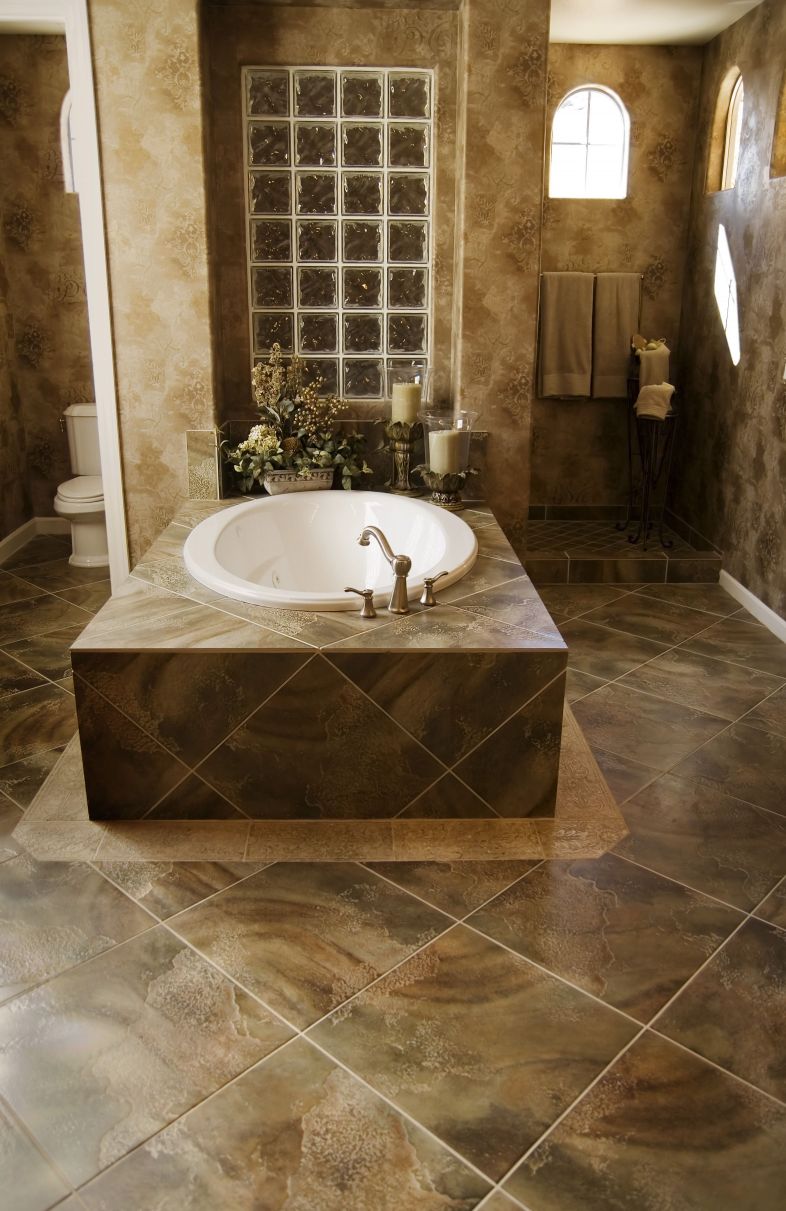
20 unique bathroom floor tile pictures and ideas 2020
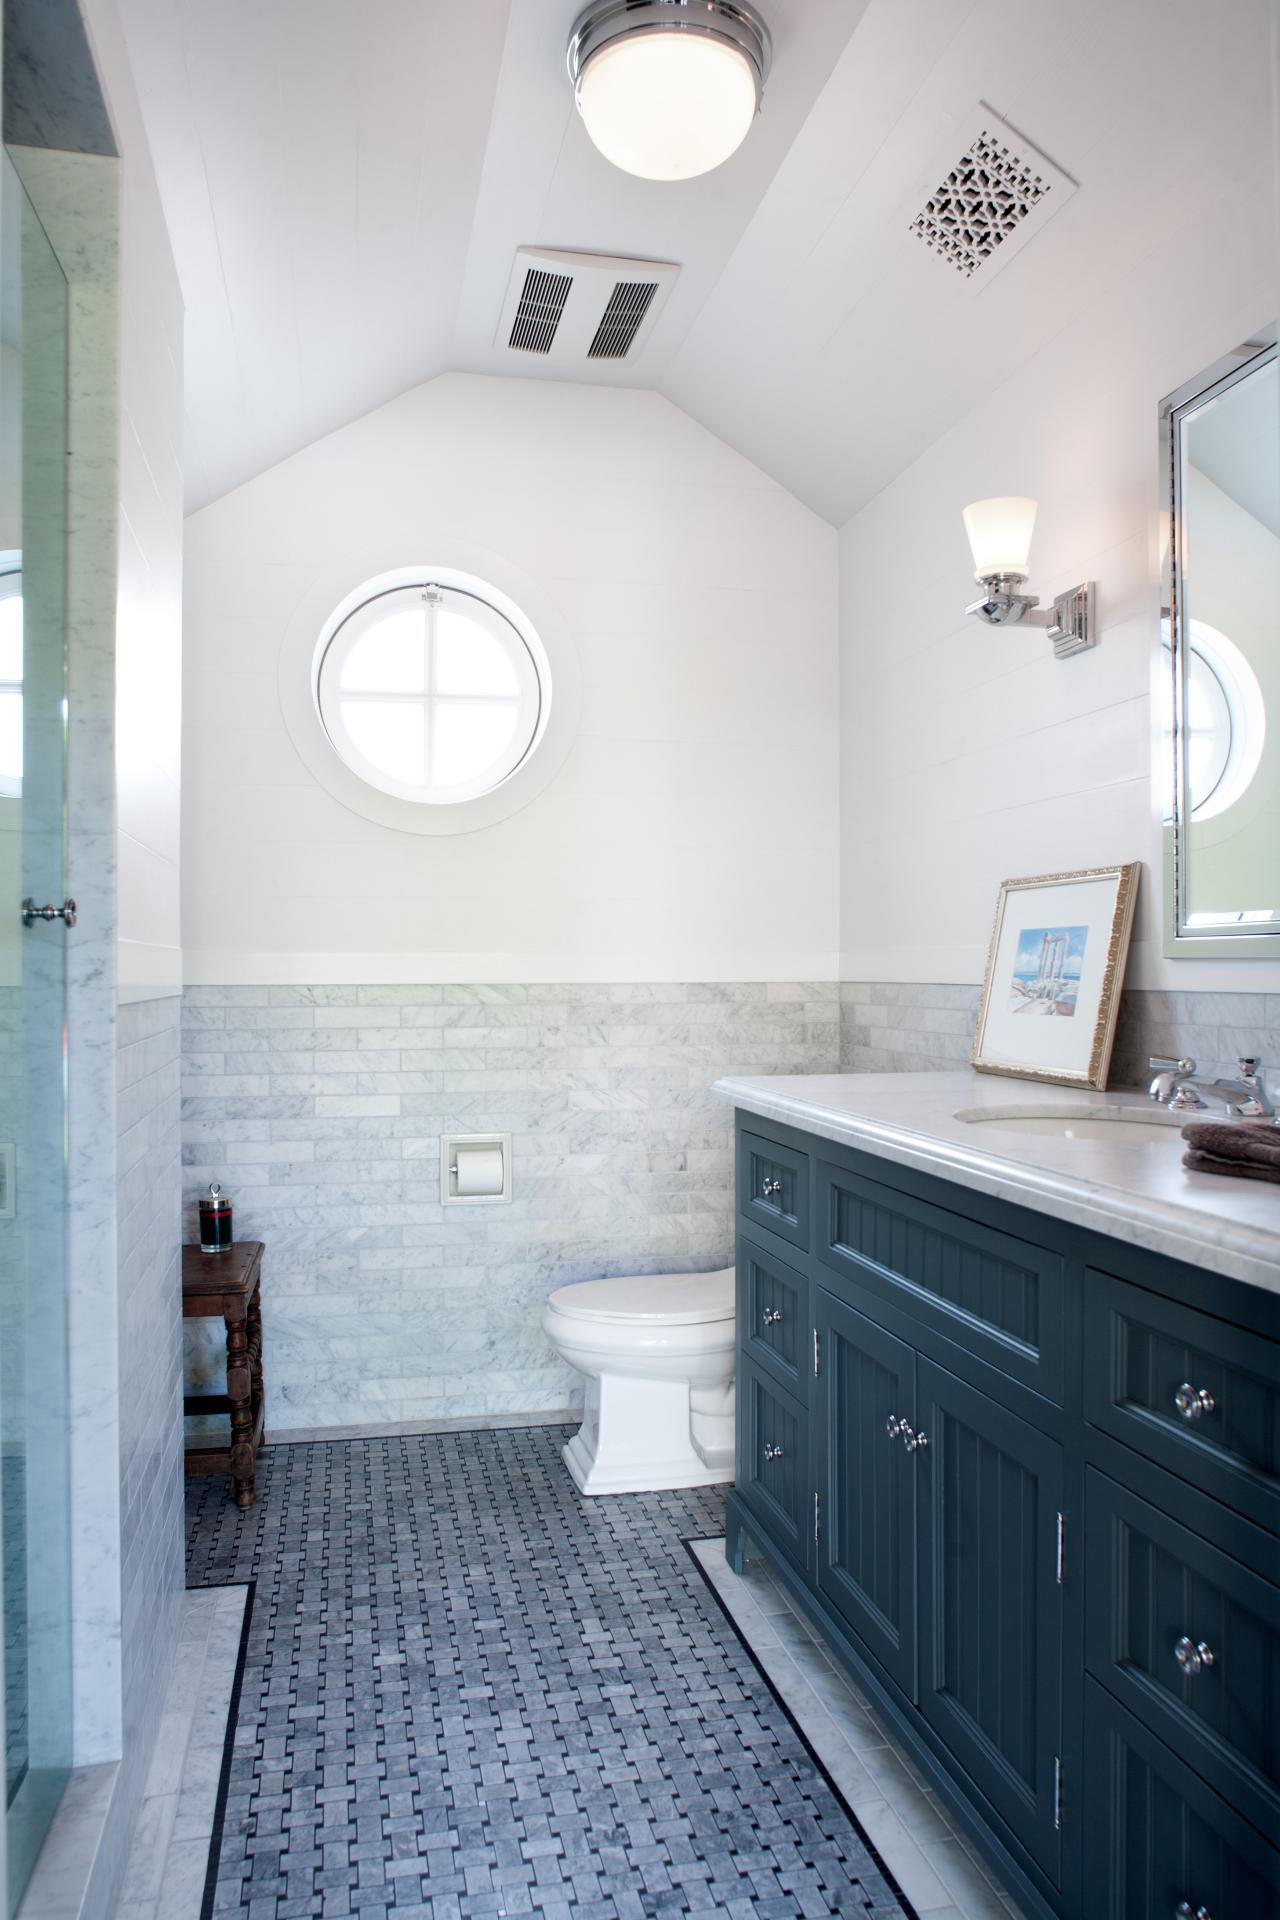
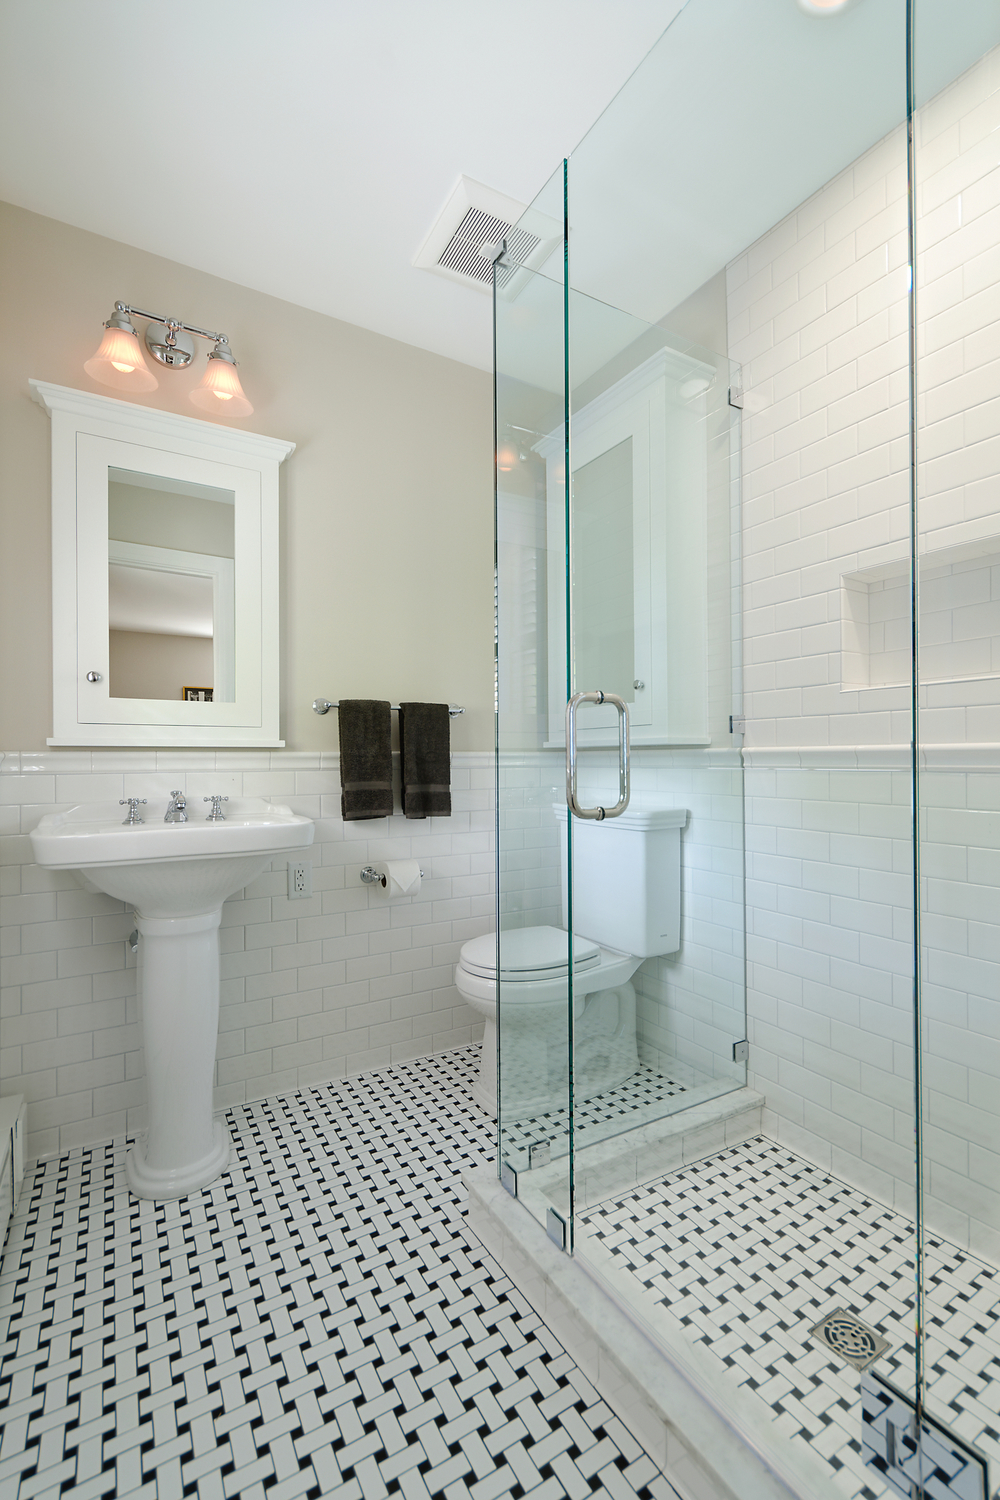
35 great pictures and ideas basketweave bathroom floor tile 2022
20 Bathroom Floor Tile Ideas for Small Spaces
/amy.bartlam-00839dd16fd4434d99e4c04c89996513.png)
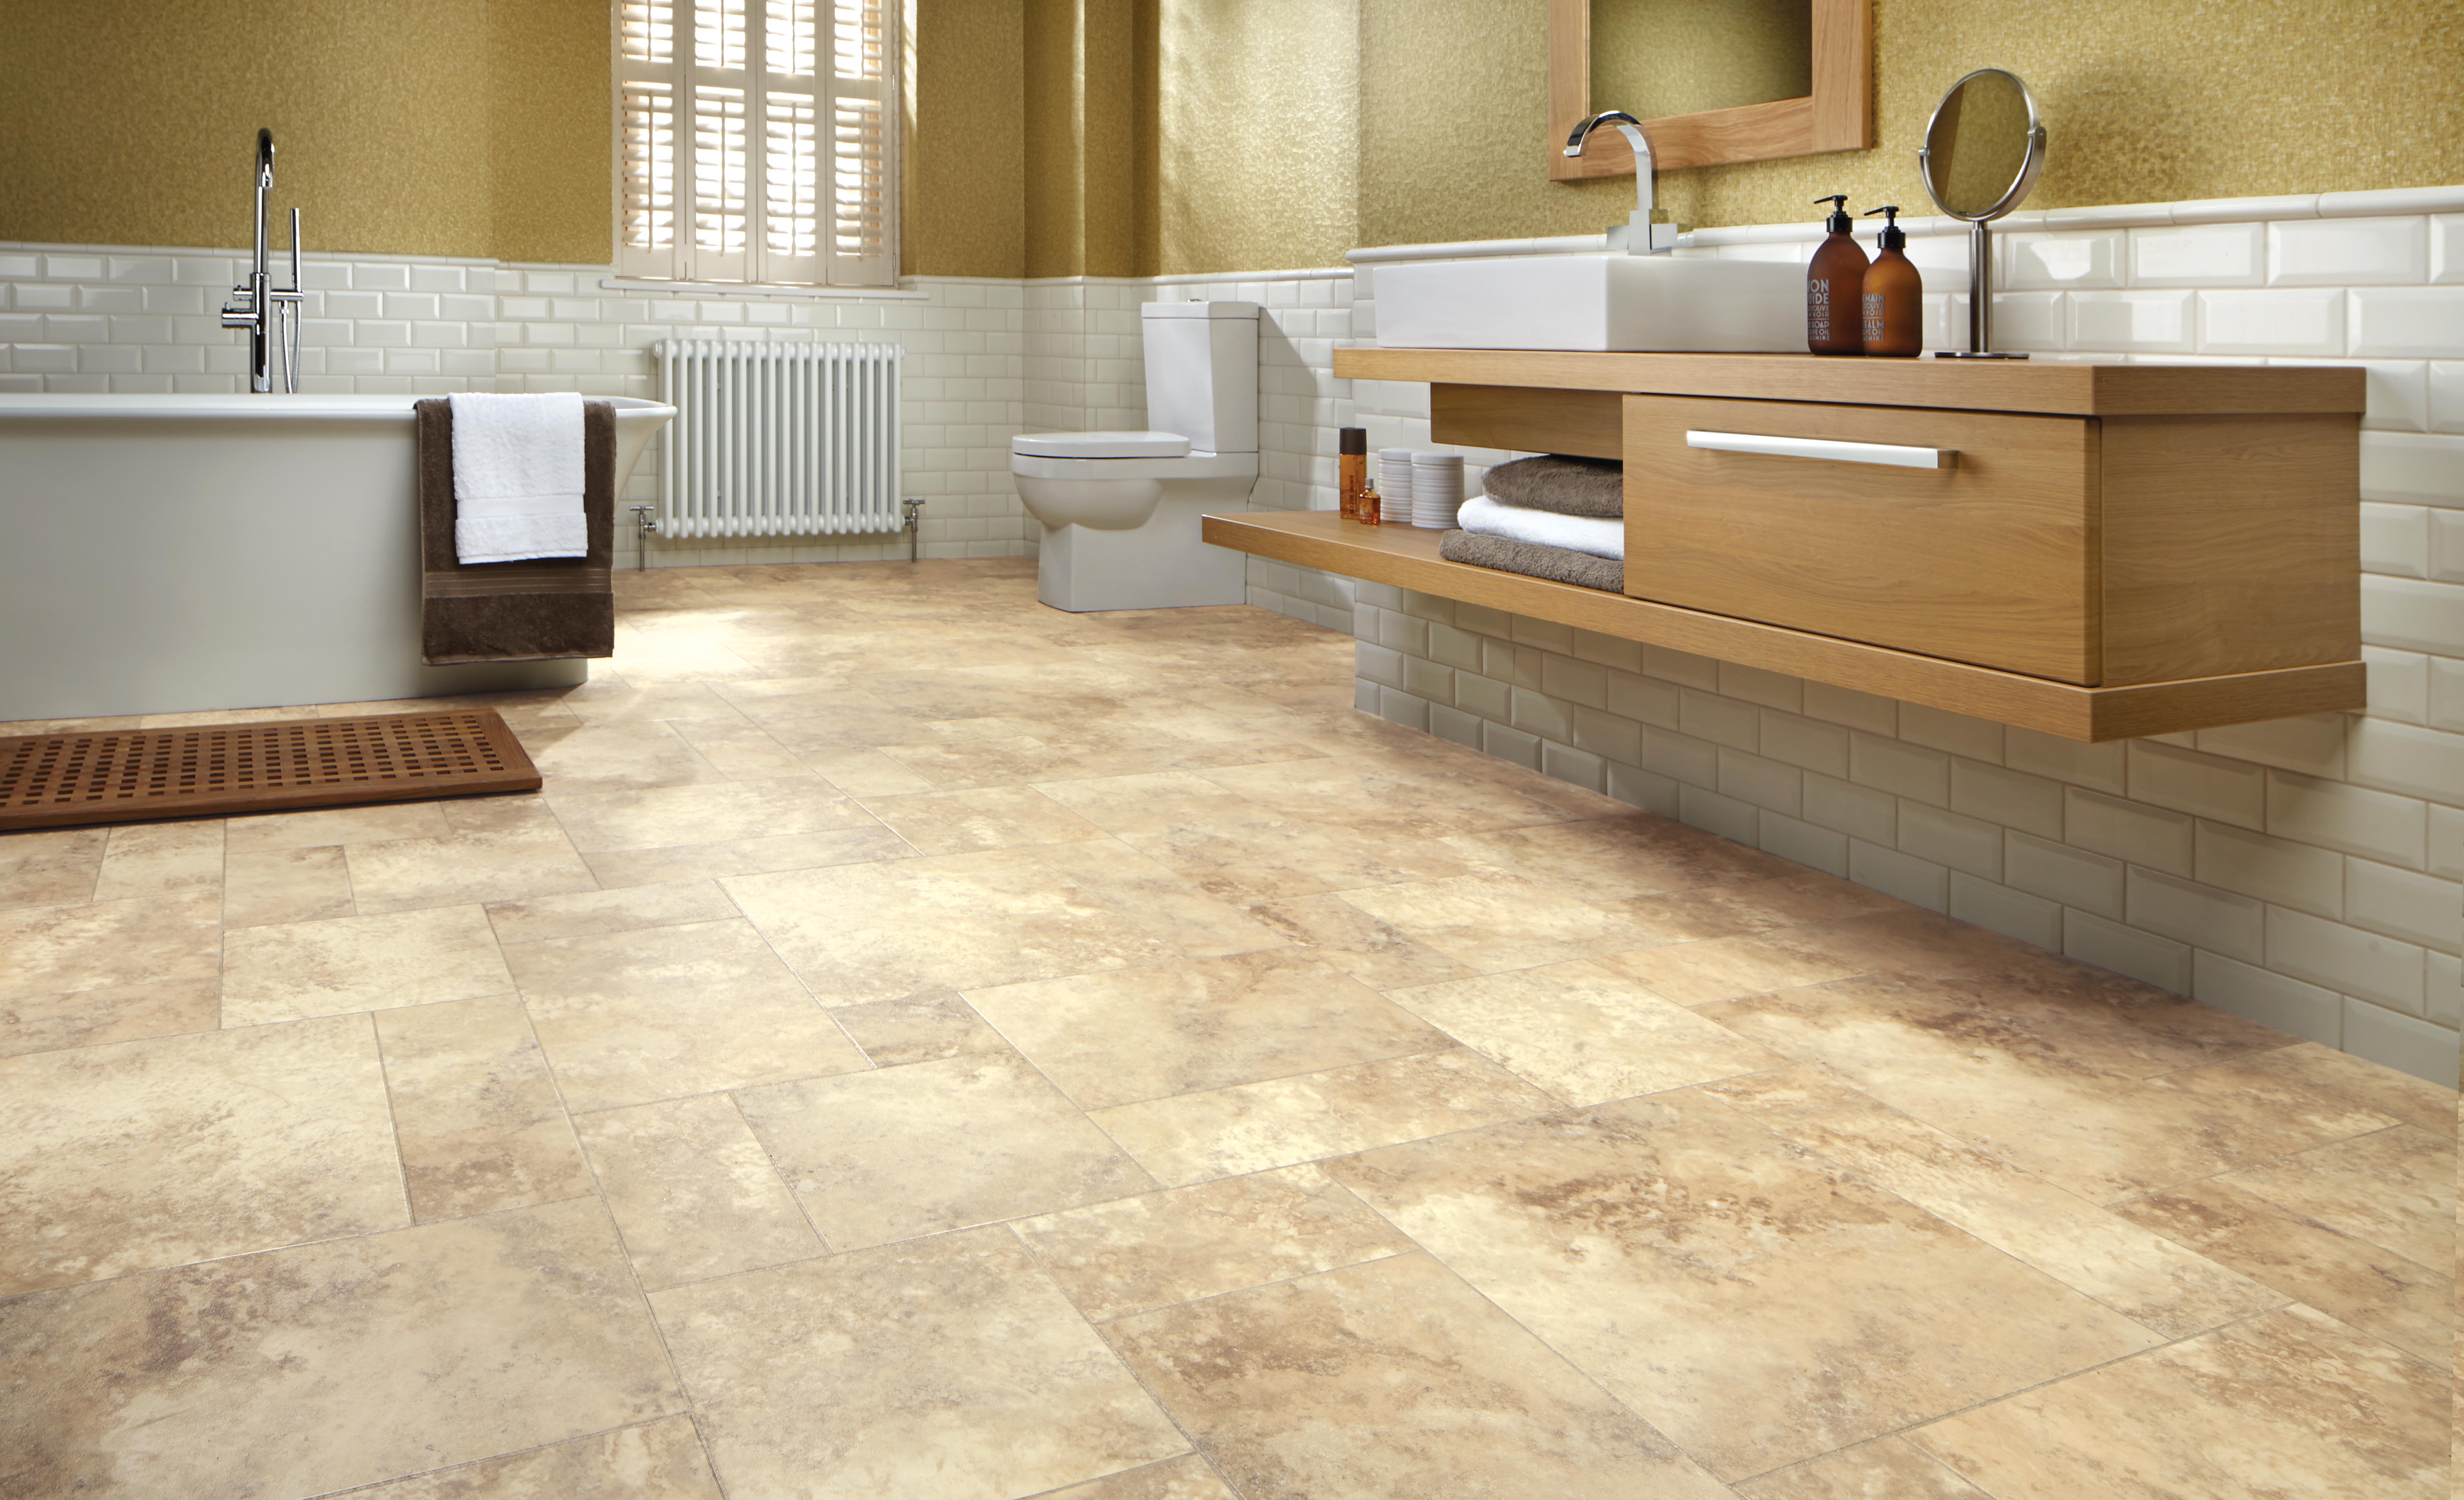
31 stunning pictures and ideas of vinyl flooring bathroom tile effect 2022
Bathroom Floor Tiles Design Philippines – Modern Bathroom Design

16 country bathroom ideas to inspire your next redesign Bathroom vinyl, Vinyl flooring

Related Posts:
- French Country Bathroom Flooring
- Mid Century Modern Bathroom Flooring
- Rustic Bathroom Floor Tiles
- Purple Bathroom Flooring
- How To Clean Bathroom Floor Stains
- Tile Design Bathroom Floor
- Terracotta Bathroom Floor
- Cool Bathroom Floor Ideas
- Light Bathroom Floor Tiles
- Classic Bathroom Floor Tile Ideas
Tiling bathroom floors is a great way to add style and sophistication to your home. But it can also be a daunting task, especially if you’ve never done it before. Fortunately, with the right tools and materials, tiling your bathroom floor can be a relatively easy and straightforward process. In this article, we’ll provide some tips and ideas for perfectly tiled floors, as well as a few helpful resources that will make the job easier.
## Materials Needed for Tiling Your Bathroom Floor
The first step in tiling your bathroom floor is to gather all the necessary materials. You’ll need tile adhesive, tile grout, tile spacers, tiles, a mixing bucket, and a trowel. You’ll also need a few tools such as a hammer, a level, a masonry brush, an angle grinder, and a sealant. If you’re not familiar with any of these items, it’s best to consult a professional before beginning your project.
## Preparing Your Bathroom Floor Before Tiling
Before you begin tiling your bathroom floor, it’s important to prepare the surface properly. This means cleaning the area thoroughly and ensuring that the surface is level and free of debris. It’s also important to check for any existing cracks or damage to the floor before tiling begins. If there are any issues with the floor, they should be repaired before proceeding with the project.
## Installing the Tiles
Once the surface is ready, you can begin installing the tiles. Begin by laying out some of the tiles in the pattern you want them to go in. This will help you get an idea of how the finished product will look. Make sure that you leave enough space between each tile for grout. Once you have laid out all the tiles in their desired positions, use tile adhesive to adhere them to the surface. Allow the adhesive to dry completely before continuing with the project.
## Applying Grout
Once all of your tiles are in place, it’s time to apply grout. Mix up your grout according to the manufacturer’s instructions and apply it evenly between each tile using a trowel. Once all of the grout has been applied, use a masonry brush to smooth out any lumps or bumps that may have formed during application. Allow the grout to dry completely before proceeding with the next step.
## Sealing Your Bathroom Floor
The last step in tiling your bathroom floor is to seal it. Sealing will help protect your tiles from moisture damage and make them last longer. Use a sealant that is specifically designed for use with ceramic or porcelain tiles. Apply two coats of sealant allowing each coat to dry completely before applying the next one. Once your bathroom floor is sealed, it’s ready to be enjoyed!
Tiling bathroom floors can be an intimidating task but with proper preparation and materials, it can be done successfully and easily. With these tips and ideas for perfectly tiled floors, you can create a stylish and sophisticated look for your home that will last for years.