Raise Toilet For Tile Floor
How to Raise a Toilet for Tile Installation Home Guides SF Gate

Raising toilet to accommodate tiled floor DIYnot Forums

How to Raise a Toilet for Tile Installation HomeSteady

Raise Toilet Flange Above Tile Floor And Install The Fluidmaster Rubber Toilet Seal – Step By
Toilet Installation On Raised Tile Floor – Plumbing – DIY Home Improvement DIYChatroom

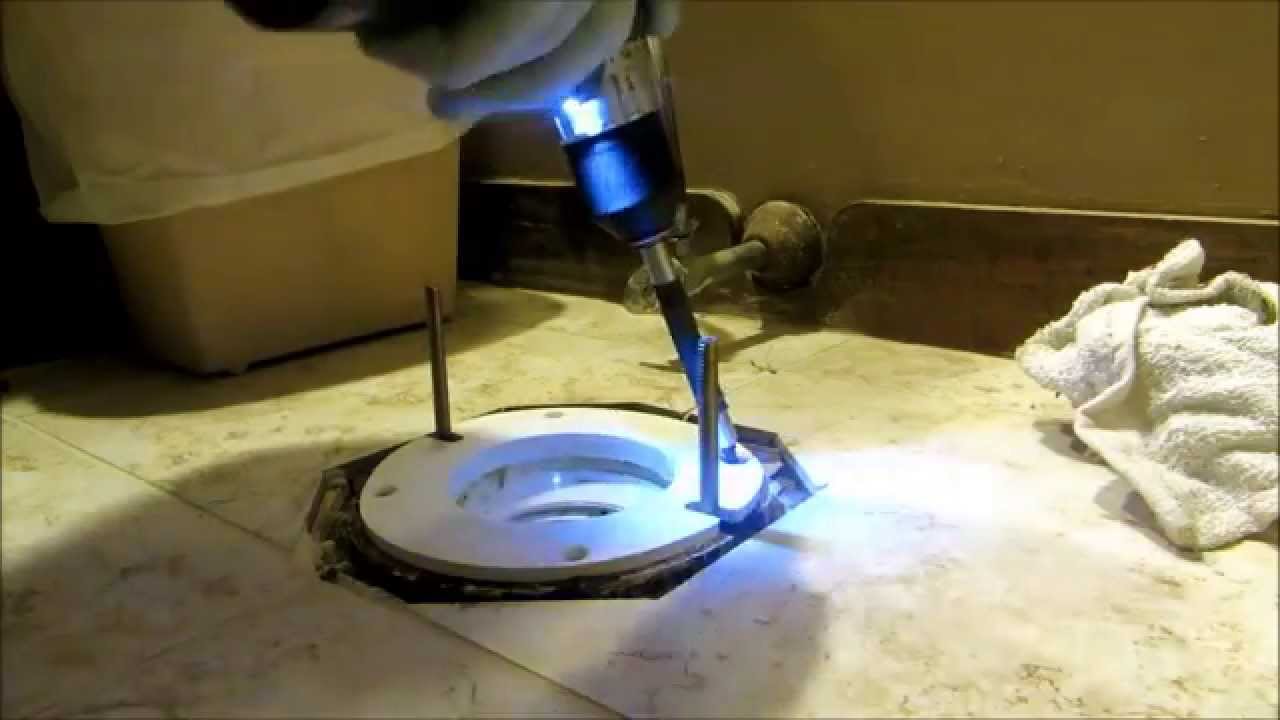
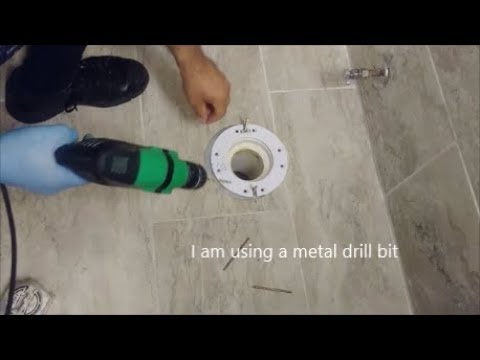
How to raise a toilet flange and a toilet base above tile floor – part 1 – YouTube

How to Raise a Toilet for Tile Installation HomeSteady
How to Raise a Toilet for Tile Installation Home Guides SF Gate
Raise A Toilet Flange Above Tile Floor Using Toilet Flange Extender – To install Fluidmaster
Installing Toilet On Tile Floor – Flooring Guide by Cinvex

Raising toilet Flange Terry Love Plumbing Advice & Remodel DIY & Professional Forum

Related Posts:
- Cuban Tile Floors
- Easy Way To Grout Tile Floor
- Types Of Marble Tile Flooring
- Slate Tile Floor
- Classic Bathroom Tile Floors
- Tile Floor Color Ideas
- Wet Mops For Tile Floors
- Staining Saltillo Tile Floors
- Terrazzo Tile Floor Outdoor
- Tile Flooring For Screened Porch
Toilets are a vital part of any home, providing a necessary convenience as well as adding a decorative touch to the bathroom. But when installing a toilet on a tiled floor, it is important to understand the process and the considerations you must make. This guide will explain why you may need to raise a toilet for tile floor and the steps you need to take to ensure your project is successful.
## What Is Raising A Toilet For Tile Floor?
Raising a toilet for tile floor is the process of adjusting the height of a toilet so that it is level with the surrounding tile. This is necessary when installing a new toilet because the height of the existing flooring is not compatible with the height of the new toilet. When done properly, raising a toilet for tile floor ensures that the finished installation looks good and functions properly.
## Why Do You Need To Raise A Toilet For Tile Floor?
There are several reasons why you may need to raise a toilet for tile floor. First, if your existing flooring is higher than the height of your new toilet, raising it will ensure that it fits correctly and looks good. Additionally, if you plan to use a wax seal to secure the toilet, it must be raised in order for the seal to form correctly. Finally, raising your toilet will also make it easier to install any necessary plumbing fixtures or accessories like supply lines and flanges.
## What Are The Steps To Successfully Raise A Toilet For Tile Floor?
Raising a toilet for tile floor requires careful planning and execution. Here are some steps you should take to ensure your project is successful:
### Step 1: Measure Your Existing Flooring
Before doing anything else, measure your existing flooring to determine how much you will need to raise your toilet. This measurement should include any existing tiles as well as any underlayment or other materials used during installation. Once you have this measurement, add an extra 1/4 inch for clearance and use this number when selecting your new wax seal and other components.
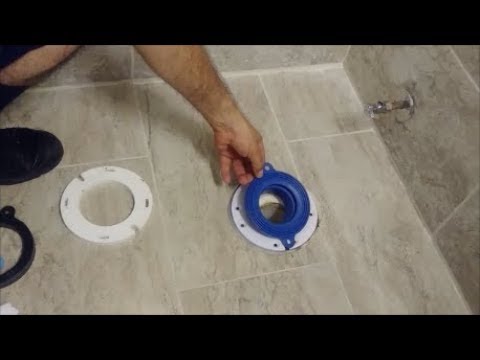
### Step 2: Install The New Wax Seal
Once you have all of your components ready, install the new wax seal according to manufacturer’s instructions. Make sure that when installed, the wax seal is level with the surrounding tiles or other flooring materials.
### Step 3: Adjust The Toilet Flange Height
Once the wax seal has been installed, adjust the height of the toilet flange so that it is level with your new wax seal. Use shims or other spacers if necessary in order to reach the desired height.
### Step 4: Secure The Toilet Flange And Test The Installation
Once everything is in place, securely attach the flange and test out your installation by carefully setting the toilet onto it. If everything appears to be level and secure, then you are ready to move on to installing any necessary plumbing fixtures and accessories before completing your project.
## Conclusion
Installing a new toilet on a tiled floor can be intimidating but with careful planning and attention to detail, you can successfully raise your toilet for tile floor and complete your project with confidence. By following these steps outlined above, you can ensure that your finished installation looks good and functions properly for years to come!