How To Patch Grout On Tile Floor
Repair Cracked Grout – YouTube Grout repair, Tile grout, Repair

How to Fix Cracked Grout Shower grout, Premixed grout, Grout removal tool

Pin on Home Maintenance

DAP 32 oz. Gray Flexible Floor Patch and Leveler-59184 – The Home Depot

How To Remove Tile And Grout From Floor – uooz.com
How to Patch Grout in Tiles HomeSteady
How to Repair Cracked Tile Grout: An Easy Guide The Lived-in Look Grout repair, Tile repair

How to Repair Cracked and Worn Grout (Shower) – YouTube (With images) Grout repair, Grout

The Grout Medic Tile repair, Shower tile, Diy plumbing

How To Fix A Cracked Floor Tile

Homax Tile and Grout Repair Kit at Lowes.com

Related Posts:
- Cuban Tile Floors
- Easy Way To Grout Tile Floor
- Types Of Marble Tile Flooring
- Slate Tile Floor
- Classic Bathroom Tile Floors
- Tile Floor Color Ideas
- Wet Mops For Tile Floors
- Staining Saltillo Tile Floors
- Terrazzo Tile Floor Outdoor
- Tile Flooring For Screened Porch
Patch Grout on Tile Floor Easily with Simple Steps
## How To Patch Grout On Tile Floor
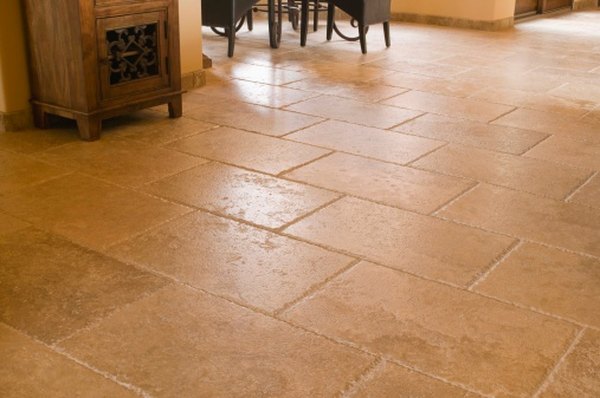
Tile flooring is a popular choice for many homeowners, as it is durable and relatively easy to maintain. But even with regular cleaning and upkeep, tile flooring can start to look worn and outdated over time. One of the biggest culprits when it comes to making tile floors look dingy is grout. When grout starts to crack or chip, it’s time to patch it up!
Patching grout on your tile floor is a relatively simple process that can be completed in a few steps. Whether you’re looking for a quick fix or a more long-term solution, these tips will help you patch up your grout and restore your tile floors back to looking like new.
### Materials Needed to Patch Grout on Tile Floor
When it comes to patching grout, there are certain supplies that you’ll need to have on hand:
* Grout sealer
* Grout cleaner
* Grout saw
* Grout patch kit
* Caulk gun
* Caulk
* Sandpaper
* Epoxy putty
* Sponge
* Bucket
* Protective eye wear and gloves
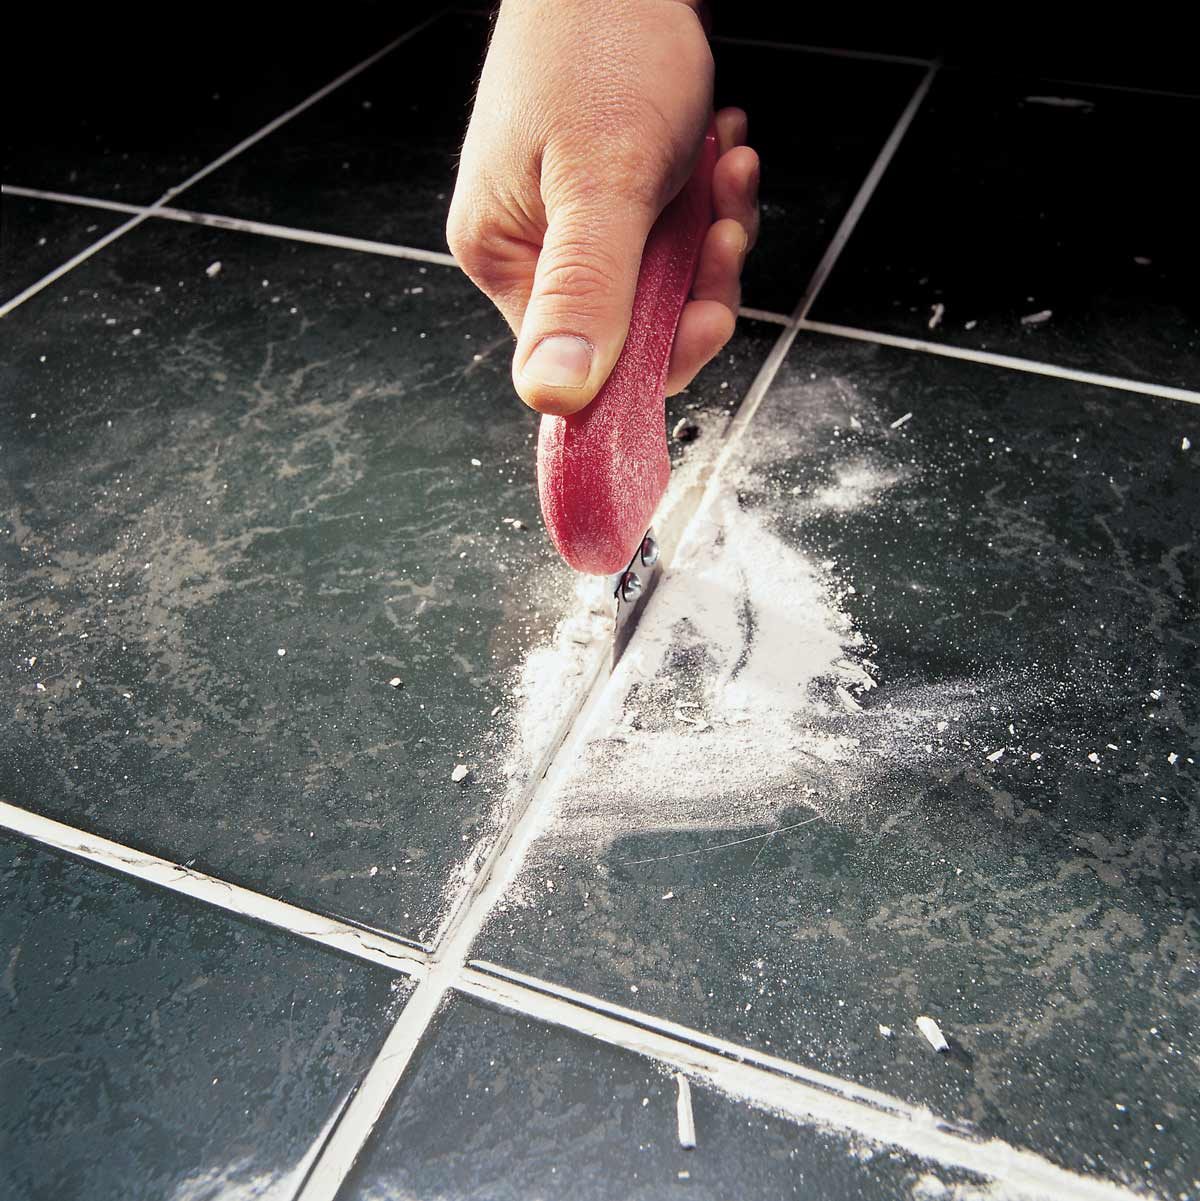
### Step 1: Clean the Grout Joints
The first step in patching grout on a tile floor is to clean the existing grout joints. This can be done by using a grout cleaner and scrubbing brush, or by using a grout saw. If you are using a grout cleaner, make sure to follow the instructions on the package and wear protective eye wear and gloves when using the product. Once the grout joints have been cleaned, allow them to dry completely before moving onto the next step.
### Step 2: Apply Grout Sealer
Once the grout joints have been thoroughly cleaned, it’s time to apply a grout sealer. This will help protect the grout from future damage and staining. Make sure to apply the sealer according to the instructions on the package, and allow it to dry completely before continuing.
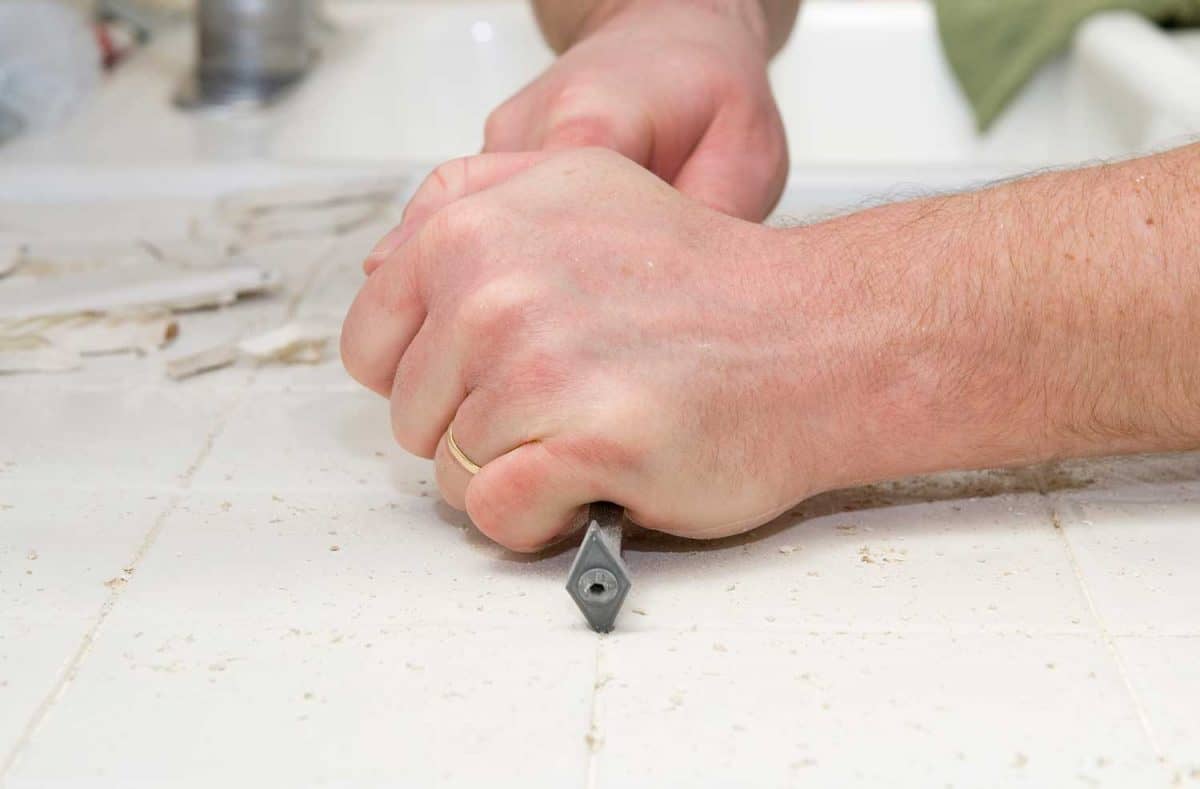
### Step 3: Sand Down Excess Grout
Once the grout sealer has dried, use sandpaper or a grout saw to sand down any excess grout or other material that may be sticking out of the joints. This will ensure that the patched area will have an even finish when you are done. Make sure to do this step carefully, as too much sanding could cause additional damage to the tile flooring.
### Step 4: Apply Caulk or Epoxy Putty
Once all of the excess material has been removed from the joints, it’s time to apply either caulk or epoxy putty in order to patch up any cracks or chips in the grout. When applying caulk, use a caulk gun and apply in even strokes along the joints. When using epoxy putty, knead together two different colors of putty until they are uniform in color and texture, then press into place along the joints. Allow both products to dry completely before continuing.
### Step 5: Clean Up Excess Material
Once the caulk or epoxy putty has dried completely, use a damp sponge to wipe away any excess material from around the joints. This will ensure that you have an even finish once everything has dried completely.
### Step 6: Reapply Grout Sealer
Lastly, reapply a layer of grout sealer over everything once more in order to protect your newly patched area from future damage and staining. Again, make sure to apply according to instructions and allow ample drying time before walking on your newly patched tile flooring.
Patching grout on your tile floor is not as daunting as it may seem at first glance. All you need is some basic supplies and a bit of patience, and you should be able to get your tile floors looking like new in no time!