When I decided to replace the worn carpet in my living room last year, bamboo flooring caught my attention as an eco-friendly alternative that wouldn’t break the bank. The idea of installing it myself seemed doable after watching countless YouTube videos and reading DIY guides that made it look straightforward. What I didn’t expect was the steep learning curve, multiple trips to the hardware store, and the complete do-over I had to tackle when my first attempt went sideways. After successfully installing 400 square feet of beautiful bamboo floors (the second time around), I learned valuable lessons about preparation, tools, and patience that I wish someone had shared with me upfront. Now that I’m walking on my gorgeous new floors every day, I want to help others avoid my mistakes and achieve great results from their DIY bamboo flooring project.
Understanding Bamboo Flooring Types and Quality Grades
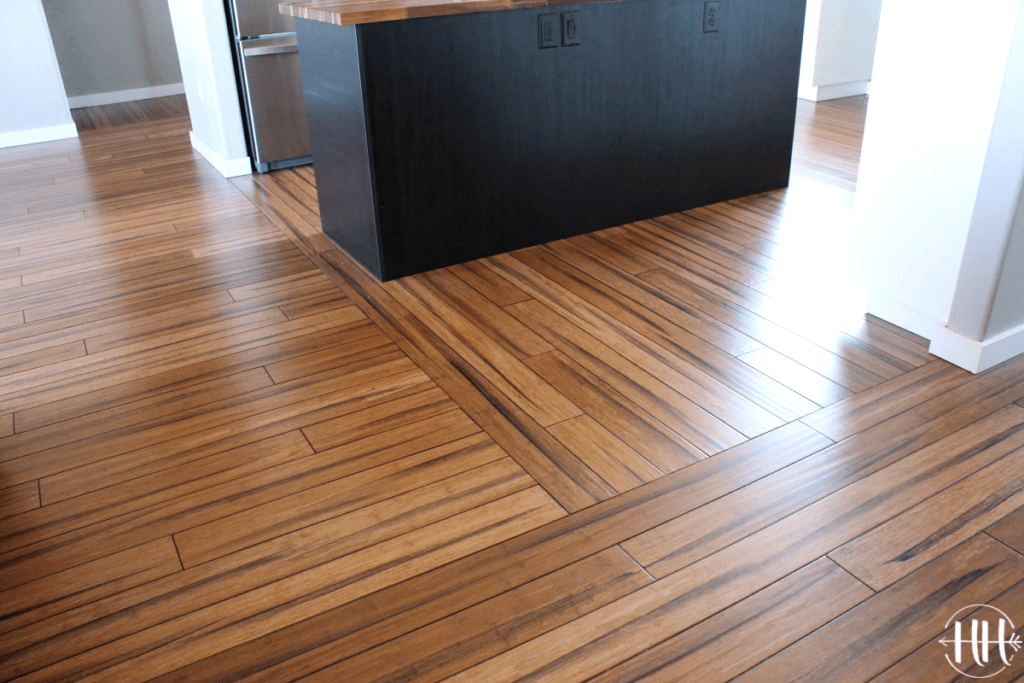
My first mistake was assuming all bamboo flooring was the same and choosing the cheapest option I could find. I quickly learned that bamboo flooring comes in several distinct types, each with different characteristics that significantly affect installation difficulty and long-term performance. Horizontal grain bamboo shows the natural bamboo nodes and has a more traditional appearance, while vertical grain creates a cleaner, more uniform look that I ultimately preferred for my modern living room.
The construction method proved even more important than appearance. Solid bamboo planks require more skill to install and can be tricky for beginners, while engineered bamboo offers more stability and forgiveness during installation. I chose engineered bamboo for my project after my flooring supplier explained that it’s less prone to expansion and contraction issues that can plague DIY installations. The three-layer construction with a bamboo veneer over a plywood core provided the authentic look I wanted with better dimensional stability.
Quality grades make a huge difference in both appearance and workability. I learned this lesson when my first batch of bargain bamboo had significant color variations, uneven tongues and grooves, and several damaged planks that made installation frustrating. When I upgraded to a higher grade for my do-over, the consistent quality and precise milling made the installation process much smoother. The extra cost per square foot was worth it for the reduced waste, better fit, and professional-looking results.
Essential Tools and Materials for DIY Success
After my first failed attempt with inadequate tools, I invested properly in the equipment needed for a successful bamboo floor installation. A quality miter saw became my most important tool, allowing precise crosscuts without splintering the bamboo fibers. I rented a pneumatic flooring nailer, which was essential for achieving proper fastening without splitting the tongues. Hand-nailing would have been possible but extremely time-consuming and prone to errors.
The importance of proper underlayment became clear when I researched moisture protection for bamboo flooring. I used a premium foam underlayment with an integrated moisture barrier, which cost more than basic options but provided crucial protection against subfloor moisture that could cause bamboo to warp or cup. I also invested in transition strips, quarter-round molding, and a good-quality adhesive for areas where nailing wasn’t possible.
Measuring and layout tools proved critical for achieving professional results. A chalk line, laser level, and several tape measures helped me establish straight reference lines and maintain proper alignment throughout the installation. I also learned the value of having multiple pencils, a utility knife with plenty of sharp blades, and a rubber mallet for gentle persuasion when fitting joints. Having all tools ready and within reach made the installation process much more efficient and enjoyable.
Preparing Your Subfloor Like a Professional
Subfloor preparation was where I made my biggest mistake on the first attempt, and it cost me dearly. I assumed my existing subfloor was level enough and skipped the detailed preparation that bamboo flooring requires. When my floors started showing gaps and uneven joints, I learned that bamboo’s hardness makes it less forgiving of subfloor imperfections than softer woods. Even small variations translate into visible problems in the finished floor.
The second time around, I spent an entire weekend properly preparing the subfloor. I used a long straight edge to identify high and low spots, then sanded down high areas and filled low spots with floor leveling compound. Getting the subfloor within 3/16 inch of level over 8 feet was crucial for preventing gaps and ensuring proper tongue-and-groove connections. This tedious work paid off with dramatically better results.
Moisture testing became another critical step I had skipped initially. Bamboo is sensitive to moisture changes, so I used a moisture meter to verify my subfloor was within acceptable limits before installation. I also ensured proper ventilation and allowed the bamboo planks to acclimate to my home’s humidity levels for 72 hours before installation. This acclimation period prevents expansion and contraction issues that can cause gaps or buckling later.

Installation Techniques That Work
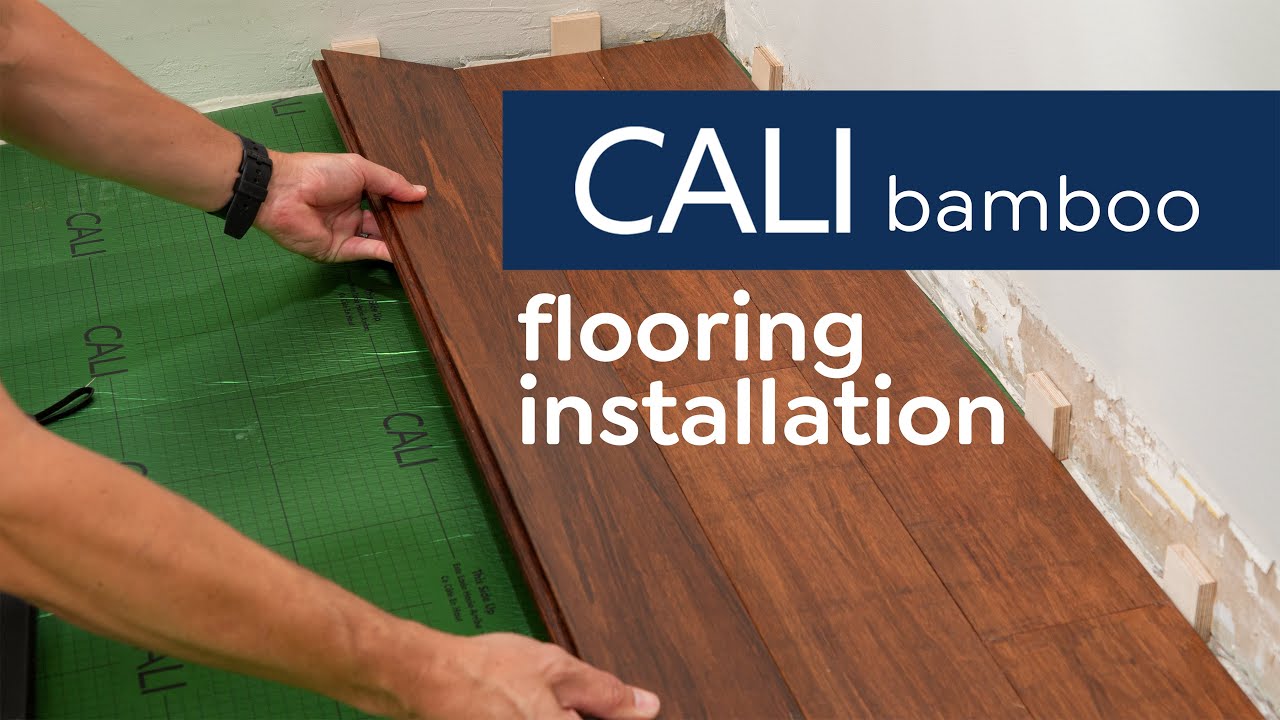
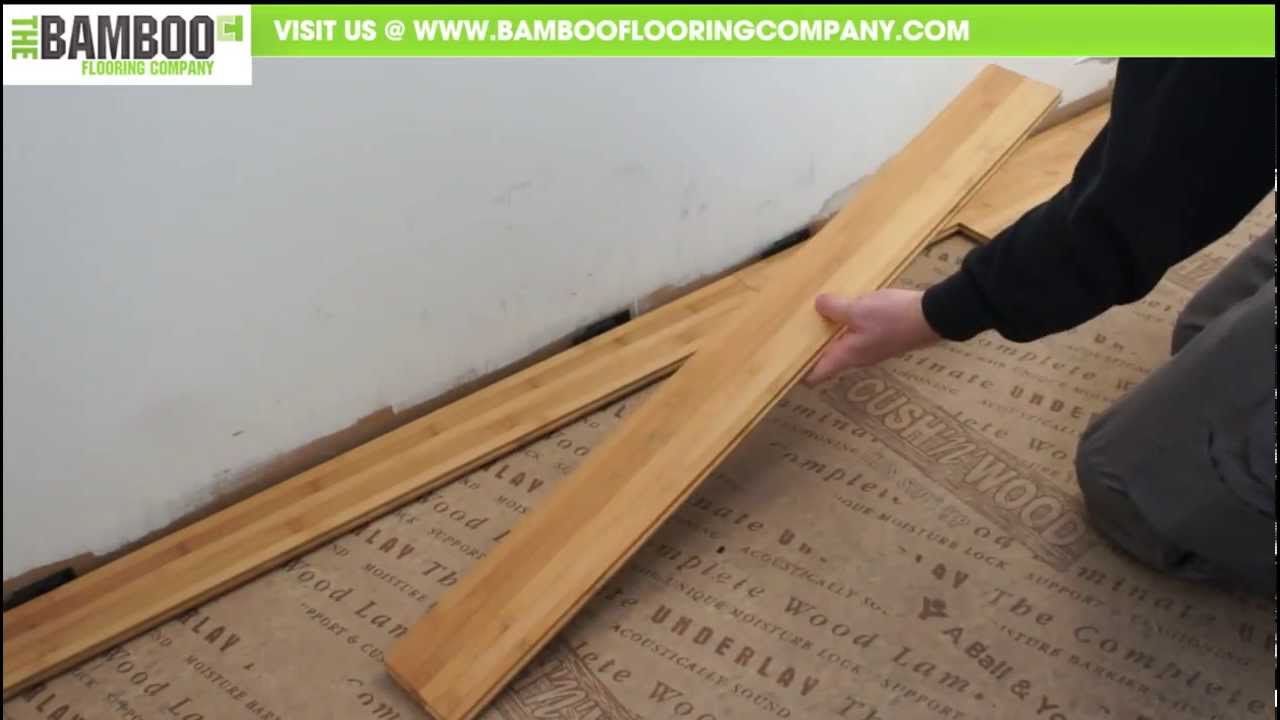
My installation strategy evolved significantly between my first disaster and eventual success. I learned to start with the longest, straightest wall and use spacers to maintain proper expansion gaps around the perimeter. The first row sets the tone for the entire installation, so taking time to get it perfectly straight and square was essential. I snapped chalk lines as guides and constantly checked my alignment to prevent cumulative errors.
The rhythm of bamboo installation took practice to master. Unlike some flooring materials, bamboo requires careful attention to grain direction and careful handling to prevent chipping during installation. I found that pre-drilling pilot holes for the first and last rows prevented splitting, while the pneumatic nailer worked perfectly for field installation. Maintaining consistent spacing and ensuring tight joints required patience and attention to detail.
Working around obstacles like heating vents, door jambs, and irregular walls challenged my problem-solving skills. I learned to make cardboard templates for complex cuts and always test-fit pieces before making final cuts. Undercutting door jambs with an oscillating saw allowed planks to slide underneath for a professional appearance. These finishing touches made the difference between an amateur-looking job and flooring that appeared professionally installed.
Common Mistakes and How to Avoid Them
My biggest mistake was rushing the installation process and not properly planning the layout. I started installing without thinking about where I’d end up at the opposite wall, resulting in a narrow strip of flooring that looked unprofessional. The second time, I measured carefully and adjusted my starting position to ensure I’d have at least half-width planks at both ends of the room. This planning made the finished floor look much more balanced and intentional.
Improper moisture protection caused significant problems during my first attempt. I didn’t use adequate vapor barriers in a basement-level room, and several planks showed cupping within weeks of installation. When I redid the floor, I used plastic sheeting under the subfloor and sealed all seams with tape. I also installed proper humidity control in the room to maintain stable conditions year-round.
Tool-related mistakes included using the wrong saw blade which caused excessive splintering, and not properly adjusting my nailer, which resulted in overdriven fasteners and damaged tongue edges. Learning to use each tool properly made a huge difference in both work speed and quality. I also underestimated the amount of waste to order initially, requiring emergency supply runs that delayed the project and broke my installation rhythm.
Finishing Touches and Long-Term Maintenance
The finishing work made my DIY installation look truly professional. Installing quarter-round molding around the perimeter required careful measuring and precise miter cuts, but it covered expansion gaps and gave the floor a polished appearance. I used a pneumatic brad nailer to attach molding to the baseboards, not the flooring itself, allowing for natural movement of the bamboo planks.
Transition strips where the bamboo met other flooring materials required careful planning and installation. I used reducers at doorways to carpet and T-moldings where the bamboo met tile in adjacent rooms. These transitions needed to be level and secure while still allowing for floor movement. Getting these details right made the difference between a DIY job that screams “amateur” and one that looks professionally done.
The final step involved a thorough cleaning and application of bamboo floor finish. Even though my engineered bamboo came pre-finished, I applied an additional protective coat in high-traffic areas for extra durability. This finishing coat enhanced the bamboo’s natural beauty and provided additional protection against scratches and wear. The investment in premium finishing materials paid off with floors that still look beautiful after a full year of daily use.
Cost Analysis and Lessons Learned
My total DIY bamboo flooring project cost approximately $2,800 for 400 square feet, including the complete do-over when my first attempt failed. The bamboo flooring itself costs $4.50 per square foot for the upgraded material, while tools, underlayment, and finishing materials add another $800. Professional installation quotes ranged from $6,000 to $8,500, so I saved significant money despite my initial mistakes and material waste.
The hidden costs of DIY installation included tool rentals, extra materials for mistakes, and the value of time invested in the project. I spent four weekends on the project, including the failed first attempt and a complete restart. While this saved money, the time investment was substantial. Future DIY projects will benefit from the tools I now own and lessons learned, making the investment more worthwhile over time.
The most valuable lesson was understanding that bamboo flooring installation requires patience, proper preparation, and attention to detail. Cutting corners on preparation or trying to rush the process leads to problems that are expensive to fix later. Taking time to do each step properly results in beautiful floors that provide years of satisfaction and add significant value to your home.
Is bamboo flooring suitable for DIY installation by beginners?
Yes, but with important caveats. I succeeded on my second attempt after learning from initial mistakes. Bamboo is harder than traditional hardwood, making it less forgiving of errors, but engineered bamboo click-lock systems are quite manageable for patient beginners. Plan extra time for the learning curve and don’t skip proper preparation steps. Having basic carpentry skills and the right tools is essential for success.
How does bamboo flooring hold up in high-moisture areas like kitchens and bathrooms?
I installed bamboo only in my living room and dining area, avoiding moisture-prone spaces. Bamboo is more moisture-sensitive than advertised, expanding and contracting with humidity changes. While some manufacturers claim water resistance, I’d stick to low-moisture areas for DIY installations. Proper moisture barriers and climate control are essential wherever you install bamboo flooring.
What’s the realistic timeline for a DIY bamboo flooring project?
My 400-square-foot project took four full weekends, including the failed first attempt. A realistic timeline for first-time installers is 2-3 days per 100 square feet, plus preparation time. Don’t underestimate subfloor prep, which took an entire weekend. Allow extra time for learning, mistakes, and the detailed finishing work that makes the project look professional.
How much money can you save by installing bamboo flooring yourself?
I saved approximately $3,500 compared to professional installation quotes, even factoring in my mistakes and do-over costs. However, this doesn’t include the value of time invested. Tool purchases and rentals add up, but you’ll have them for future projects. The savings are substantial if you have the time, patience, and basic skills needed for a successful installation.
What tools are essential for DIY bamboo flooring installation?
Essential tools include a quality miter saw, pneumatic flooring nailer (rent if needed), chalk line, levels, spacers, rubber mallet, and oscillating saw for undercutting. Don’t skimp on saw blades; use fine-tooth blades to prevent splintering. A moisture meter is crucial for subfloor testing. Having the right tools makes the job much easier and produces better results than trying to improvise with inadequate equipment.
How durable is bamboo flooring compared to traditional hardwood in real-world use?
After one year, my bamboo floors show excellent durability in normal residential use. The surface hardness exceeds most traditional hardwoods, resisting dents and scratches well. However, bamboo can be brittle and may chip if hit hard. The engineered construction I chose provides good stability and longevity. With proper installation and maintenance, quality bamboo flooring should last 20+ years, comparable to traditional hardwood options.

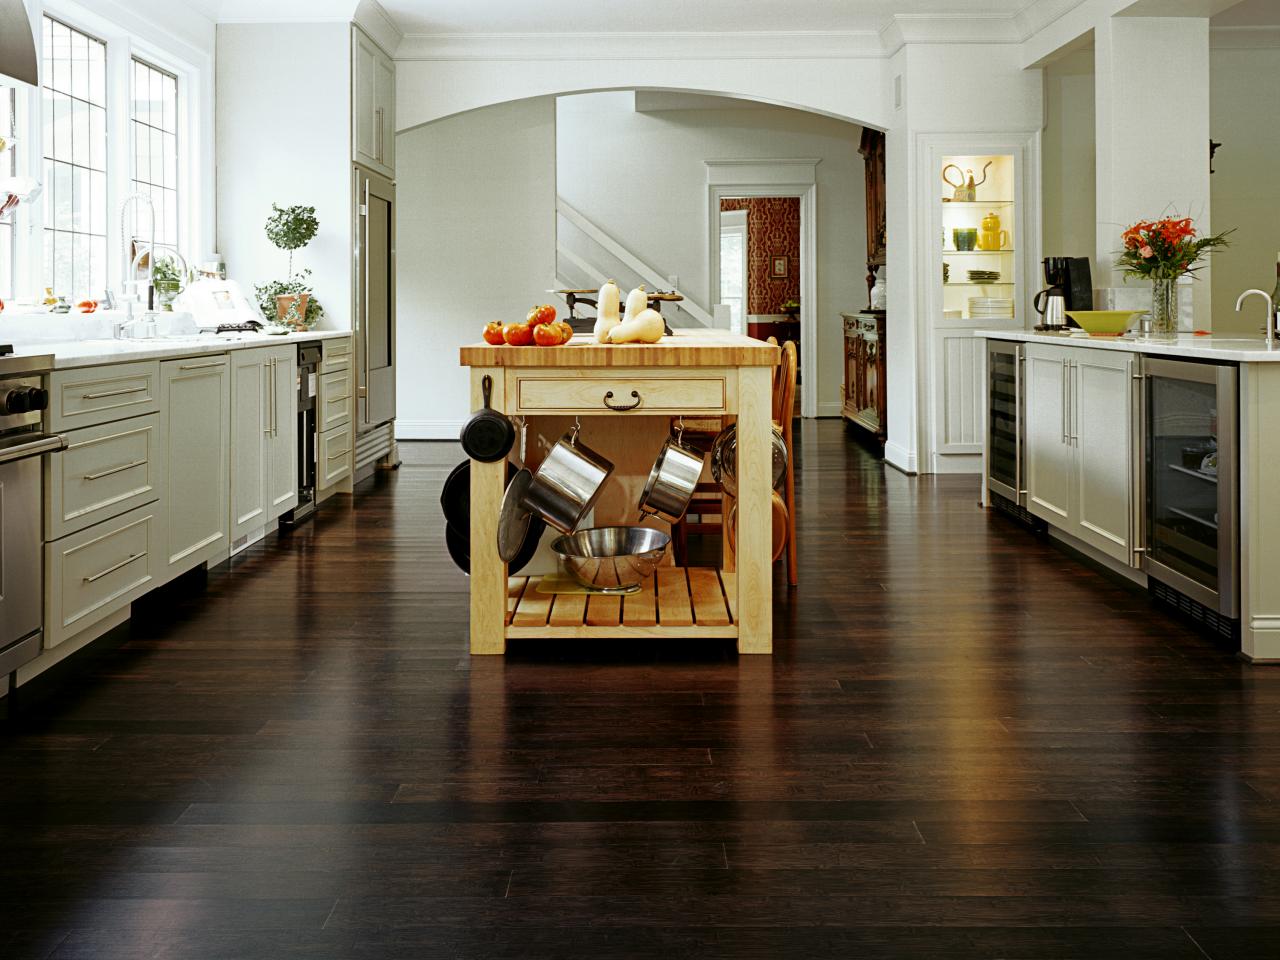
Bamboo Flooring for the Kitchen
DIY Bamboo Flooring
Related Posts: