When I inherited my grandmother’s house three years ago, I also inherited her beautiful but severely neglected Carrara marble floors that had lost their shine and developed a dull, chalky appearance that broke my heart. After months of researching restoration options, getting quotes from professionals, and watching countless YouTube tutorials, I embarked on the journey of marble floor polishing that transformed not just my floors but my entire relationship with this stunning natural stone.
The process taught me that marble maintenance isn’t as intimidating as I initially believed, though it does require patience, the right techniques, and a healthy respect for the material’s unique characteristics. What started as a necessity to restore my inheritance became a rewarding skill that has kept my floors looking spectacular and helped me understand why marble has been prized for centuries as the ultimate luxury flooring material.
Understanding My Marble’s Condition and Needs
The first step in my marble restoration journey involved learning to properly assess the condition of my floors, which proved more complex than I initially expected. I discovered that what I thought was simply “dirty” marble was a combination of etching from acidic spills, surface scratches from years of improper cleaning, and genuine dirt buildup that had accumulated in the stone’s microscopic pores. Understanding the difference between these issues was crucial because each required different treatment approaches, from simple cleaning to professional grinding and polishing. I spent weeks educating myself about marble’s calcium carbonate composition and why it reacts so differently to acids compared to other natural stones like granite.
My floors showed classic signs of neglect that I learned to identify through careful observation and research into marble maintenance best practices. The high-traffic areas near doorways had lost their reflective shine and developed a matte appearance, while areas around the kitchen sink showed clear etching marks from citrus juice and wine spills that had been left untreated for years.
I could run my finger across certain sections and feel the texture changes where the marble’s surface had been chemically damaged, creating a rough feeling that trapped dirt and made the stone appear permanently stained. Learning to distinguish between surface damage and deeper structural issues helped me understand what I could address myself versus what required professional intervention.
The emotional aspect of seeing my grandmother’s once-pristine floors in such poor condition motivated me to learn everything I could about proper restoration techniques and long-term maintenance strategies. I realized that marble floors are living surfaces that require ongoing care and attention, not just periodic cleaning like other flooring materials. This understanding shifted my perspective from viewing maintenance as a chore to seeing it as a way to honor both the natural beauty of the stone and the memories associated with the space. The process became less about simply restoring appearance and more about preserving a piece of family history while creating a foundation for new memories.
My DIY Polishing Adventure Begins
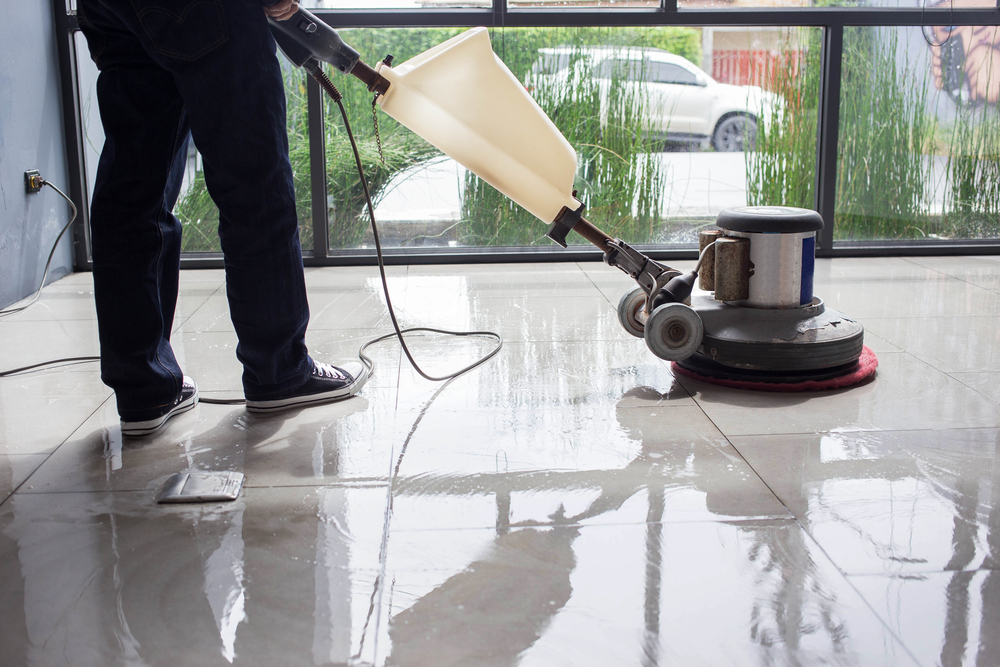
After getting quotes from professional restoration companies that ranged from $8 to 15 per square foot, I decided to attempt the polishing process myself, armed with rental equipment and determination to save money while learning new skills. I rented a variable-speed floor polisher and purchased a complete set of diamond polishing pads ranging from 50 grit for initial grinding to 3000 grit for final polishing, along with marble polishing powder and protective equipment. The investment in tools and materials was substantial but still significantly less than professional restoration, and I figured the knowledge gained would serve me well for future maintenance. However, I quickly learned that marble polishing is both an art and a science requiring patience, technique, and careful attention to detail.
My first attempts were humbling experiences that taught me respect for the skill involved in professional marble restoration and the importance of starting with test areas in inconspicuous locations. I began with the gentlest abrasives and worked my way up, learning to recognize when each grit level had achieved its maximum effectiveness before moving to the next finer grade. The process required multiple passes with each pad, maintaining consistent pressure and overlapping patterns to ensure even results across the entire surface. I discovered that rushing between steps or skipping grits would create inconsistent results that were difficult to correct, making patience the most important tool in my arsenal.
The physical demands of the work surprised me, as operating the polisher for extended periods required stamina and technique to maintain consistent results without creating swirl marks or uneven areas. I learned to work in manageable sections, taking breaks to assess my progress and adjust my technique as needed to achieve the mirror-like finish I was seeking. The satisfaction of seeing the marble’s natural beauty emerge through each polishing stage kept me motivated through the physically demanding process, and I began to understand why craftsmen throughout history have been drawn to working with this magnificent stone. By the end of the first room, I had developed a rhythm and confidence that made the remaining areas feel manageable rather than overwhelming.
Professional vs DIY: What I Learned
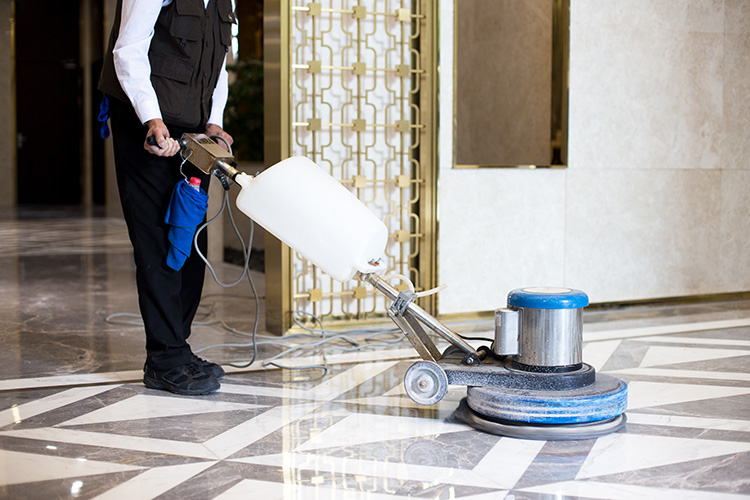
After completing about half my floors myself and hiring professionals for the remaining areas, I gained a valuable perspective on when DIY marble polishing makes sense and when professional expertise is worth the investment. My DIY efforts produced satisfactory results in areas with minor damage and surface dulling, but the professionals achieved a level of perfection and efficiency that highlighted the value of experience and specialized equipment. They completed in one day what would have taken me several weekends, using industrial-grade machines and techniques refined through years of practice. However, the cost savings from my DIY work were substantial, and I gained skills and knowledge that help me maintain the floors between professional services.
The quality difference became most apparent in areas with severe etching and deep scratches, where professionals had access to aggressive grinding equipment and restoration compounds that aren’t available to consumers. Their ability to level uneven surfaces and remove deep damage created uniformly smooth foundations for the polishing process, something I struggled to achieve with rental equipment. I learned that certain types of damage require professional-grade tools and experience to address properly, while surface maintenance and light restoration are well within the capabilities of dedicated DIYers. Understanding these limitations helped me make better decisions about which projects to tackle myself versus when to call in experts.
The long-term maintenance education I received from the professionals proved as valuable as their restoration work, teaching me techniques for preserving their results and extending the time between professional services. They showed me proper cleaning methods, recommended specific products that wouldn’t damage the marble, and explained early warning signs that indicate when professional attention is needed. This knowledge transformed my relationship with marble maintenance from anxiety-inducing mystery to manageable routine, giving me confidence to protect my investment through proper daily and weekly care. The combination of DIY experience and professional guidance created the perfect foundation for long-term marble floor success.
Tools, Products, and Hard-Won Wisdom
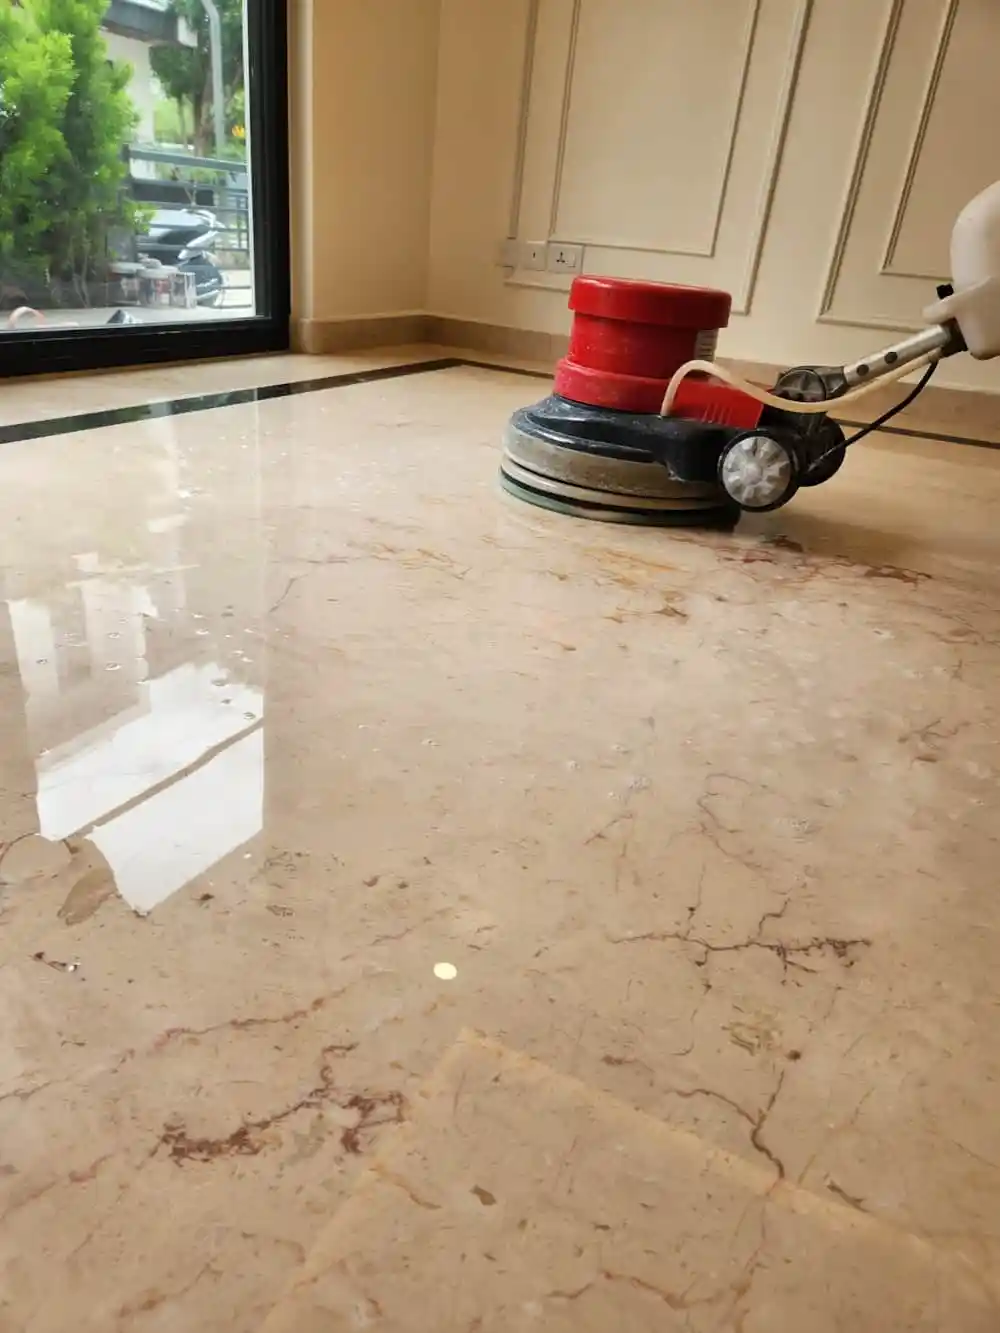
My marble polishing education involved learning about specialized tools and products through both research and trial-and-error experience that sometimes proved expensive but always provided valuable lessons. I discovered that quality diamond polishing pads make an enormous difference in results, with cheaper alternatives creating inconsistent finishes and wearing out quickly during intensive use. Investing in variable-speed polishers allowed me to match tool speed to specific tasks, from aggressive grinding at lower speeds to high-speed polishing for final shine development. I also learned that proper dust collection isn’t just about cleanliness but is essential for achieving professional results, as marble dust can interfere with the polishing process and create scratches.
The chemistry of marble polishing products fascinated me as I learned about how different compounds interact with calcium carbonate to create shine and protection. I experimented with various polishing powders, crystallization products, and sealers, discovering that marble responds differently to each type depending on its condition and the specific variety of stone. Understanding pH levels became crucial, as I learned that acidic products could undo hours of polishing work in minutes, while alkaline cleaners could leave residues that interfered with subsequent polishing steps. This chemical knowledge proved essential for both restoration success and ongoing maintenance effectiveness.
My toolkit evolved as I learned which tools were essential versus merely convenient, helping me make smarter purchasing decisions for future projects and maintenance tasks. Essential items included knee pads for comfort during extended floor work, spray bottles for controlling moisture during polishing, and microfiber cloths that wouldn’t scratch the freshly polished surface. I discovered that organization and preparation were as important as the actual polishing techniques, with proper staging of materials and systematic approaches making the difference between frustrating struggles and satisfying progress. The investment in quality tools paid dividends not just in better results but in making the work more enjoyable and less physically demanding.

Maintaining That Perfect Shine
Developing an effective maintenance routine proved crucial for protecting my polishing investment and keeping the marble floors looking their best between major restoration projects. I learned that daily maintenance is far more important with marble than other flooring materials, requiring immediate cleanup of spills and regular dust removal to prevent accumulation that could cause microscopic scratching. My routine includes sweeping with microfiber dust mops that capture particles without redistributing them, followed by damp mopping with pH-neutral cleaners specifically formulated for natural stone. This consistent approach has maintained the shine and prevented the gradual dulling that necessitated my original restoration project.
Weekly deep cleaning became an opportunity to inspect the floors for early signs of damage or wear that might require attention before becoming major problems. I use this time to apply marble polish in high-traffic areas that show the first signs of dulling, addressing issues while they’re still easily manageable with simple techniques and products. Learning to recognize the early stages of etching, scratching, and wear patterns has allowed me to intervene quickly with appropriate treatments, preventing minor issues from becoming expensive restoration projects. This proactive approach has extended the life of my polishing work significantly while keeping maintenance costs minimal.
The seasonal aspects of marble care surprised me as I learned how environmental factors affect the stone’s appearance and condition throughout the year. Winter months with dry indoor air and tracked-in salt required more frequent sealing and protective measures, while humid summer conditions created different challenges with cleaning product effectiveness and drying times. I adapted my maintenance schedule to address these seasonal variations, using humidifiers to prevent excessive drying and adjusting cleaning frequency based on weather-related soil accumulation. This holistic approach to marble care has kept my floors consistently beautiful regardless of seasonal challenges, proving that understanding the stone’s relationship with its environment is essential for long-term success.

Long-Term Results and Lessons Learned
Three years after my initial marble restoration project, I can confidently say that learning to polish and maintain marble floors has been one of my most rewarding home improvement adventures. The floors have maintained their beauty through daily family life, entertaining guests, and the inevitable spills and mishaps that come with regular use, proving that proper care can preserve marble’s natural elegance indefinitely. I’ve become the go-to resource among friends and neighbors for marble advice, sharing my hard-won knowledge and helping others avoid the mistakes I made during my learning process. The confidence I gained from mastering this challenging skill has encouraged me to tackle other natural stone projects throughout my home.
The financial benefits have exceeded my initial expectations, as the combination of DIY restoration and proper maintenance has eliminated the need for professional services except for periodic deep restoration every few years. I estimate that my investment in tools, products, and learning has saved me thousands of dollars compared to ongoing professional maintenance, while also giving me complete control over the timing and quality of care my floors receive. The skills I developed have proven transferable to other natural stone surfaces in my home, from marble countertops to travertine bathroom floors, multiplying the value of my initial education and tool investment.
Most importantly, I’ve developed a deep appreciation for marble as a living material that responds to care and attention with lasting beauty and performance. Understanding the science behind marble maintenance has transformed what initially seemed like an intimidating responsibility into an enjoyable aspect of homeownership that connects me to centuries of craftsmen who have worked with this magnificent stone. My floors have become a source of pride and satisfaction, representing not just restored beauty but also the knowledge and skills I gained through the challenging but rewarding process of learning to properly care for one of nature’s most beautiful building materials.

How often do marble floors need professional polishing to maintain their appearance?
In my experience, properly maintained marble floors need professional polishing every 2-3 years with normal family use. I do light maintenance polishing myself annually in high-traffic areas, which extends professional service intervals. Frequency depends on foot traffic, maintenance quality, and environmental factors like pets and kids.
Can I use regular household cleaners on my polished marble floors?
Absolutely not! I learned this the hard way early on. Regular cleaners often contain acids or harsh chemicals that etch marble surfaces, undoing polishing work instantly. I use only pH-neutral stone cleaners and avoid anything containing vinegar, lemon, or ammonia. Even “natural” cleaners can damage marble if they’re acidic.
What’s the realistic cost for DIY marble floor polishing compared to professional services?
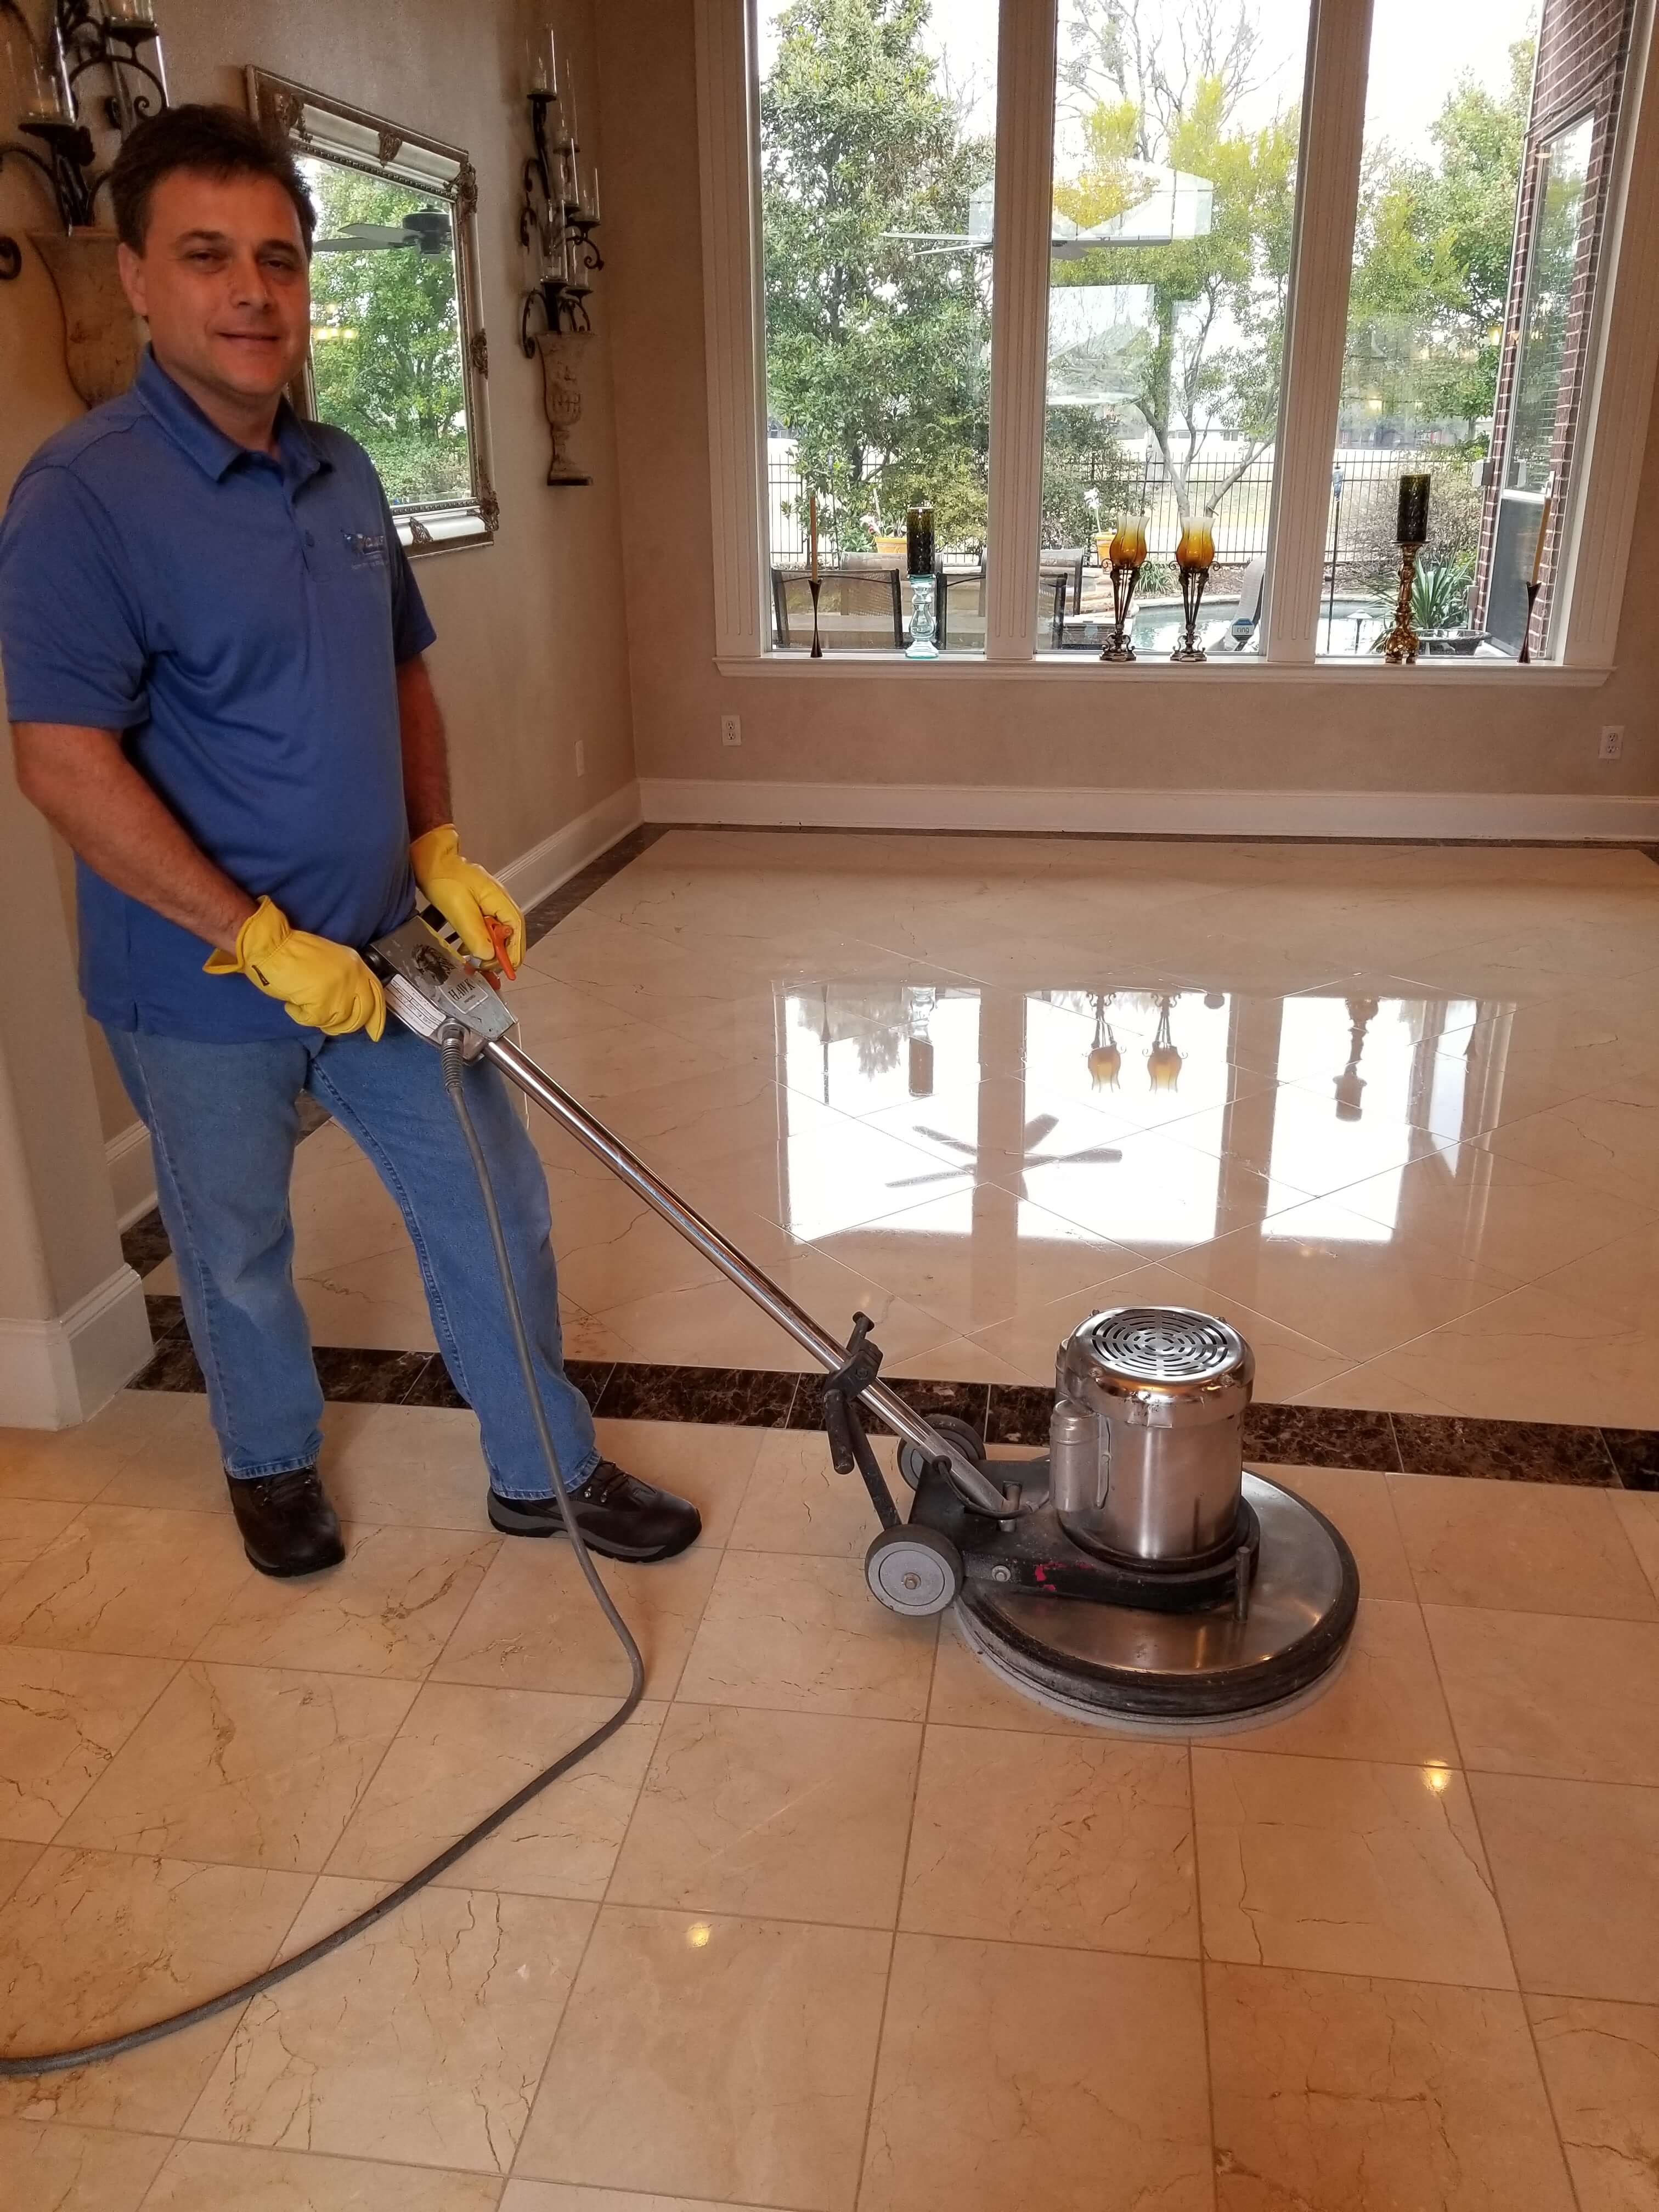
I spent about $800 on tools and supplies for my 400 square foot area, versus $4,000 for professional quotes. The savings were substantial, though it took several weekends and significant physical effort. Professional work is faster and more consistent, but DIY is feasible for motivated homeowners willing to learn.
How do I know if my marble floors can be restored or if they need replacement?
Most marble damage is repairable through grinding and polishing unless the stone is cracked, chipped, or structurally compromised. I had floors that looked beyond hope, but proper restoration brought them back beautifully. Deep scratches, etching, and dulling are typically surface issues that respond well to polishing techniques.

What mistakes should I avoid when attempting marble floor restoration myself?
My biggest mistakes included skipping grits during polishing, using too much pressure with power tools, and not properly cleaning between steps. Also, never use acidic products during or after polishing, and always test techniques in inconspicuous areas first. Patience is crucial; rushing leads to uneven results that are difficult to correct.
How long does the polishing process take, and how disruptive is it to daily life?
Plan for significant disruption during polishing. Each room took me 2-3 full days as a beginner, with areas unusable during work and 24-hour curing time afterward. The dust and noise require family coordination, and I had to temporarily relocate to other living spaces. Professional work is faster but equally disruptive during the actual process.

Related Posts: