Armstrong Floating Vinyl Flooring
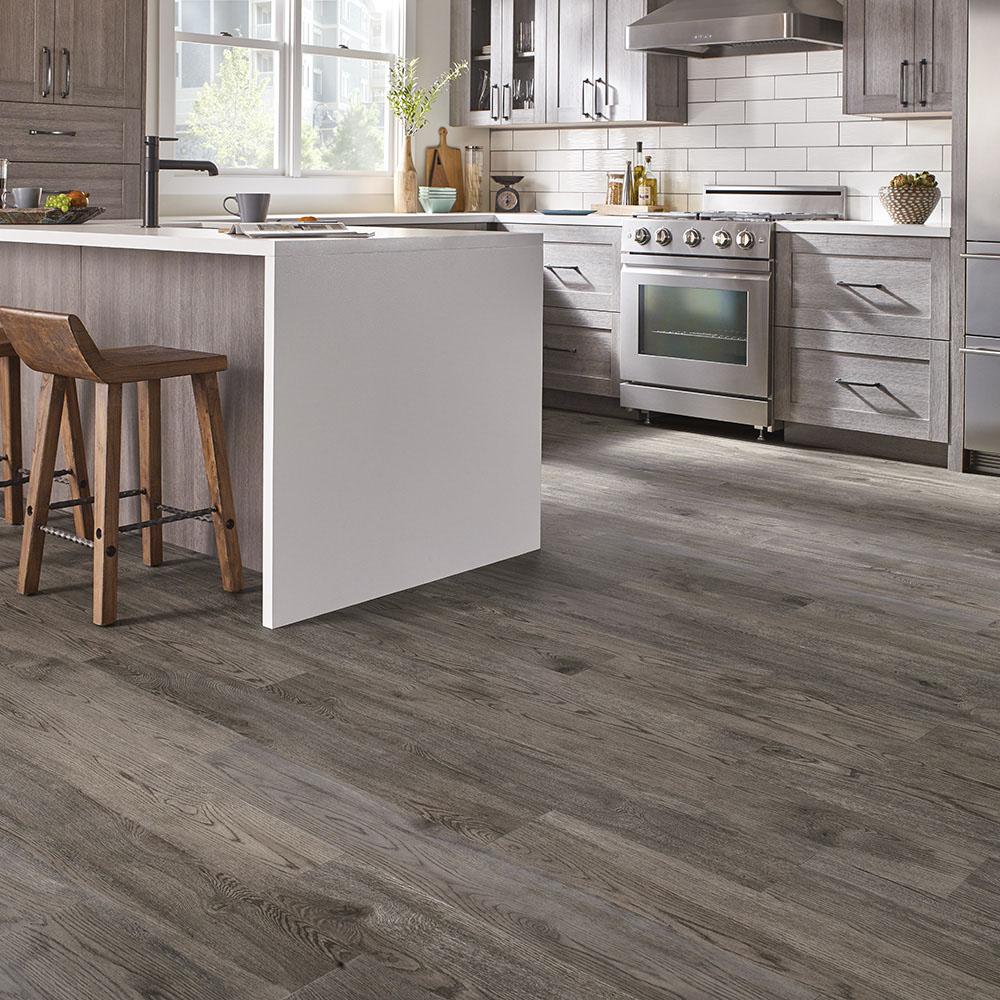
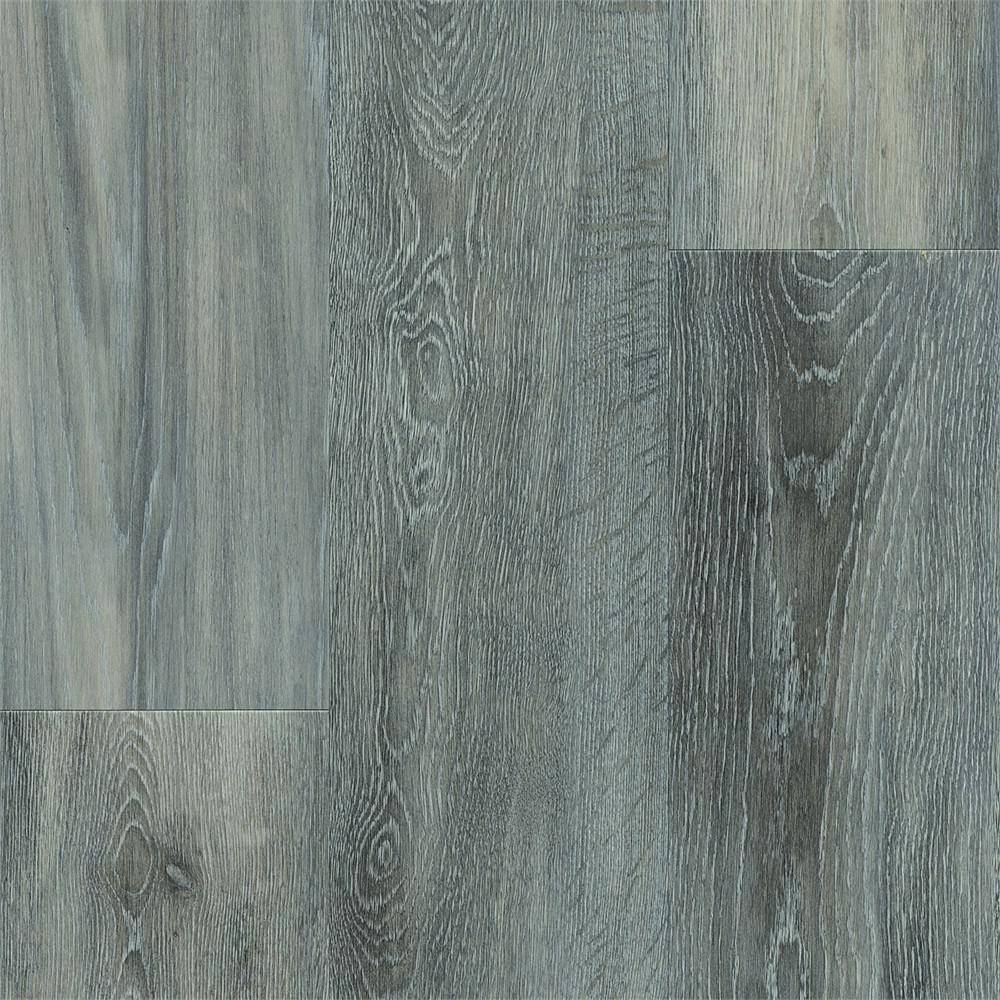
Armstrong Flooring Luxe with Rigid Core Foggy Gray 7 in. W x 48 in. L Floating Luxury Vinyl
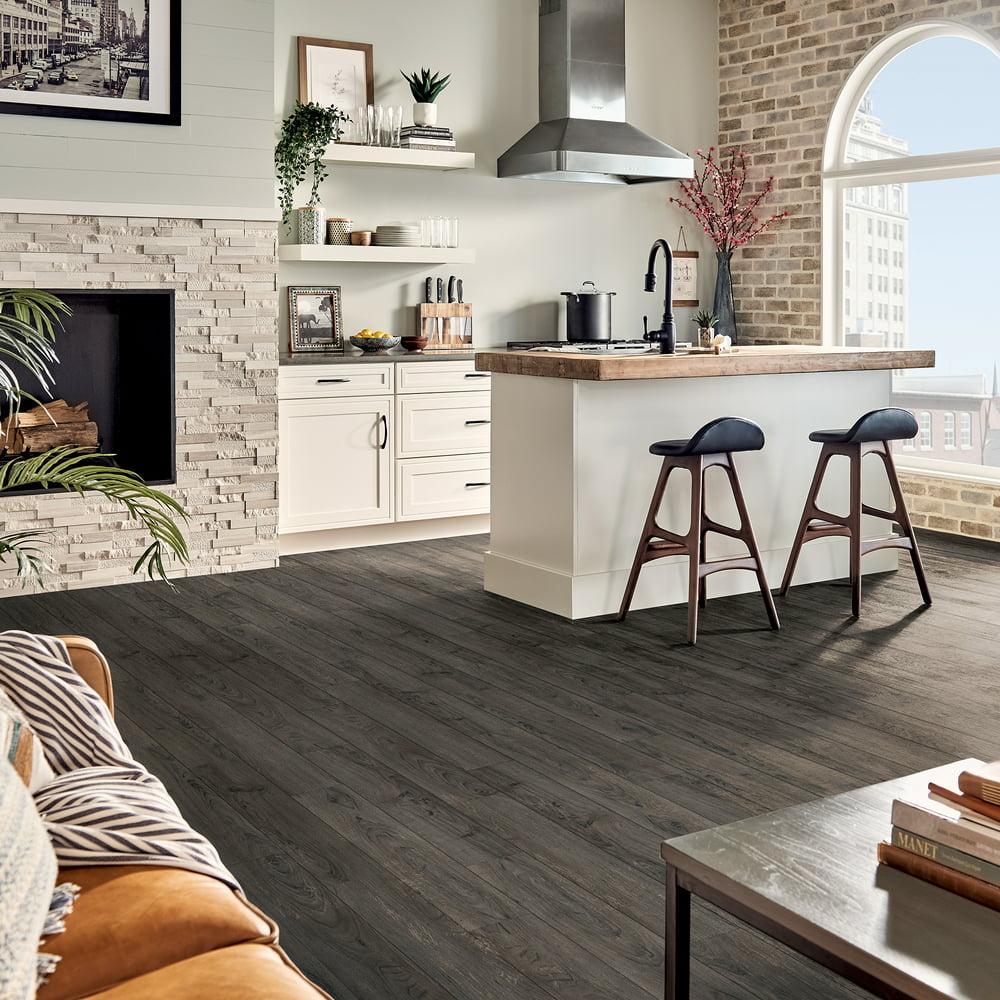
Armstrong Flooring Luxury Vinyl Plank- Rigid Core Essentials Locking 5.67"x47.76" Cascade Walnut
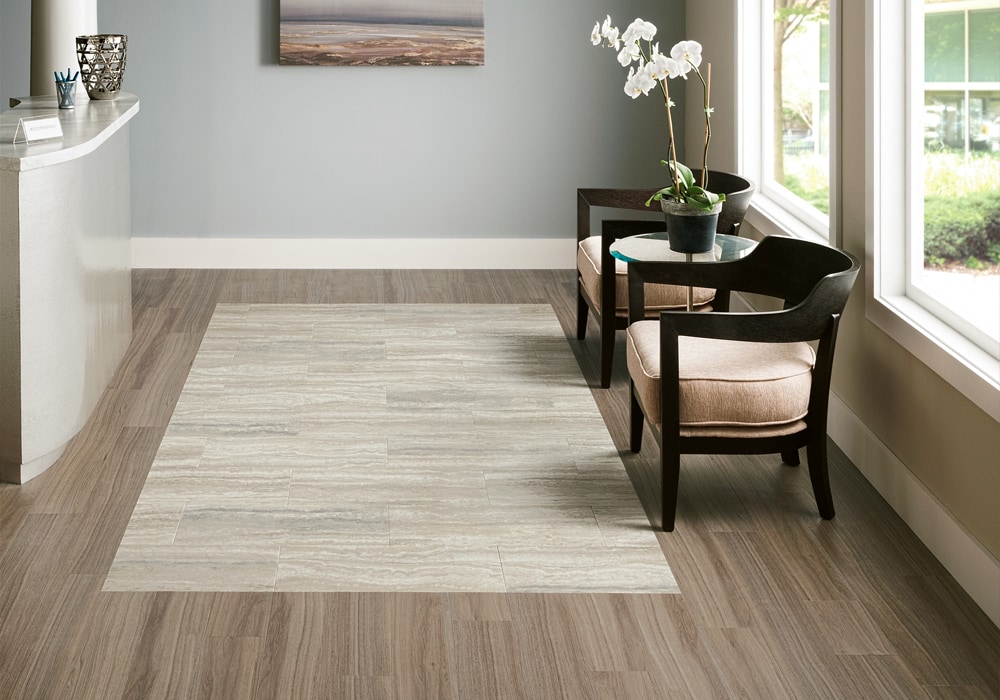
Luxury Vinyl Flooring by Armstrong Dalene Flooring
Armstrong CushionStep Better with Diamond 10 Technology 12 ft. Width x Custom Length Oak Wolf

Armstrong CushionStep Solar Morning Vinyl Sheet Flooring – Floor Sellers

Pin on Flooring Gallery

Armstrong Flooring Multicolor 12-in x 12-in Water Resistant Peel and Stick Vinyl Tile (1-sq ft

Armstrong Floating Vinyl Sheet Flooring – Flooring : Home Design Ideas #rNDLE2VjQ891252

Armstrong Flooring Alterna Sistine White 16-in x 16-in Groutable Waterproof Vinyl Tile (24.89-sq
Armstrong Flooring Sand 12-in x 12-in Water Resistant Peel and Stick Vinyl Tile (45-sq ft) in
Armstrong Flooring Terraza 12×24 12-in x 24-in Sand Dollar Peel and Stick Vinyl Tile in the
Related Posts:
- Pine Vinyl Flooring
- Vinyl Floor Laying DIY
- Cortex Vinyl Flooring
- Grey Slate Effect Vinyl Floor Tiles
- Dark Oak Vinyl Flooring
- Limestone Effect Vinyl Flooring
- Vinyl Floor With Border
- Adhesive For Vinyl Flooring To Concrete
- Teak Wood Vinyl Flooring
- Cheap Vinyl Flooring
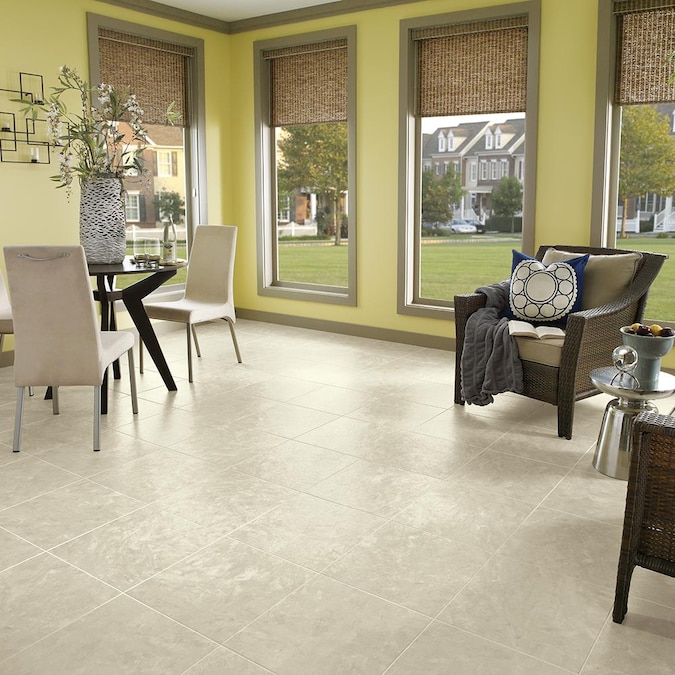
When it comes to flooring, there are limitless options available for homeowners. One of the most popular choices is Armstrong floating vinyl flooring. It is durable, water-resistant, and easy to install. This type of flooring is perfect for any area of your home, from the kitchen to the bathroom.
In this comprehensive guide, we will discuss what Armstrong floating vinyl flooring is, its benefits, and how to install it in your home. We will also provide some tips and tricks to make sure that you get the best results. So keep reading if you are looking for a reliable and cost-effective flooring option.
What is Armstrong Floating Vinyl Flooring?
Armstrong floating vinyl flooring is a type of interlocking plank system that is designed to be installed directly on top of existing floors. It can be used on any surface, from concrete to hardwood. The planks come in various sizes and thicknesses, so you can easily find an option that fits your needs.
Unlike traditional tile or wood flooring, Armstrong floating vinyl does not require any adhesive or nails. Instead, the planks interlock together and float on top of the surface below. This makes it much easier to install than other types of flooring and eliminates the need for messy glue or long hours of labor.
Benefits of Armstrong Floating Vinyl Flooring
Armstrong floating vinyl flooring has many benefits that make it a great choice for any room in your home. Here are some of the reasons why you should consider this type of flooring:
Durability: This type of flooring is designed to be extremely durable and resistant to wear and tear. It can withstand heavy traffic and everyday wear and tear without showing signs of damage.
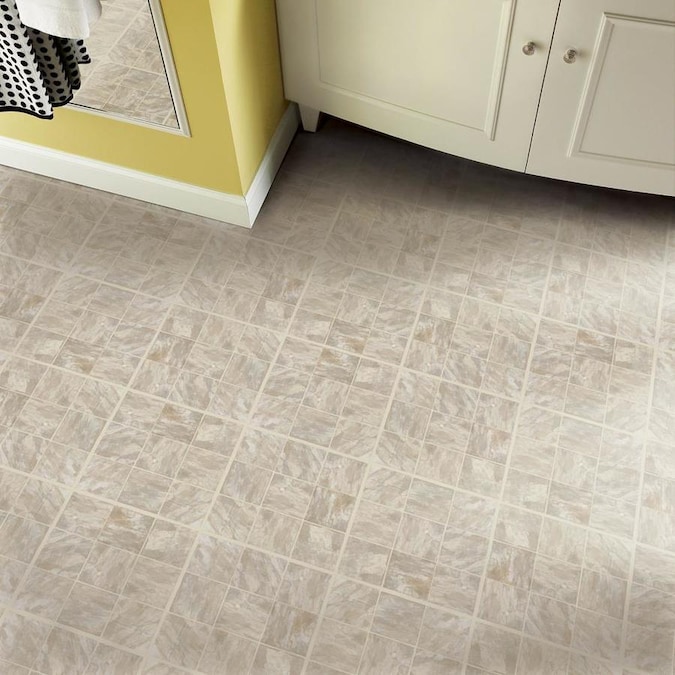
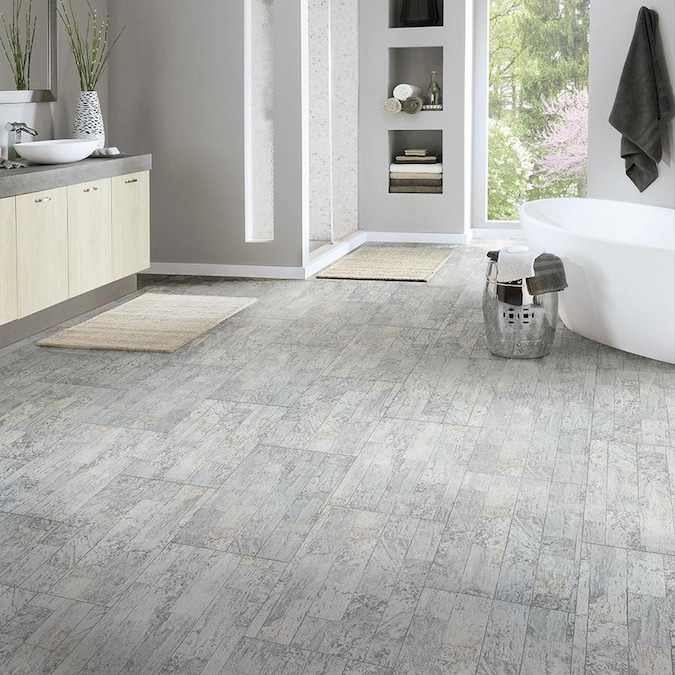
Water Resistance: Armstrong floating vinyl planks are waterproof, making them a great choice for bathrooms and kitchens where spills are common. As long as you clean up spills quickly, you won’t have to worry about water damage.
Easy Installation: Unlike other types of flooring, Armstrong floating vinyl planks can be installed quickly and easily without any specialized tools or skills. All you have to do is snap the planks together and they will float on top of the surface below. This makes it ideal for DIY projects or those who don’t want to hire a professional installer.
Affordability: Armstrong floating vinyl flooring is very affordable compared to other types of flooring such as hardwood or tile. It also requires little maintenance which can help save you money in the long run.
How to Install Armstrong Floating Vinyl Flooring
Installing Armstrong floating vinyl flooring is fairly simple as long as you have the right tools and know what you’re doing. Here are some steps you should follow:
1. Prepare Your Surface: Before you begin installing your Armstrong floating vinyl planks, make sure that your surface is clean and free of dirt, dust, and debris. If necessary, use a vacuum cleaner or broom to remove any dirt or dust particles from the area where you will be installing the planks.
2. Measure Your Space: Measure the area where you will be installing your planks so that you know how many planks you will need to complete the project. Make sure to leave a small gap between each plank for expansion purposes in case the temperature changes in your home.
3. Cut Your Planks: Depending on the size of your space, you may need to cut some planks in order to fit them properly. Make sure to use a saw with a masonry blade for this step as regular saw blades can damage your planks.
4. Install Your Planks: Once all your pieces are cut, start installing them by interlocking them together one at a time until your entire area is covered with Armstrong floating vinyl planks. Make sure that each plank locks into place securely before moving onto the next one.
5. Finish Up: After all of your planks are installed, use a damp cloth or mop to clean up any dust or dirt particles that may have been left behind during installation. Then let your new floor sit for 24 hours before walking on it or adding furniture back into the room.
Tips &