Bathroom Floor Saddle

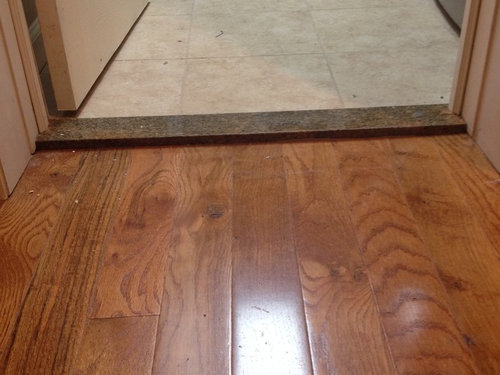
Bathroom saddle- marble or wood?
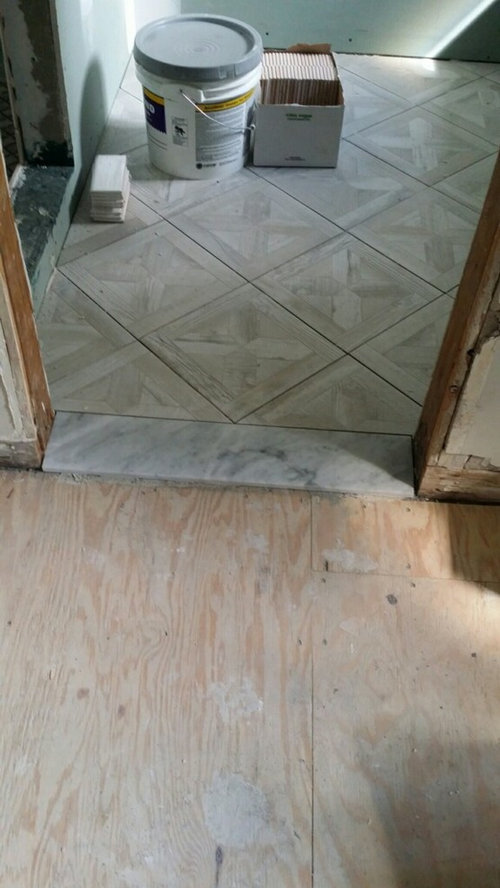
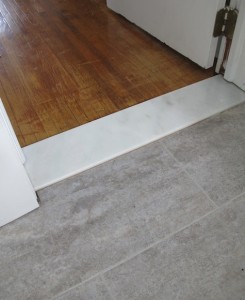
Marble Saddle

Saddles/ Thresholds
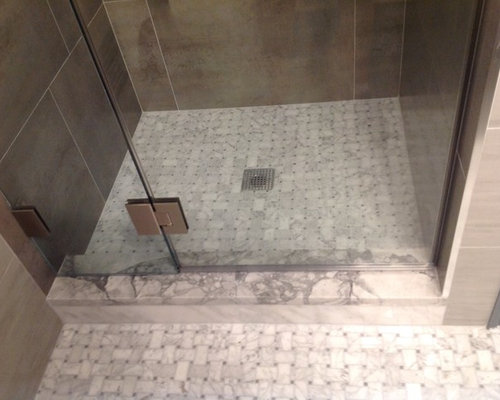
Shower Saddle Ideas, Pictures, Remodel and Decor
Marble Floor Saddles – Flooring Ideas
Bathroom saddle- marble or wood?
Pin on Appartment

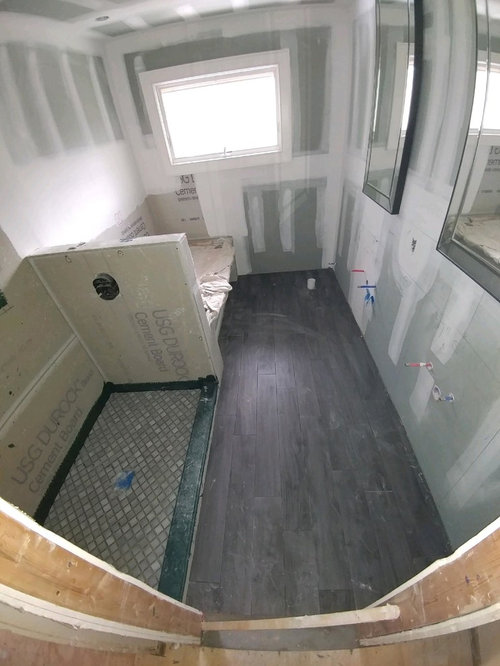
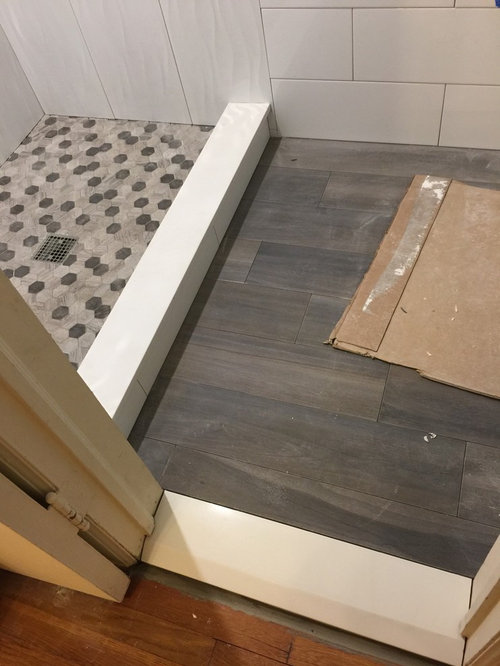
Help with this bathroom door saddle
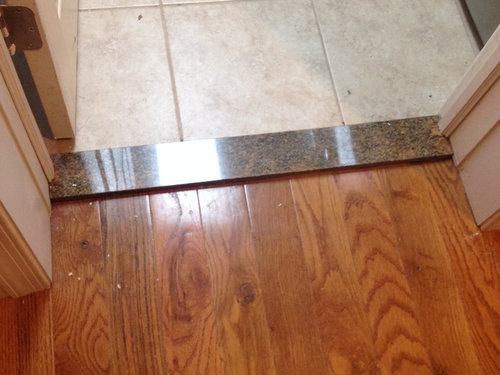
M-D 68395 1/4" X 5" X 36" Bronze Fluted Saddle Threshold – Walmart.com – Walmart.com

Marble Saddle Thresholds at Unmatched Prices
Built in Shower Curb Shower curb, Granite shower, White subway tile shower

Related Posts:
- French Country Bathroom Flooring
- Mid Century Modern Bathroom Flooring
- Rustic Bathroom Floor Tiles
- Purple Bathroom Flooring
- How To Clean Bathroom Floor Stains
- Tile Design Bathroom Floor
- Terracotta Bathroom Floor
- Cool Bathroom Floor Ideas
- Light Bathroom Floor Tiles
- Classic Bathroom Floor Tile Ideas
A bathroom floor saddle is an incredibly useful tool for creating a seamless transition between two different types of floor surfaces. It provides a smooth and level transition, which can help protect against water damage and make the transition more aesthetically pleasing. Installing a bathroom floor saddle can be a challenging task, but with the right tools and materials, it can be done relatively easily.
## What Is a Bathroom Floor Saddle?
A bathroom floor saddle is essentially a metal or plastic track that is used to bridge the gap between two adjacent floors. It is typically installed in bathrooms, showers, and other wet areas with two different types of flooring. For example, it could be used to bridge the gap between tiled and laminate flooring or between tiled and carpeted floors. The saddle serves as a transition piece that helps join two different floor surfaces together.
## Benefits of Installing a Bathroom Floor Saddle
Installing a bathroom floor saddle carries several benefits, all of which are designed to protect the floors from water damage. Some of these benefits include:
* Seamless Transition – A bathroom floor saddle helps create a seamless transition between two different types of floors. This eliminates any kind of jarring or uneven edge that could cause water to accumulate and cause damage over time.
* Improved Aesthetics – A bathroom floor saddle helps make the transition look more aesthetically pleasing. It adds an element of continuity, making it look more modern and giving it a more finished look.
* Water Damage Prevention – Installing a bathroom floor saddle helps prevent water damage by ensuring that there are no gaps or seams where water can accumulate or seep through. This helps keep the floors dry and protected from any kind of water-related damage.
## How to Install a Bathroom Floor Saddle
Installing a bathroom floor saddle is not an overly complex process, but it does require some skill and knowledge to pull off correctly. Here is what you need to know before starting:
### Materials Needed
Before starting on the installation process, you’ll need to have the following materials on hand:
* Bathroom Floor Saddle
* Level
* Caulking Gun
* Caulk
* Putty Knife
* Wood Glue
* Tape Measure
* Utility Knife
Once you have all of these materials ready, you can begin the installation process.
### Step-by-Step Installation Instructions
#### Step 1: Measure the Gap Between Floors
The first step is to measure the gap between the two floors. You’ll need to use your tape measure for this step and make sure that you take accurate measurements so that you don’t end up cutting your saddle too short or too long.
#### Step 2: Cut Your Saddle to Size
Next, you’ll need to cut your saddle down to size using your utility knife. Make sure that you measure twice before cutting once to ensure that your saddle fits perfectly in the gap between the floors.
#### Step 3: Apply Wood Glue
Once your saddle is cut down to size, it’s time to apply some wood glue along its edges. This will help ensure that your saddle sticks in place once it’s installed. Make sure that you spread the glue evenly along all sides of the saddle and let it dry for at least 10 minutes before moving on to the next step.
#### Step 4: Place Your Saddle in Place
Once your glue has dried, it’s time to place your saddle in place. Carefully lower it into the gap between the two floors until it fits snugly in place. Then, use your level to make sure that it’s even and level in both directions. If not, make any necessary adjustments until it’s level in both directions.
#### Step 5: Secure Your Saddle in Place
Now that your saddle is in place and level, it’s time to secure it in place with some caulk. Apply caulk along all edges of your saddle with your caulking gun and then use your putty knife to spread it out evenly across all edges of your saddle. Allow the caulk to dry completely