Bronco Vinyl Floor

Bronco Vinyl Floor – Flooring Blog

ACC 78-79 Bronco Complete Black Molded Vinyl Flooring W/ Cargo Area + Wheelwells eBay

Ford bronco vinyl floor

1987-1993 Ford Bronco Complete VINYL Floor Kit-Broncograveyard.com

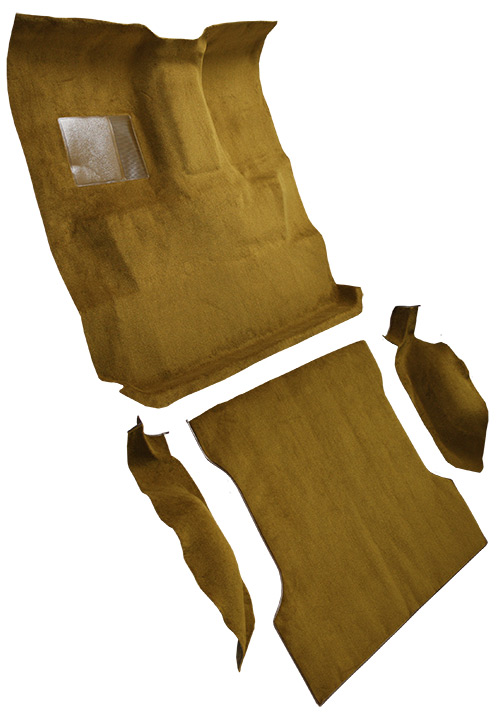
1978-1979 Ford Bronco Molded Replacement Vinyl Flooring
1987-1993 Ford Bronco Complete VINYL Floor Kit-Broncograveyard.com

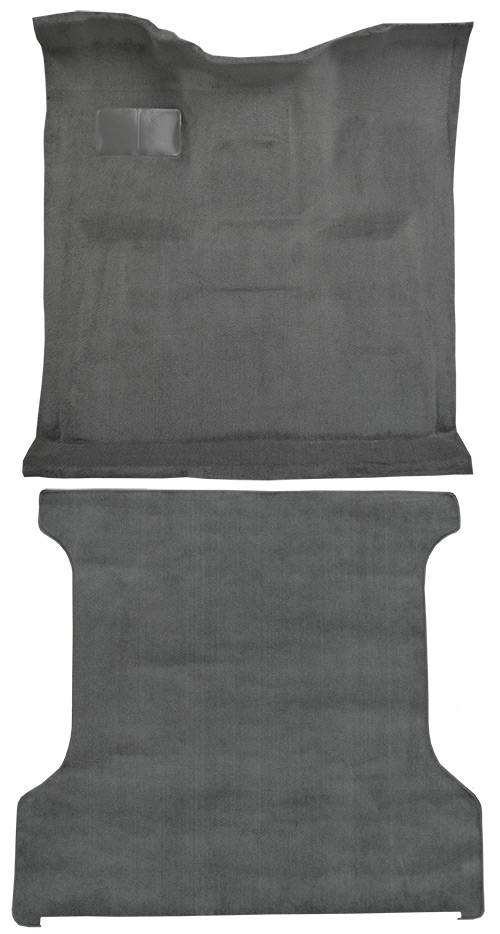
1966-76 Ford Bronco Passenger Area Vinyl Flooring Kit – Gray – OER F9758927 – Classic Body Parts

1980-1986 Ford Bronco Molded Replacement Vinyl Flooring
Ford bronco vinyl floor

1966-1976 Ford Bronco 2 Gas Tanks with Tailgate Lock Cargo A-Broncograveyard.com

Ford bronco vinyl floor

Related Posts:
- Pine Vinyl Flooring
- Vinyl Floor Laying DIY
- Cortex Vinyl Flooring
- Grey Slate Effect Vinyl Floor Tiles
- Dark Oak Vinyl Flooring
- Limestone Effect Vinyl Flooring
- Vinyl Floor With Border
- Adhesive For Vinyl Flooring To Concrete
- Teak Wood Vinyl Flooring
- Cheap Vinyl Flooring
Are you looking for a durable floor that looks great and can withstand heavy foot traffic? Bronco vinyl flooring is one of the best options out there. It is a resilient material that is easy to install and even easier to maintain. Best of all, it is available in a variety of colors and styles, making it an attractive option for any space. In this article, we will provide you with the information you need to know about Bronco vinyl flooring and how to master its installation.
What Is Bronco Vinyl Flooring?
Bronco vinyl flooring is a type of resilient material made from several layers of PVC-vinyl and fiberglass. This type of flooring has been around since the mid-20th century, but it has recently seen an uptick in popularity due to its durability and versatile appearance. Bronco vinyl flooring comes in a variety of colors and styles, making it easy to find one that perfectly matches your interior design scheme. It is also extremely easy to install, making it a great option for DIYers on a budget.
The Benefits of Installing Bronco Vinyl Flooring
There are many benefits that come with installing Bronco vinyl flooring in your home or office. First and foremost, it is highly durable and can easily withstand heavy foot traffic without suffering any damage. It is also waterproof, meaning that it won’t be damaged if you accidentally spill something on it. Additionally, it is incredibly easy to clean and maintain. This makes it ideal for high-traffic areas or households with pets or small children. Finally, Bronco vinyl flooring is well-suited for nearly any interior design scheme due to its versatile colour palette.
How to Master the Installation of Bronco Vinyl Flooring
Installing Bronco vinyl flooring can seem intimidating at first, but it is actually quite simple as long as you have the right tools and knowledge. The first step is to measure the area where you’ll be laying down the flooring to ensure that you buy enough material. You should also make sure that the surface beneath the vinyl is smooth to avoid any potential bumps or dips in the finished product.
Once you have bought the necessary materials, you will need to prepare your subfloor for installation. This involves cleaning the surface and ensuring that it is level and free from any protrusions. After this, you will need to lay down the adhesive strips included with your Bronco vinyl flooring package along the perimeter of the room. These strips will form a barrier between your subfloor and vinyl so that the two don’t interact negatively with each other over time.
The next step is to begin laying down your vinyl planks, starting in one corner and working outwards in an “L” or serpentine pattern. Make sure that each plank is securely placed against the wall or adhesive strip before moving on to the next one. If you are having trouble getting them connected properly, use a rubber mallet or hammer to lightly tap them into place. Once all of the planks are laid down, go back over them one more time with a roller or rolling pin to ensure that they are tightly connected together.
Finally, if desired, you can add additional elements such as trim pieces or edging around your new Bronco vinyl flooring for protection against wear and tear. This will give your new floor a professional-looking finish and help keep it looking great year after year.
Conclusion
Bronco vinyl flooring can transform virtually any room in your home while being affordable and relatively easy to install. With its numerous benefits and stylish aesthetic, installing Bronco vinyl flooring in your home or office is an excellent idea if you are looking for a durable yet attractive option that won’t break your budget. Once you master the installation process using our tips and tricks above, you will be well on your way to enjoying your beautiful new space!
What is the cost of Bronco Vinyl Flooring?
The cost of Bronco Vinyl Flooring varies depending on where you purchase it, the size of the room you are flooring, and the type of vinyl you select. Prices generally range from $0.50 to $4.00 per square foot. Labor costs may also need to be taken into consideration if you are hiring a professional to install the vinyl flooring.What are the installation instructions for Bronco Vinyl Flooring?
1. Start by preparing the floor. Remove any existing flooring materials, such as carpet, padding and tack strips. Sweep and vacuum the space to remove any dirt or debris.2. Measure the room and cut the Bronco Vinyl Flooring planks to size. Make sure to allow for ¼ inch expansion gaps around all walls and fixtures.
3. Lay out the planks in the room in order to create a pattern that you like. You can mix and match different colors to create a unique-looking floor.
4. When you are ready to begin installation, apply a thin layer of adhesive to the floor, starting in the corner of the room and working your way out. Make sure to leave the ¼ inch expansion gap around all walls and fixtures.
5. Using a roller, firmly press each plank into the adhesive and make sure it is secure. Continue laying down each plank until all the vinyl flooring has been installed in the room.
6. Allow the adhesive to dry for at least 24 hours before walking on the floor or returning furniture to the area.
What tools are needed to install Bronco Vinyl Flooring?
Tools necessary to install Bronco Vinyl Flooring include a utility knife, a straightedge, and a suitable adhesive. Additional tools may be needed depending on the installation method chosen. For example, a jigsaw and power drill may be needed for cutting around doors and other fixtures, and a mallet and tapping block may be needed to join planks together tightly.What is the cost to install Bronco Vinyl Flooring?
It is difficult to provide an accurate estimate for the cost of installing Bronco Vinyl Flooring without knowing more information about the particular situation. Installation costs will vary based on the size and complexity of the job, the labor and materials needed, and other factors. It is best to contact a local professional who specializes in vinyl flooring for an accurate estimate.What tools are needed to install Bronco Vinyl Flooring?
The tools needed to install Bronco Vinyl Flooring include a utility knife, tape measure, straight edge, chalk line, rubber mallet, pry bar, and adhesive. Depending on the installation method you choose, you may also need additional tools and materials such as a jigsaw, power drill, miter saw, or even tile spacers.What are the steps to install Bronco Vinyl Flooring?
1. Prepare The Site: Clear the area of any furniture, remove old flooring, and ensure that the subfloor is level and dry.2. Measure the Room: Carefully measure the room or space to determine the amount of flooring needed for the project.
3. Acclimate the Flooring: Unwrap and place the flooring in the room at least 48-72 hours ahead of installation to allow it to adjust to the room’s temperature and humidity levels.
4. Install Underlayment: Install a suitable underlayment before laying down the Bronco Vinyl Flooring, following the manufacturer’s recommendations.
5. Lay The Planks: Start from one corner of the room and work your way out, using recommended adhesive to attach each plank to the subfloor as you go.
6. Trim To Fit: Use a sharp utility knife to cut off any excess flooring that comes up against walls or other edges.
7. Seal The Perimeter: Once all of your flooring is in place, seal off the perimeter with a layer of silicone caulk or trims to ensure no moisture or dirt can get in underneath your flooring.