Concrete Floor Polishing DIY

Why a DIY Polished Concrete Floor Will Cause Problems – Concrete Polishing
DIY: How to Polish Concrete Floors

Why a DIY Polished Concrete Floor Will Cause Problems – Concrete Polishing

Do-It-Yourself: Clean a Concrete Floor – Free-makeup-tips

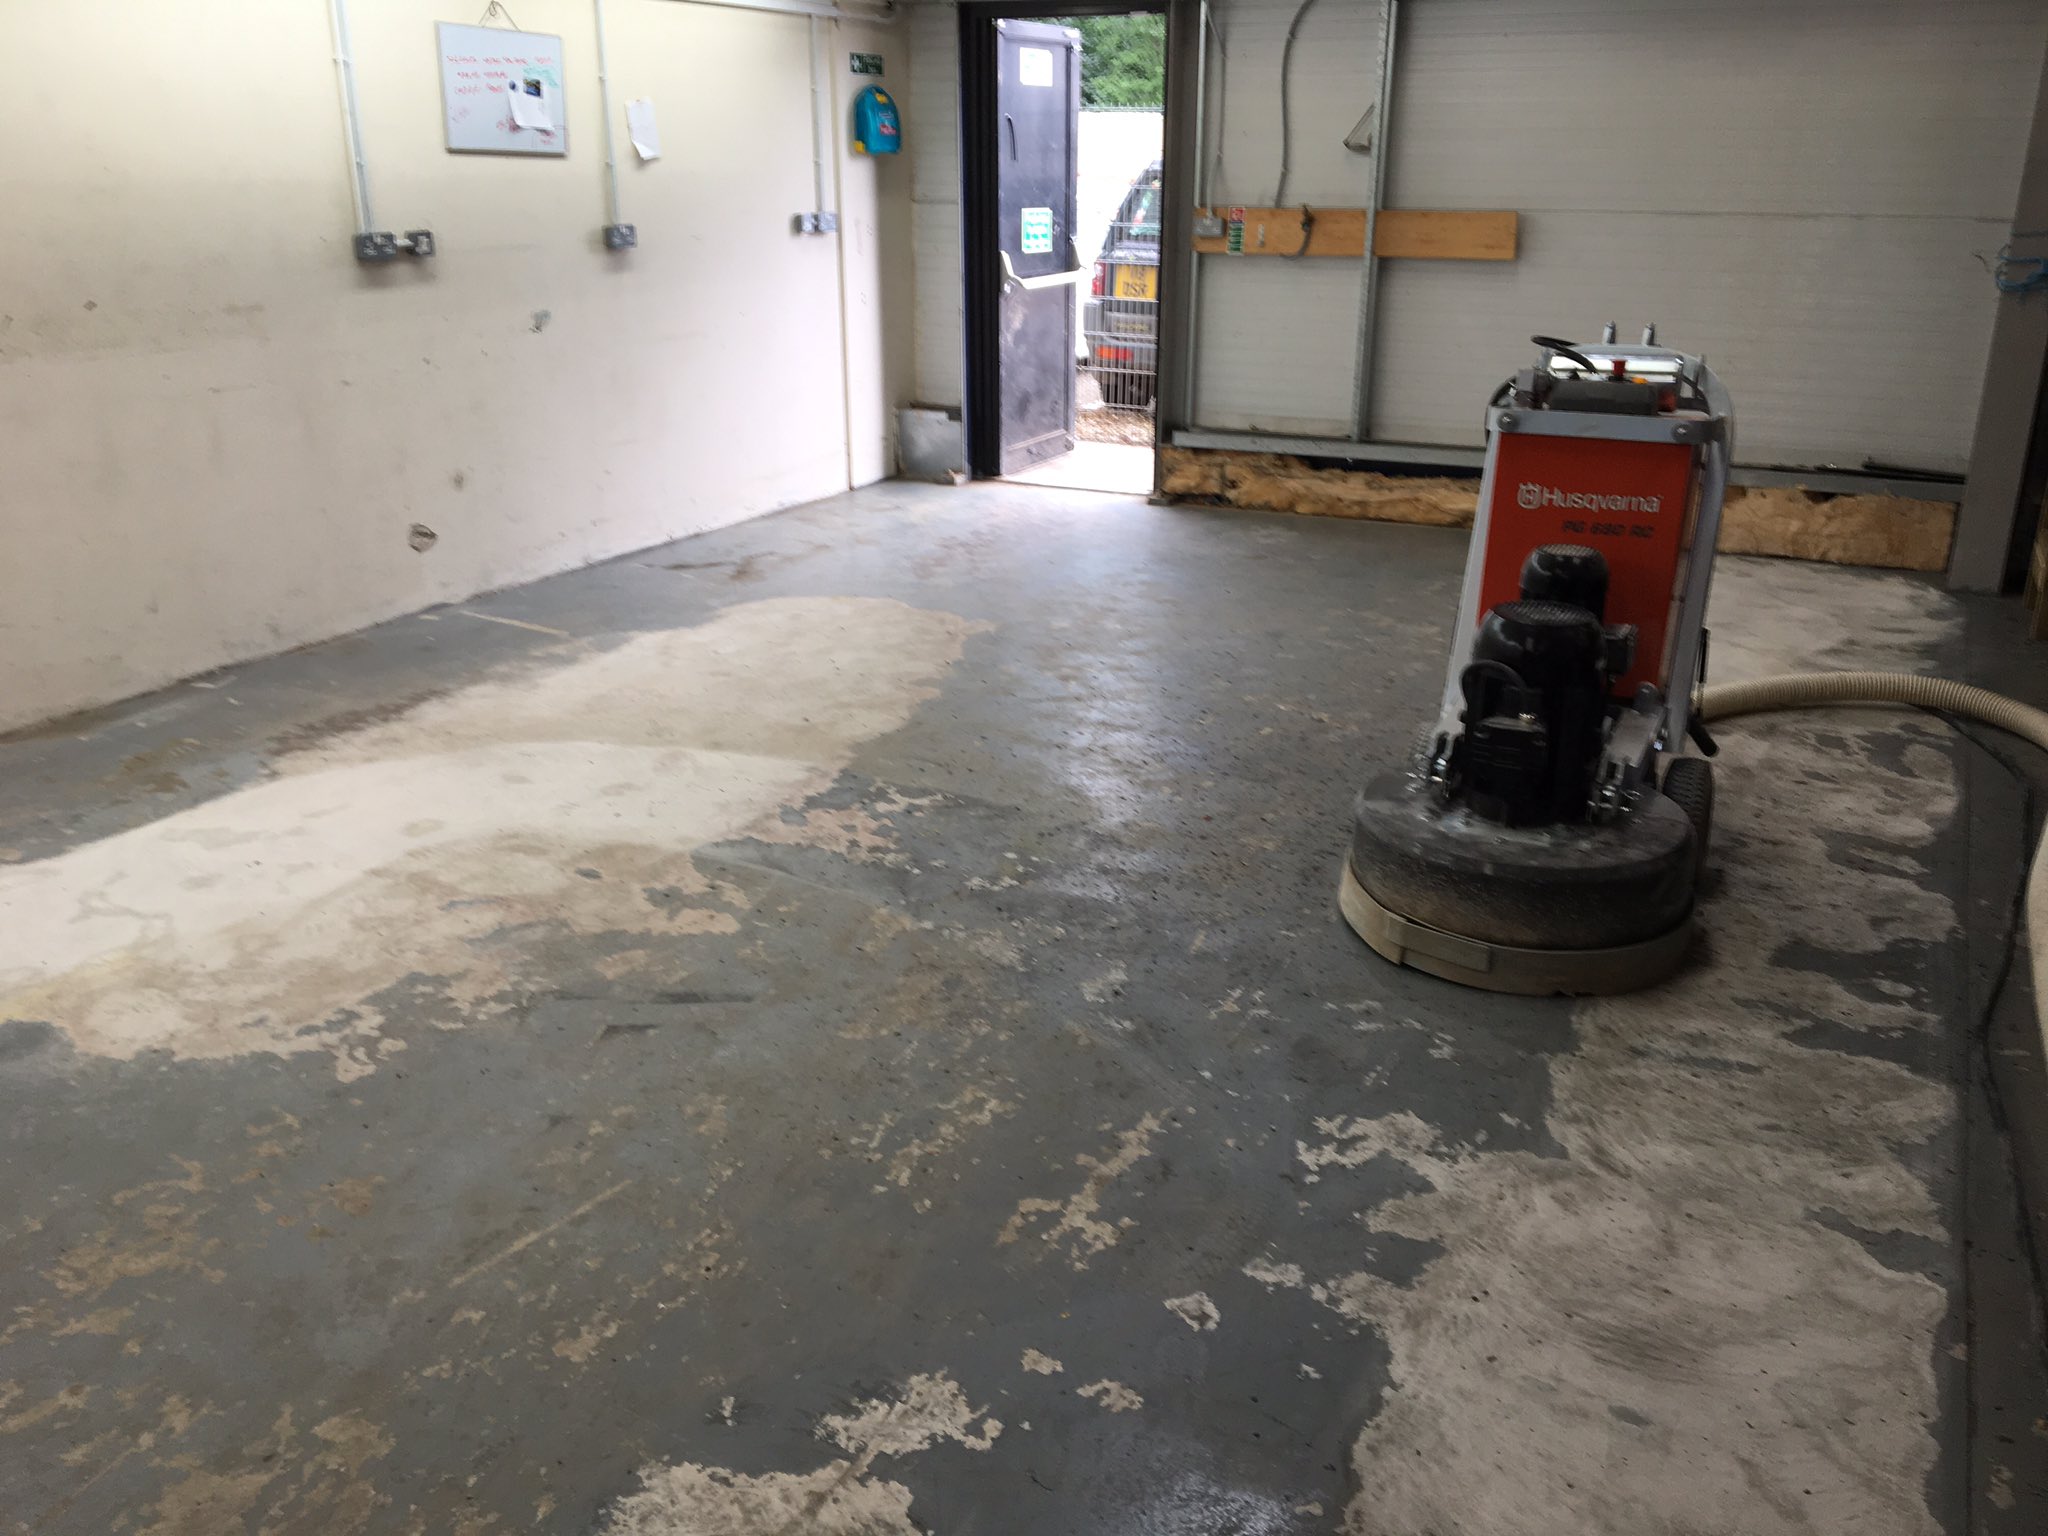
How to do Concrete Grinding and Polishing Diy polished concrete floor, Seal concrete floor

Why a DIY Polished Concrete Floor Will Cause Problems – Concrete Polishing

The Best DIY Concrete Project for Beginners Concrete Exchange
Diy Polished Concrete Floor / WerkMaster has the right tools to help you polish concrete
Polishing Concrete Floors Life of an Architect

Why a DIY Polished Concrete Floor Will Cause Problems – Concrete Polishing

Diy Polished Concrete Floor / WerkMaster has the right tools to help you polish concrete

Related Posts:
- Outdoor Concrete Flooring Ideas
- Concrete Floor Polishing
- Interior Concrete Floor Paint Ideas
- Concrete Floor Epoxy Crack Filler
- Concrete Floor Basement Ideas
- Painting Concrete Floor With Epoxy
- Outdoor Concrete Floor Paint Ideas
- Concrete Floor Painting Tips
- Outdoor Concrete Floor Finishes
- Non Slip Concrete Floor
# Concrete Floor Polishing DIY: Learn How to Polish Concrete Floors for a Professional Shine
Polishing concrete floors is a great way to add shine and durability to a room in your home. Whether you’re renovating an existing space or building out a new one, polishing concrete floors can be a great option when it comes to flooring. It can even be done as a DIY project with the right tools and know-how.
In this article, we’ll discuss the basics of concrete floor polishing, the steps involved, and some tips for doing it yourself.
## What is Concrete Floor Polishing?
Concrete floor polishing is a process of grinding down the surface of concrete in order to create a smooth and shiny finish. It’s often done on floors that have already been stained or painted with special coatings, but it can also be done on raw concrete surfaces. The process involves using diamond-tipped abrasives and a polishing machine to gradually grind down the surface of the concrete until it reaches the desired level of shine and smoothness.
The end result is a durable and beautiful finish that’s easy to maintain, making it ideal for any room in your home.
## Benefits of Polished Concrete Flooring
Polished concrete floors offer numerous benefits compared to other types of flooring materials, such as:
* Durability – Polished concrete floors are incredibly durable, making them ideal for high-traffic areas like kitchens and living rooms. They’re also resistant to scratches and other damage, so they’ll stay looking good for years to come.
* Cost-Effective – Polished concrete floors are typically less expensive than other types of flooring materials, making them a great budget-friendly option.
* Low Maintenance – Polished concrete floors don’t require much upkeep, since they’re resistant to staining, dirt, and debris. All you need to do is give them the occasional sweep or damp mop.
* Versatile – Polished concrete floors come in a wide variety of colors and finishes, so you can customize them to suit your home’s style.
## Steps for Polishing Concrete Floors Yourself
If you’re feeling adventurous and want to give it a go yourself, here are the steps you should take:
1. Prepare the Floor – Begin by removing any furniture or other items from the room and cleaning the floor thoroughly. Make sure there are no cracks or gaps in the surface that could cause problems during polishing.
2. Fix Imperfections – If there are any imperfections on the surface of the concrete (such as stains or chips), you can fill them in with an appropriate filler material before proceeding.
3. Repair Cracks – If there are any cracks present in the surface, make sure to fill them in before beginning the polishing process. This will help ensure that the end result looks even and professional.
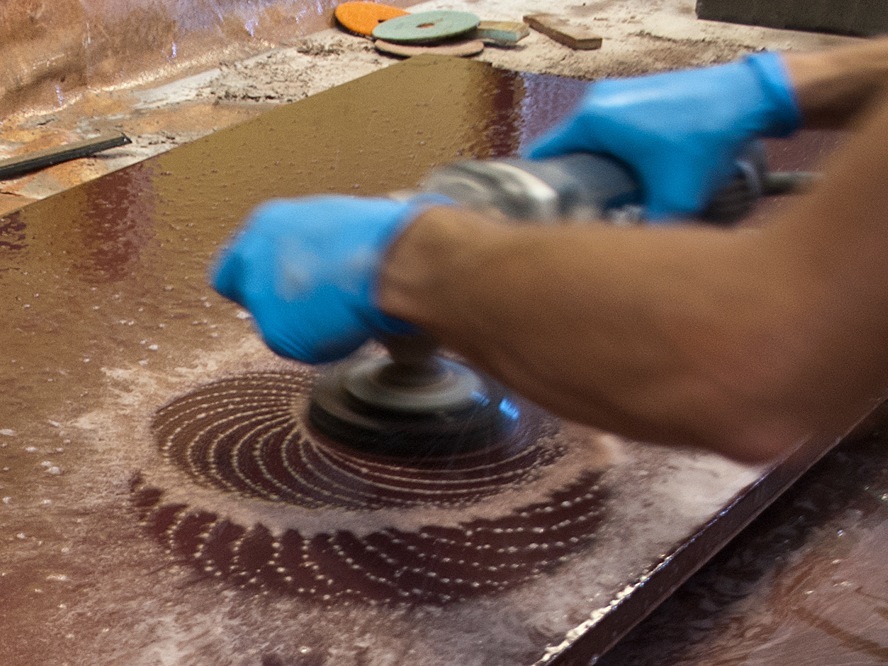
4. Choose Abrasive Material – Depending on the desired level of shine you want to achieve, choose an appropriate diamond-tipped abrasive material for your polisher machine. Be sure to use safety gear like gloves and goggles when working with these materials.
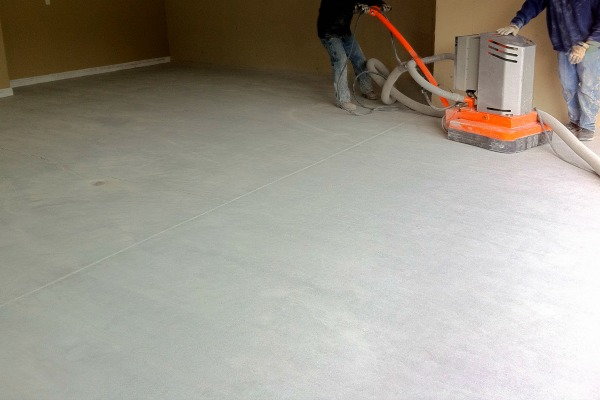
5. Start Polishing – Once you have selected your abrasive material, attach it to your polisher machine and start working on the floor in small sections. Move slowly across each section until all areas have been covered evenly. Be sure to use even strokes when moving the machine over the floor so you don’t create any dips or valleys in the surface of the concrete.
6. Apply Sealer – After you have achieved your desired level of shine, apply a sealer or protective coating to protect your polished concrete floors from damage and staining. Allow this time to dry before walking on it or putting furniture back in place.
## Tips for DIY Concrete Floor Polishing
Doing it yourself can be a great way to save money while still achieving beautiful results if you keep these tips in mind:
* Take Your Time – Don’t rush through this project! Moving too quickly can cause uneven results or damages that may be difficult or impossible to repair without professional help. Make sure you take