Concrete Floor Staining Process

How to Stain Concrete – Tips and Tricks to Acid Staining – YouTube
The Beginner’s Guide to DIY Stained Concrete, A Step by Step Tutorial
How To Stain Concrete – 4 Simple Steps
Transform Your Old Concrete Into Amazing Results With Stained Acrylic Stains – When You Think

MARBLELIFE® EnduraCrete® Concrete Staining Dubai
Diy Cost To Stain Concrete Floor / Stained Concrete DIY How To Stain Concrete DIY Stained
Why this Water-based Concrete Stain is Better than Acid All Garage Floors
How to Acid Stain a Concrete Floor Hunker
Concrete Staining Doctor
Concrete Staining Procedure – Civil Snapshot

How to Prepare Your Concrete Floors for Acid Staining

Related Posts:
- Outdoor Concrete Flooring Ideas
- Concrete Floor Polishing
- Interior Concrete Floor Paint Ideas
- Concrete Floor Epoxy Crack Filler
- Concrete Floor Basement Ideas
- Painting Concrete Floor With Epoxy
- Outdoor Concrete Floor Paint Ideas
- Concrete Floor Painting Tips
- Outdoor Concrete Floor Finishes
- Non Slip Concrete Floor
Concrete floors are a popular choice for many commercial and residential buildings, thanks to their durability and ease of maintenance. However, if you’re looking for a way to customize your concrete flooring, staining is an excellent option.
Staining concrete floors is a great way to add a unique touch to any space. By following a few simple steps, you can achieve beautiful results that will last for years. In this guide, we’ll take you through the process of staining your concrete floors step-by-step.
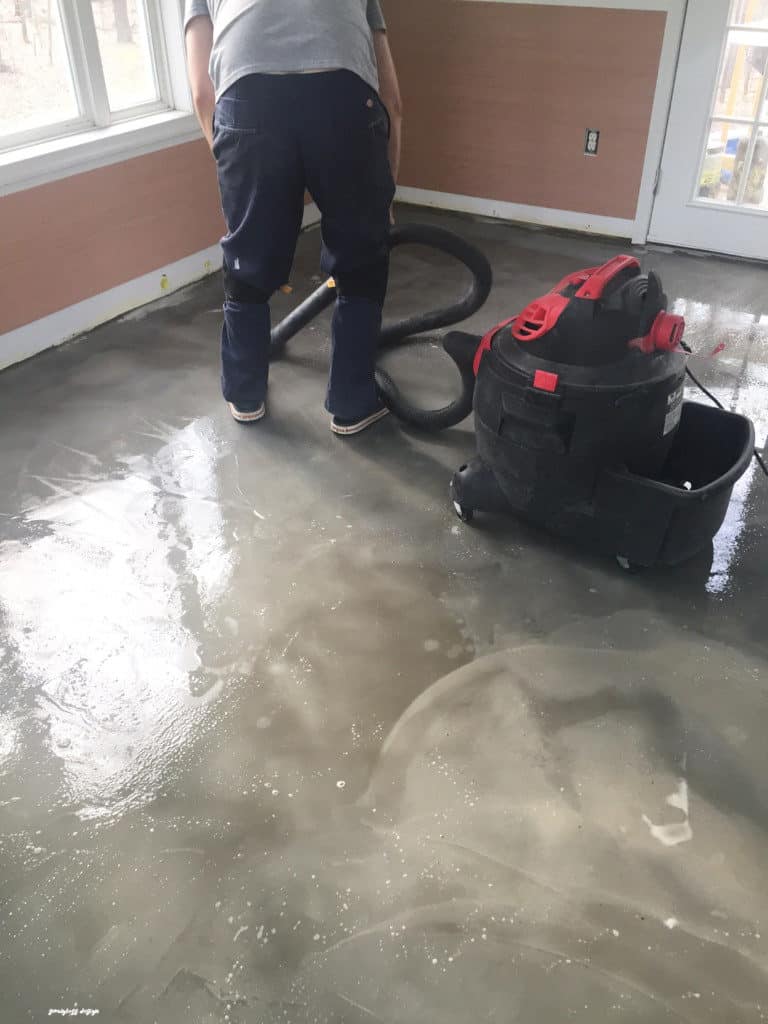
## Step 1: Preparation
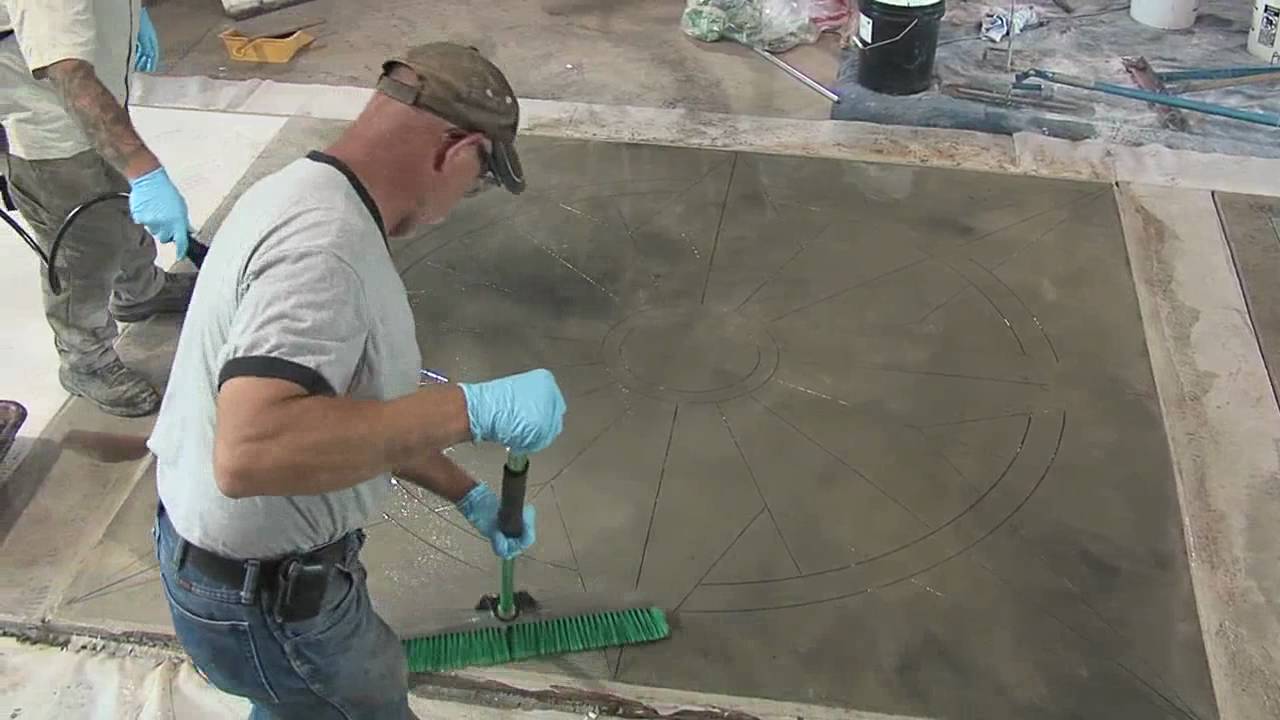
The first step in staining a concrete floor is to prepare the surface of the floor. Start by removing any existing sealers, coatings, or dirt that are on the floor. You may need to use a degreaser or other cleaning products to remove all substances from the concrete.
Once the floor is clean and free of any debris, it’s time to apply the stain. Make sure that you’re working in a well-ventilated area and wear protective gear such as gloves and goggles to protect yourself from splashes or fumes.
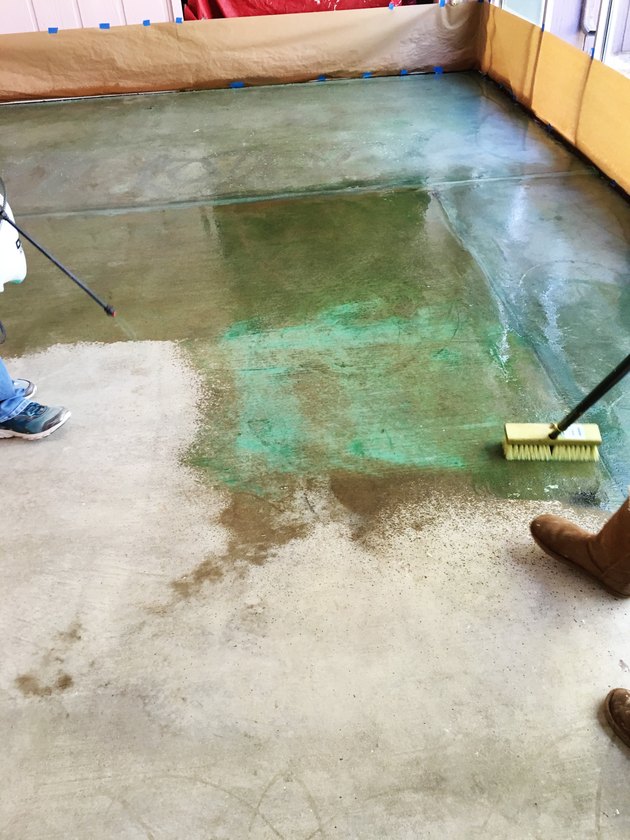
## Step 2: Applying the Stain
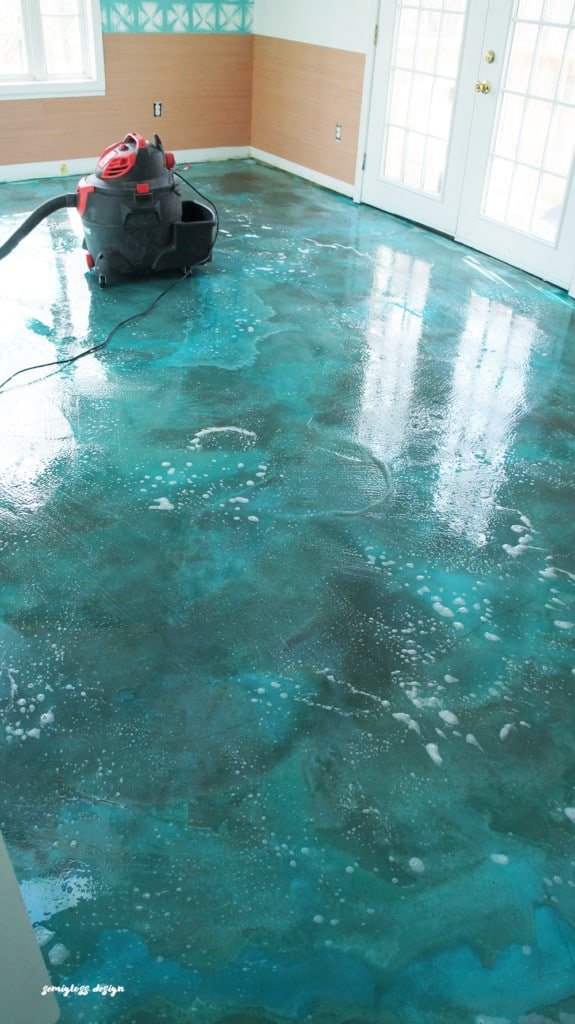
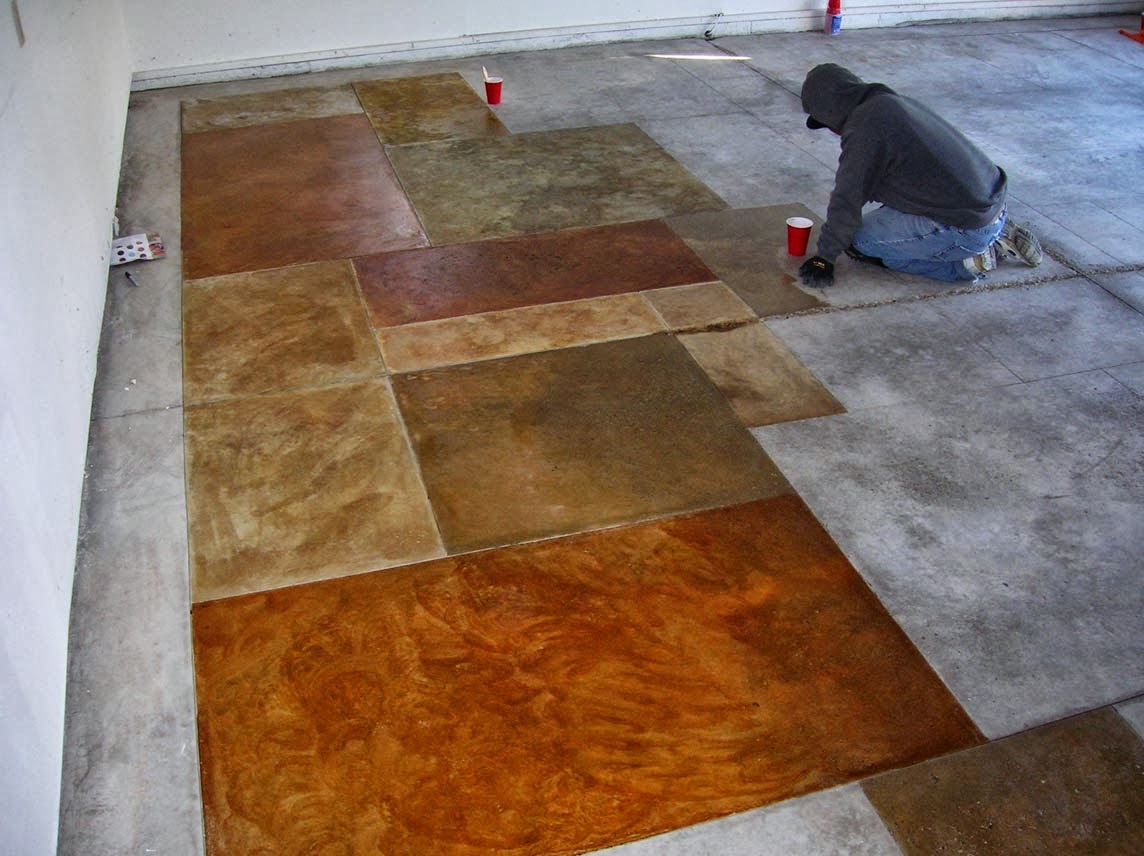
Now that the floor is ready for staining, it’s time to apply the stain. Be sure to read the instructions on the product packaging carefully before you begin. Generally speaking, you’ll want to apply an even layer of stain with a paint roller or brush. For best results, try to keep the coats of stain thin and even.
Allow the stain to dry for several hours before applying a second coat. Depending on the type of stain you’re using, you may need to apply additional coats until you reach your desired color.
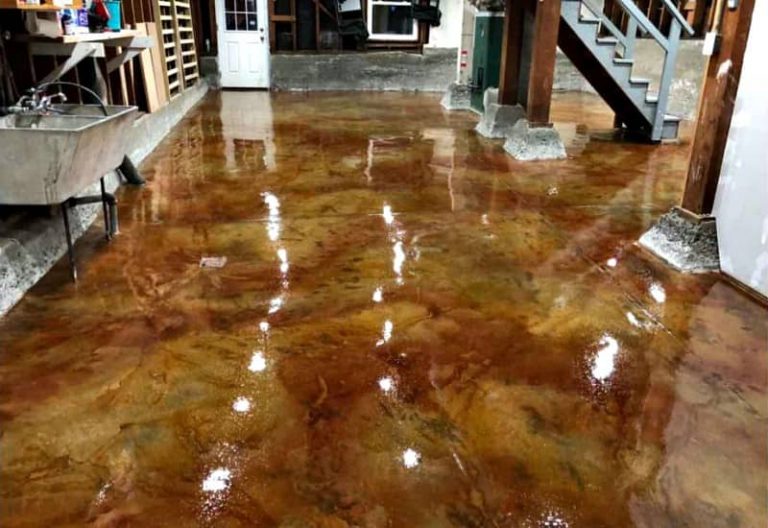
## Step 3: Sealing the Floor
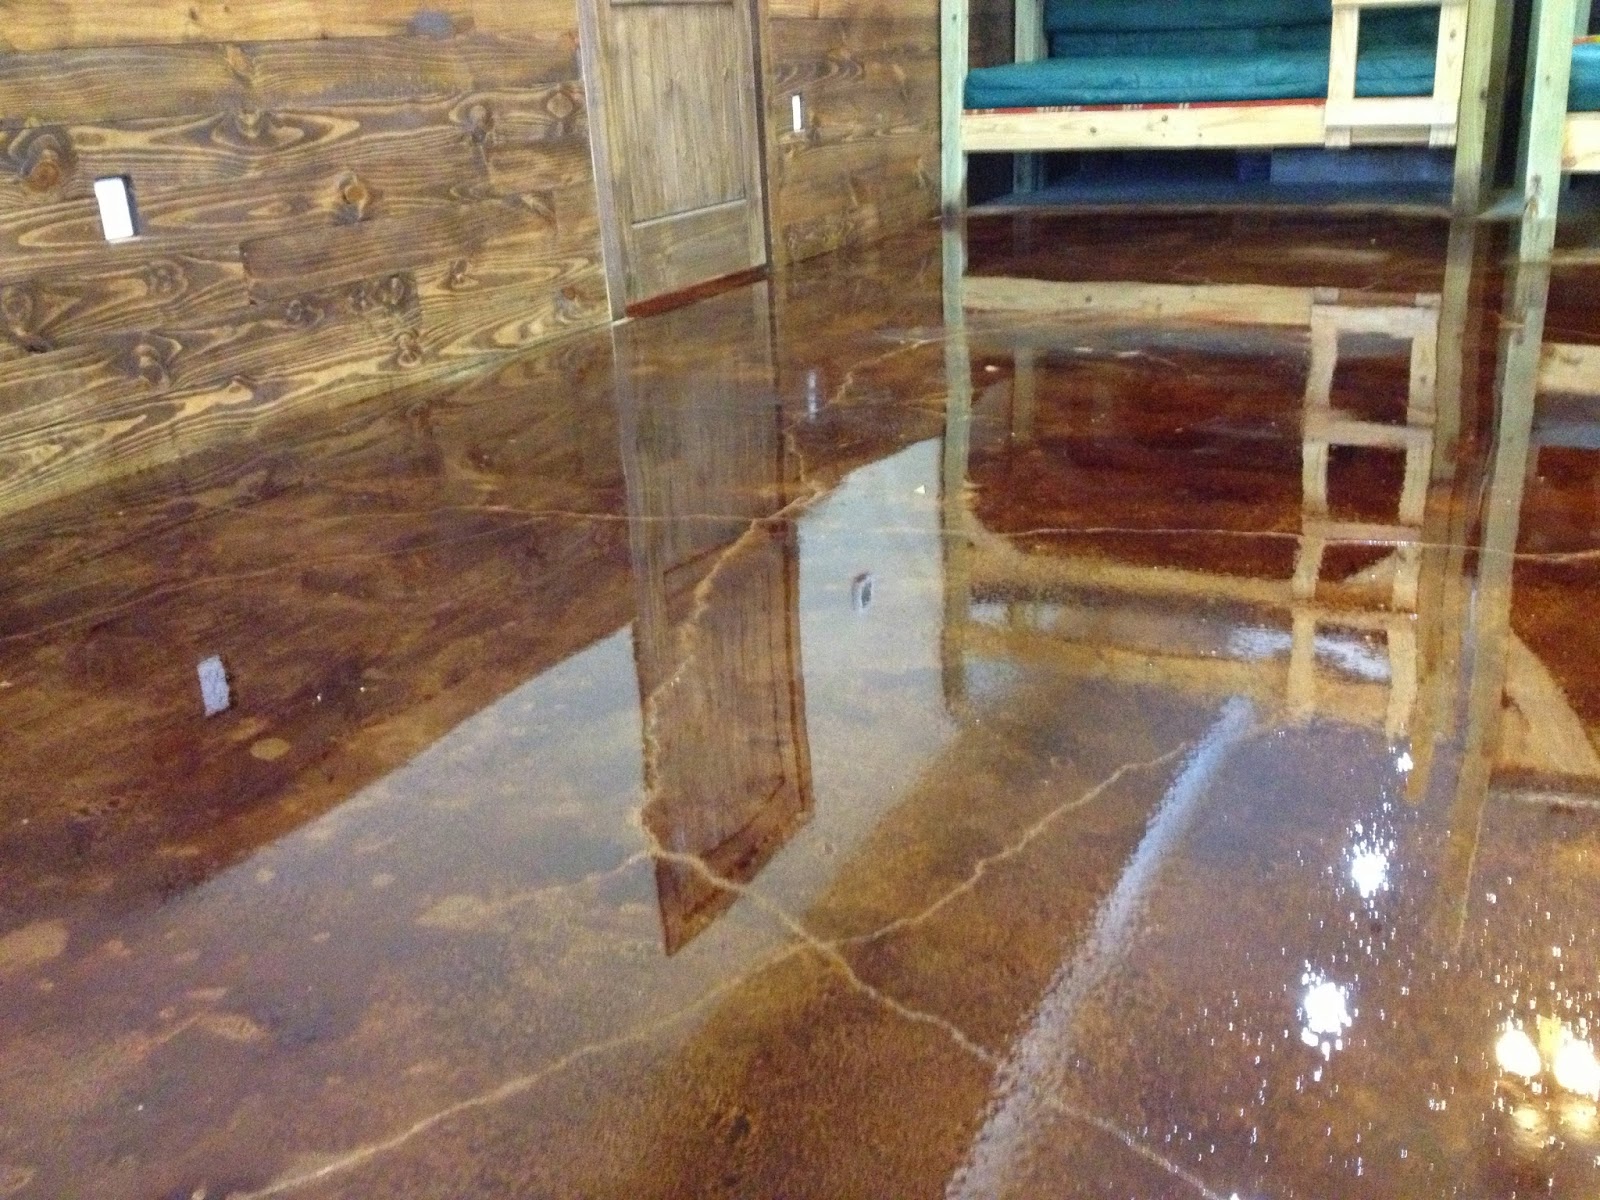
Once you’ve achieved your desired color, it’s time to seal the floor. This will help protect it from wear and tear over time and ensure that your beautiful new stain lasts for years to come. You’ll want to use a sealant specifically designed for concrete floors, such as an epoxy or acrylic sealer.
Apply the sealer according to the instructions on the packaging, and allow it to dry completely before walking on it or moving furniture back into place.
## Step 4: Maintenance
To keep your stained concrete floors looking their best, it’s important to practice regular maintenance and cleaning. Use a gentle cleaner specifically designed for concrete floors and avoid harsh chemicals or abrasive scrubbing pads which could damage the finish of your floors.
You’ll also want to reseal your floors every few years depending on how much foot traffic they receive and how often they’re exposed to moisture. This will help ensure that your stained concrete floors remain beautiful for years to come.
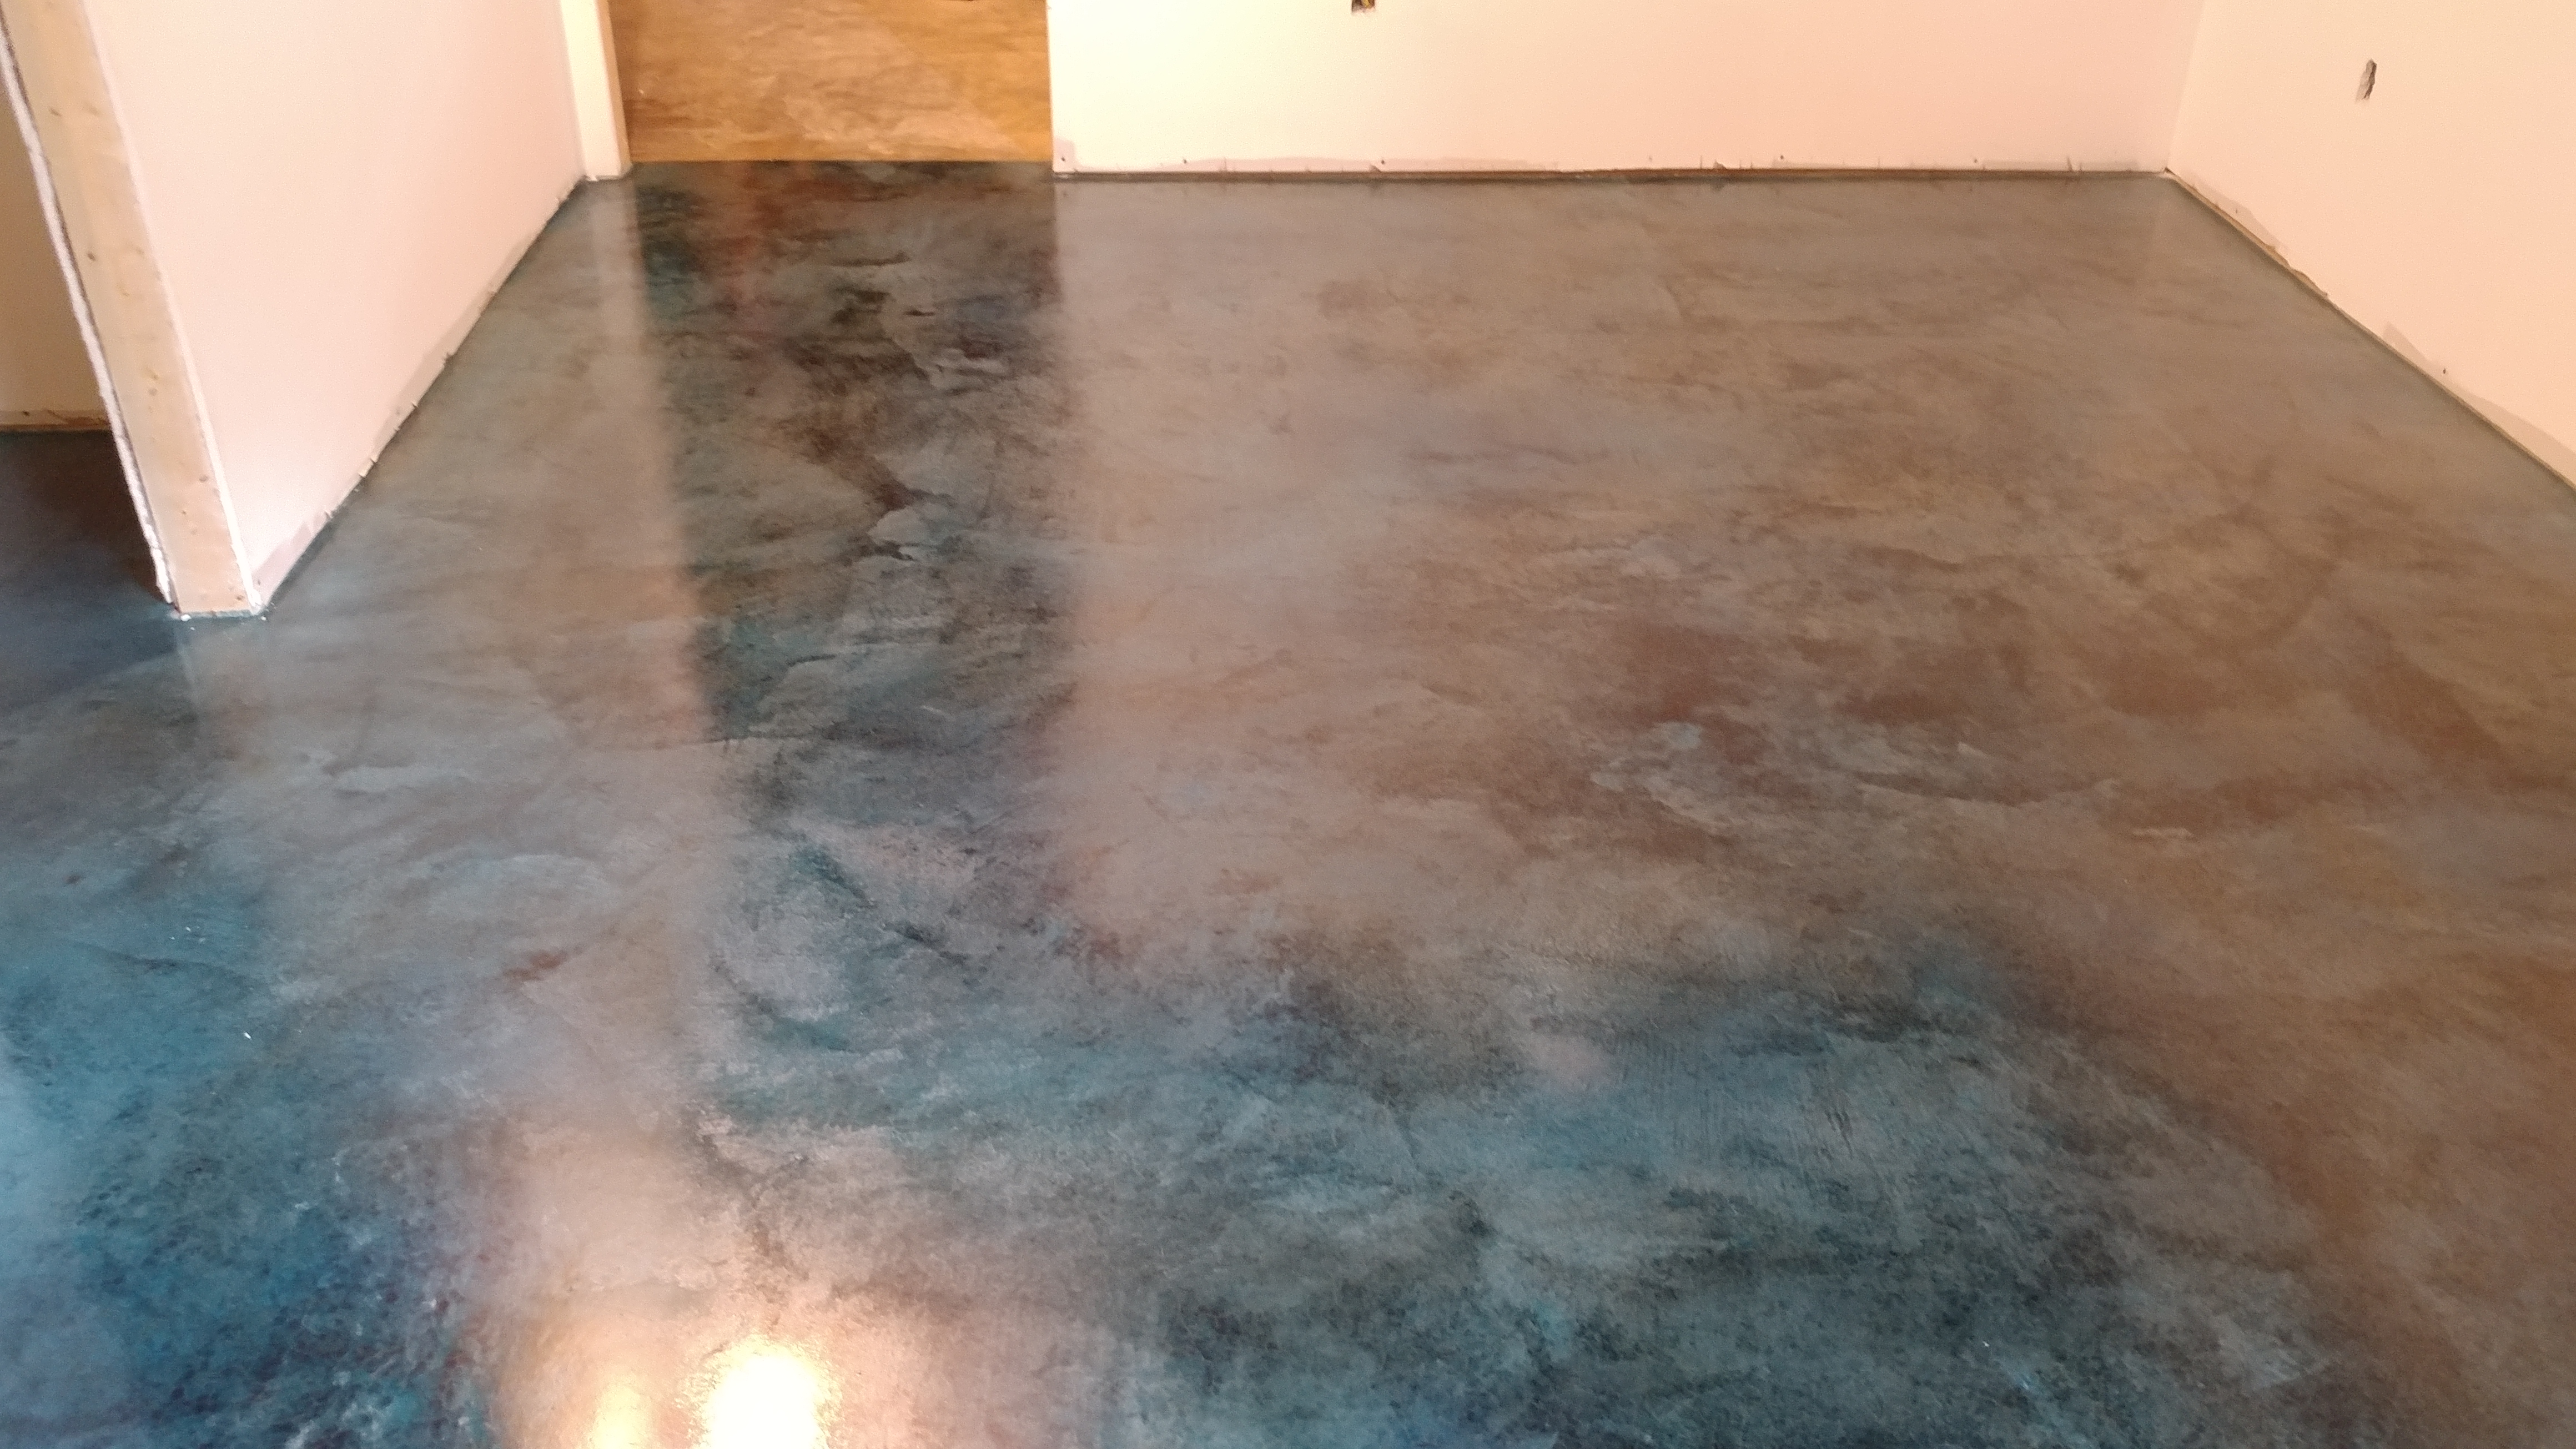
Staining concrete floors is an easy and affordable way to customize any space with a unique look that will last for years. With just a few simple steps, you can achieve stunning results that will enhance any room in your home or office. Whether you’re looking for subtle elegance or bold colors, staining concrete floors is an excellent choice for anyone who wants a unique touch of style in their space.