Craftsman Bathroom Floor Tile

25 Craftsman Bathroom Design Ideas – Decoration Love

25 Ideas To Remodel Your Craftsman Bathroom
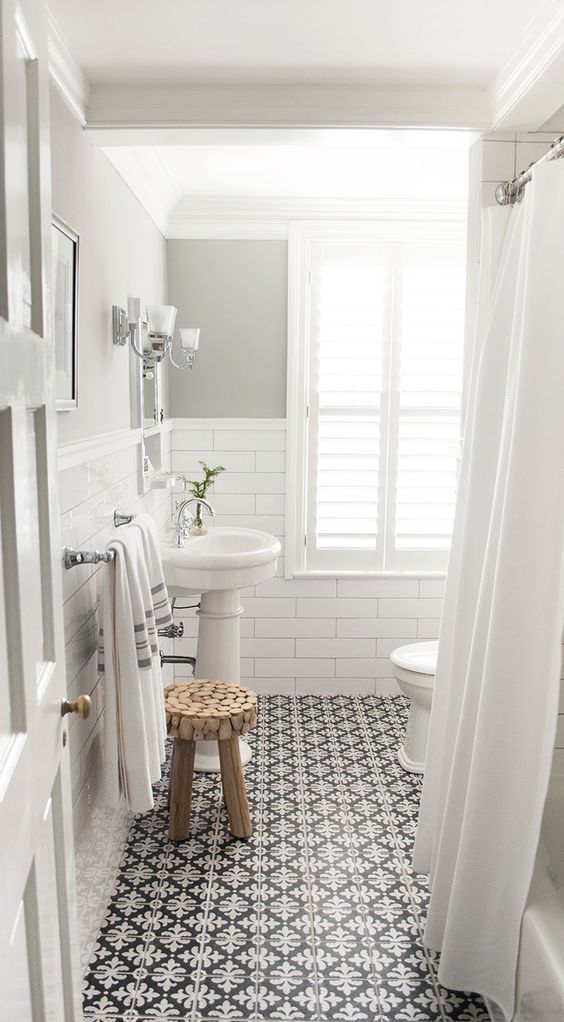
Craftsman Style Bathroom Floor Tile Craftsman style bathrooms, Tile bathroom, Bathroom styling

Master Bathroom – Craftsman – Bathroom – Denver – by Classic Homeworks
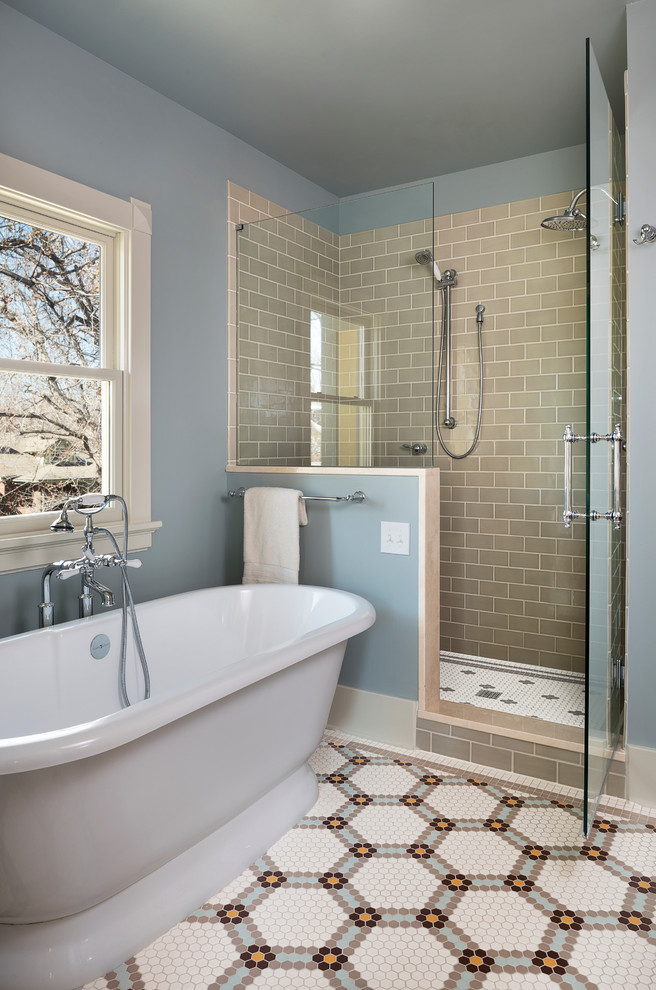
floor tile Half bath remodel, Craftsman bathroom, Bath remodel

25 Craftsman Bathroom Design Ideas – Decoration Love

37 Fabulous Ceramic Tile Designs For Bathroom Walls Craftsman bathroom, Craftsman style

TILE & STONE – Craftsman – Bathroom – Minneapolis – by Suburban Floor Covering
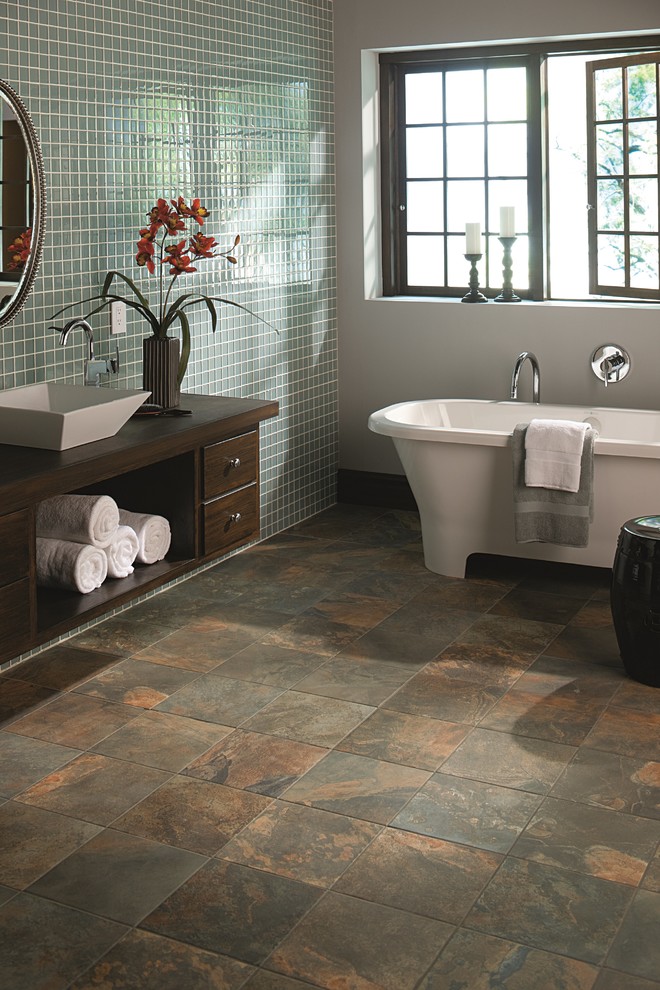
Image result for craftsman bathroom floor tile White bathroom tiles, Bathroom floor tiles

BATHROOMS & MORE — Pasadena Craftsman Tile Craftsman tile, Craftsman, Tile bathroom

Tile floor Craftsman bathroom, Bathroom tile designs, Bathroom styling

Related Posts:
- French Country Bathroom Flooring
- Mid Century Modern Bathroom Flooring
- Rustic Bathroom Floor Tiles
- Purple Bathroom Flooring
- How To Clean Bathroom Floor Stains
- Tile Design Bathroom Floor
- Terracotta Bathroom Floor
- Cool Bathroom Floor Ideas
- Light Bathroom Floor Tiles
- Classic Bathroom Floor Tile Ideas
When it comes to upgrading your bathroom, there are few options that can completely transform the look and feel of a room more than new floor tiles. But installing new tiles isn’t always an easy job, especially when you’re working with a craftsman style.
Fortunately, there are several steps you can take to make sure that your bathroom floor tiles look great and last for many years to come. Here’s a guide on how to install craftsman bathroom floor tile correctly.
What You’ll Need for Craftsman Bathroom Floor Tile
Before you start any project, it’s important to make sure you have all the necessary supplies. For a craftsman-style floor tile installation, you’ll need the following:
• Tile adhesive
• Grout
• Notched trowel
• Grout float
• Tile cutter or wet saw
• Sponge
• Measure tape
• Pencil
• Level
• Caulk
• Sandpaper
Step by Step Guide to Installing Craftsman Bathroom Floor Tile
Once you have all the materials you need, you can start the installation process. Here’s a step-by-step guide on how to install craftsman-style bathroom floor tile correctly:
Prepare the Subfloor
The first step is to prepare the subfloor. Make sure that the subfloor is level, clean, and dry before you begin installing your tiles. If necessary, use sandpaper and a level to remove any bumps or imperfections in the subfloor before you start.
Layout Your Tiles
Once the subfloor is prepped, it’s time to start laying out your tiles. Use a measuring tape and pencil to mark where each tile will go. This will make it easier to cut and install each tile properly. As you lay out your tiles, make sure that they are evenly spaced and that they form a straight line when laid out.
Cut Tiles as Necessary
For tiles located around corners or edges, you may need to use a wet saw or tile cutter to make precise cuts. Make sure that all of your cuts are accurate before proceeding with installation.
Apply Adhesive
Once your tiles are cut and laid out properly, it’s time to apply adhesive. Spread the adhesive onto the subfloor using a notched trowel, making sure that it covers the entire surface evenly. Allow the adhesive to dry for approximately 24 hours before proceeding with installation.
Install Tiles
Once the adhesive has dried completely, it’s time to start installing your tiles. Place each tile in its designated spot and press firmly into place. Use a level as needed to make sure that each tile is even and level with all of the other tiles. Once all of your tiles are in place, allow them to sit for at least 24 hours before grouting them.
Grout Tiles
When all of your tiles are in place and have had time to sit, it’s time to grout them. Mix up your grout according to package instructions and spread it on top of the tiles using a grout float. Make sure that each tile is completely covered with grout before moving on to the next one. Allow the grout to set for 24 hours before wiping off any excess grout with a damp sponge.
Caulk Edges
Finally, caulk any seams or edges between your tiles and walls or countertops using caulk in a color that matches your grout. This will help keep water from seeping through any cracks and causing damage over time. Allow the caulk to dry completely before using your new bathroom floor tile installation.
Conclusion
Installing craftsman-style bathroom floor tile can be intimidating if you’ve never done it before but with the right tools and some patience, it doesn’t have to be a difficult job. With this guide on how to install craftsman bathroom floor tile correctly, you can make sure that your new bathroom floor looks beautiful and lasts for years to come!