Retiling your bathroom floor is a great option if you’re looking to update your bathroom without breaking the bank. While it may seem daunting, with the right tools and a little patience, it is possible to do it yourself. In this article, we offer a step-by-step guide on how to retile your bathroom floor, so you can achieve professional results without the expense of hiring a professional.
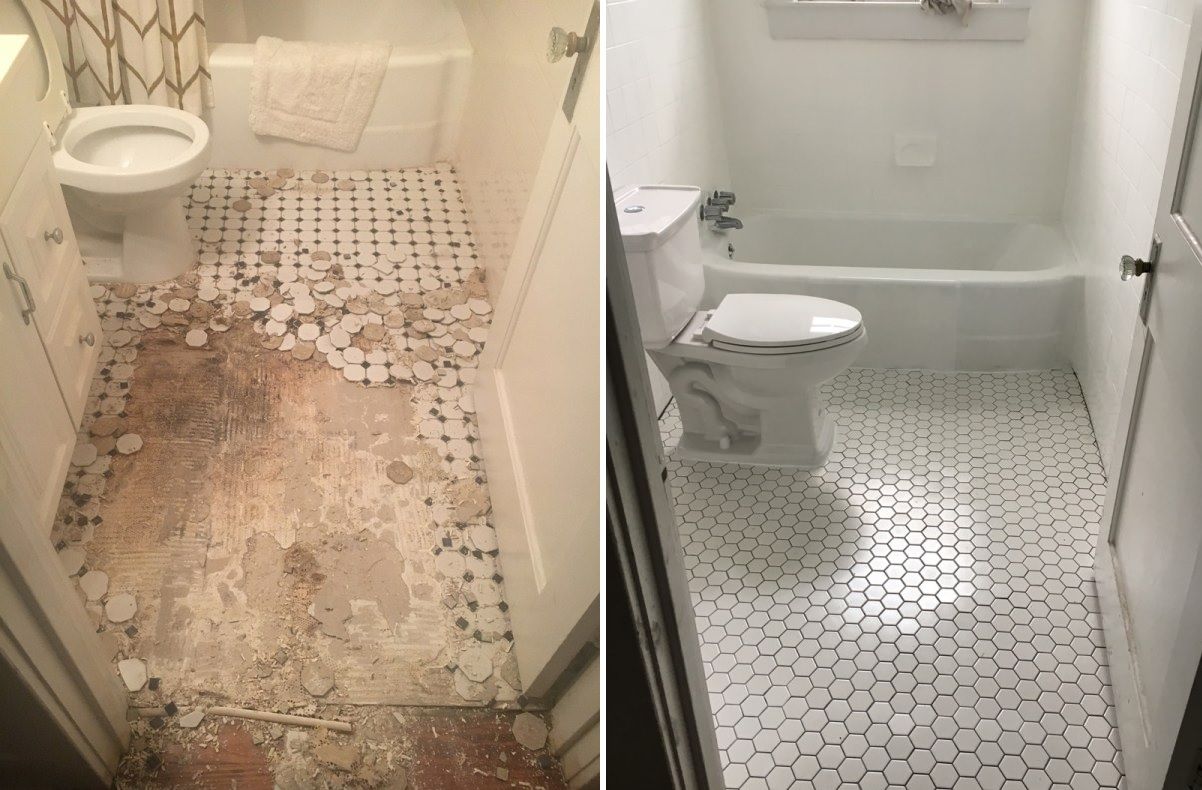
Step 1: Remove the Existing Tiles
Removing the existing tiles is the first step to retile your bathroom floor. Start by chipping away at the grout around the tiles with a chisel and hammer. Once the grout has been removed, gently remove the tiles with a flat pry bar. You may need to use an electric drill with a masonry bit for stubborn tiles. After removing the tiles, fill any holes or gaps with a cement-based patching compound.
Step 2: Prepare Your Substrate
Next, you need to prepare your substrate, which is the surface that the tiles will be laid on top of. If you are using concrete, ensure it is clean and free of dust and debris. Fill in any cracks with a cement-based patching compound. If you are using a wooden subfloor, ensure it is structurally sound and free of splinters or loose boards.
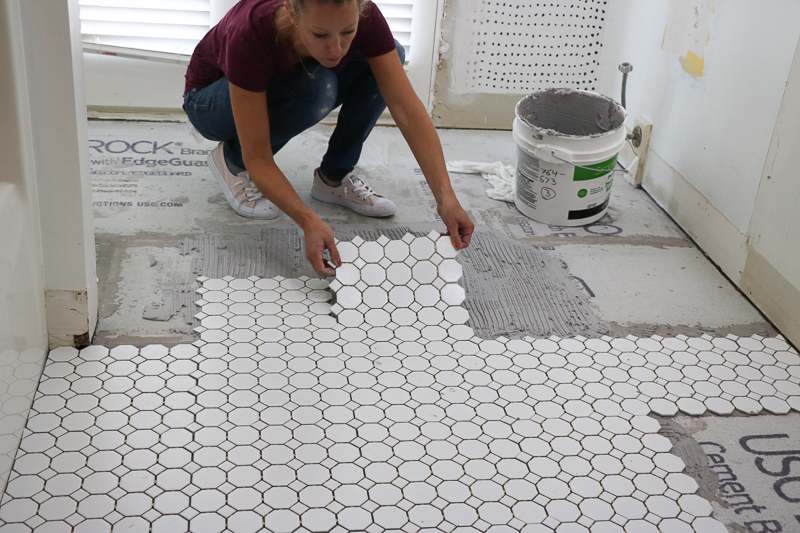
Step 3: Lay Out Your Tiles
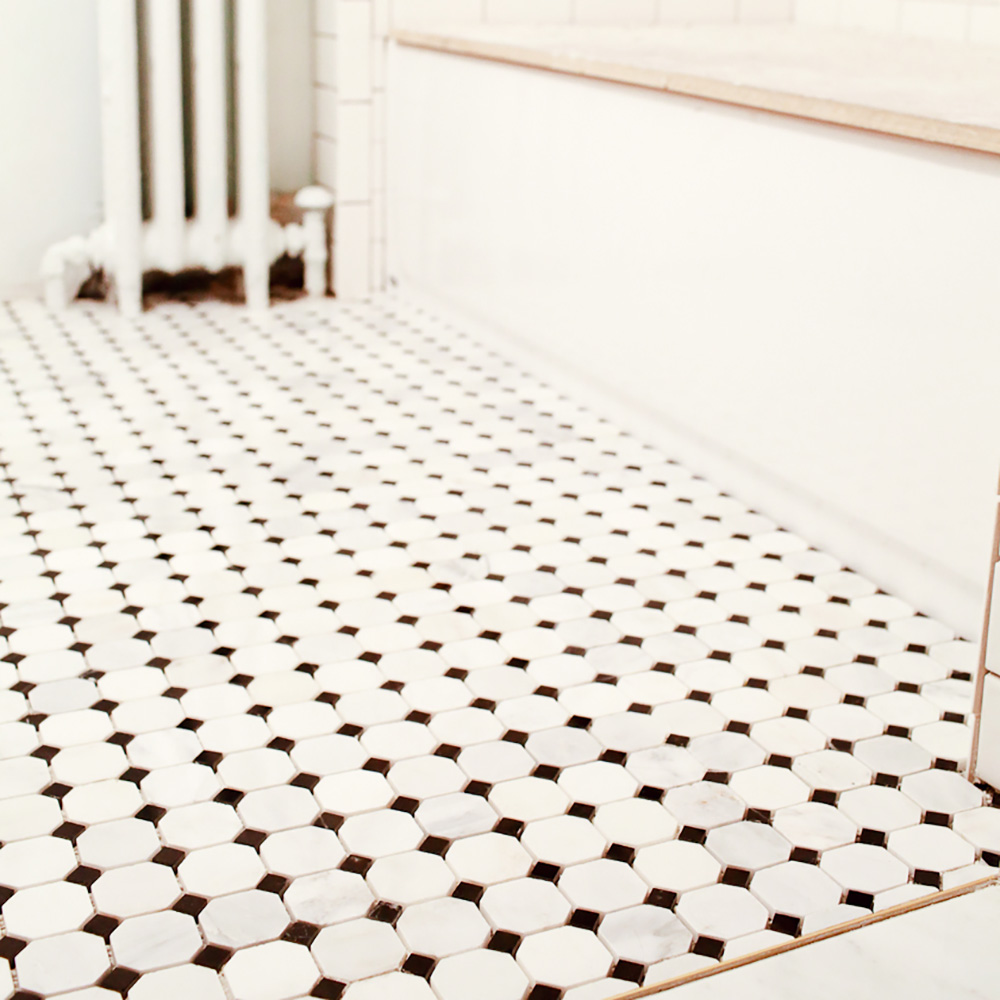
Now it’s time to lay out your tiles. Start by measuring the bathroom floor and laying out the tiles accordingly. Ensure that each tile is level and there is a 1/8th inch gap between each tile for proper expansion. Once everything is laid out, you can begin installing the tiles.
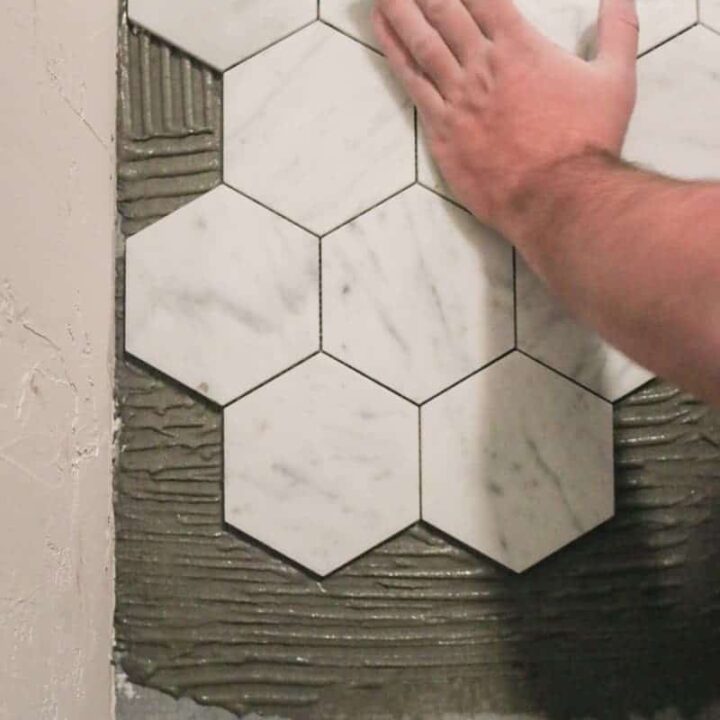
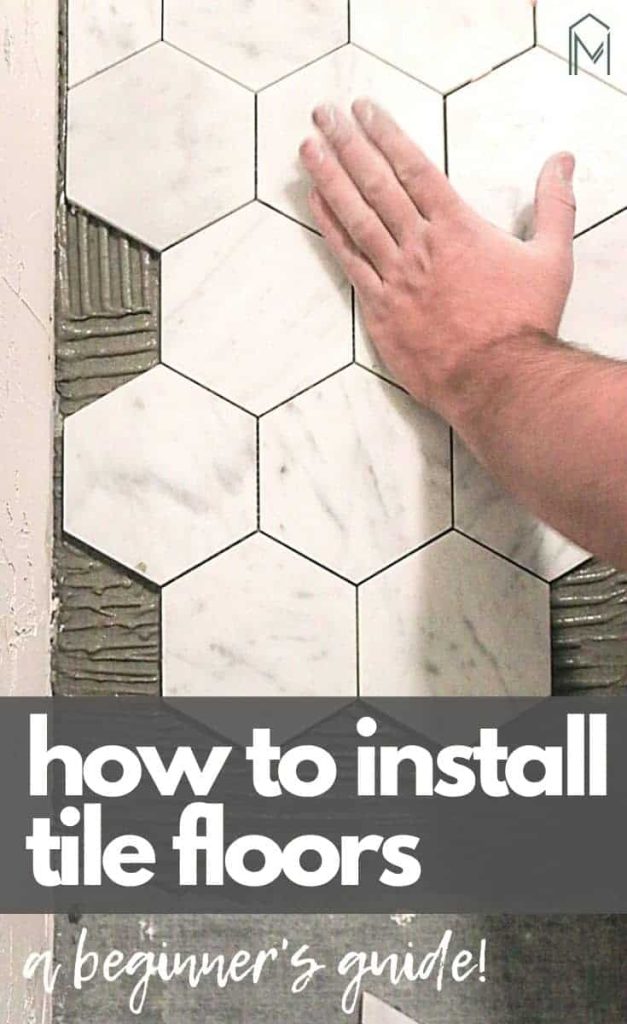
Step 4: Install the Tiles
To install the tiles, spread a thin layer of mortar over the entire surface before putting down the first tile. This will ensure that all your tiles properly adhere to the substrate. Place each tile one at a time and use spacers to ensure a uniform gap between each tile. Use a rubber float trowel to spread grout over the entire surface once all the tiles are in place.
Step 5: Allow Time to Dry
Lastly, allow your new bathroom floor time to dry before using it again. Depending on what type of mortar or grout you used, this could take 24 hours to several days. Once dry, your bathroom floor should look as good as new!
In conclusion, retiling your bathroom floor is a great way to update your bathroom without breaking the bank. While it may seem daunting, with careful preparation and attention to detail, anyone can achieve professional results. By following this step-by-step guide, you can retile your bathroom floor with ease and enjoy your beautiful new bathroom for years to come.
DIY Retile Bathroom Floor

How To Update Your Bathroom Floor Tiles – 6 DIY ideas
How To Tile A Bathroom Floor (For Beginners!) – Making Manzanita
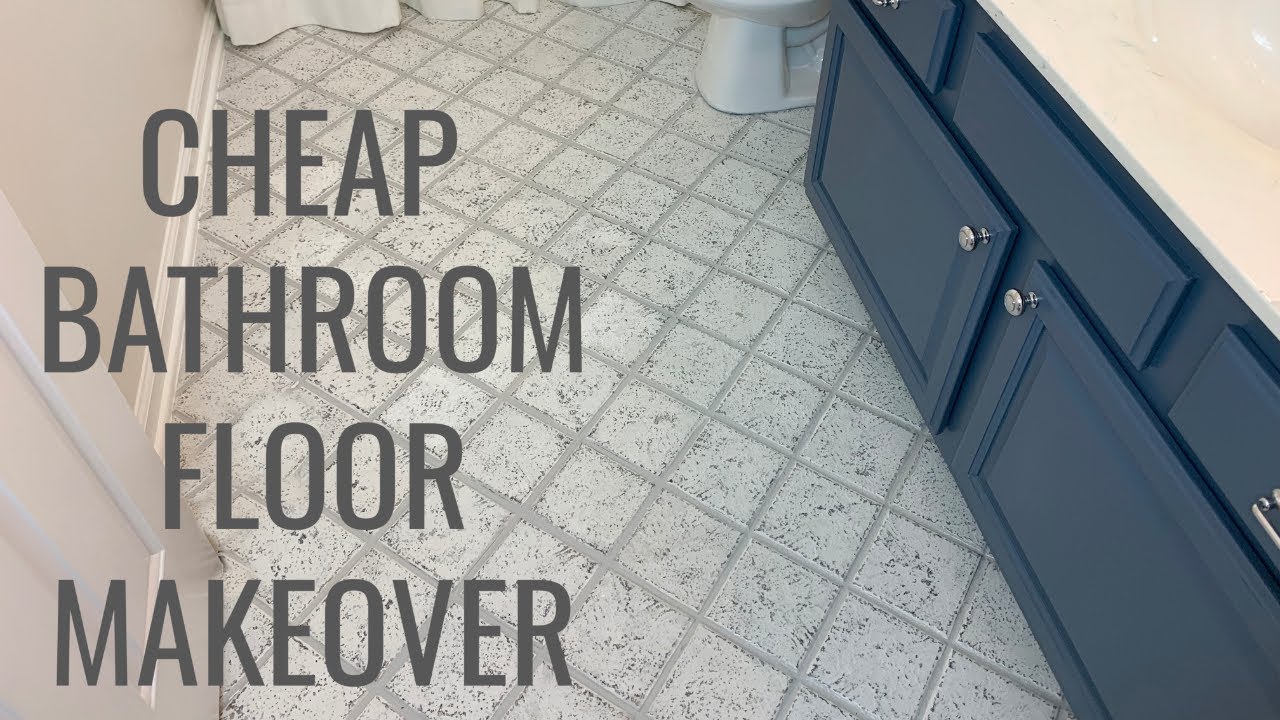
Cheap Bathroom Floor Makeover Easy DIY
How to Lay a Tile Floor HGTV

How to Tile a Bathroom Floor A DIY Guide Mr. Fix It DIY

How To Update Your Bathroom Floor Tiles – 6 DIY ideas

How to Tile Floors u0026 Walls – Sincerely, Sara D. Home Decor u0026 DIY
Cordelia Tile Stencil Diy flooring, Diy bathroom decor, Diy bathroom

How to Retile a Bathroom for a Bright New Look – The Home Depot
How To Tile A Bathroom Floor (For Beginners!) – Making Manzanita
Related Posts: