Easy Way To Remove Vinyl Flooring

Easiest Way To Remove Vinyl Flooring – Flooring Guide by Cinvex
Easiest Way To Remove Vinyl Flooring – Flooring Guide by Cinvex
The easiest way to remove vinyl floor tiles Vinyl floor tiles, Vinyl flooring, Tile floor

How To Remove Vinyl Flooring And Subfloor – how thick should plywood be for vinyl flooring
:max_bytes(150000):strip_icc()/Remove-Vinyl-Use-Prybar-on-Easy-Glued-Areas-56a49e3e5f9b58b7d0d7ddce.JPG)
How To Remove Vinyl Flooring And Subfloor – how thick should plywood be for vinyl flooring

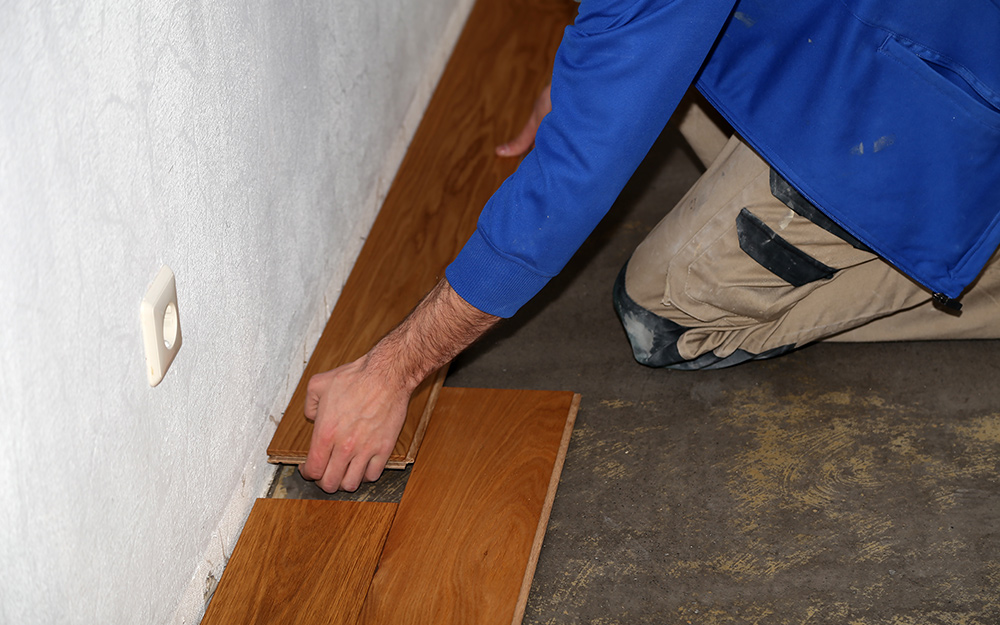
Easiest way to remove vinyl flooring – YouTube

How to Remove Vinyl Flooring
:max_bytes(150000):strip_icc()/CutFlooringinNarrowStrips-5b56605d46e0fb0037eb8b56.JPG)
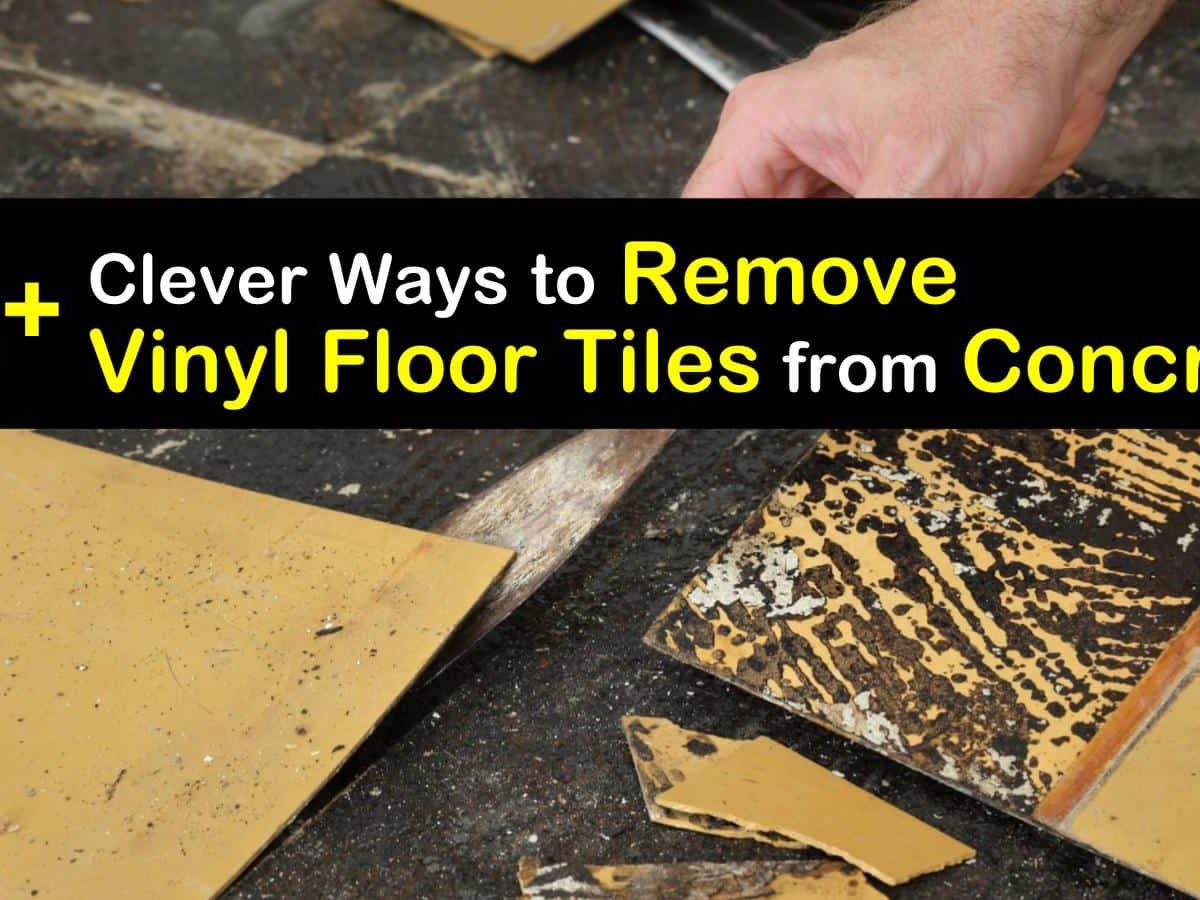
How To Remove Vinyl Adhesive From Concrete Floor – what type of glue for vinyl flooring
Removing Linoleum Glue From Concrete Floor – Flooring Guide by Cinvex
How To Remove Layers Of Old Vinyl Flooring – how to remove old vinyl floor glue

Easy Way To Remove Vinyl Flooring – Flooring Ideas
Related Posts:
- Pine Vinyl Flooring
- Vinyl Floor Laying DIY
- Cortex Vinyl Flooring
- Grey Slate Effect Vinyl Floor Tiles
- Dark Oak Vinyl Flooring
- Limestone Effect Vinyl Flooring
- Vinyl Floor With Border
- Adhesive For Vinyl Flooring To Concrete
- Teak Wood Vinyl Flooring
- Cheap Vinyl Flooring
Removing old vinyl flooring can seem like a daunting task, but with the right knowledge and tools it can be a relatively simple process. Getting rid of old or damaged vinyl flooring can give your home a fresh new look and will also save you the money of having to buy a completely new floor. The following steps will explain how to go about removing vinyl flooring safely and effectively.
## Gather the Necessary Tools and Supplies
Before beginning a project like this, it is important to make sure that you have all the necessary supplies. A basic removal job requires you to have utility knife, putty knife, hammer and chisel, pry bar, screwdriver, pliers, safety glasses, respirator mask, work gloves, and knee pads. It is also beneficial to have a heat gun or steamer available to help with removal.
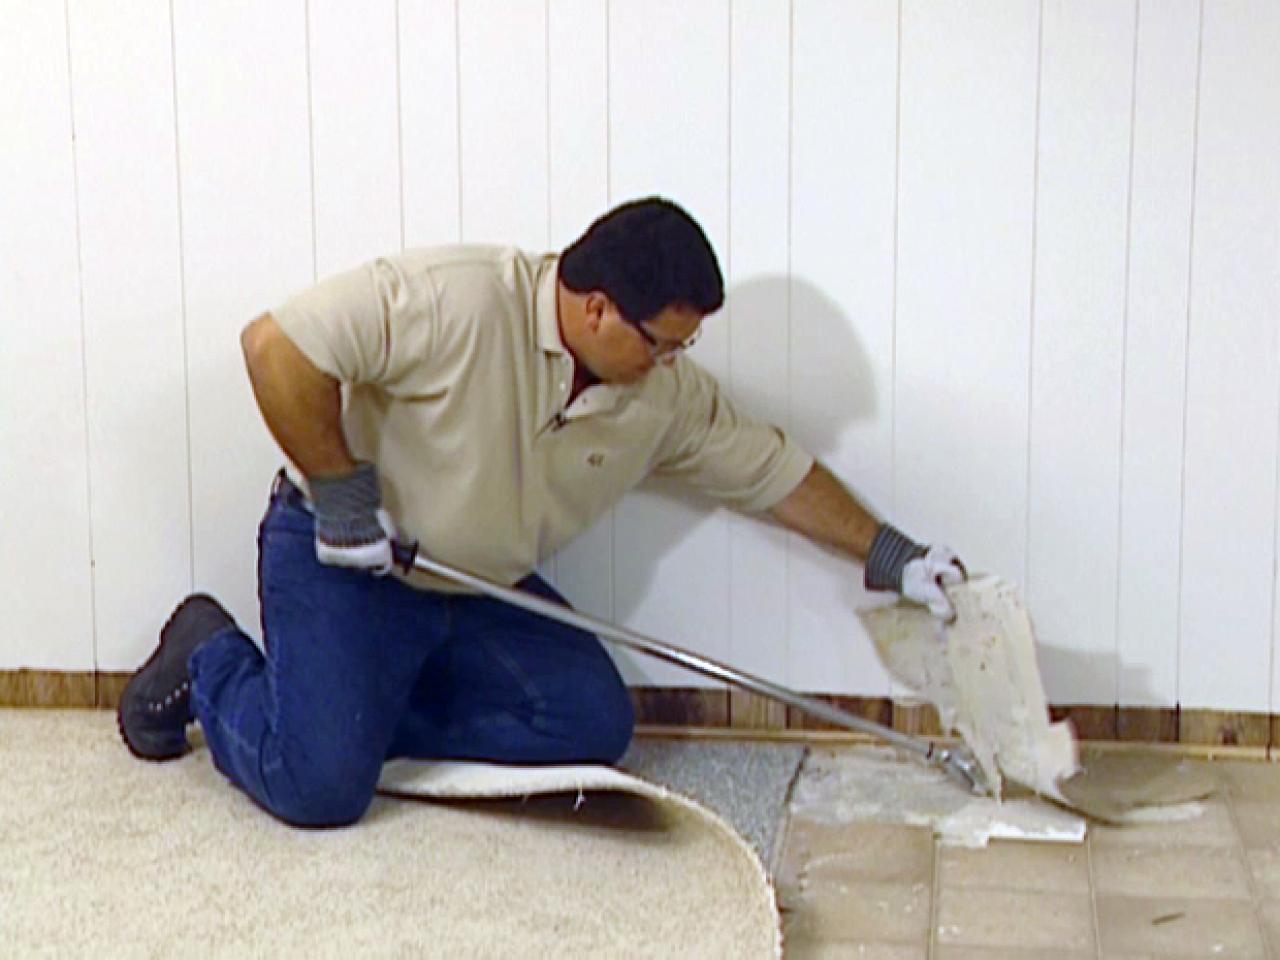
## Remove the Moldings
The first step in how to remove vinyl flooring is to get rid of all the moldings that cover up the edges of the floor. Start by using a utility knife to cut through any sealants that may be binding the moldings to the vinyl. Once the sealant is removed, use either a pry bar or putty knife to remove the moldings from the floor. If you have a steamer, use it along the edges of the moldings to make them come off more easily.
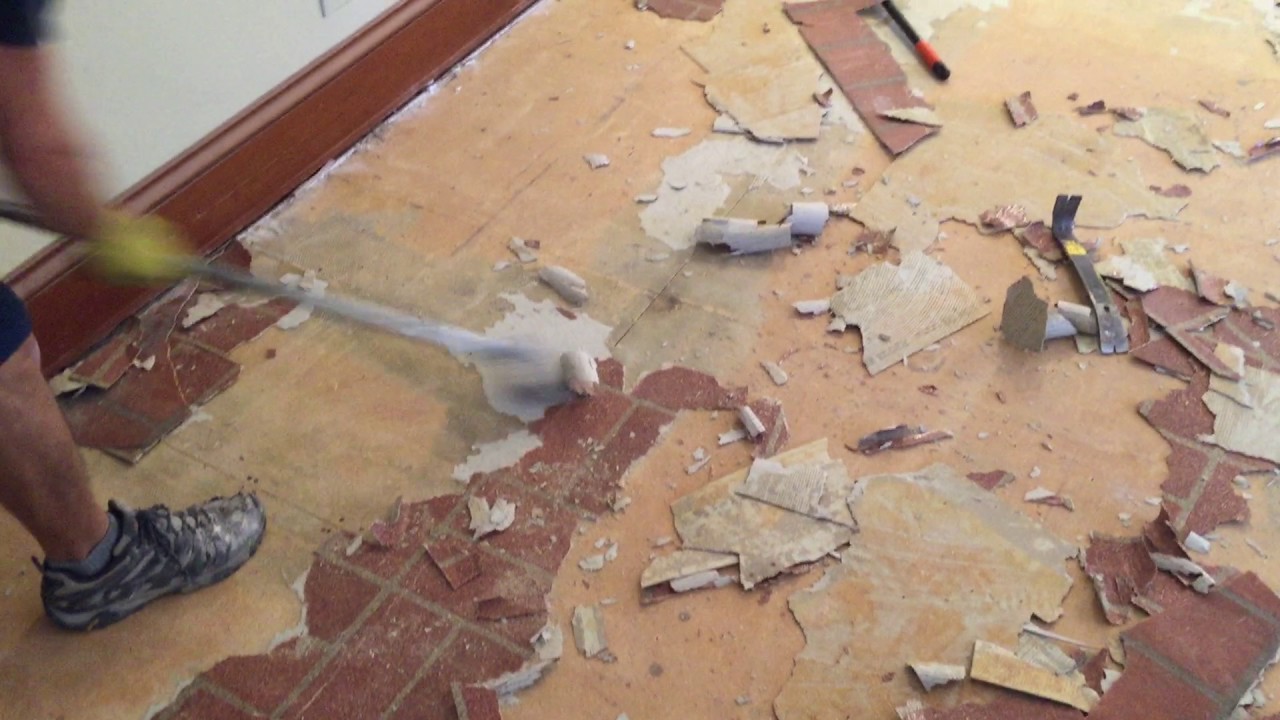
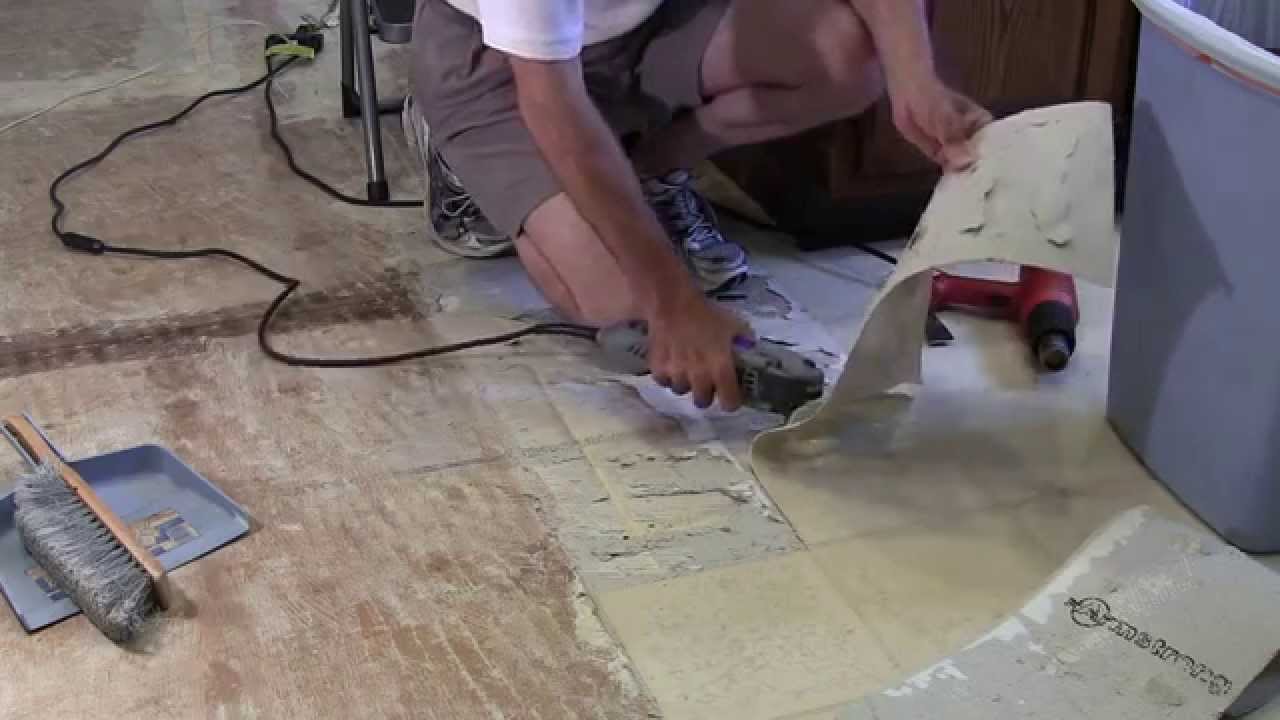
## Lift and Remove Old Vinyl Flooring
Once all of the moldings are removed, it is time to start lifting the old vinyl flooring. Begin in one corner of the room and use a sharp scraper or chisel to gently lift up an edge of the material. Be careful not to apply too much pressure as this can damage the subfloor beneath the vinyl. Use a pry bar or putty knife to lift up larger sections of material until it has been successfully removed from the entire space.
## Clean Up Debris and Subfloor Surface
When all of the old vinyl has been removed from your floor, it’s time for cleanup. Start by using a broom or vacuum to get rid of any loose debris left over from removal. Then take out any nails that may still be in place in order to create a smooth surface for your new flooring material. If you have a steamer available, use it on stubborn spots on the subfloor surface to make sure all glue residue has been properly lifted off.
## Dispose of Removed Material
Removing old vinyl can generate quite a bit of waste so it’s important to have a plan for disposal before starting this project. Contact your local waste management company about their disposal options for large items like this otherwise you may need to rent a dumpster for proper disposal.
Removing your old vinyl flooring doesn’t have to be complicated if you know what tools and supplies are needed and have an idea on how best to go about it. With careful planning and preparation, you can successfully get rid of your old vinyl for good and give your home a much-needed upgrade!