Filling Expansion Joints In Basement Floor
Epoxy Garage Floor Expansion Joints

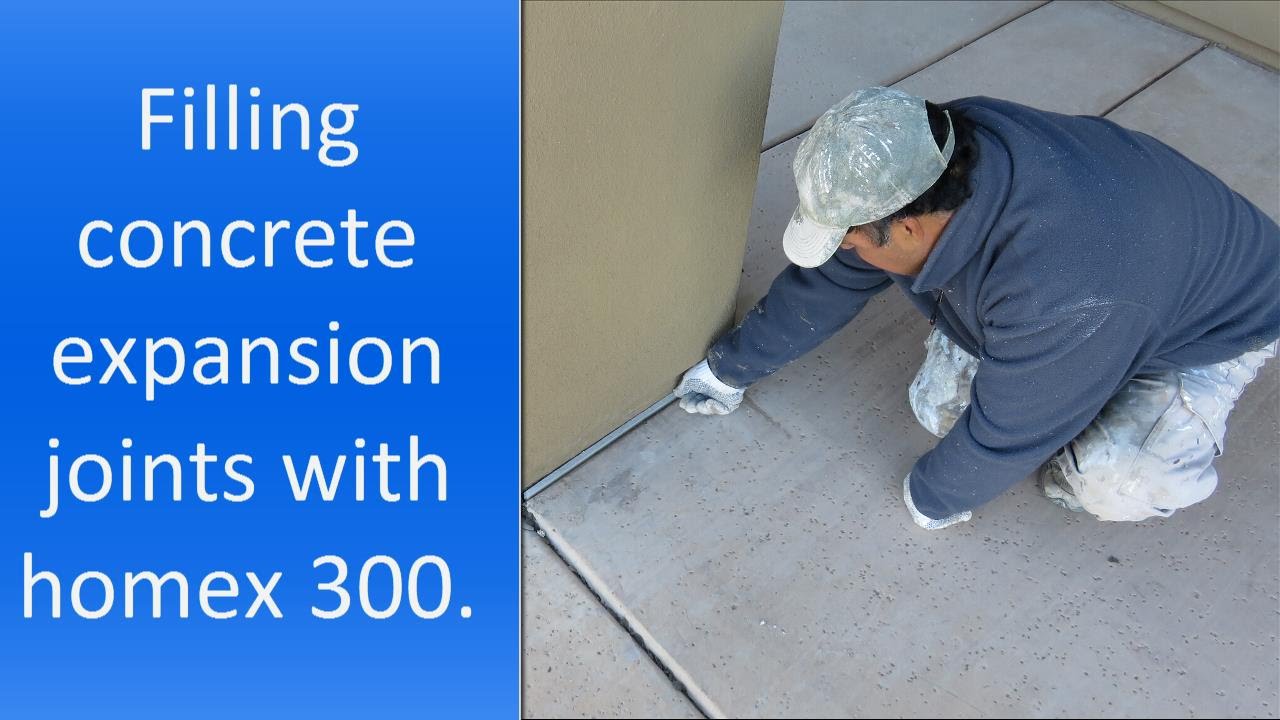
Filling expansion joints by GapArmour.com – YouTube

Filling Expansion Joints In Basement Floor – Flooring Blog

Filling Expansion Joints In Basement Floor – Flooring Blog
Filling Expansion Joints In Basement Floor – Flooring Site
Pin on Macros and Details

Concrete Floor Joint Filler – Flooring Site

How To Fill Expansion Joints In A Garage Floor

How to Fill Expansion and Contraction Joints in a Garage Floor All Garage Floors
Ceramic Floor Tiles Expansion Joints – Carpet Vidalondon

HOW TO: Fill a Control Joint by Dancer Concrete Great instructional video on how to fill

Related Posts:
- Basement Flooring Ideas
- Basement Floor Heaving Repair
- Basement Flooring Options DIY
- Fixing Basement Floor
- Repainting Basement Floor
- Walkout Basement Flooring
- Brick Basement Flooring
- Budget Basement Flooring
- Waterproofing Your Basement Floor
- Laminate Basement Flooring
When it comes to undertaking home improvements, filling expansion joints in a basement floor is an integral part of the process. Without taking this essential step, homeowners can be exposed to a range of potential structural issues and other problems.
This comprehensive guide will give homeowners all the information they need to understand the importance of filling expansion joints in a basement floor, what materials are needed, and the steps involved in the process.
## What Are Expansion Joints?
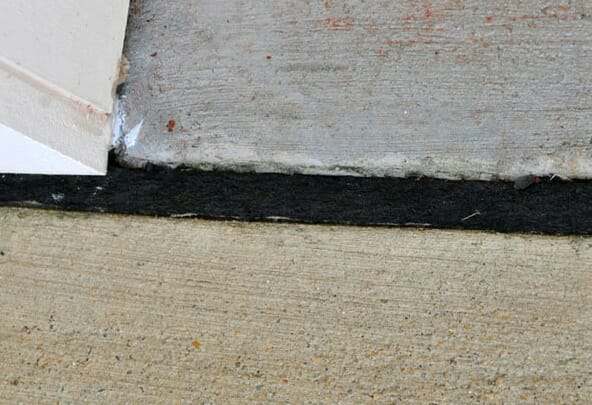
Expansion joints are spaces between two objects that allow for movement and contraction due to temperature changes. They’re found in a variety of settings, including sidewalks, driveways, bridges, and buildings.
In terms of home improvement, expansion joints are commonly found in concrete floors and walls. They’re often filled with silicone or other sealant material to prevent moisture from seeping into the concrete and causing damage.
## Why Should You Fill Expansion Joints In Your Basement Floor?
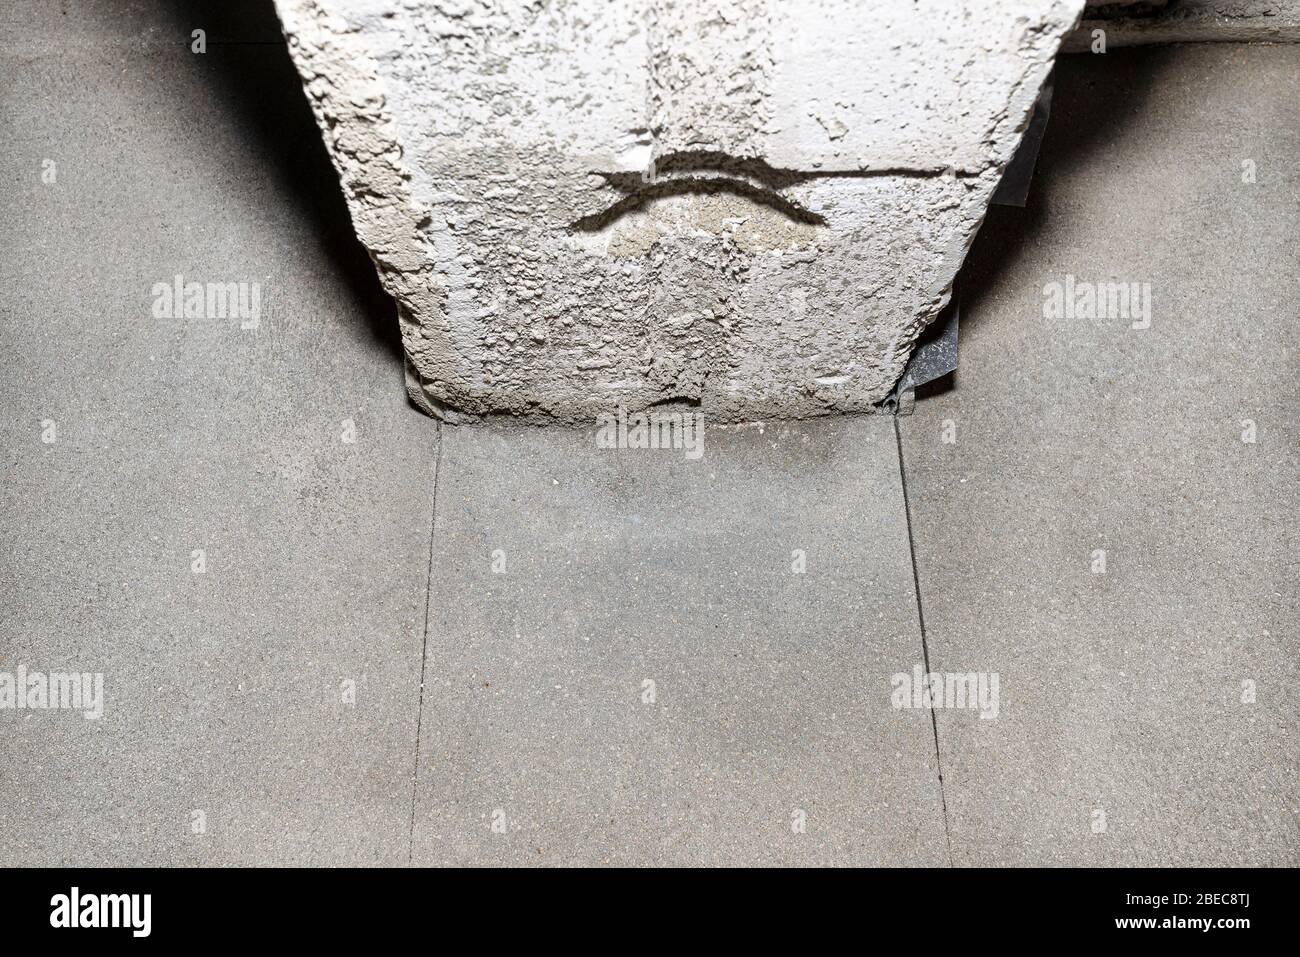
Filling expansion joints in your basement floor is an important step in preserving the integrity of your home’s foundation. If left untreated, these gaps can cause water to seep into the concrete, leading to major structural problems.
Over time, water that gets into the expansion joint can freeze and expand, creating larger cracks that can eventually lead to crumbling concrete. This can ultimately weaken the foundation of your home and lead to costly repairs if not addressed properly.
In addition to helping preserve your home’s foundation and preventing costly repairs, filling expansion joints in your basement floor can also help improve its overall look and feel. By filling these gaps with silicone or other sealant material, you can create a smoother surface that’s aesthetically pleasing and easier to clean.
## What Materials Do You Need To Fill Expansion Joints In Your Basement Floor?
Before you begin filling expansion joints in your basement floor, you’ll need a few materials on hand. These include silicone caulk or other sealant material; a caulking gun; a putty knife; sandpaper; an air compressor; and a vacuum cleaner with a hose attachment for removing debris.
Once you have all the necessary supplies, you’re ready to begin the process of filling expansion joints in your basement floor.
## Steps for Filling Expansion Joints In Your Basement Floor
1. Clean the area around the expansion joint with soap and water to remove any dirt or debris. Allow the area to dry completely before proceeding with the next step.
2. Using a putty knife or sandpaper, remove any loose material from around the expansion joint so that it’s clean and ready for caulk or sealant application.
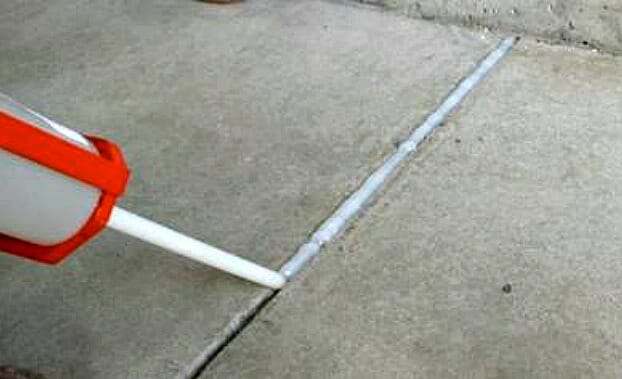
3. Apply a thin line of caulk or sealant along both sides of the expansion joint using a caulking gun. Make sure that it’s evenly spread across both sides and that there are no gaps between them.
4. Use a putty knife to smooth out any excess caulk or sealant around the joint. This will ensure that it looks neat and professional when finished.
5. Allow the caulk or sealant to dry for at least 24 hours before walking on it or using any heavy machinery in the area.
6. Once dry, use an air compressor with an attachment brush to remove any remaining debris from around the expansion joint. Vacuum up any dust or particles that may still be present after this step is complete.
7. Your newly filled expansion joint is now ready for use! Enjoy your newly improved basement floor!
By following these steps, homeowners can easily fill expansion joints in their basement floor without any major issues or complications. Doing so will help ensure a strong foundation for years to come while also improving its overall aesthetic appeal.