Golden Arowana Vinyl Flooring Installation
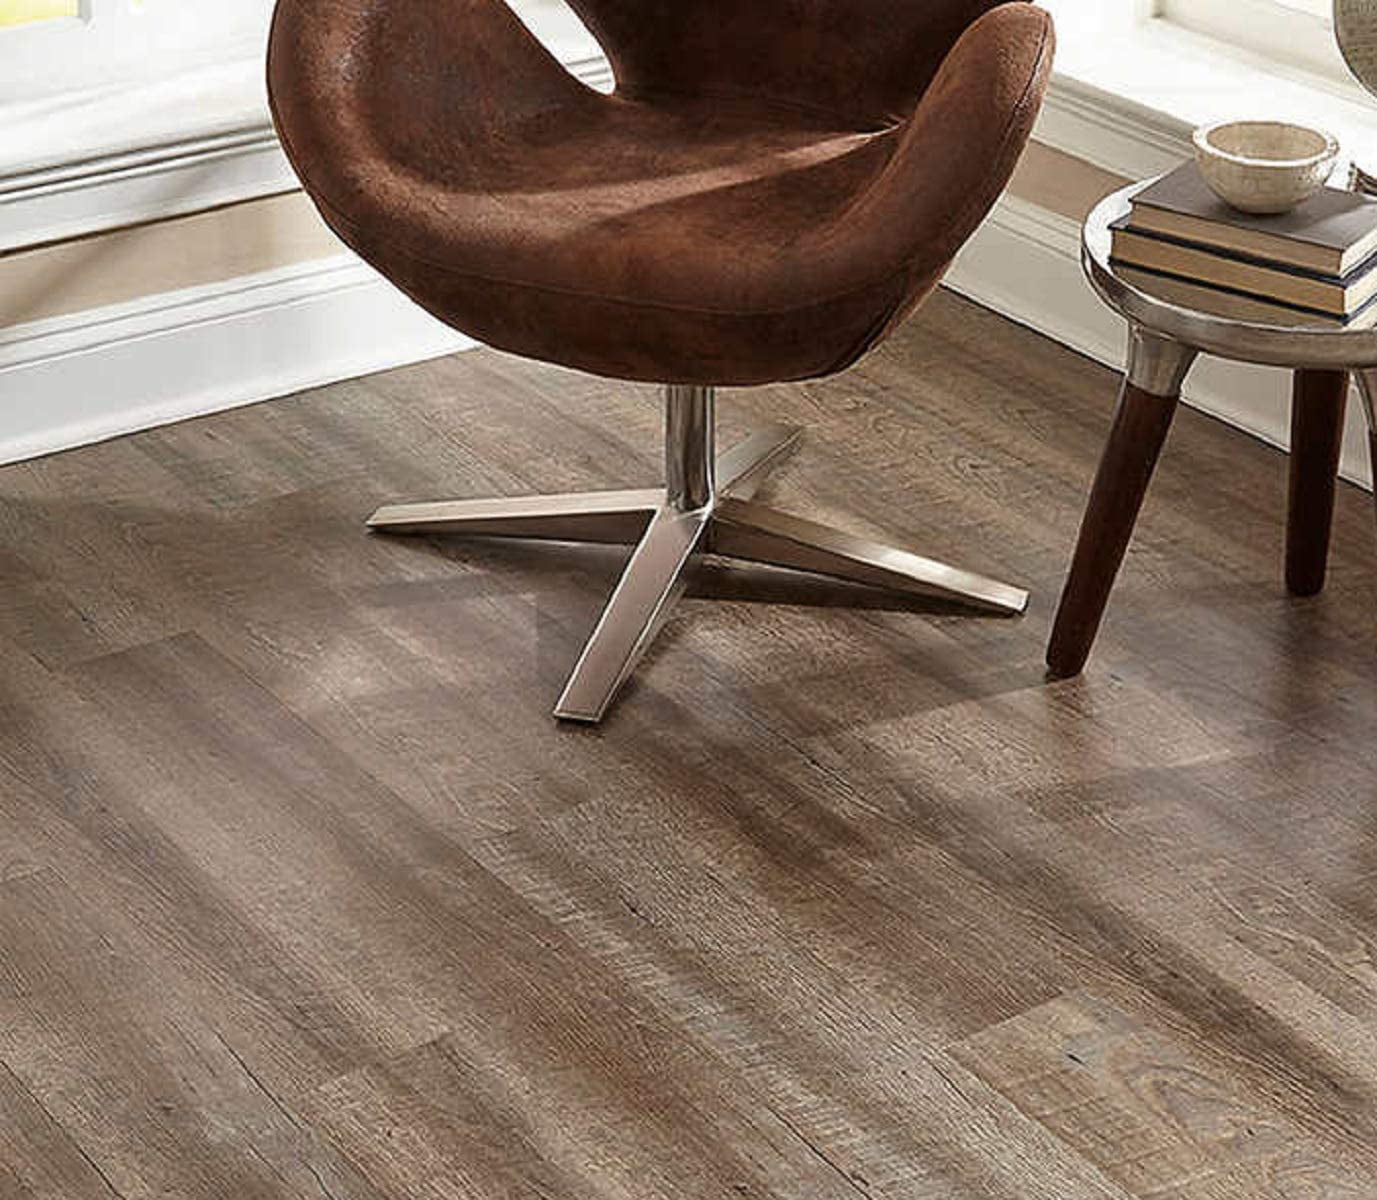
Golden Arowana Cappuccino Waterproof 5mm Thick Plank HDPC Flooring + 1mm Attached Pad included

Golden Arowana Almond Wisp Waterproof 6mm Thick Plank HDPC Flooring + 1mm Attached Pad included

Golden Arowana Cappuccino Waterproof 5mm Thick Plank HDPC Flooring + 1mm Attached Pad included

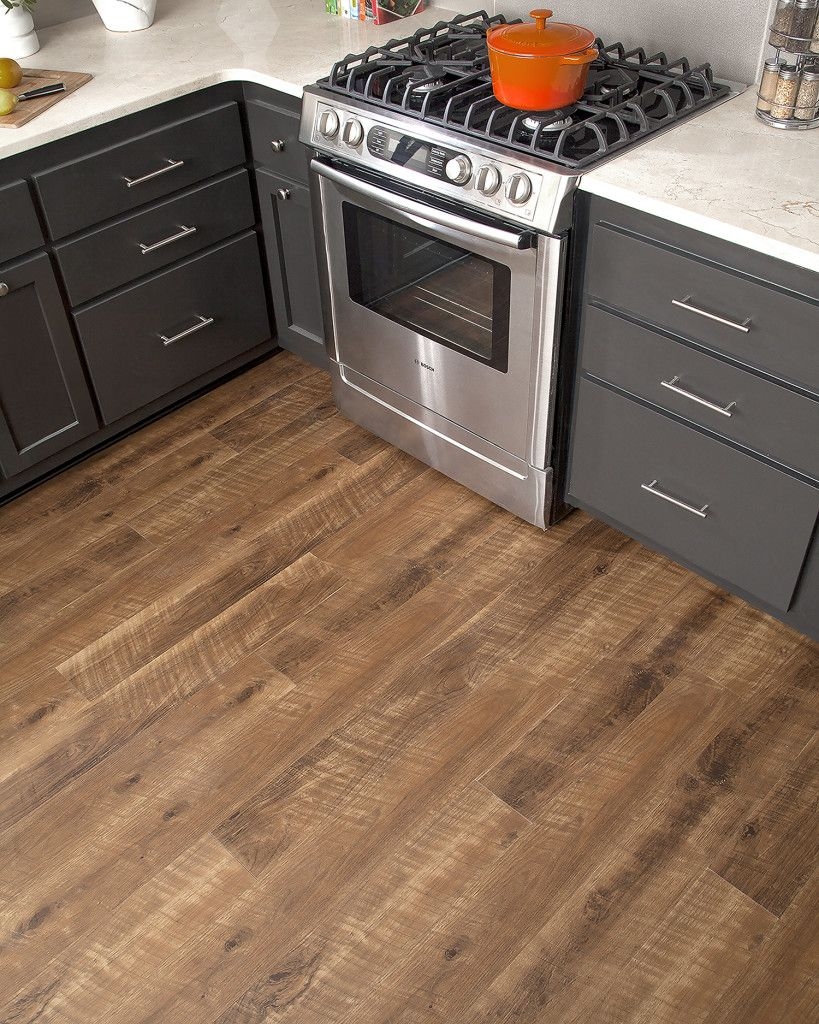
Golden Arowana Walkabout 7mm Thick HDPC Waterproof Engineered Wood Flooring with attached 1mm

Golden Arowana Cappuccino Waterproof 5mm Thick Plank HDPC Flooring + 1mm Attached Pad included

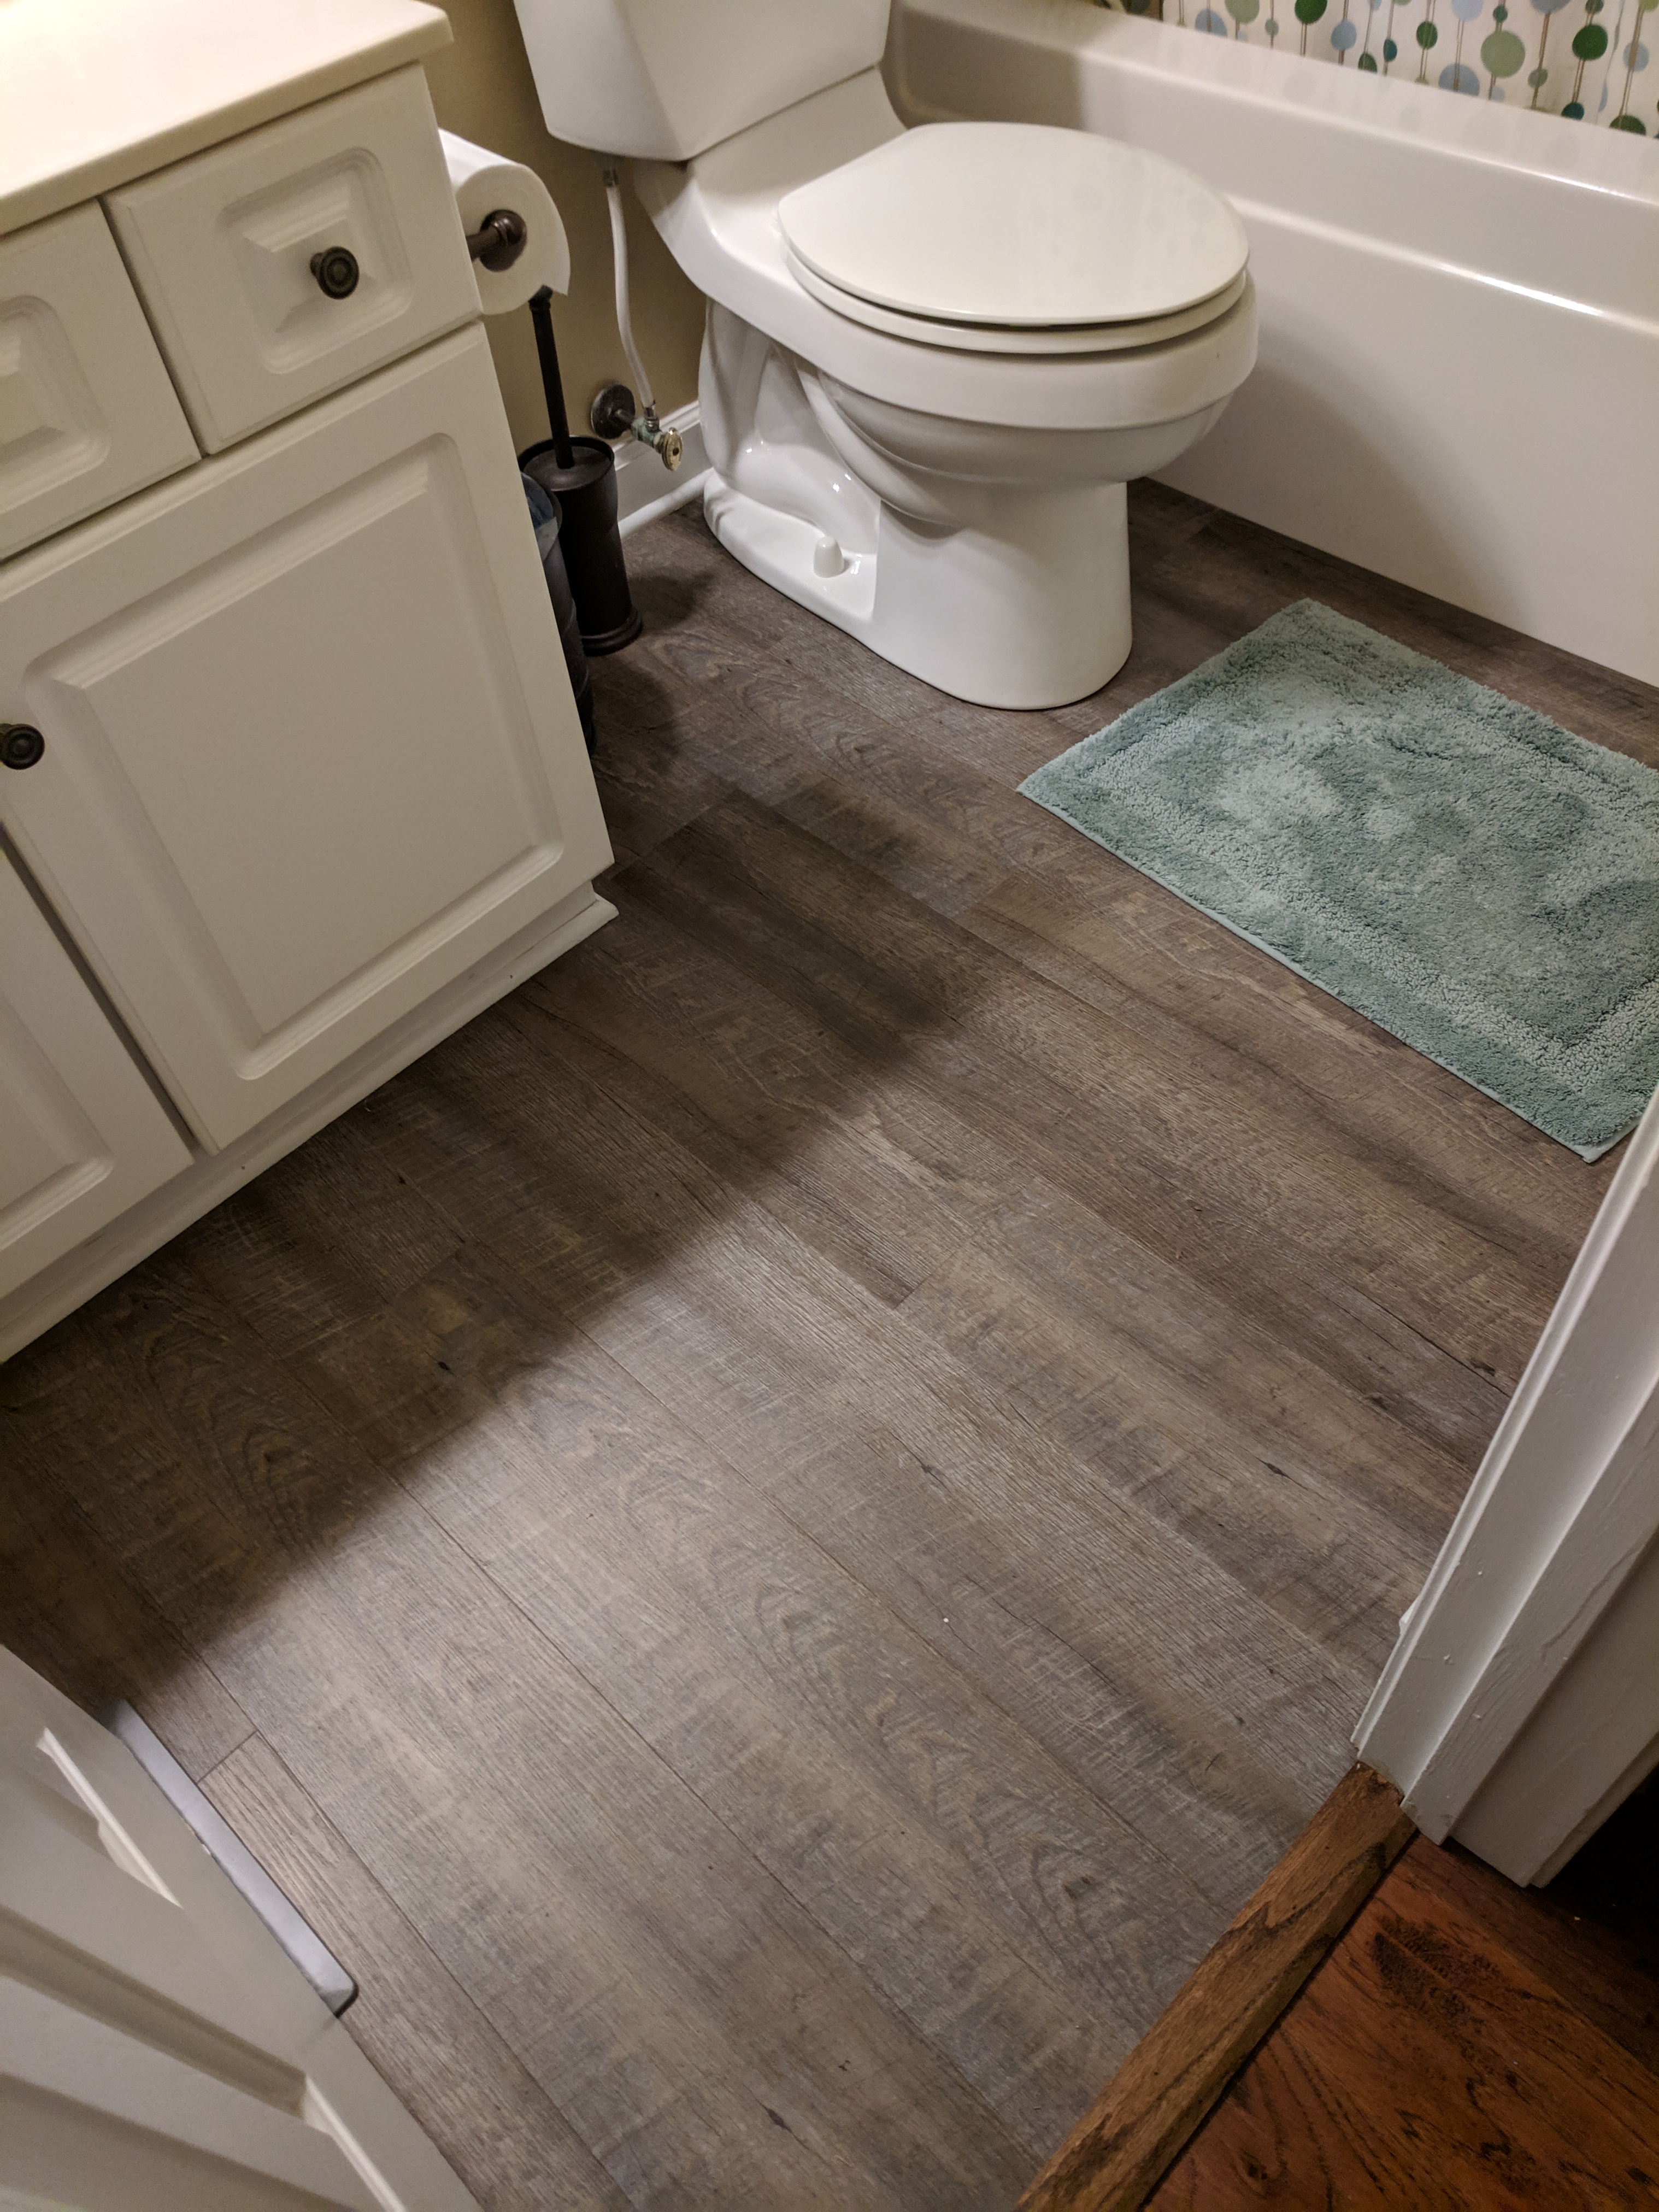
Golden Arowana Sandalwood Hdpc Waterproof Plank Flooring Costco – Tutorial Pics

5 Images Golden Arowana Flooring And Description – Alqu Blog
Golden Arowana Hdpc Waterproof Plank Flooring Reviews : Golden Arowana Enchanted Pine Hdpc

Golden Arowana Bleached Coral Waterproof 6mm Thick Plank HDPC Flooring with 1mm Attached Pad

Golden Arowana Landslide Waterproof 6mm Thick Plank HDPC Flooring with 1mm Attached Pad Included

Golden Arowana Flooring Jamestown Oak – Home Mybios
Related Posts:
- Pine Vinyl Flooring
- Vinyl Floor Laying DIY
- Cortex Vinyl Flooring
- Grey Slate Effect Vinyl Floor Tiles
- Dark Oak Vinyl Flooring
- Limestone Effect Vinyl Flooring
- Vinyl Floor With Border
- Adhesive For Vinyl Flooring To Concrete
- Teak Wood Vinyl Flooring
- Cheap Vinyl Flooring
When it comes to home improvement projects, floor installation can be a daunting prospect. After all, it is a large-scale endeavor that requires significant time and effort. That’s why it is important to choose the right type of flooring for your needs. One of the best options out there is Golden Arowana vinyl flooring. This type of flooring is both stylish and durable, making it ideal for areas that require heavy foot traffic. Here’s a comprehensive guide on how to install Golden Arowana vinyl flooring in your home.
Preparation
The first step in any successful flooring installation project is preparation. Before you start laying down the vinyl flooring, make sure to inspect the subfloor for any signs of damage or moisture. If any issues are present, you will need to address them before proceeding with the installation. Additionally, you should take care to remove all furniture from the room, as well as any existing carpets or rugs. This will make it easier to work with the vinyl flooring and ensure a smooth installation process.
Tools and Materials
Once you have prepped the subfloor, it’s time to gather the necessary tools and materials for the job. You will need a utility knife, tape measure, chalk line, and straightedge for measuring and cutting the vinyl planks. Additionally, you will need an adhesive suitable for vinyl flooring as well as foam underlayment for additional cushioning and noise reduction. Some other materials that you may need include transition strips and baseboard moldings for finishing touches.
Installation Techniques
Once you have gathered all the necessary tools and materials, you can begin laying down the vinyl planks. Start by laying out the planks on the floor in the desired pattern. This will help you get an idea of how much material you need and where you should place them in the room. Next, use your utility knife to cut the planks into smaller pieces that fit around obstacles such as doors and walls. Once all pieces are cut, spread adhesive onto the subfloor following manufacturer instructions. Finally, press each plank into place until they are securely attached to the subfloor. Make sure to leave a gap of at least 5 mm between planks to allow for expansion over time.
Finishing Touches
Once all planks are installed, use a rolling pin or weighted roller to press them into place firmly. This will ensure an even surface with no air pockets underneath the planks. Additionally, if you have opted for foam underlayment, make sure to lay it down before pressing down all planks. Finally, add transition strips along doorways or any other areas where two types of flooring meet. You can also use baseboard moldings along walls to finish off the look of your new Golden Arowana vinyl flooring installation project!
Conclusion
Installing Golden Arowana vinyl flooring in your home is a great way to add both style and durability in high-traffic areas. By following these steps and using proper materials and tools, you can create a beautiful new look for your home without breaking your budget or taking up too much of your time! With just a little bit of research and preparation, you can easily master this DIY project and enjoy your new Golden Arowana vinyl flooring in no time!