Beautifying your walls with hardwood flooring is possible if you know how to do it right. Many homeowners and interior designers choose to have hardwood floor on wall, as it adds a classic, luxurious touch to any room. If you’re thinking of sprucing up your walls with hardwood flooring, here is a step by step guide of how you can do it.
## Gather the Right Materials
The first step in creating a hardwood floor on wall is to make sure you have the right materials. You’ll need to get your hands on some hardwood planks, adhesive glue, finishing nails, a hammer, and a few other supplies. Make sure you have everything you need before getting started.
## Prepare the Wall Surface
Before installing the hardwood planks on your walls, you’ll need to prepare the wall surface for it. Start by cleaning the walls to remove any dirt or debris that may be stuck to them. Then, use sandpaper to smooth out any rough area and ensure that there are no visible nails or screws.
## Install the Planks
Now that the wall is ready, it’s time to start laying down the hardwood planks. Begin by using the adhesive glue to attach the first plank at the bottom corner of the wall. Make sure it’s straight and level, and then use a few finishing nails to secure it firmly in place. Use glue and nails for each of the subsequent planks as well, making sure that each plank is secured firmly in place before moving on to the next one.
## Finishing Touches
Once all of your planks are in place, you can start adding on the finishing touches. Use wood filler to fill in any gaps between planks and smooth out any corners. Then, you can paint or stain your hardwood floor wall according to your preference and preferences of your interior design. Finally, apply a protective sealant to protect it from fading due to sunlight or dirt buildup over time.
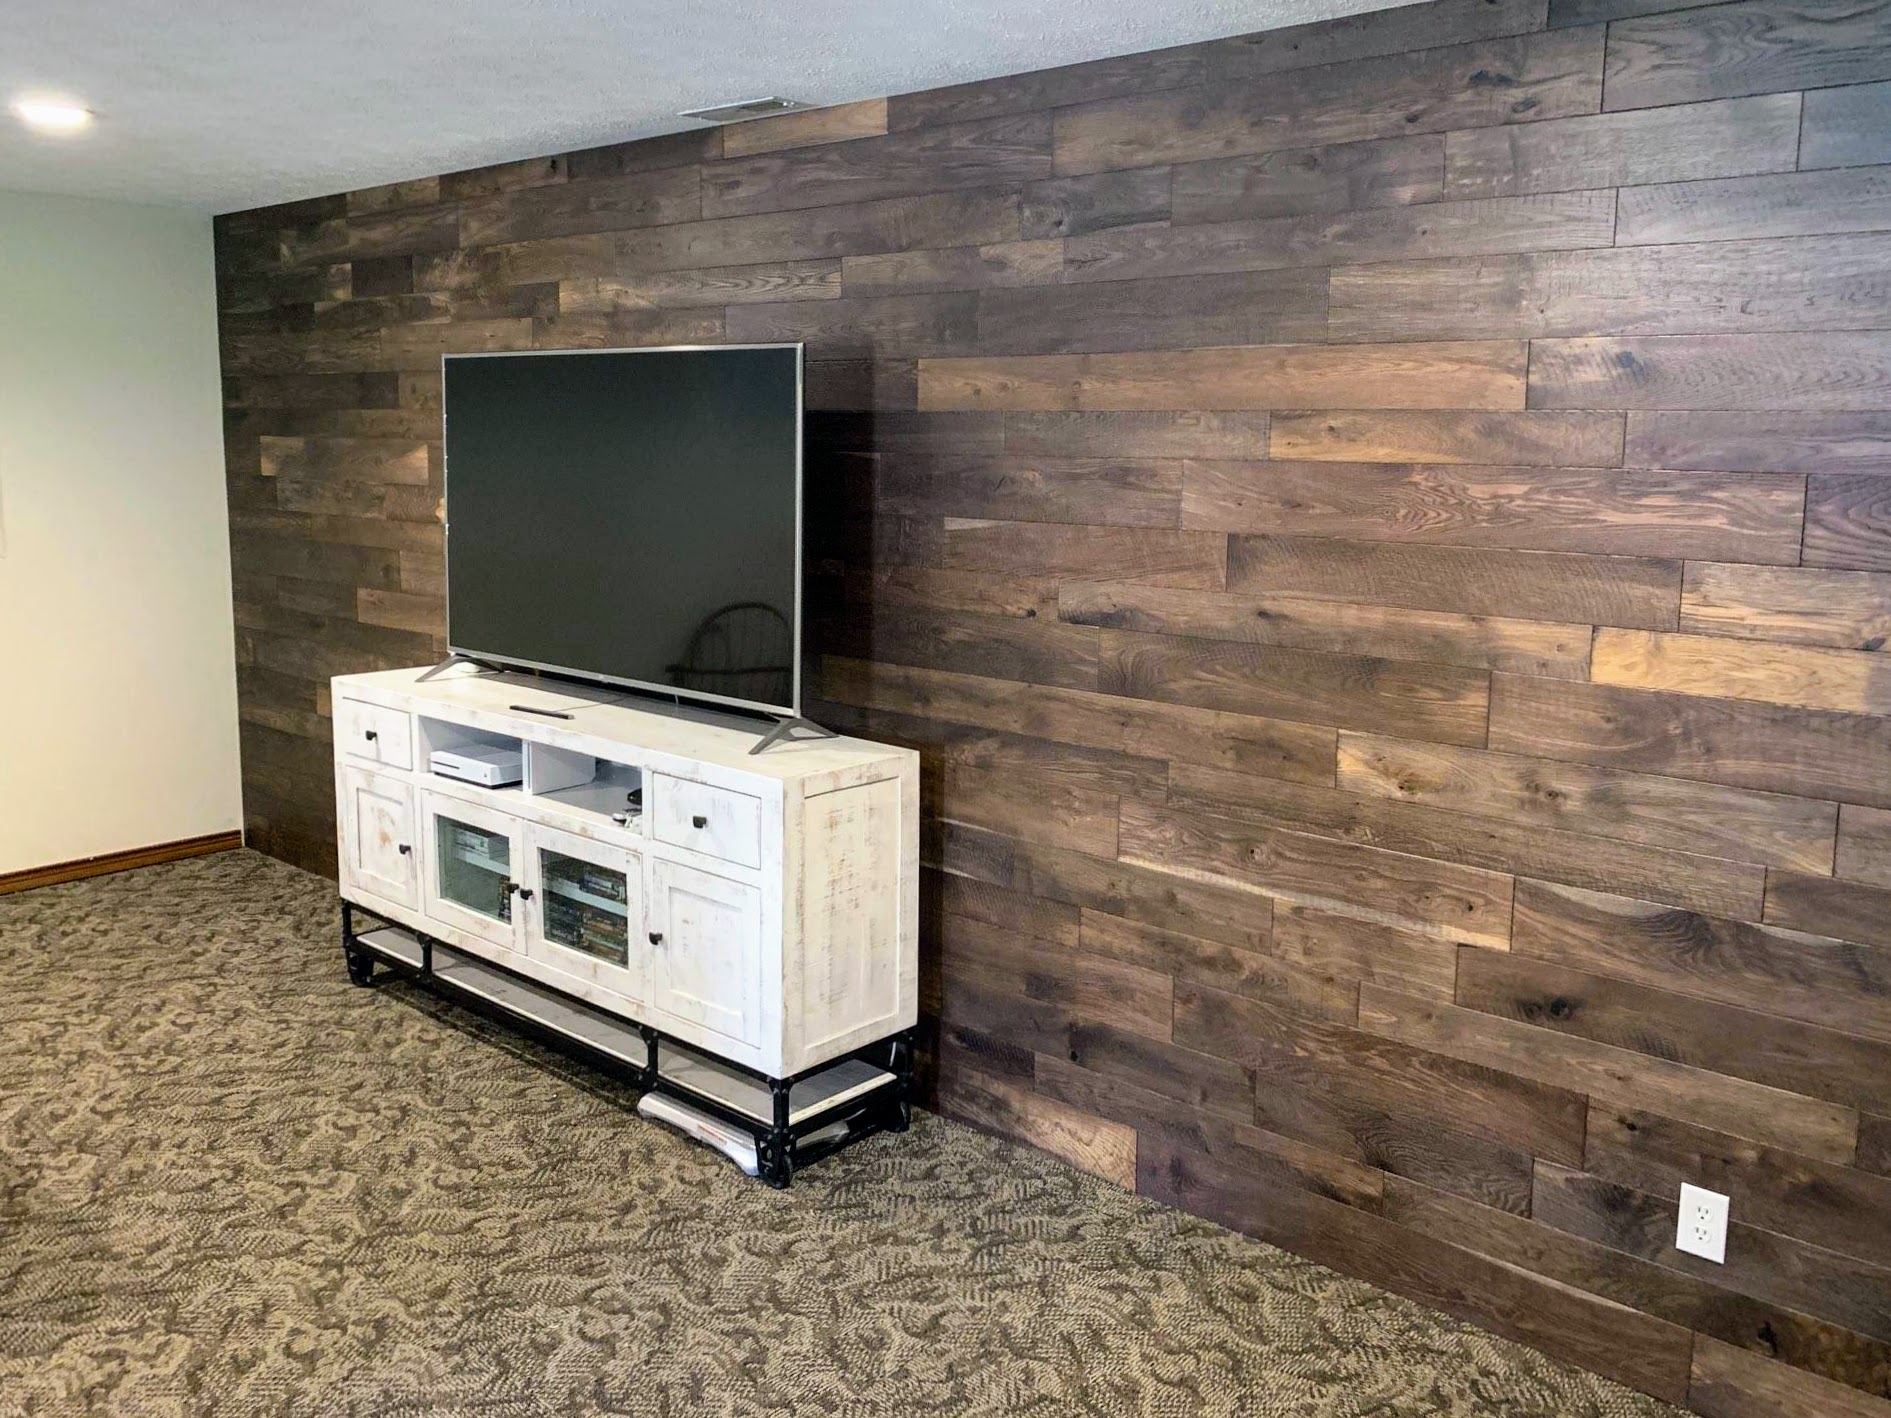
## Enjoy Your New Hardwood Floor Wall
Congratulations! You’ve just installed a beautiful hardwood floor on wall that will add warmth and elegance into any room in your home. In just a few simple steps, you can create a stunning feature wall that is sure to impress everyone who walks into your home. Enjoy!
Q: How do you install hardwood flooring on a wall?
A: Installing hardwood flooring on a wall is a fairly straightforward process, but it is important to take the time to measure your space correctly and make sure everything is level. Begin by installing a plywood subfloor and a layer of foam underlayment. This will act as the foundation for your hardwood flooring. Next, start nailing the planks of your hardwood flooring into place. Make sure to leave a gap between each plank, and to place a nail in every hole. Finally, you can finish up the floor by adding quarter round trim around the edges of the wall.
Q: Is it difficult to install hardwood flooring on a wall?
A: Yes, installing hardwood flooring on a wall is generally more difficult than installing it on the floor, as it requires additional steps to ensure that the boards adhere securely to the wall. Depending on your DIY experience level, you may wish to hire a professional for this job.
Q: What tools do I need to install hardwood flooring on a wall?
A: To install hardwood flooring on a wall, you will need a stud finder, a hammer, a pry bar, a drill and bits, a miter saw, a tape measure, a jigsaw, a grinder or belt sander, an orbital sander, wood screws, sturdy wood glue, and the hardwood flooring material.
Q: Can you install hardwood flooring on drywall?
A: Yes, you can install hardwood flooring on drywall. However, the drywall needs to be in good condition and thoroughly secured. If the flooring is solid wood, an extra layer of plywood is usually recommended beneath the flooring for added stability.
Q: Does hardwood flooring need to be installed over concrete?
A: Yes, hardwood flooring typically needs to be installed over a concrete subfloor. The concrete provides stability to the hardwood flooring and ensures that it is level. The floor also needs to be dry and free of any debris prior to installation.
Q: How long does it take to install hardwood flooring on concrete?
The actual installation of the hardwood flooring on concrete can take as little as a few hours to a few days depending on the size of the area, the type of hardwood flooring, and the layout of the room. The complete process of preparing the concrete, installing the hardwood flooring and finishing it can take up to a week or more.
Q: Can I install hardwood flooring on concrete myself?
Yes, you can install hardwood flooring on concrete yourself, but it can be a very difficult and time consuming project. If the concrete is uneven, you may need to use self-leveling concrete or shim the subfloor before beginning. It is also important to make sure the concrete is clean and free of moisture before laying your hardwood floor. You will also need to consider the type of hardwood and fastening system you would like to use for installation. For a simpler process, you may want to consider an engineered hardwood floor. With an engineered wood floor, the planks are pre-milled and come with beveled edges that allow them to fit together without having to nail them down. This makes them easier and faster to install than solid hardwood floors.
Q: What tools do I need to install hardwood flooring on concrete?
A: Tools you will need to install hardwood flooring on concrete include a rubber mallet, a circular saw, a jigsaw, a miter saw, a hammer, a pry bar, an orbital sander, sandpaper, wood glue, a drill and bits, a tape measure, a level, a chalk line, and a dust mask.
Q: What type of adhesive should I use for installing hardwood flooring on concrete?
A: The best type of adhesive to use for installing hardwood flooring on concrete is a urethane-based adhesive. This type of adhesive creates a strong bond that will hold up against temperature and moisture changes. It also provides a strong, long-lasting bond between the concrete and the hardwood flooring. Make sure to use an adhesive specifically designed for hardwood flooring installation on concrete.
Q: What type of underlayment should I use for installing hardwood flooring on concrete?
Typically you would use a good quality foam underlayment specifically designed for hardwood flooring. This will help to absorb sound and provide additional cushioning for the hardwood flooring. The foam will also help to level out any minor imperfections in the concrete subfloor.
Q: How much underlayment do I need for hardwood floor installation on concrete?
It depends on the thickness of the underlayment and the type of subfloor. Generally, for hardwood flooring on concrete, you will need at least 5mm / 0.2 in of underlayment.