Hardwood Floor Wall
17 Cute Hardwood Floor Refinishing St Louis Unique Flooring Ideas

14 Perfect Hardwood Floor and Wall Color Combinations Unique Flooring Ideas

16 Recommended Black Hand Scraped Hardwood Flooring Unique Flooring Ideas

Most Popular Hardwood Floor Colors that Make Your Floor Outlook Remains Up to Date – HomesFeed

Flooring Evolution: Flooring Trends of 2017

Wooden Flooring – My Wall Panels
Most Popular Hardwood Floor Colors that Make Your Floor Outlook Remains Up to Date HomesFeed
Royalty Free Hardwood Floor Pictures, Images and Stock Photos – iStock

#HardwoodFloorPolish Ref.:2588959542 My dream home, Engineered hardwood flooring, Hardwood

Free Images : floor, wall, studio, tile, set, room, brick, material, stage, hardwood, wood

A Beginner’s Overview of Hardwood Flooring
/hardwood-02-58f6d0a53df78ca1599e5b0d.jpg)
Related Posts:
- Hardwood Floor Cleaning Tips
- Hardwood Floor Decorating Ideas
- Hardwood Floor In A Kitchen
- Engineered Hardwood Flooring
- Rustic Oak Hardwood Flooring
- Parquet Hardwood Flooring
- Hardwood Floor Duster
- Homemade Hardwood Flooring
- Hardwood Floor Stain Colors
- Hardwood Floor Repair DIY
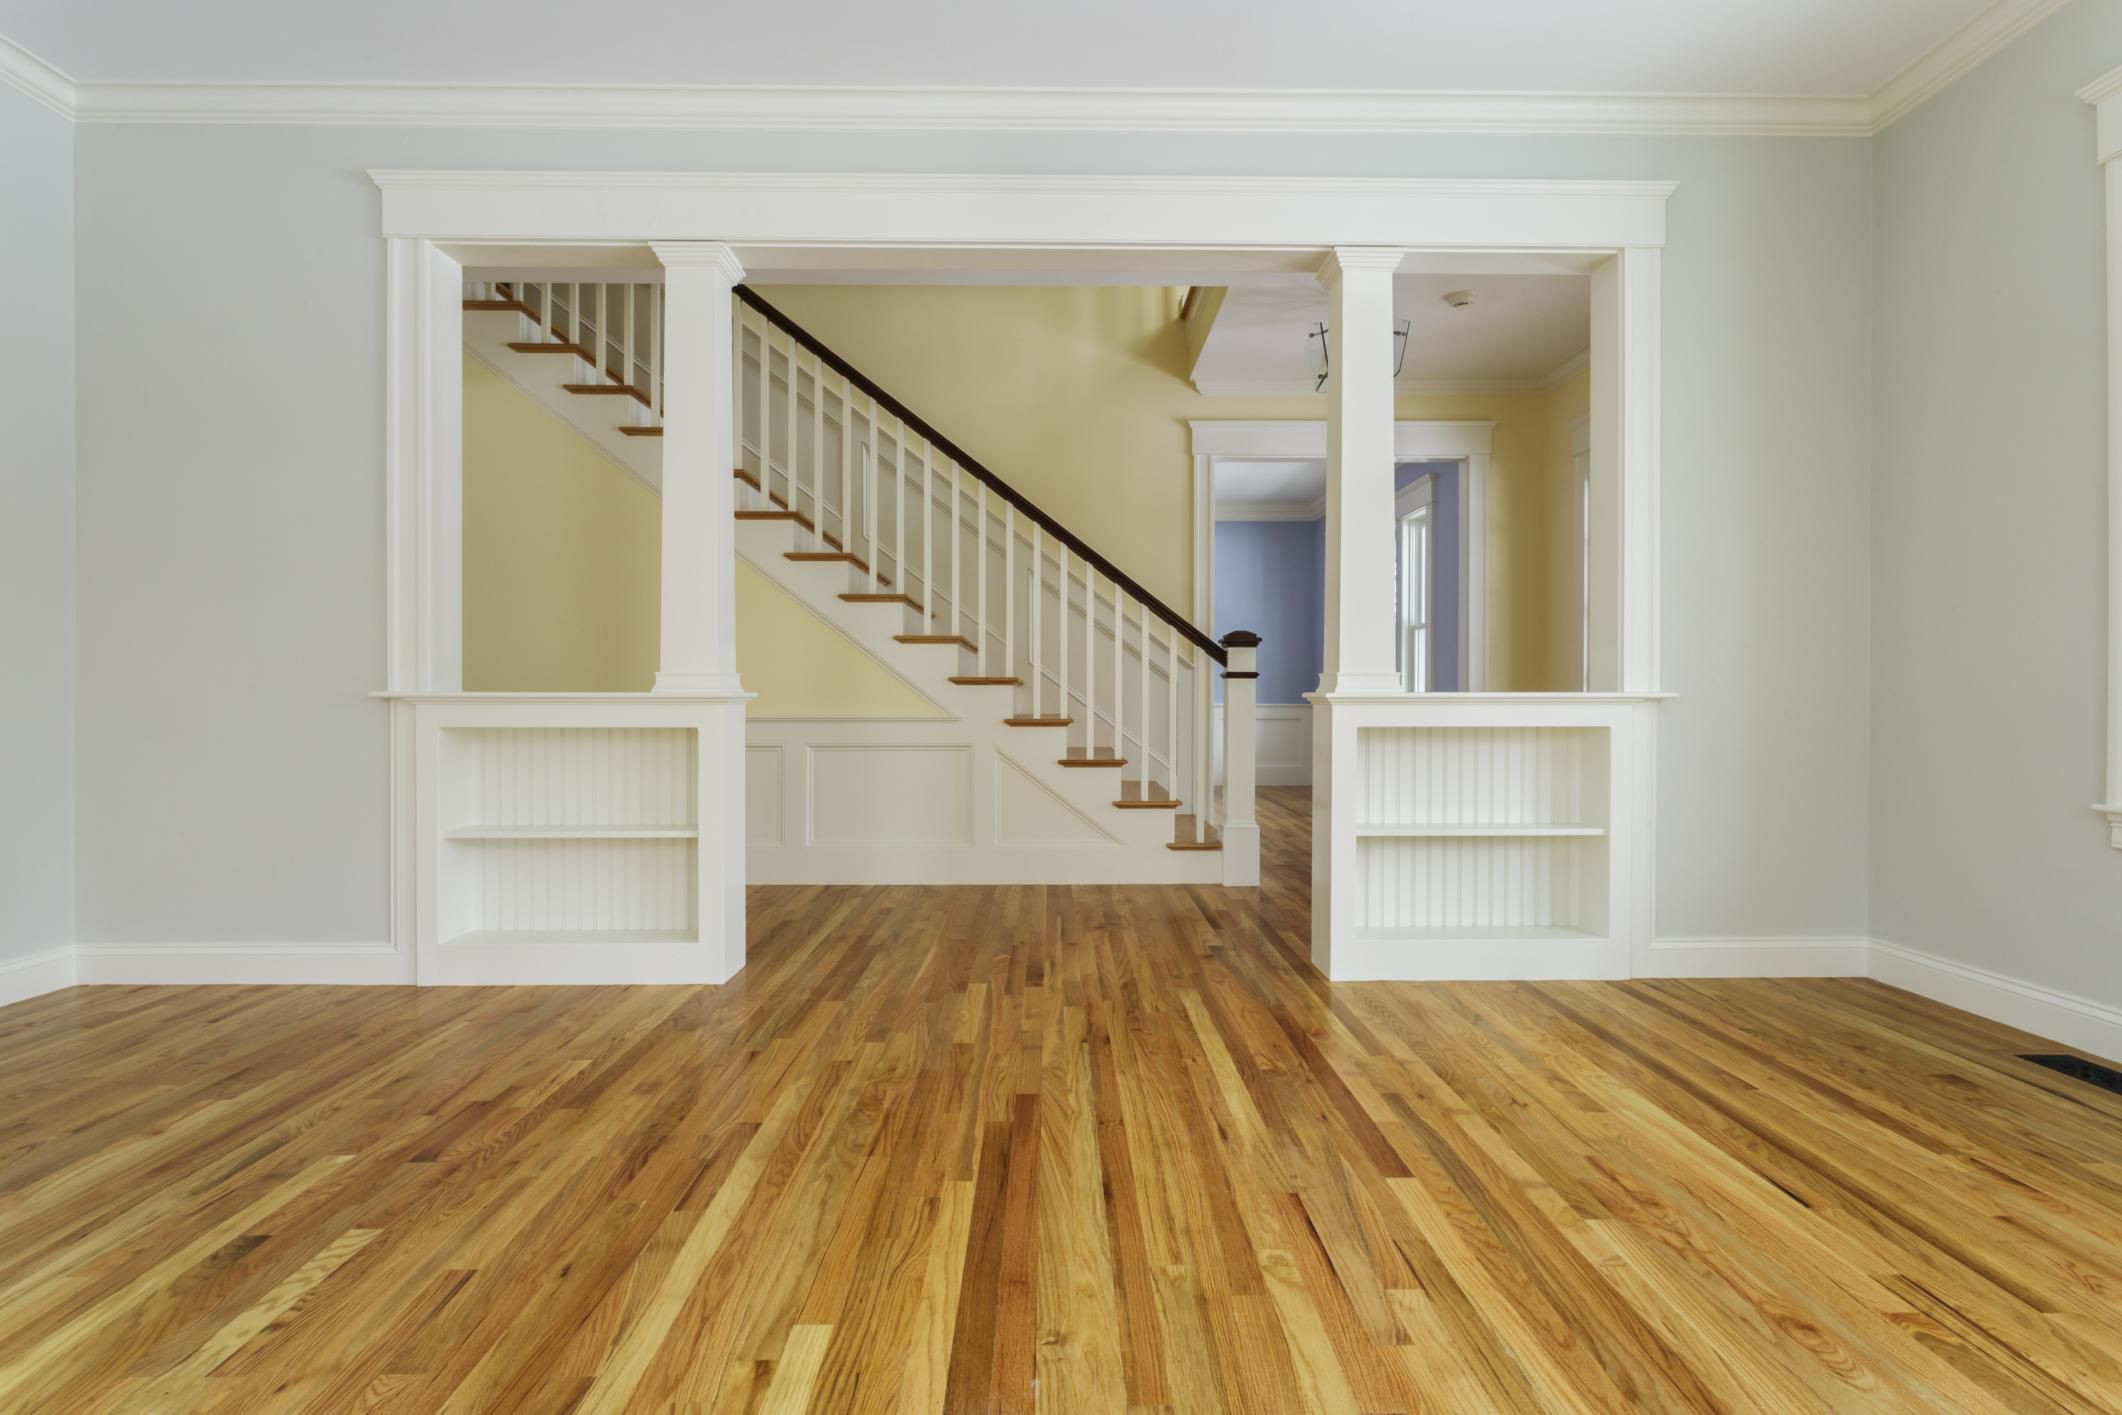
Adding a hardwood floor wall is one of the most attractive and cost-effective ways to spruce up your home’s interior design. Whether you’re looking for a bold statement piece or a subtle accent, hardwood floor walls can be the perfect way to add warmth and visual interest to any room. In this article, we’ll walk you through the steps for creating a stunning hardwood floor wall in your home.
## What You’ll Need to Create a Hardwood Floor Wall
Before you start on your hardwood floor wall project, make sure you have all the necessary materials. You’ll need to purchase hardwood flooring (either laminate or engineered wood), adhesive, masonry nails, and a miter saw. If you’re planning on installing the hardwood floor against an existing wall, you’ll also need to pick up some plywood or drywall.
## Preparing the Room for Installation
Once you’ve gathered all the necessary materials, it’s time to prepare your room for installation. First of all, remove any furniture or other items from the area where your hardwood floor wall will go. Then, check the walls for any cracks or holes and patch them up with spackle and drywall tape if needed. Finally, measure out the area where your hardwood floor will go and mark it off with painter’s tape.
## Installing the Hardwood Floor Wall
Now that your room is ready, it’s time to start installing your hardwood floor wall. Begin by laying out the pieces of hardwood flooring side by side. If you’re working with laminate flooring, make sure to use an adhesive that is specifically designed for this type of material. Once all your pieces are laid out, use a miter saw to cut them down to size if needed.
Next, attach the pieces of hardwood flooring to each other using masonry nails. Make sure to use nails that are at least 1/2 inch long so that they don’t come loose over time. Once all your pieces are connected together, use wood glue to attach them to the wall or plywood/drywall if needed. Finally, fill in any gaps between the pieces of wood with wood putty and let it dry before adding any finishings such as stain or sealant.
## Finishing Your Hardwood Floor Wall
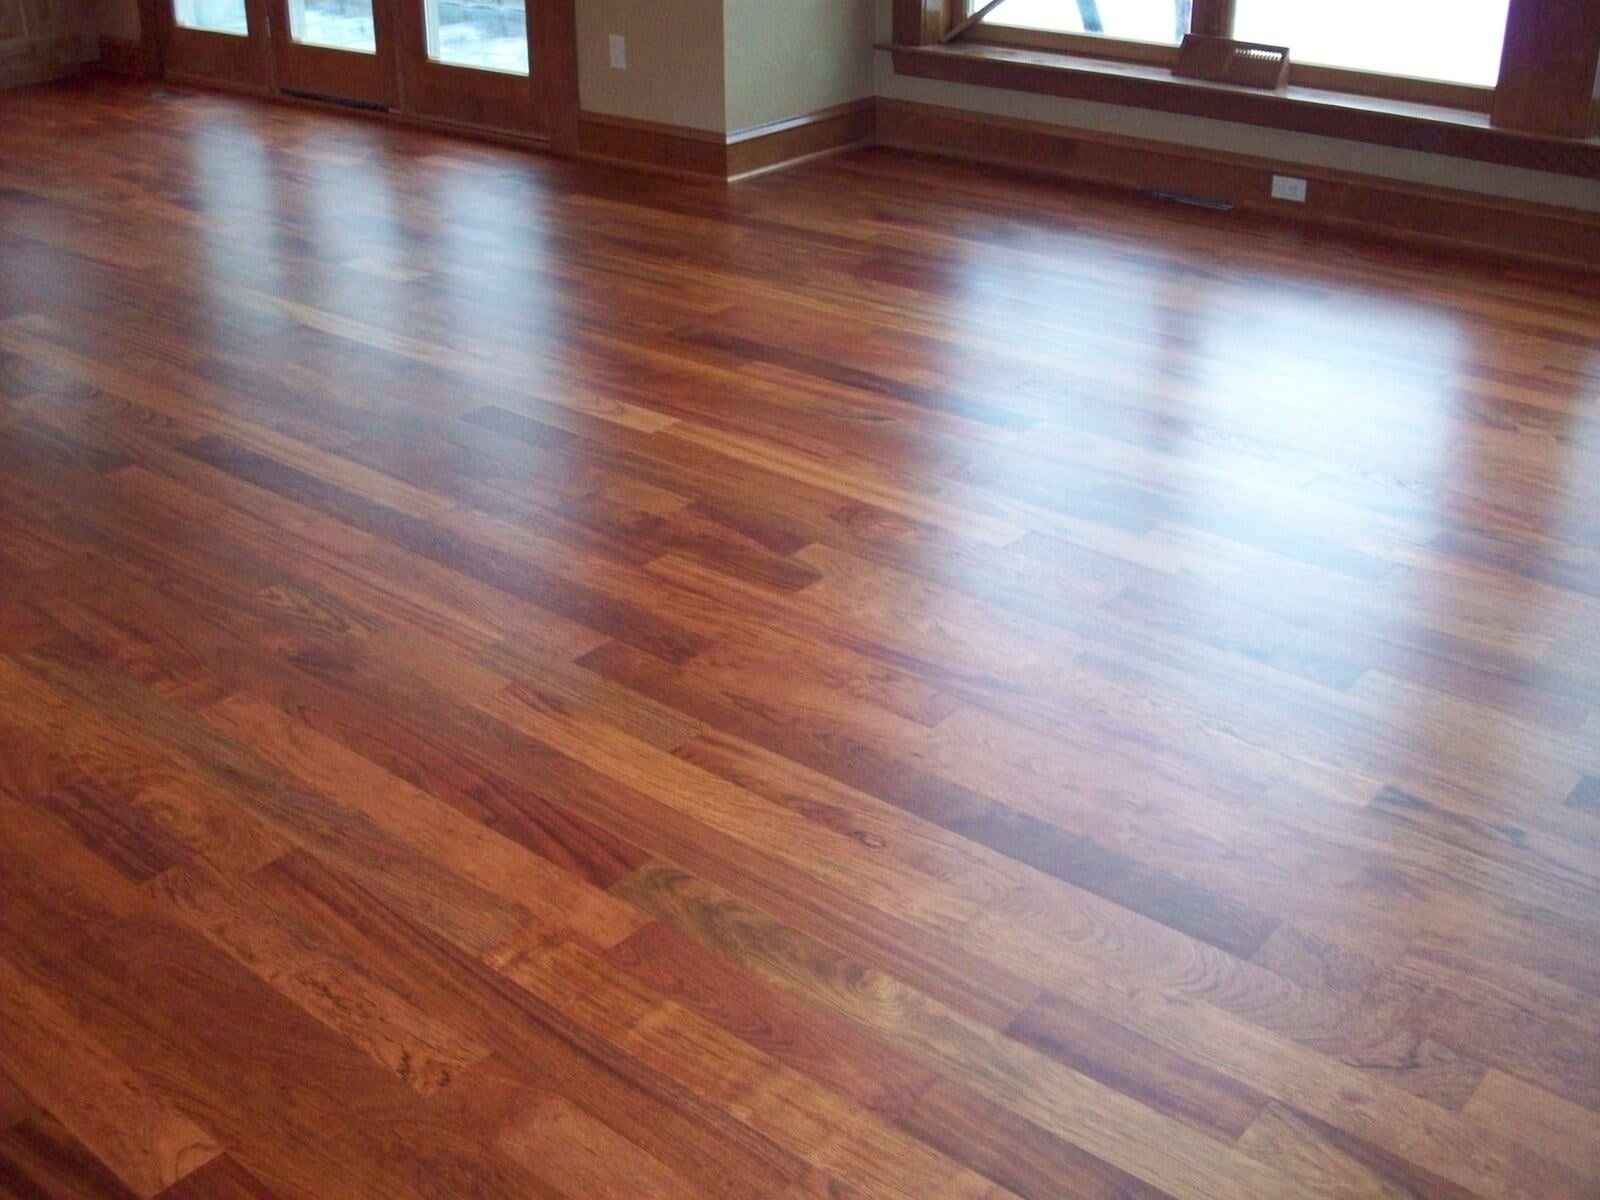
After your hardwood floor wall is installed, it’s time to finish it off with a few final touches. Depending on what kind of look you’re going for, you may want to add a stain or sealant to bring out the natural beauty of the wood or give it a more modern look. Additionally, you can also add a trim around the edges of your hardwood floor wall for a more polished look.
## Enjoy Your Brand New Hardwood Floor Wall!
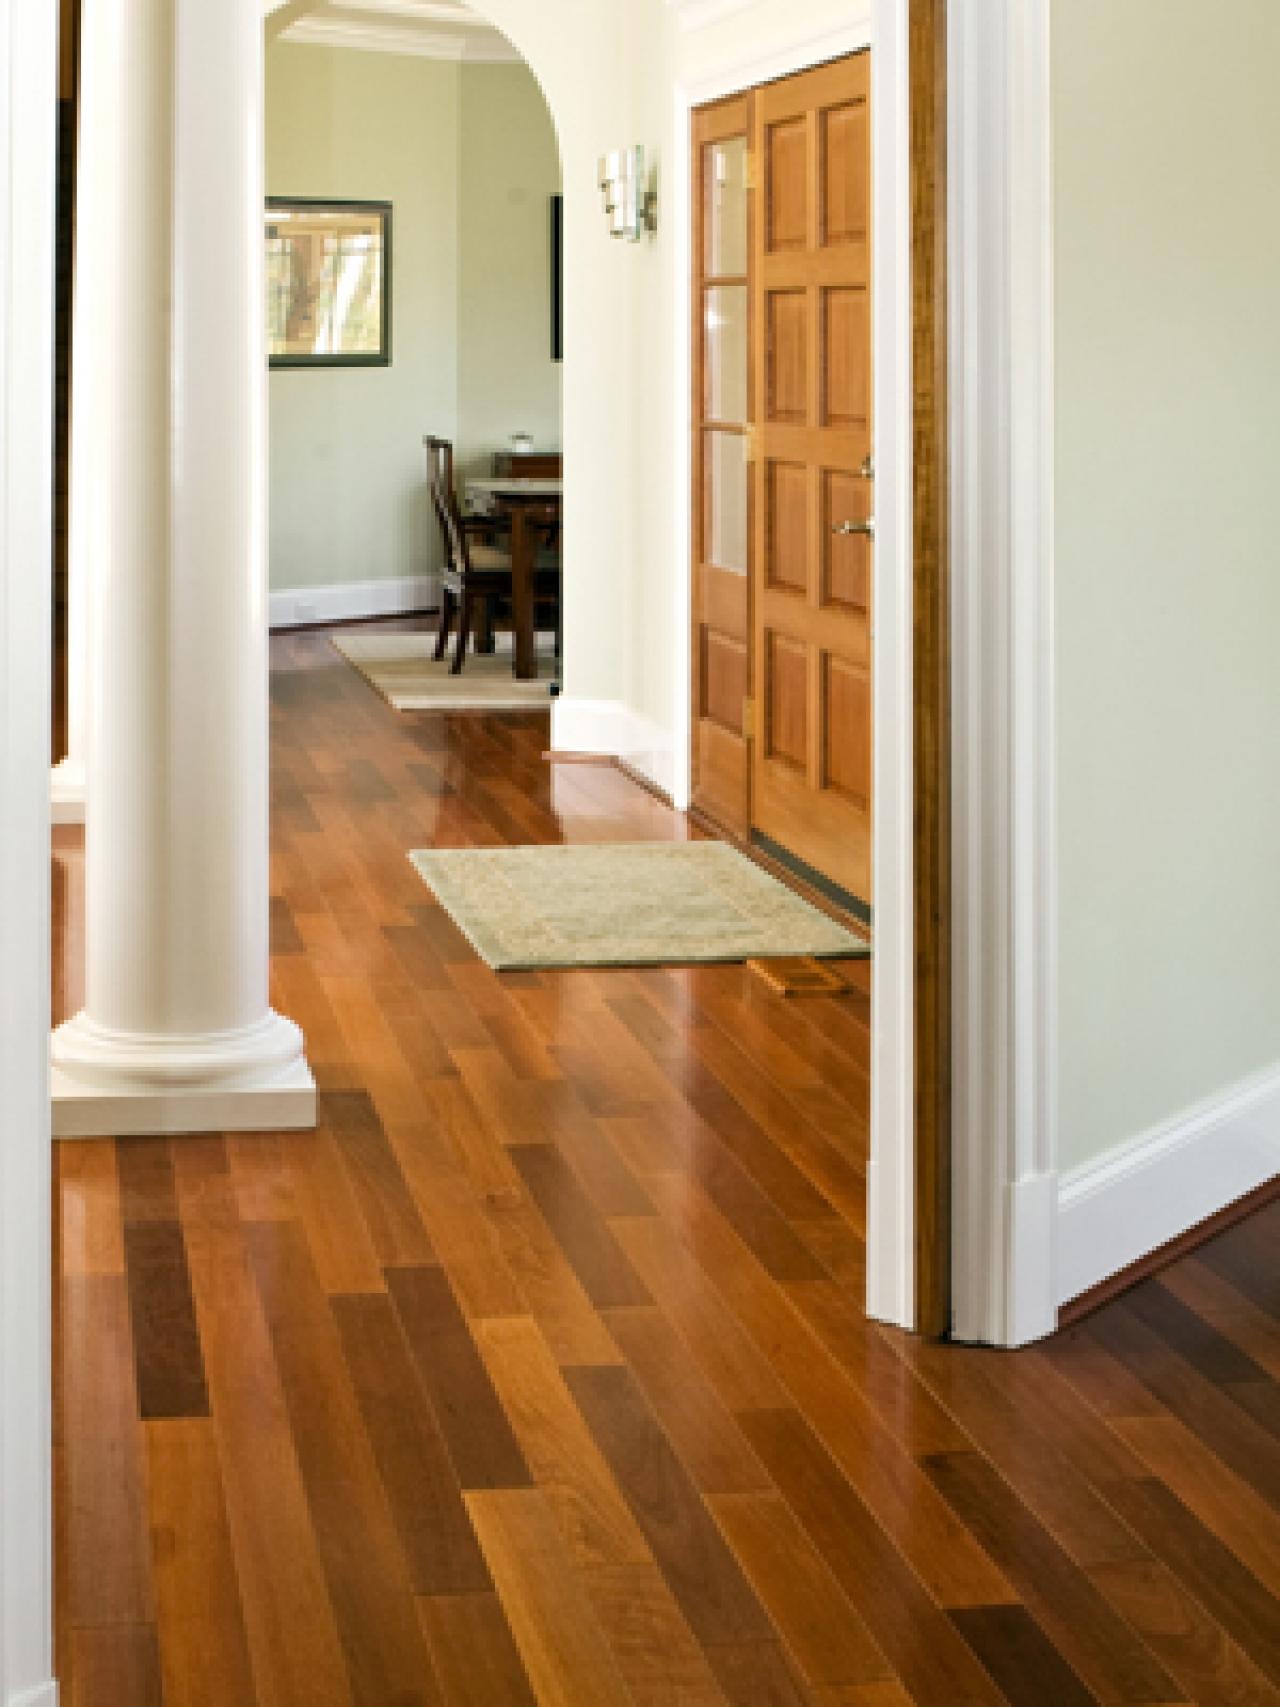
Creating a beautiful hardwood floor wall in your home is an easy and cost-effective way to upgrade your interior design. Whether you’re looking for a subtle accent piece or something more eye-catching, this project is sure to turn heads and impress visitors alike! With just a few simple steps and materials, you can create an attractive and unique feature in your home that will last for years to come.