Hardwood Flooring Installation Tips
Hardwood Floor Installation – A Step By Step Guide My Decorative

17 Popular Hardwood Flooring Installation Tips and Tricks Unique Flooring Ideas

The Correct Direction for Laying Hardwood Floors

How to Install a Hardwood Floor HGTV
A Complete Guide For Hardwood Floor Installation In Quincy – TONY FLOOR
How to Install Engineered Hardwood Floors – A Taste of Koko
Engineered Hardwood Flooring Installation: Tips and Common Mistakes 2014-03-05 Floor

Advanced Laminate Flooring Advice Installing laminate flooring, Laying laminate flooring

Installing Hardwood Floors – Hardwood Floor Installation Quincy – TONY FLOOR
How To Install A Engineered Wood Floor

Hardwood Flooring Installation Mistakes to Avoid – Elegant Floors
Related Posts:
- Hardwood Floor Cleaning Tips
- Hardwood Floor Decorating Ideas
- Hardwood Floor In A Kitchen
- Engineered Hardwood Flooring
- Rustic Oak Hardwood Flooring
- Parquet Hardwood Flooring
- Hardwood Floor Duster
- Homemade Hardwood Flooring
- Hardwood Floor Stain Colors
- Hardwood Floor Repair DIY
Hardwood flooring is an excellent choice for homeowners looking to add style and value to their home. But, if done incorrectly, hardwood flooring installation can be a costly and time-consuming mistake. To ensure that you get the most out of your investment, here are some tips for successful hardwood flooring installation.
## Choosing the Right Hardwood
The type of hardwood you choose will be the foundation of your flooring project. Different hardwoods have different levels of durability, color variation, and texture. In general, hardwoods with high Janka ratings will be the most durable and resistant to scratches and wear. You should also consider the species of wood, as different species will have different colors and grain patterns.
## Preparing Your Subfloor
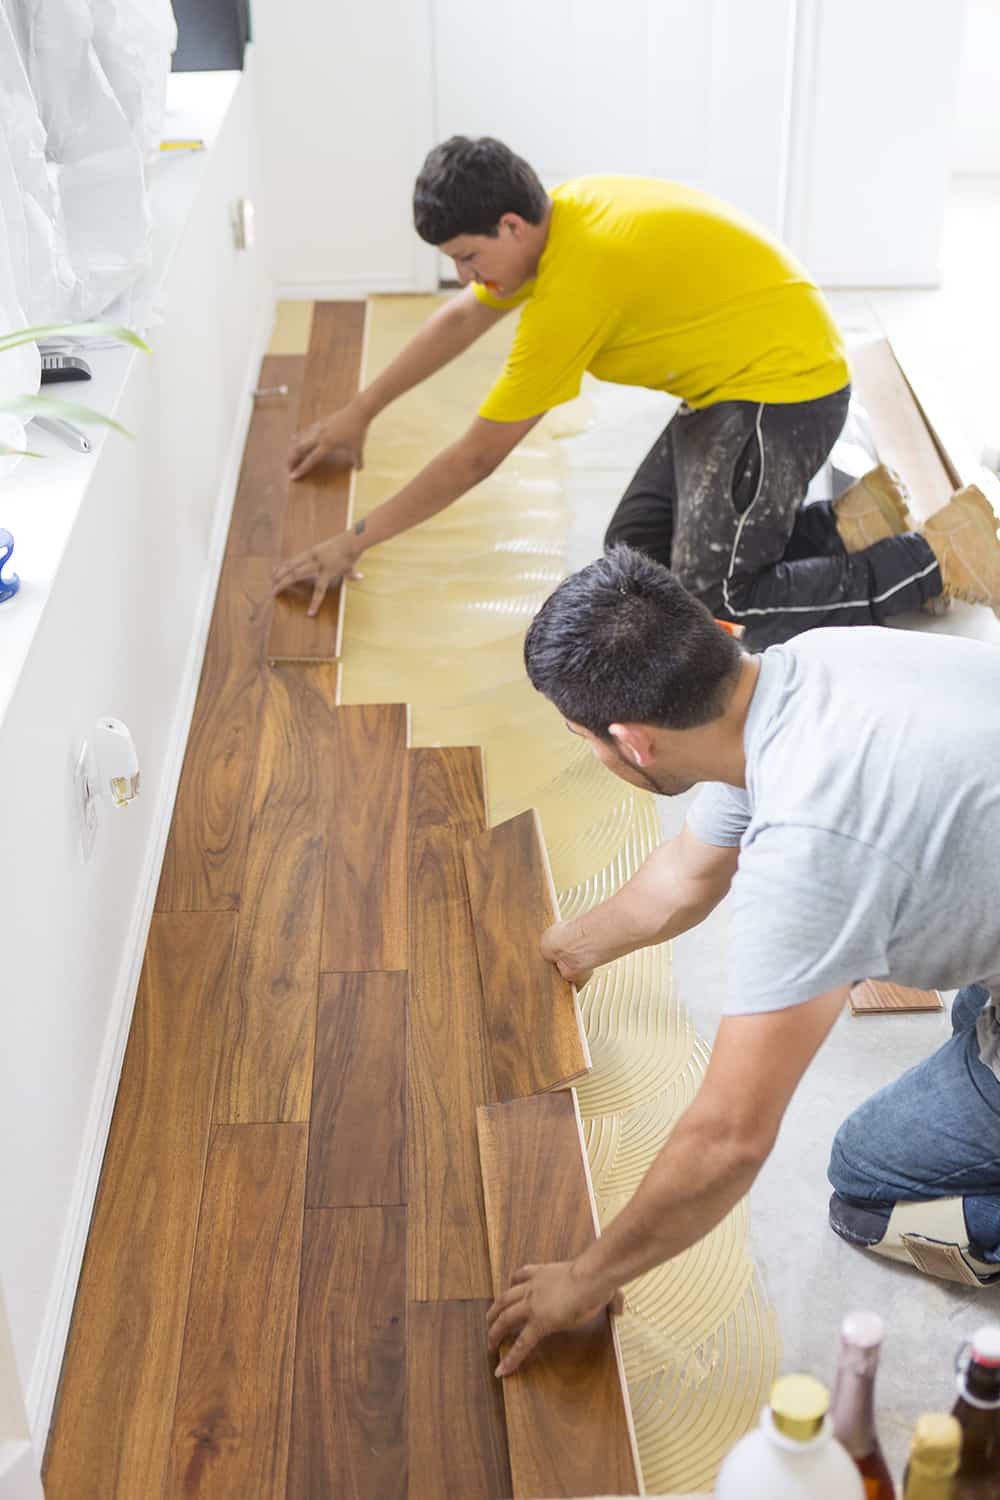
Before installing any hardwood flooring, you will need to prepare your subfloor by ensuring it is clean, dry, and level. If you are installing over concrete, you may need to use an adhesive to ensure a secure bond between the concrete and the hardwood planks. If you are installing over plywood subfloors, you will need to check for any signs of warping or damage before moving forward.
## Acclimating Your Hardwood
Before installing your hardwood flooring, it is important to let it acclimate in your home for at least 48 hours. This will help ensure that the wood won’t expand or contract too much once it is installed. To acclimate the wood, place it in the room in which it will be installed for at least two days before beginning installation.
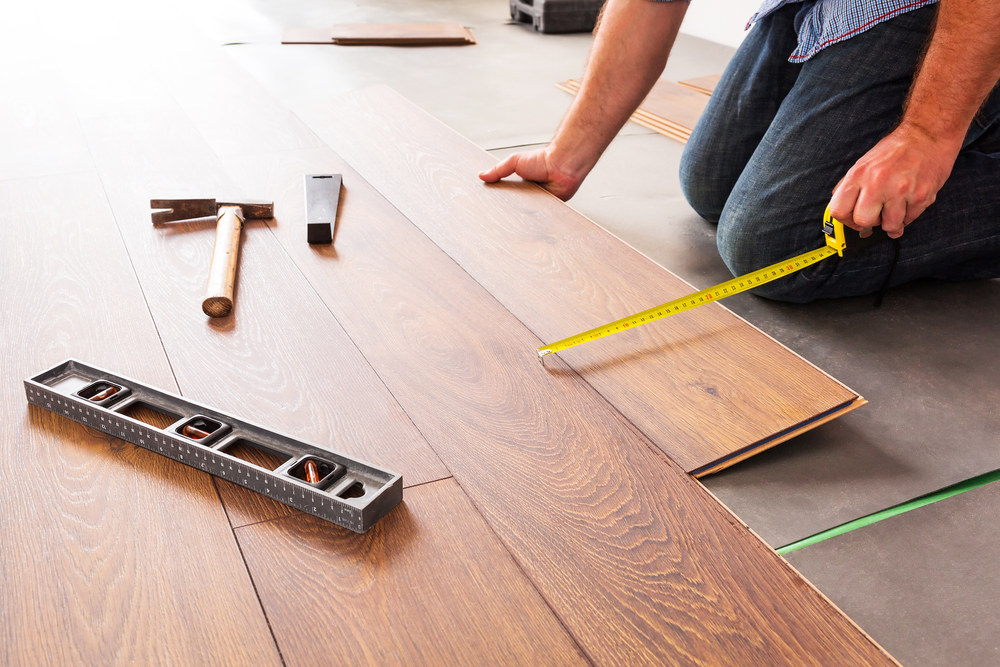
## Layout and Installation
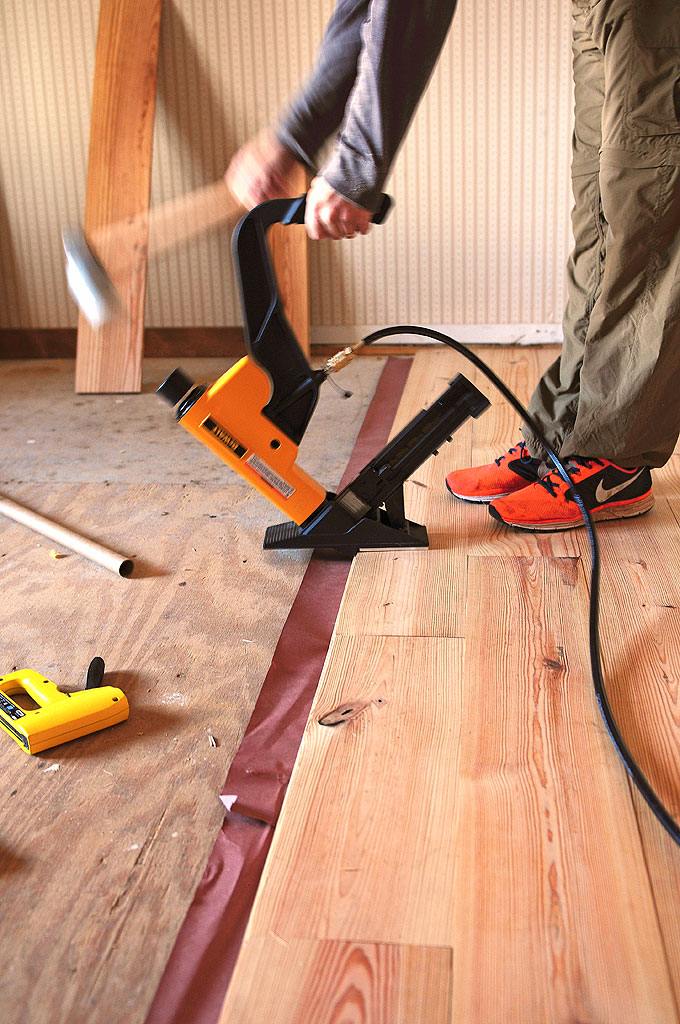
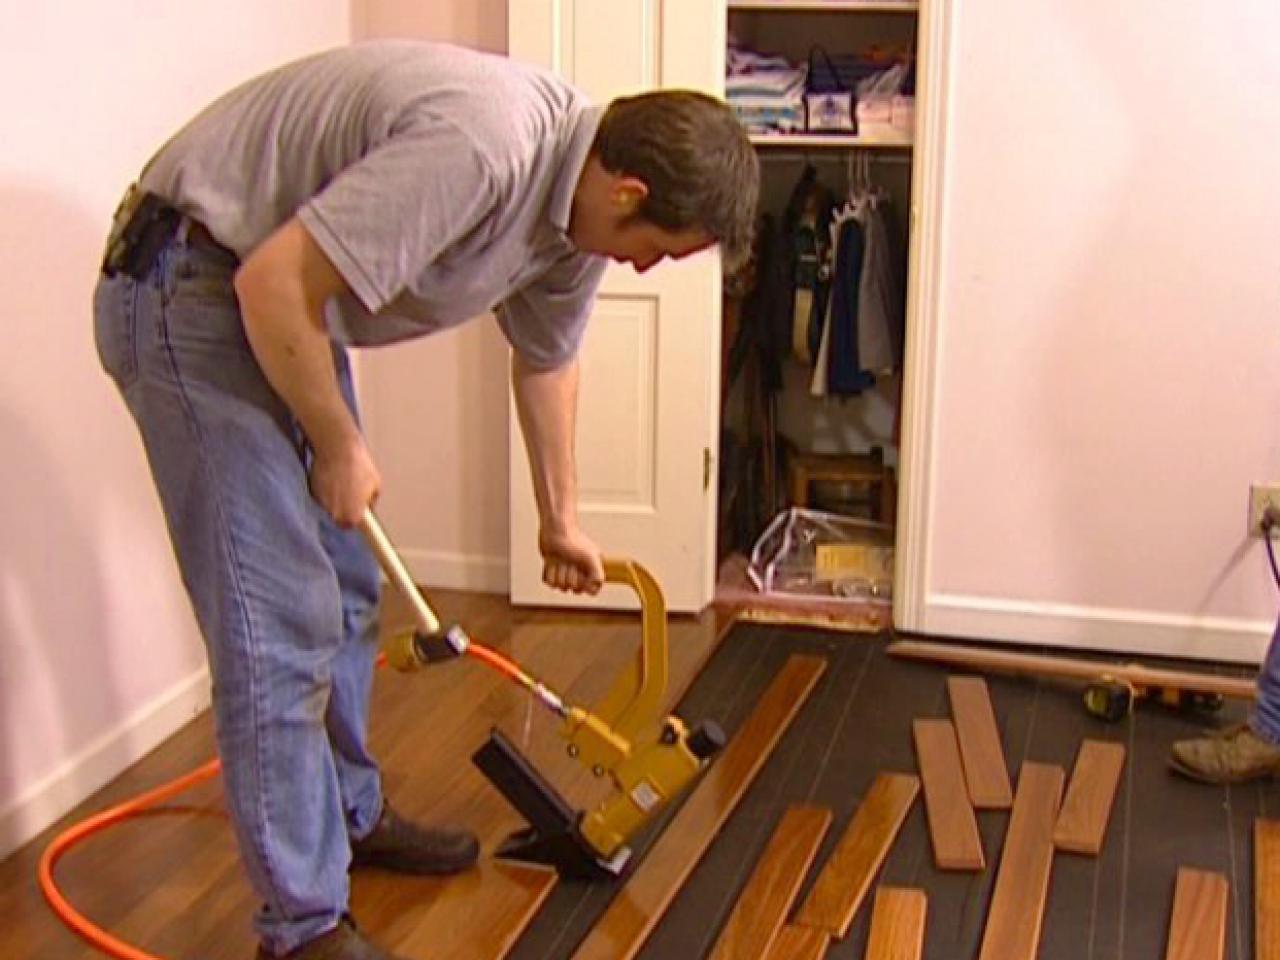
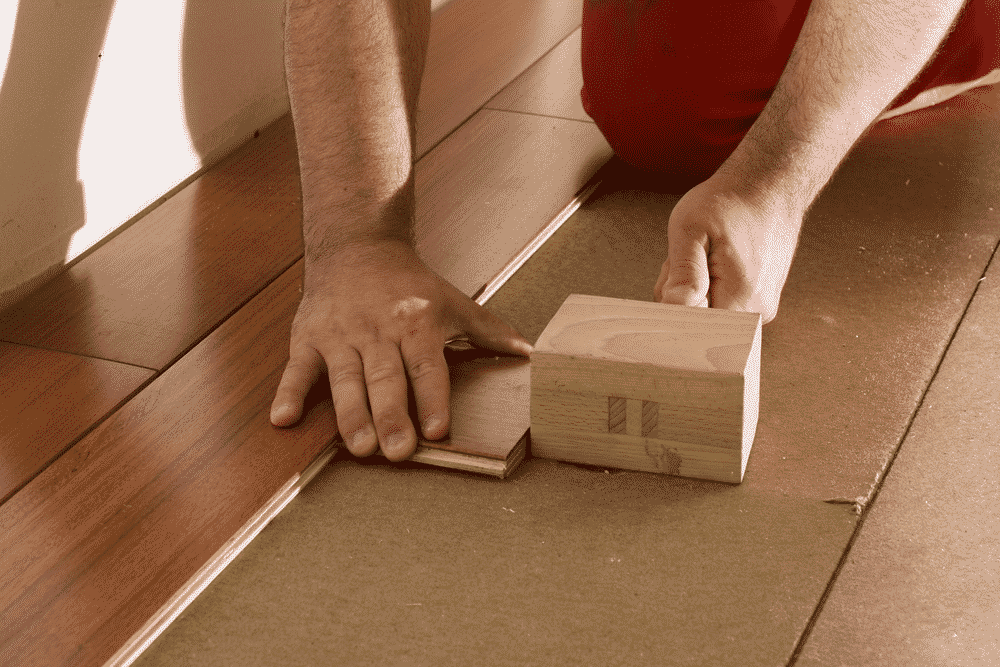
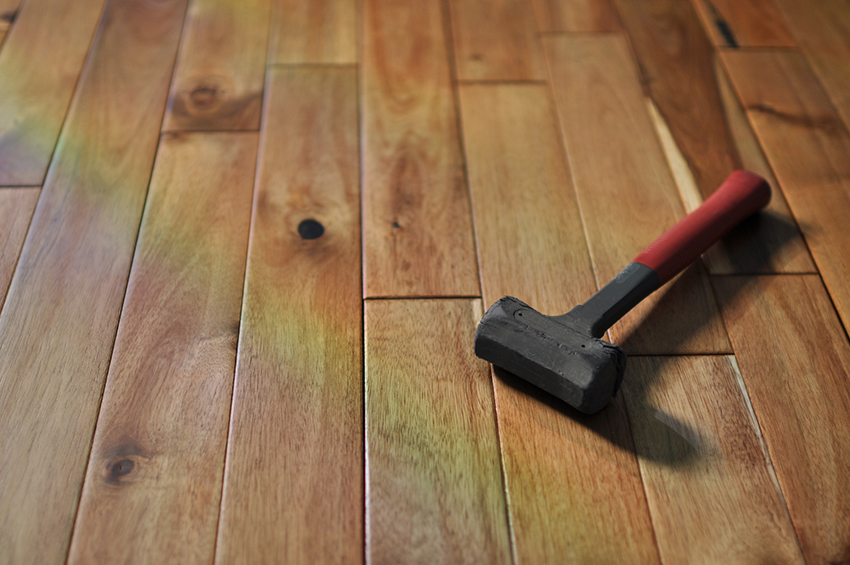
Once your subfloor is ready and your hardwood has acclimated, you can start laying out and installing your flooring planks. Start at one wall and work your way across the room in rows until you reach the other side. When laying out the planks, try to avoid having too many seams or small pieces at the end of each row. To install each plank, use a hammer or nailer to secure them into place.
## Finishing Your Floor
Once all of your planks are installed, you can finish off your floor with a coat of sealant or stain. This will provide additional protection against wear and tear and enhance the color and texture of your hardwood flooring. Be sure to apply two coats evenly across the entire surface of your flooring before allowing it to dry completely.
Hardwood flooring installation can be a daunting task for DIYers but with proper preparation and careful execution, you can achieve beautiful results that will last for years to come. When choosing hardwood for your project, make sure to select a durable species that complements the other elements in your home. When preparing your subfloor and acclimating your hardwood, take extra care to ensure that everything is level and dry before moving forward with installation. Finally, finish off your project with a quality sealant or stain to protect against wear and enhance its natural beauty. With these tips in mind, you can confidently tackle any hardwood flooring installation project!