How Do I Remove Vinyl Flooring

How to Remove Vinyl Flooring
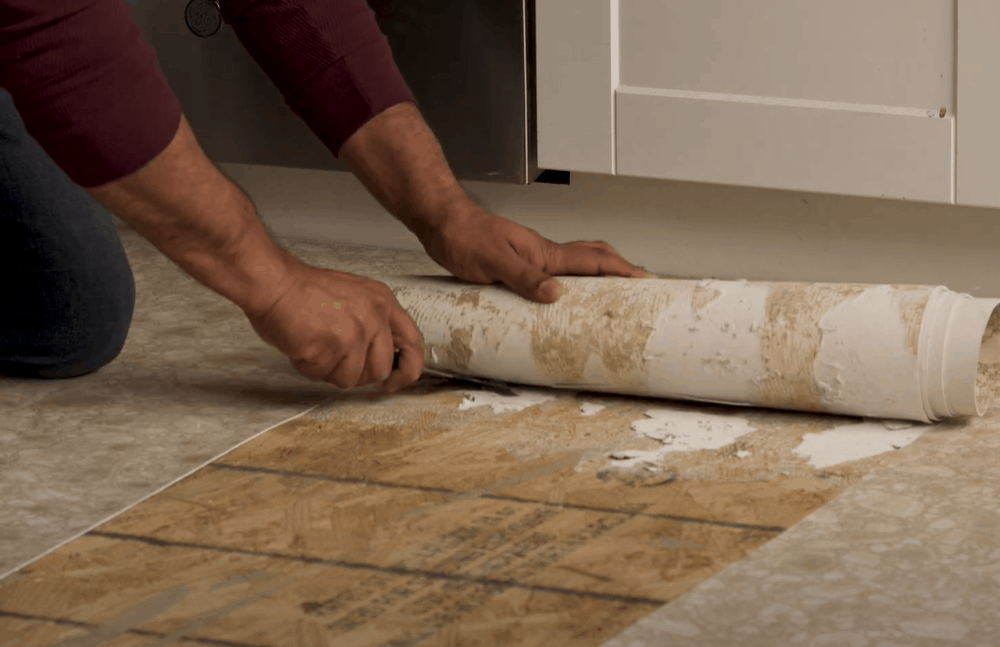
:max_bytes(150000):strip_icc()/RemovingVinylFlooring-5b561e26c9e77c00372a8ae6.JPG)
How to Remove Vinyl Flooring
:max_bytes(150000):strip_icc()/Remove-Vinyl-Use-Prybar-on-Easy-Glued-Areas-56a49e3e5f9b58b7d0d7ddce.JPG)
How Do I Remove Vinyl Flooring? DIY Basics – YouTube

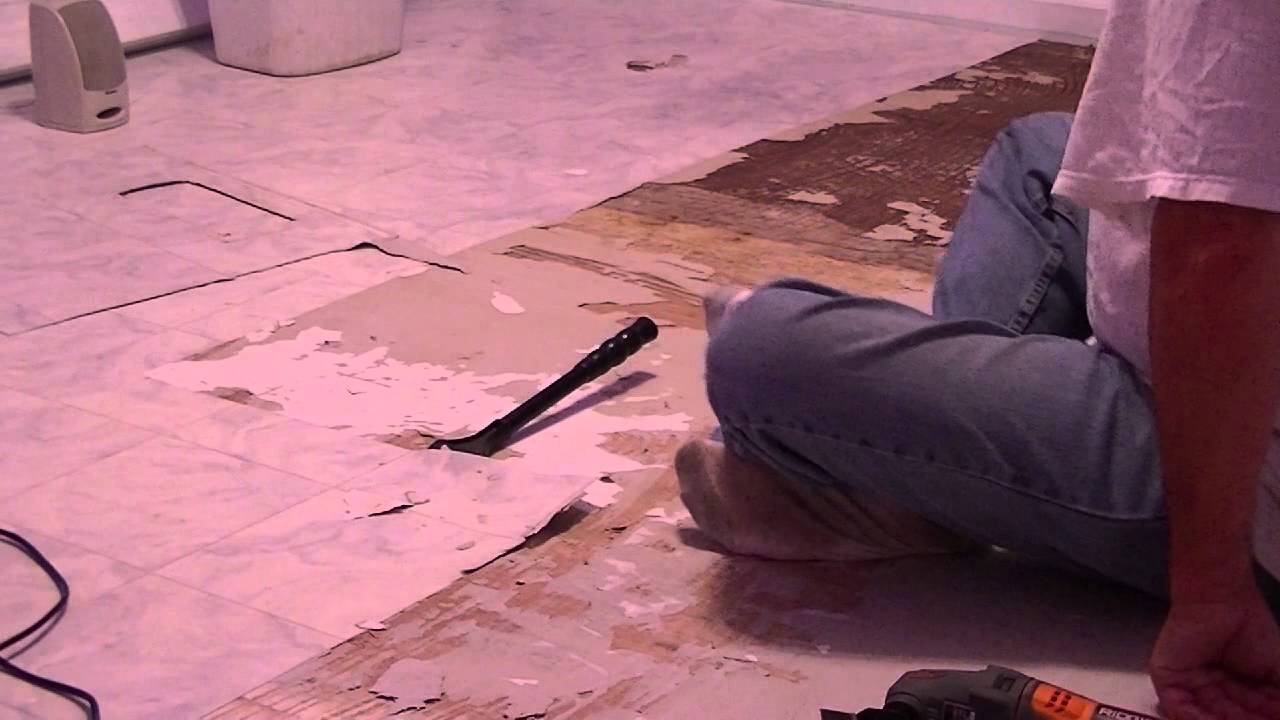
How to Remove Vinyl Flooring? (Step-by-Step Tutorial)
How Can I Remove Vinyl Floor Tiles – cut vinyl plank flooring on the floor

Best Heat Gun For Removing Vinyl Flooring – The Floors

How to Remove Vinyl Flooring
:max_bytes(150000):strip_icc()/CutFlooringinNarrowStrips-5b56605d46e0fb0037eb8b56.JPG)
Removing Vinyl Flooring From Wood – Flooring Site
How to Remove Vinyl Flooring
:max_bytes(150000):strip_icc()/Remove-Vinyl-Score-and-Accordian-56a49e3c3df78cf772834b10.JPG)
How To Remove Vinyl Flooring – Weekend DIY – YouTube

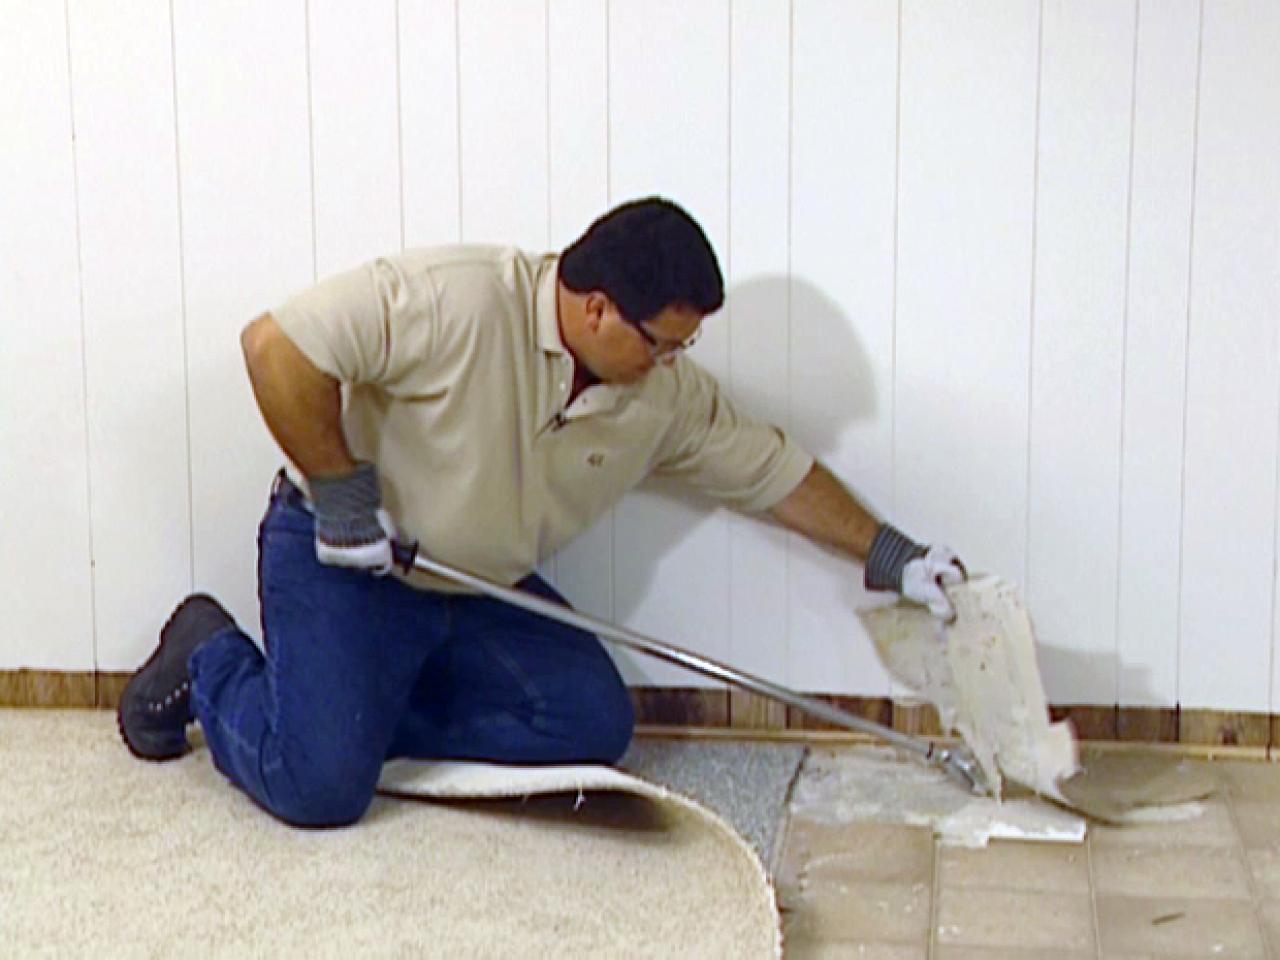
How to Remove and Add Vinyl Flooring how-tos DIY
Related Posts:
- Pine Vinyl Flooring
- Vinyl Floor Laying DIY
- Cortex Vinyl Flooring
- Grey Slate Effect Vinyl Floor Tiles
- Dark Oak Vinyl Flooring
- Limestone Effect Vinyl Flooring
- Vinyl Floor With Border
- Adhesive For Vinyl Flooring To Concrete
- Teak Wood Vinyl Flooring
- Cheap Vinyl Flooring
Removing vinyl flooring can be a challenging task, especially if you’ve never done it before. But with a few simple tools and a bit of know-how, you can get the job done in no time. In this guide, we’ll take you through the entire process of removing vinyl flooring, step-by-step, so you can get your floors looking like new again!
Step 1: Preparing to Remove Vinyl Flooring
Before you start, it’s important to make sure you have all the necessary tools and materials. You’ll need a scraper, a putty knife, a hammer, pliers, and a vacuum cleaner. You may also want to invest in some safety goggles or glasses to protect your eyes from dust and debris. Once you have all the necessary tools and materials, it’s time to begin!
Step 2: Removing the Vinyl Flooring
Once you have everything ready to go, it’s time to begin removing the vinyl flooring. Start by scraping up any loose material with the scraper. If there are any stubborn areas, you can use the putty knife to pry them up. Once you’ve removed as much of the vinyl as possible, use the hammer to break up any remaining pieces into smaller pieces. Be sure to wear safety goggles throughout this process.
Step 3: Removing Adhesive Residue
Once you’ve scraped and broken up as much of the vinyl as possible, it’s time to remove any adhesive residue that may remain. Use the pliers to gently scrape up any adhesive that remains on the floor. If there are any particularly stubborn spots, use a solvent to help break down the adhesive before scraping it away. Be sure to follow all safety instructions when using solvents.
Step 4: Cleaning Up
Once all the adhesive has been removed, it’s time to clean up. Vacuum up any dust or debris that remains on the floor. Then mop the floor with a mild cleaning solution to remove any remaining residue.
Step 5: Installing New Flooring
Once your floor is clean and dry, it’s time to install new flooring! Depending on what type of flooring you choose, installation instructions may vary. Whether you choose tile, laminate, or hardwood flooring, make sure to follow all instructions carefully for best results.
Removing vinyl flooring doesn’t have to be a difficult task! With a few simple tools and a bit of know-how, you can easily take care of this project yourself in no time. Follow these steps for best results and enjoy your newly renovated floors! SEO Description: Get step-by-step instructions for removing vinyl flooring. Learn how to prepare, remove the vinyl, remove adhesive residue, clean up, and install new flooring. Follow these steps for best results and enjoy your newly renovated floors!