How To Grout A Bathroom Floor
/hand-spreading-grout-on-tiles-with-grout-spreader-80033352-583c5e073df78c6f6a2f22b6.jpg)
How to Grout Tile: Grouting Tips and Techniques Home repair, Diy home repair, Family handyman

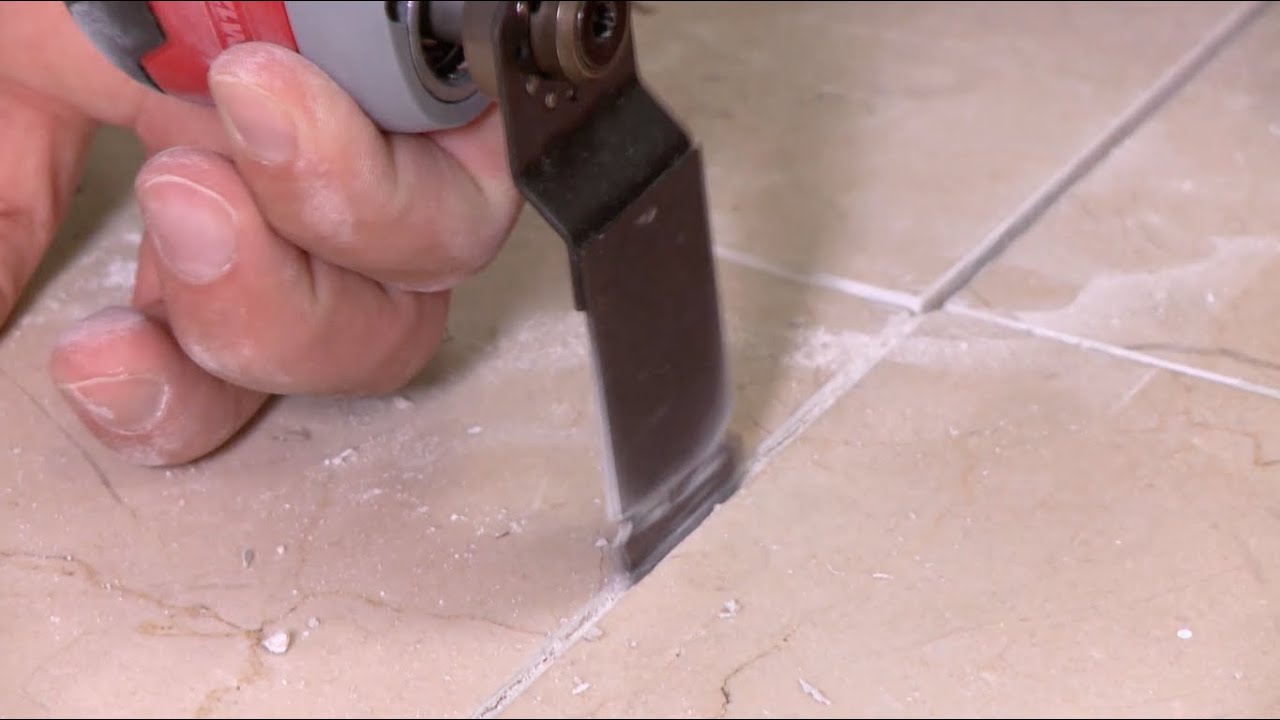
Regrouting A Bathroom Floor – YouTube
Change Grout Color – The Easy Way Change grout color, Grout color, Grout renew

The Proper Way to Use and Apply Tile Grout

This quick DIY project lets you restore your grout to white or even change the grout color

How to Grout Tile: Grouting Tips and Techniques Tiles, Tile grout, Grout

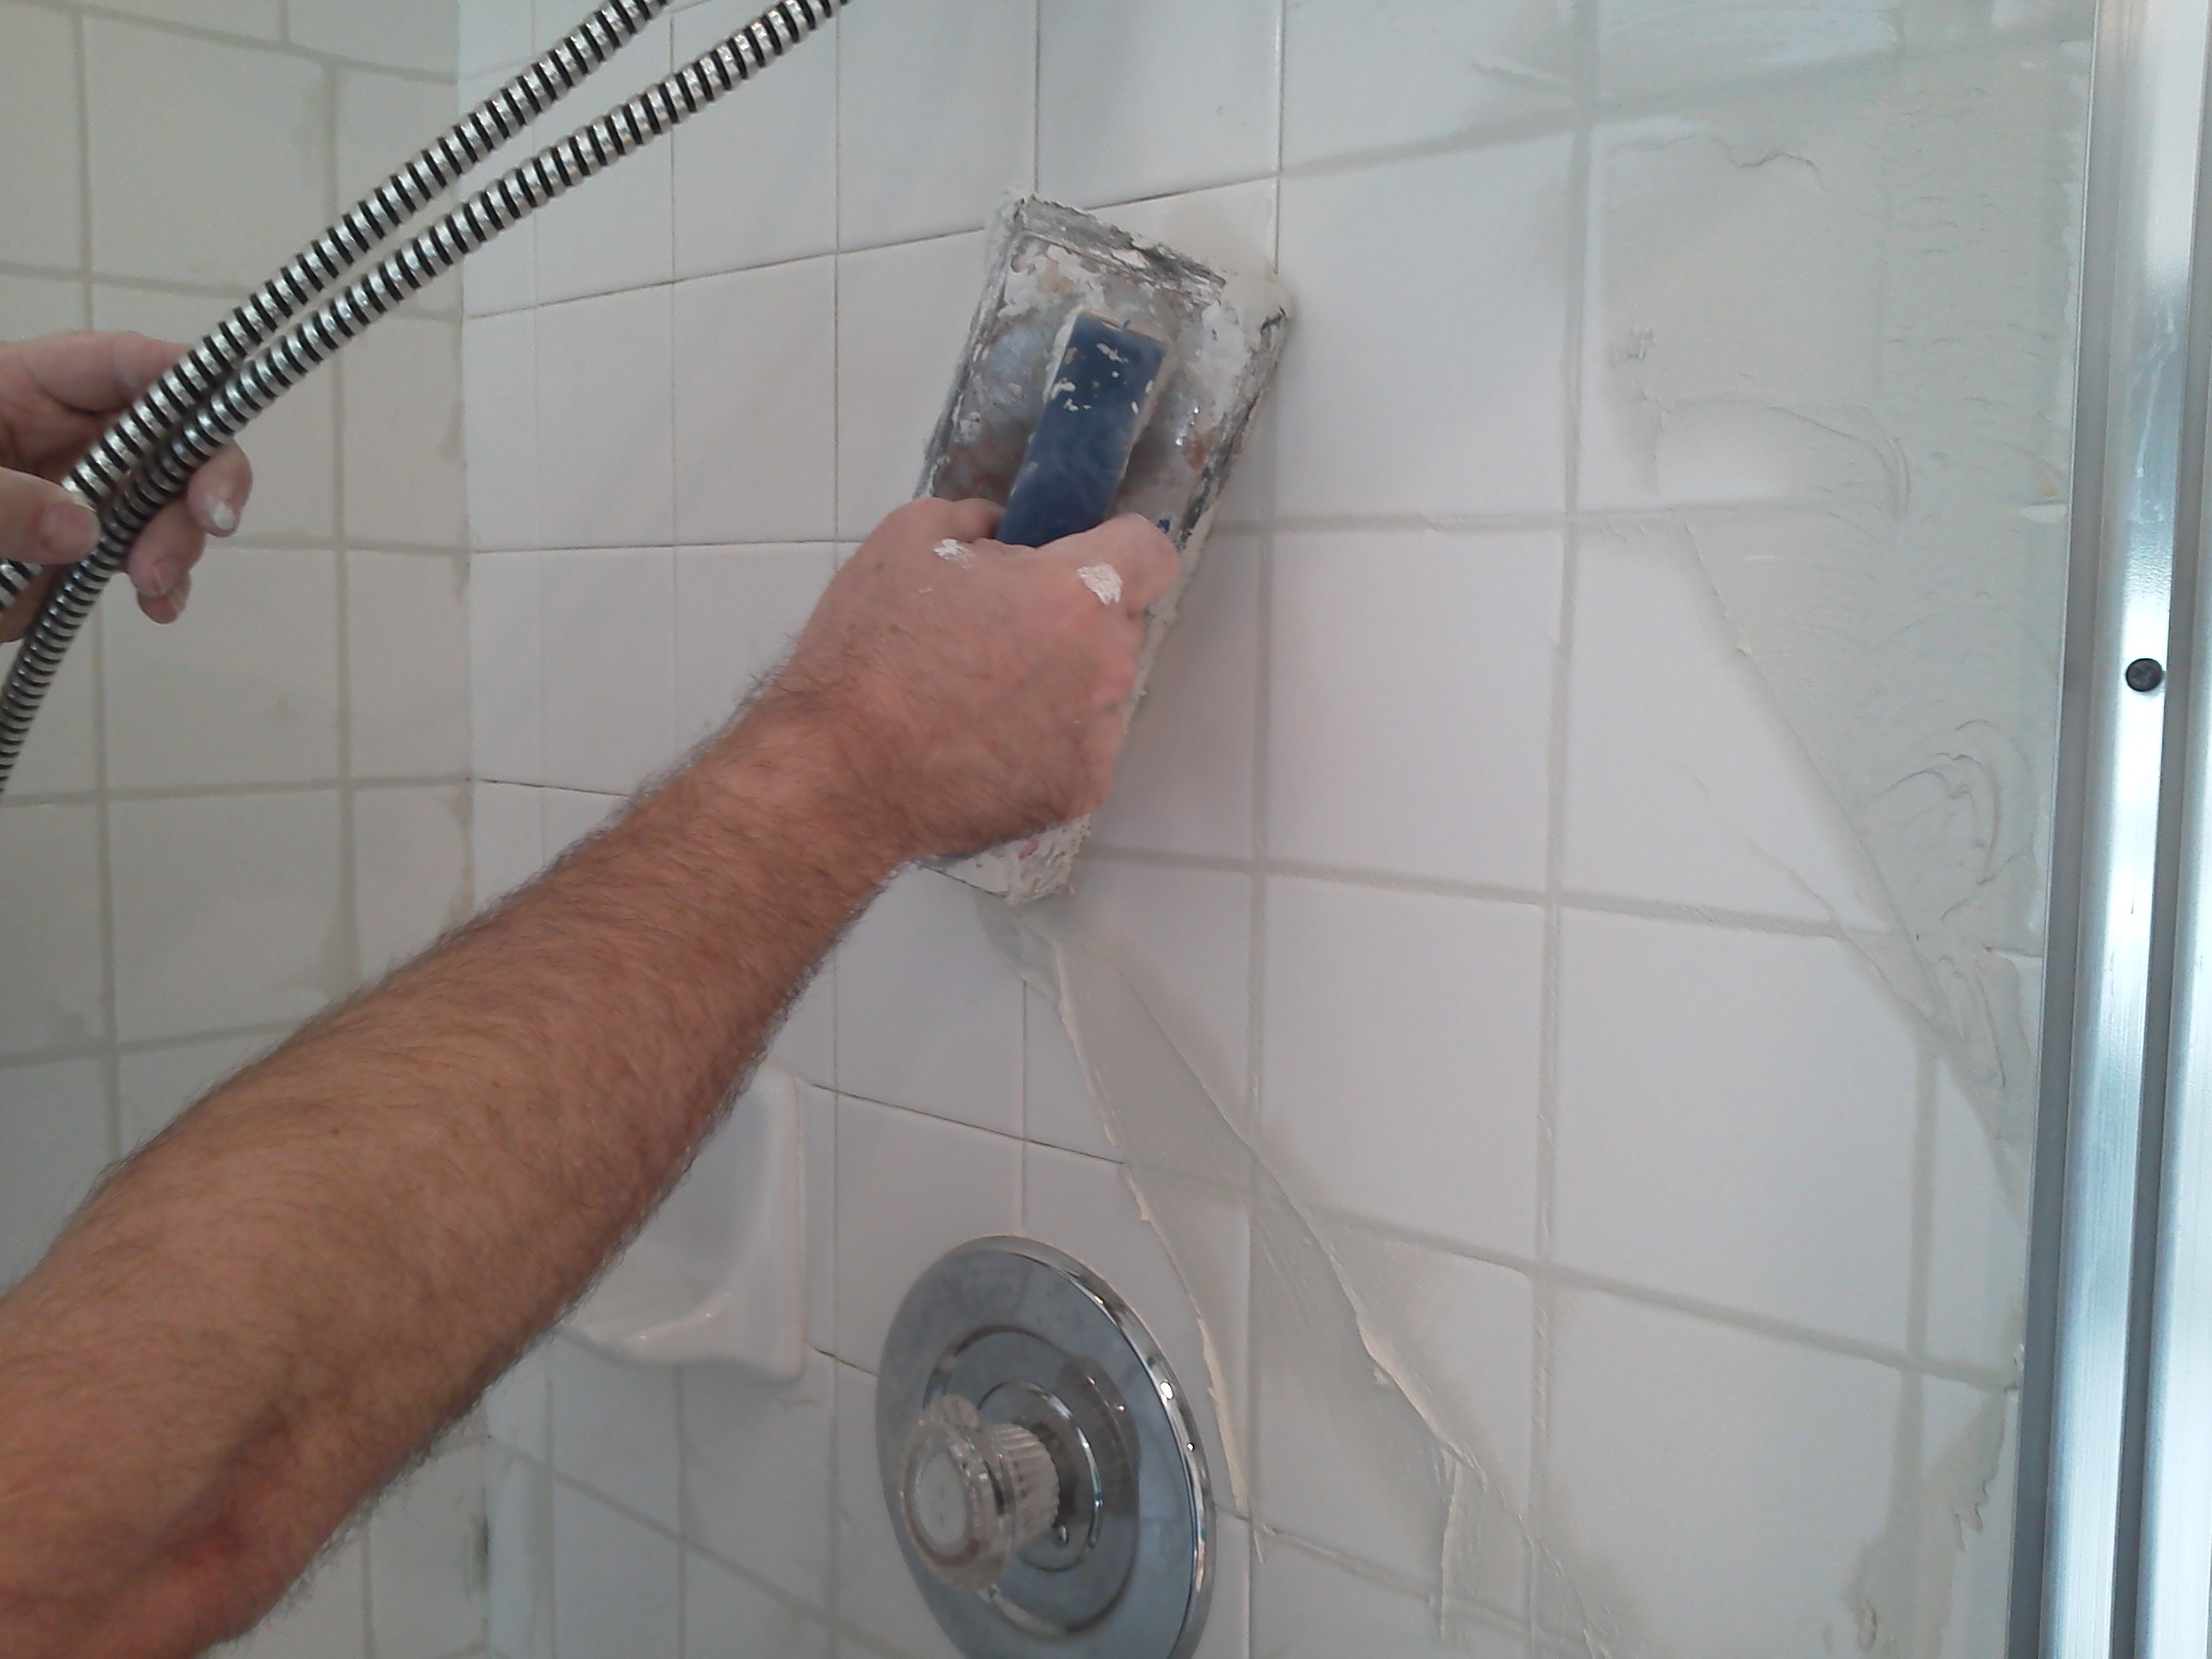
How to regrout a shower – Pristine Tile & Carpet Cleaning
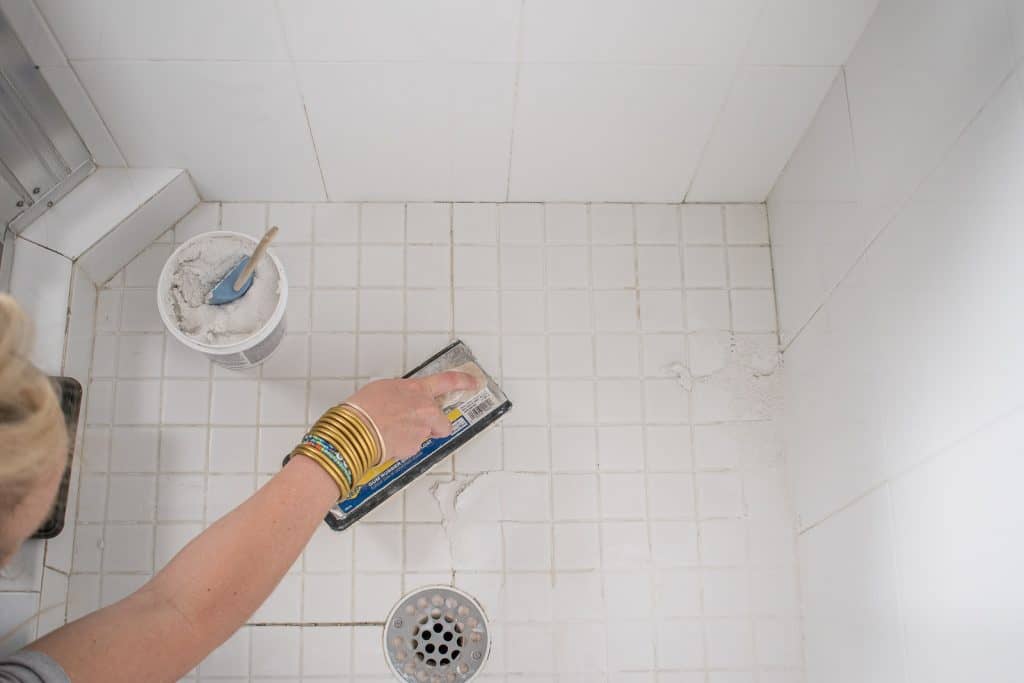
How to Grout Ceramic Tile Bathroom Floors with Mapei Flexcolor CQ (Step- Ceramic tile floor

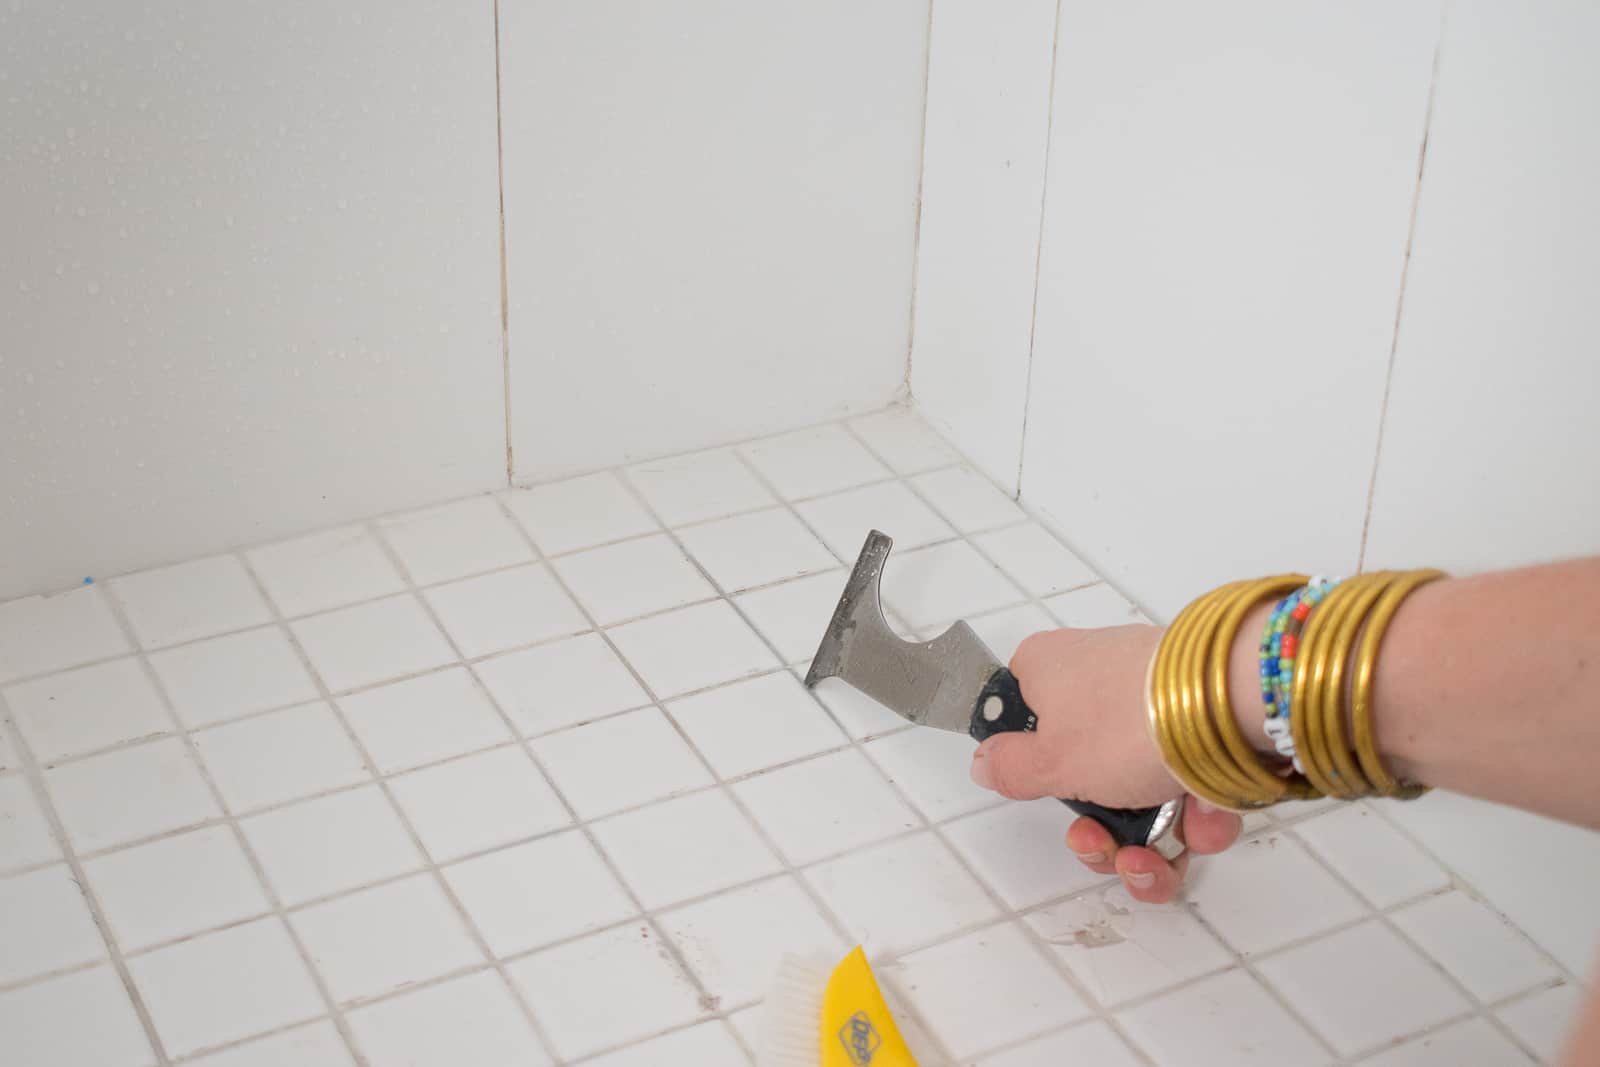
Replacing Grout on a Shower Floor-23 – At Charlotte’s House
Replacing Grout on a Shower Floor-16 – At Charlotte’s House
Re Grout Floor Tiles Bathroom Httpnextsoft21 Pinterest – layjao

Related Posts:
- French Country Bathroom Flooring
- Mid Century Modern Bathroom Flooring
- Rustic Bathroom Floor Tiles
- Purple Bathroom Flooring
- How To Clean Bathroom Floor Stains
- Tile Design Bathroom Floor
- Terracotta Bathroom Floor
- Cool Bathroom Floor Ideas
- Light Bathroom Floor Tiles
- Classic Bathroom Floor Tile Ideas
The process of grouting a bathroom floor can seem daunting, but with the right supplies and instructions, it can be done quickly and easily. This guide will walk you through everything you need to know about grouting a bathroom floor, from the supplies you’ll need to the steps required to complete the job.
## What You Will Need
Before you begin the process of grouting your bathroom floor, it’s important to make sure you have all the necessary supplies. Here is a list of items you’ll need:
– Grout in the color of your choice
– Sponges
– Bucket
– Tile sealer
– Grout sealer
– Sponge float
– Masking tape
– Level
– Safety glasses
## Step 1: Preparing the Area
The first step in grouting a bathroom floor is to prepare the area. Start by using masking tape to secure any areas that don’t need grout. This includes areas near walls, countertops, and fixtures. Next, clean the surface of the floor thoroughly with a damp sponge and allow it to dry completely.
## Step 2: Mixing the Grout
Once the surface is prepped and ready for grouting, it’s time to mix up the grout. Start by adding water to a bucket according to the instructions on the grout packaging. Slowly add grout powder to the bucket until it reaches a thick consistency. Allow the mixture to sit for 10 minutes before stirring it again and allowing it to sit for another 10 minutes. This process helps ensure that all particles are adequately dissolved for proper adhesion.
## Step 3: Applying the Grout
Now that the grout is mixed and ready, it’s time to start applying it to your bathroom floor. Using a sponge float, spread the grout over an area of several tiles at a time in a sweeping motion. Make sure that you press firmly as you go so that all air pockets are removed and there is good coverage of grout over every tile. Once an area is complete, use a damp sponge to wipe away any excess before moving on to another section.
## Step 4: Sealing the Grout
Once all areas of your bathroom floor have been covered in grout, allow it to dry completely before sealing it with either a tile sealer or a grout sealer. Tile sealers are best used over natural stone tiles while grout sealers are generally used on ceramic tiles. Make sure you read and follow all directions on the packaging carefully before applying either product. Allow both products to set for 24 hours before walking on or cleaning the floor.
Grouting a bathroom floor can seem like an intimidating project, but with the right supplies and instructions, it’s actually quite easy. If followed correctly, these steps can help ensure that your bathroom floor looks beautiful for years to come!