How To Install A Floor Drain In An Existing Garage Floor drains, Basement flooring, Drain

Floor Drains in Garage with Pictures Floor drains, Garage floor, House flooring

How To Install Garage Floor Drain – Flooring Site

Garage Floor Drain Designs — The Better Garages : Garage Floor Drain Systems Floor drains
Installing A Linear Floor Drain in the Garage – YouTube

How To Install A Floor Drain In An Existing Garage – Best Drain Photos Primagem.Org
How to Unclog a Drain Floor drains, Unclog drain, Basement flooring

How To Install A Floor Drain In An Existing Garage – Best Drain Photos Primagem.Org

How To Install A Drain In An Existing Garage Floor Viewfloor.co

Garage Floor Drains E P Floors Corp.

How To Install A Floor Drain In An Existing Garage – Best Drain Photos Primagem.Org Floor Drain Installing – YouTube

Related Posts:
- Marble Garage Floor
- Cheap Garage Floor Covering
- Garage Floor Coating
- Heavy Duty Garage Flooring
- Checkerboard Garage Floor Tiles
- Garage Floor Sealer Paint
- Epoxyshield Garage Floor Paint
- Benefits Of Epoxy Flooring In Garage
- Garage Floor Preparation For Epoxy
- Garage Workshop Flooring
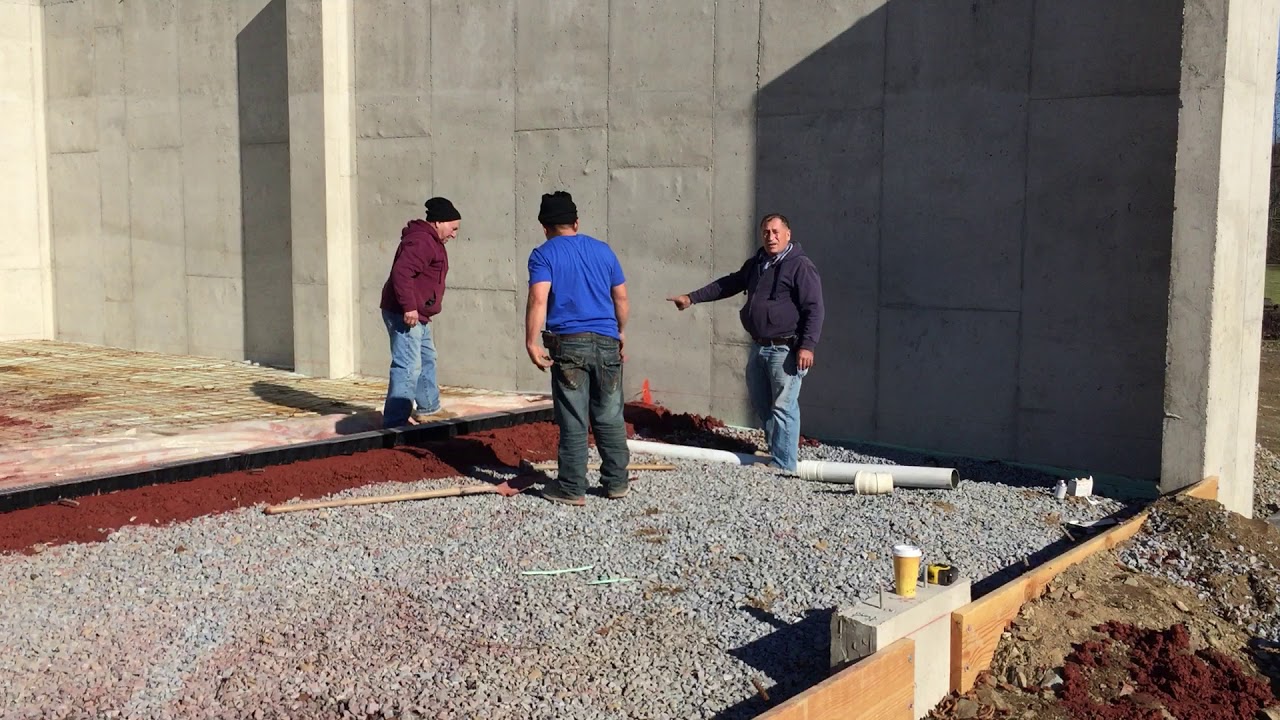
Installing a floor drain in an existing garage is a relatively straightforward task. While it may require some basic knowledge of plumbing, it is generally an uncomplicated procedure that can be completed in a relatively short period of time. Additionally, installing a floor drain can help to keep your garage dry and prevent water damage from occurring.
## Gather Supplies and Prepare the Space
Before starting the installation process, you will need to gather the necessary supplies. These will likely include tools such as a drill, screwdriver, adjustable wrench, and some form of sealant. Additionally, you will need to purchase a floor drain designed for use in garages. Once you have all the necessary supplies, you should begin by removing any existing floor covering that may be obstructing the area where you wish to install the drain.
## Install the Drain Body
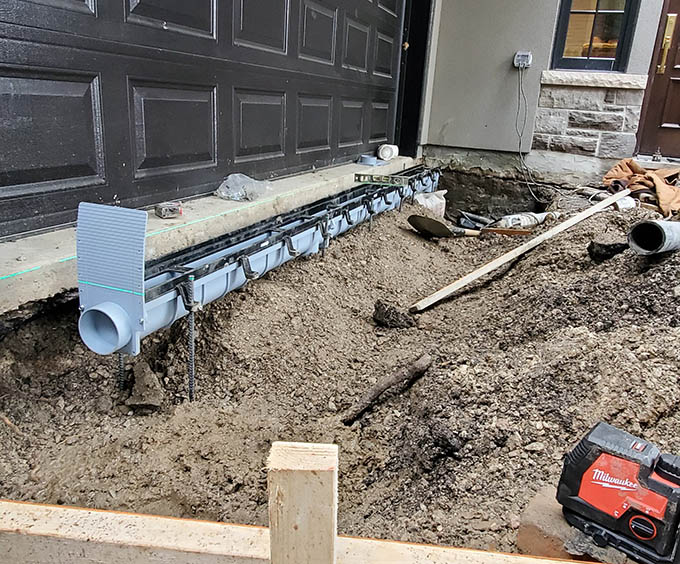
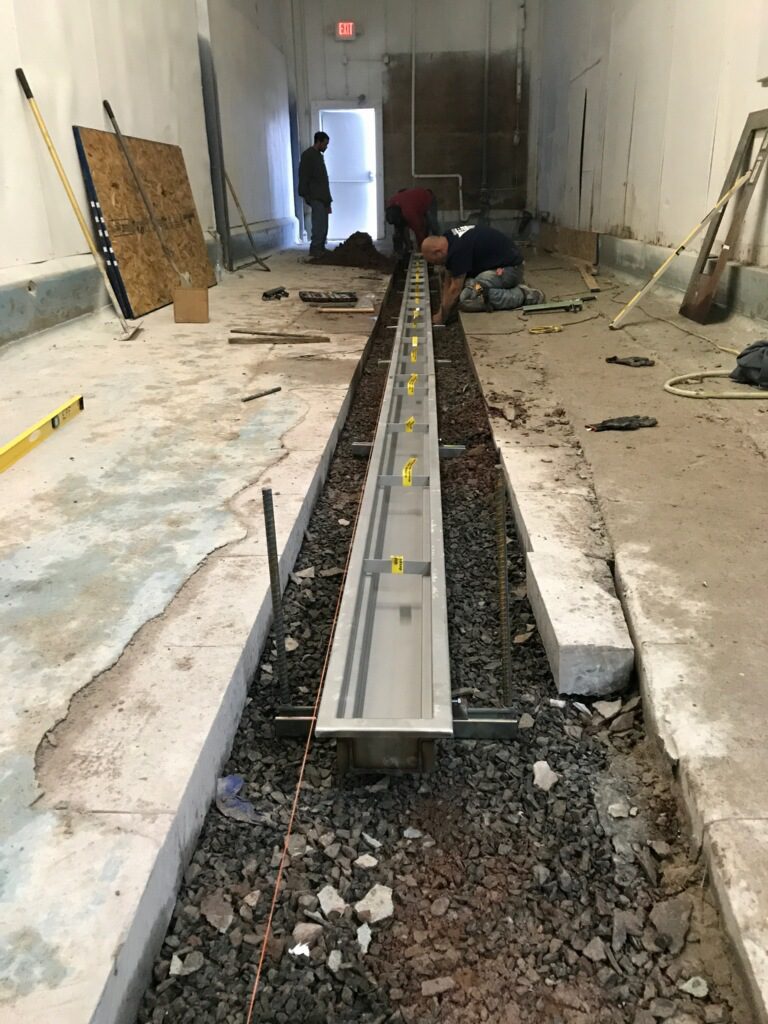
The next step is to install the drain body in the selected location. To do this, you should first drill two holes into the floor at least two inches apart. The holes should be large enough for the drain body to fit snugly between them. Once the holes have been drilled, use a sealant or epoxy to secure the drain body in place.
## Connect the Drain Pipe
After the drain body has been installed, you can begin connecting the drain pipe. Start by cutting PVC pipes to size and attaching them to the drain body. If necessary, you may have to use connectors or couplings to join two pipes together. Once all of the pipes have been installed and connected, use a sealant around each joint to ensure that no water can escape.
## Test and Secure
Once all of the parts have been connected, it is important to test that everything is working correctly before securing it in place. To do this, simply pour some water into the drain and make sure that it drains properly. If everything appears to be working correctly, use a sealant or epoxy around the joints once again to ensure that there are no leaks.
## Finishing Touches
Finally, once everything has been secured in place, you can replace any floor covering that was removed prior to installation. This will help to make sure that no dirt or debris can enter your newly installed floor drain and cause any clogging issues in the future.
Installing a floor drain in an existing garage is a relatively simple task that can be completed with minimal effort and basic plumbing knowledge. By following these steps carefully and ensuring that all connections are secure, you can ensure that your newly installed floor drain will last for years without any problems.
What tools are needed to install a garage floor drain?
Tools needed for installing a garage floor drain include:• Saw
• Hammer
• Level
• Pliers
• Utility Knife
• Drill
• Chisel
• PVC Primer and Cement
• PVC Pipe and Fittings
• Gravel or Sand
• Drain Grate