How To Install Hardwood Floors On Concrete Without Glue

13 Spectacular How to Install Nail Down Hardwood Floor On Concrete Unique Flooring Ideas

24 Fashionable How to Install Hardwood Floors On Concrete without Glue Unique Flooring Ideas
How To Install Hardwood Floors On Concrete – unugtp

7 Images How To Install Tongue And Groove Wood Flooring On Concrete And Description – Alqu Blog
Download Engineered Wood Flooring Glue Down Installation Pictures – how to do engineered wood floor

29 Stylish How To Install Floating Hardwood Floors On Concrete in 2020 Installing laminate

13 attractive How to Install Engineered Hardwood Floors On Concrete Unique Flooring Ideas
10 Popular How to Install Engineered Hardwood Floors Yourself Unique Flooring Ideas
26 Nice Can You Glue Engineered Hardwood Floors to Concrete Unique Flooring Ideas
24 Fashionable How to Install Hardwood Floors On Concrete without Glue Unique Flooring Ideas

Glue Wood Flooring to a Concrete Slab – Fine Homebuilding

Related Posts:
- Hardwood Floor Cleaning Tips
- Hardwood Floor Decorating Ideas
- Hardwood Floor In A Kitchen
- Engineered Hardwood Flooring
- Rustic Oak Hardwood Flooring
- Parquet Hardwood Flooring
- Hardwood Floor Duster
- Homemade Hardwood Flooring
- Hardwood Floor Stain Colors
- Hardwood Floor Repair DIY
Installing hardwood floors on concrete without the use of glue is a relatively simple and easy task that requires only basic carpentry skills and tools. This method is becoming increasingly popular due to the fact that it eliminates the need for a messy glue cleanup process, and provides a quick and inexpensive way to add flooring to any home or office. This article will provide an overview of the steps necessary to successfully install hardwood floors on concrete without glue.
### Preparation and Materials
Before beginning the installation process, there are several materials that will need to be purchased and gathered in order to complete the project. These include: hardwood flooring planks, a circular saw blade, construction adhesive, a miter saw, a drill, and screws. Additionally, it will be beneficial to have a tape measure and level on hand.
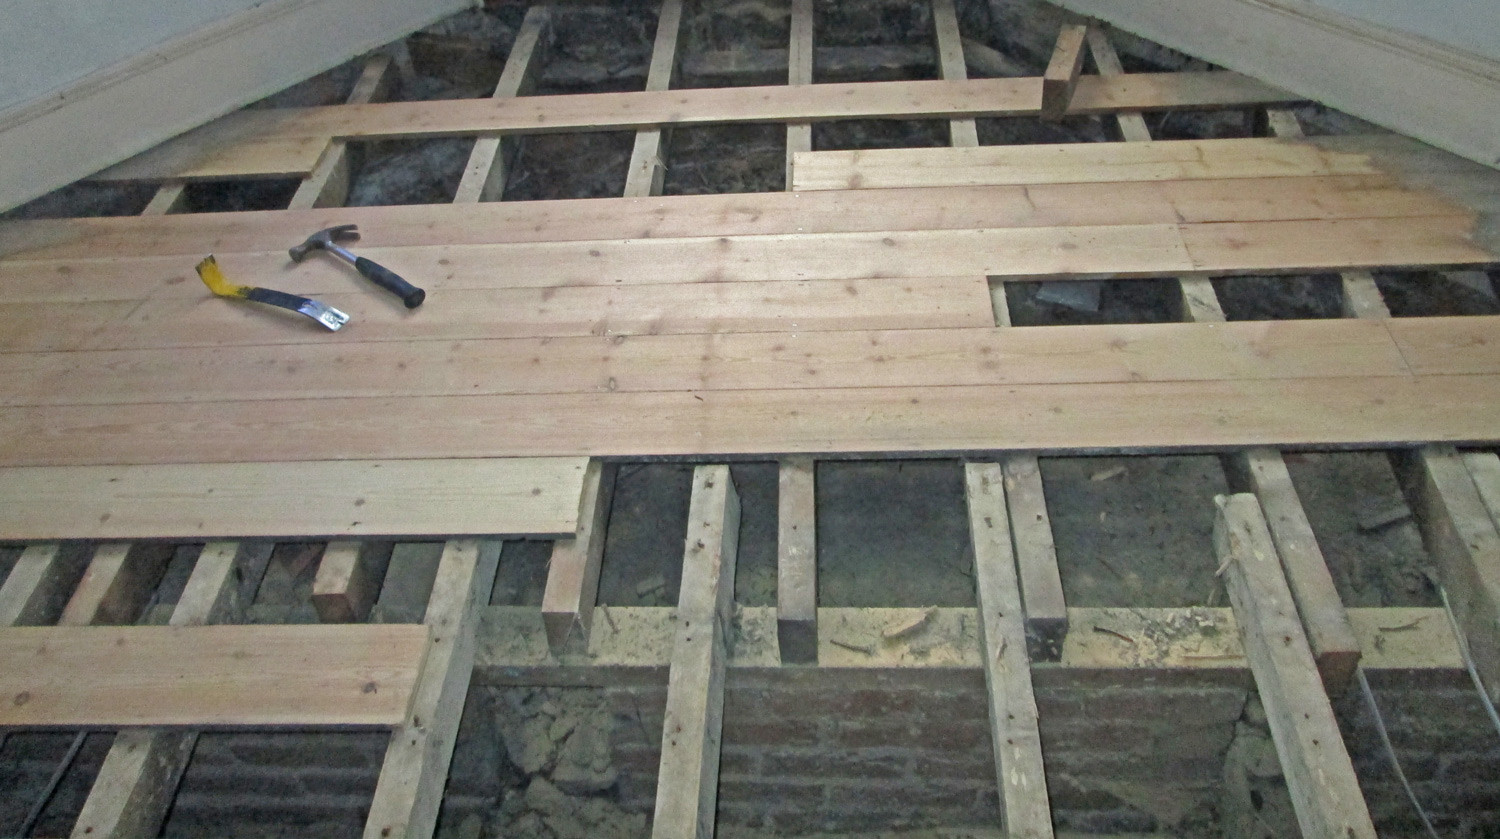
Additionally, it is important to properly prepare the concrete surface for laying the flooring. Start off by setting up safety barricades around the working area in order to ensure safety. Once this is complete, use a wire brush to remove any dirt or debris from the concrete subfloor, ensuring that it is clean and dry before beginning.
### Installing the Hardwood Floor
With all of your materials assembled and the concrete subfloor properly prepared, you are now ready to begin installing your hardwood floors on concrete. Start off by measuring and determining how many planks you will need for your project by measuring the width of the room and subtracting one inch from that measurement. Take your measurements and calculate how many planks you will need per row for the room’s length. It is important to take into account any cuts or odd angles you may need when making this calculation.
Once you have determined how many planks you will need for your project, it is time to begin cutting them into size using your circular saw blade. When making these cuts, make sure to wear safety goggles at all times in order to protect your eyes against flying debris or splinters. Take special care when cutting angles or uneven edges where pieces may break off unexpectedly.
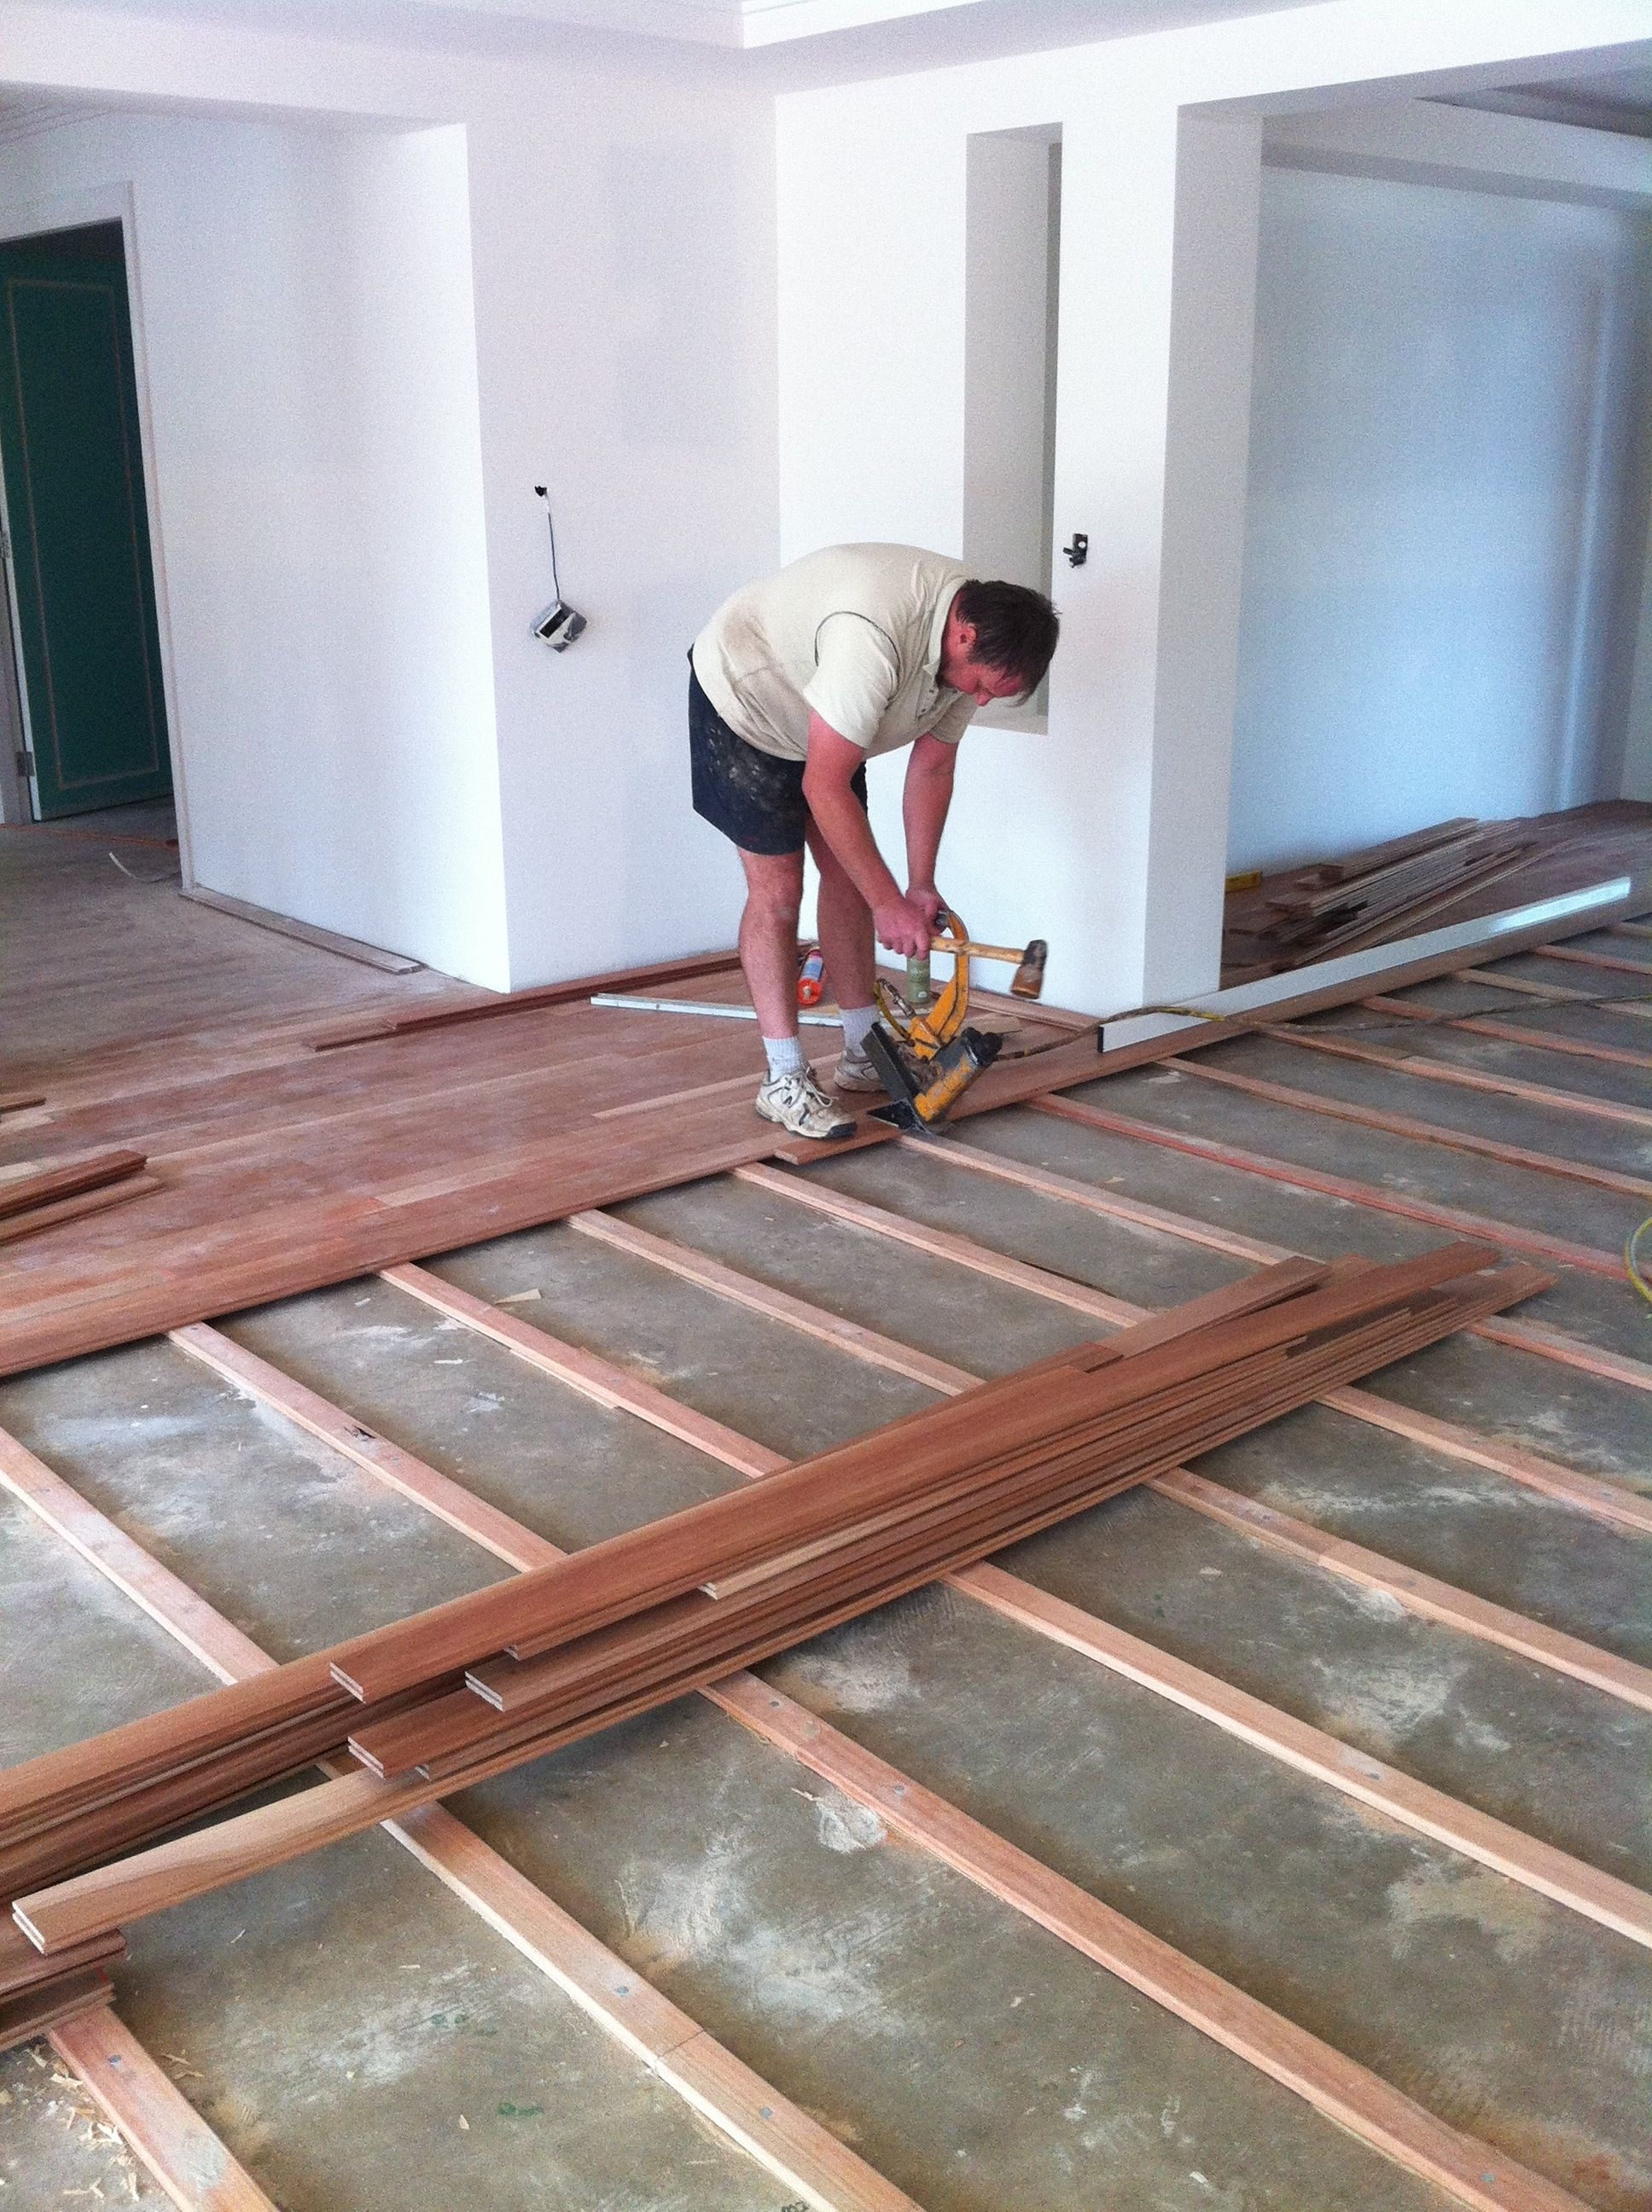
Once your planks are properly cut, you can begin attaching them to the concrete subfloor with construction adhesive. Start off by laying a full plank down in one corner of the room and then applying a medium layer of adhesive along its length using a trowel or putty knife. Make sure that the adhesive has a thick enough consistency so that cut edges won’t slip when pressure is applied later during installation. With adhesive applied, press the plank down firmly into place with slight pressure from outside towards the inside of the room until it lies flat against the floor. Then move onto attaching additional planks alongside it until you reach either side of the room.
Once you have installed all of your planks in traditional fashion, it is time to secure them into place with screws using a drill. Starting at each corner of every plank, insert two screws into each one, about three-quarters of an inch from each edge of the plank. Make sure to countersink each screw slightly below the surface for an even look after installation is complete.
Finally, once all of your boards are installed and secured into place, check over everything one more time before adding transition pieces such as doorways or thresholds if needed.
### Conclusion
Installing hardwood floors on concrete without glue is a relatively easy task for anyone with basic carpentry skills and access to minimal power tools such as a circular saw blade and drill. By taking proper preparation steps such as cleaning off the concrete subfloor beforehand and pre-measuring how many planks you will need for your project, you can ensure successful installation in no time at all!
What tools are needed to install hardwood floors on concrete without glue?
1. Hammer2. Wood chisel
3. Pry bar
4. Circular saw
5. Drill with masonry bit
6. Buckets and sponges for cleaning
7. Tape measure
8. Nails and screws specifically designed for hardwood floors
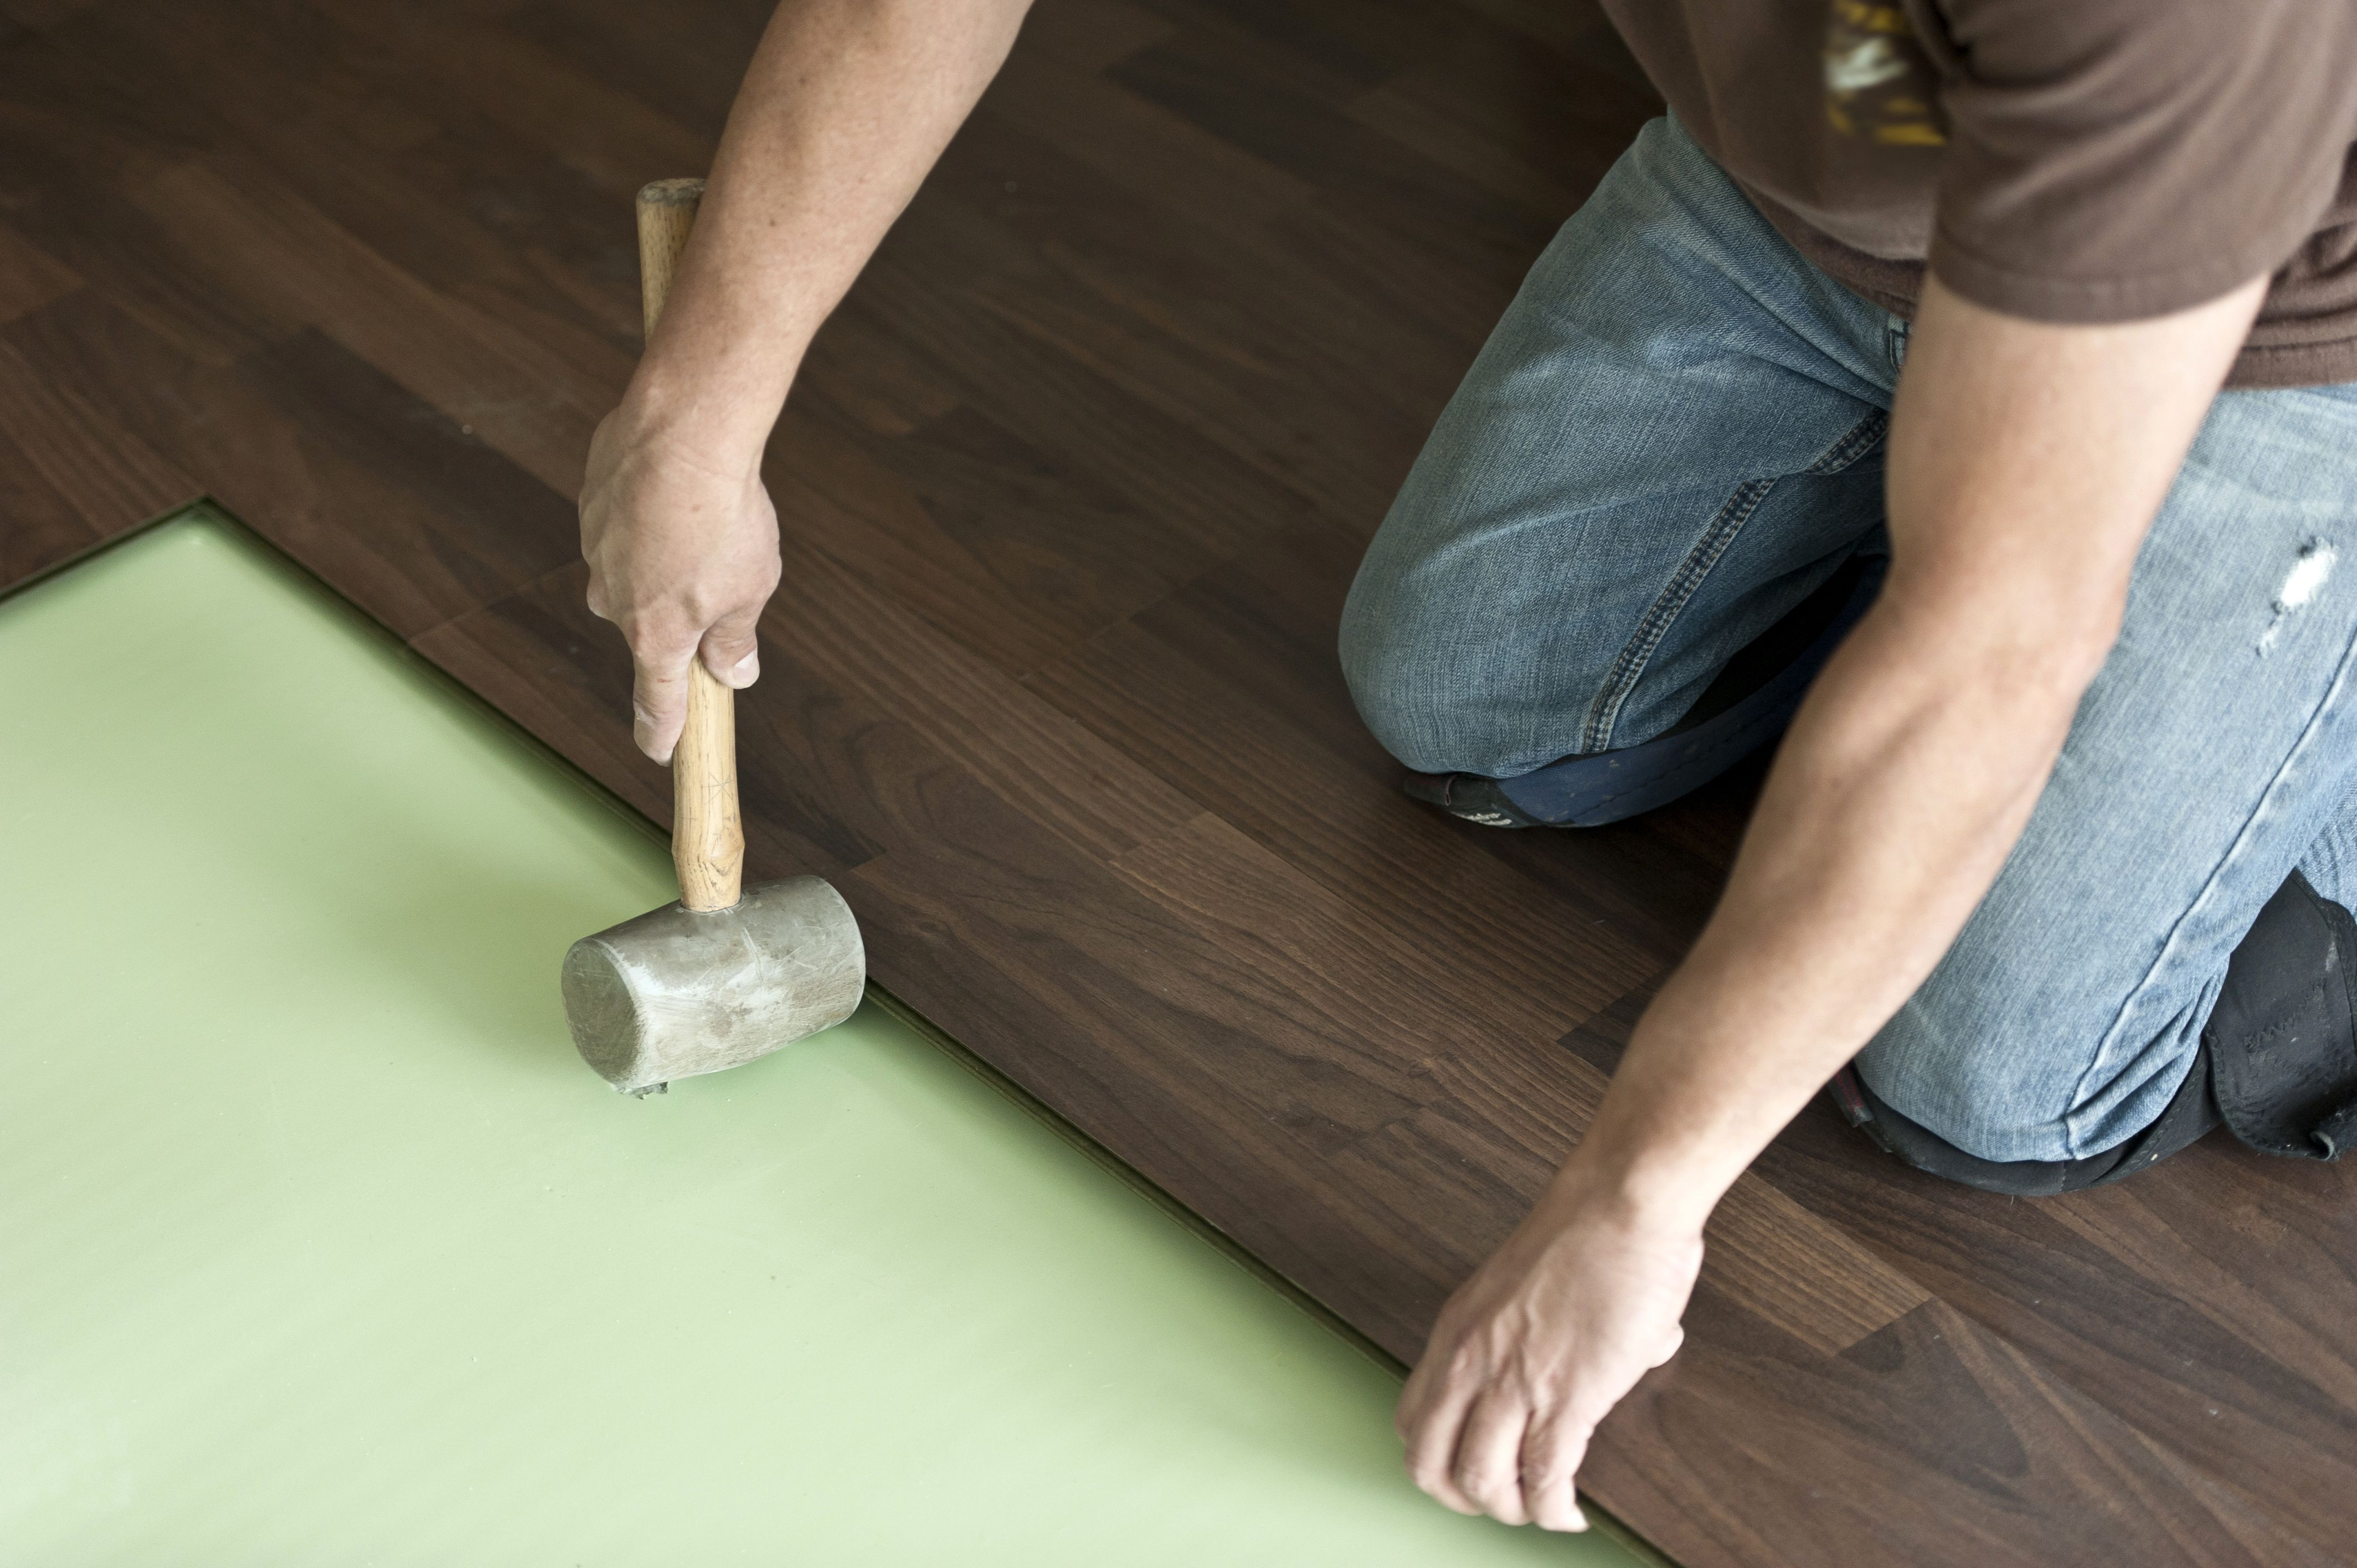
9. Rubber mallet for tapping floorboards into place
10. Tapping block For evenly-spaced tapping
What type of underlayment is needed for hardwood floor installation on concrete without glue?
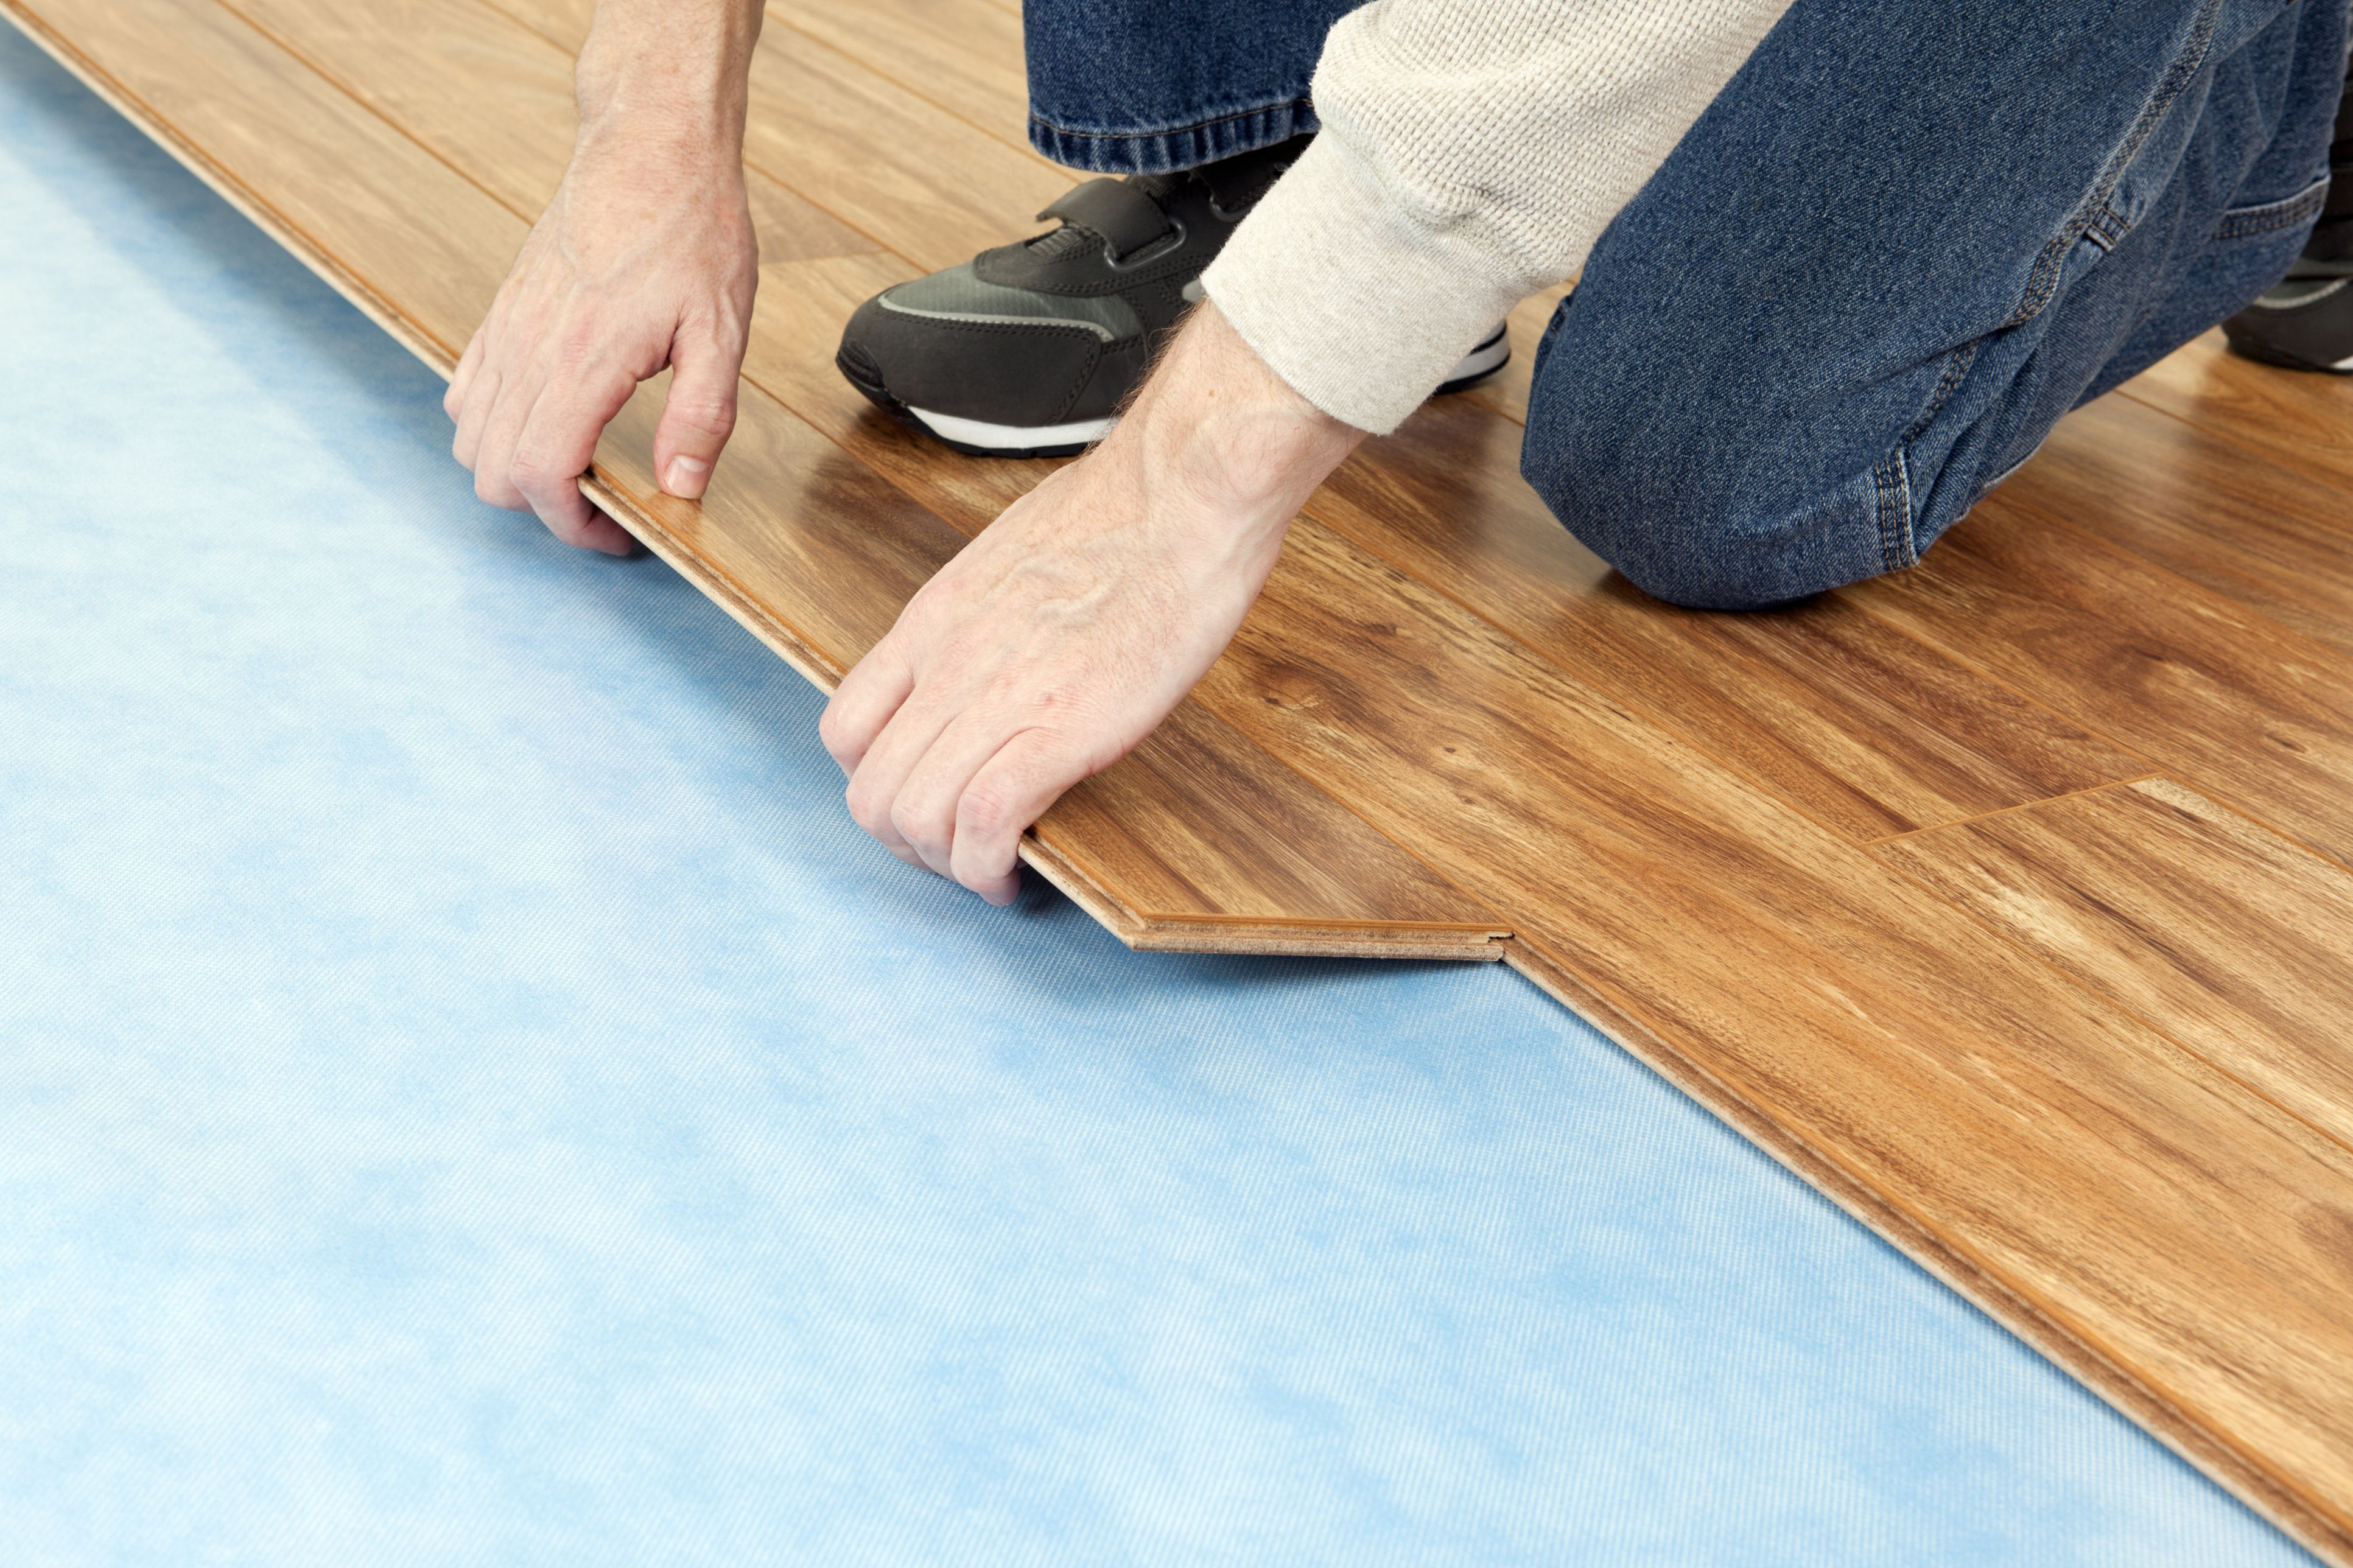
For hardwood floor installation on concrete without glue, a foam underlayment is recommended. This type of underlayment provides cushioning and sound insulation, while also helping to moderate fluctuations in temperature and humidity. Additionally, this type of underlayment does not require gluing or nailing, making it easy to install.What type of underlayment is best for floating hardwood floor installation on concrete?
The best type of underlayment for floating hardwood floor installation on concrete is a foam or cork underlayment. A foam underlayment will provide cushioning and insulation for the hardwood floor, while a cork underlayment will provide extra soundproofing and improved thermal insulation.What type of floor preparation is required before installing a floating hardwood floor on concrete?
Before installing a floating hardwood floor on concrete, the concrete must be clean, dry, and level. Any existing adhesives, sealers, or coatings must be removed. Then any gaps or cracks must be filled with patching compound. Last but not least, a moisture barrier should be installed.What tools are needed to prepare a concrete floor for a floating hardwood floor?
1. Hammer2. Tapper and Pry Bar
3. Chisel
4. Nail Gun
5. Electric Saw
6. Shop Vacuum
7. Wood Floors Adhesive
8. Trowel
9. Concrete Grinder
10. Floor Leveler