How To Lay Vinyl Floor Tiles

How to Lay a Vinyl Tile Floor Vinyl tile flooring, Vinyl tile, Flooring

How to Lay a Vinyl Tile Floor Tile floor, Vinyl tile flooring, Vinyl tile

How to Lay a Vinyl Tile Floor – This Old House
/cdn.vox-cdn.com/uploads/chorus_image/image/65891755/howto_vinylfloor_05.0.jpg)
Installing Peel And Stick Vinyl Tile – sclubutorrent

How to Lay the Perfect Loose Lay Vinyl Plank Flooring Tile Wizards
Luxury Vinyl Tile Installation Family Handyman
Can You Install Vinyl Plank Flooring Over Tile? Area Flooring & Tile Inc.

How To Lay A Vinyl Floor In A Bathroom – Installing Vinyl Flooring In Bathroom TcWorks.Org

How to Lay Sheet Vinyl Flooring – YouTube
How To Install Vinyl Tiles for your floor – YouTube

Related Posts:
- Pine Vinyl Flooring
- Vinyl Floor Laying DIY
- Cortex Vinyl Flooring
- Grey Slate Effect Vinyl Floor Tiles
- Dark Oak Vinyl Flooring
- Limestone Effect Vinyl Flooring
- Vinyl Floor With Border
- Adhesive For Vinyl Flooring To Concrete
- Teak Wood Vinyl Flooring
- Cheap Vinyl Flooring
## How To Lay Vinyl Floor Tiles
Vinyl floor tiles are a great way to update the look of any room in your home. They offer a durable, waterproof solution that can be installed on many different surfaces. Whether you choose to lay new vinyl floor tiles or simply replace existing ones, the process is relatively straightforward. With the right tools and preparation, you can easily complete this DIY project in a few simple steps.
### Choose The Right Tiles
The first step when laying vinyl floor tiles is to choose the right tiles for your floor. There are many different types of vinyl floor tiles available in a variety of colors and styles. Choosing the right tiles for your room depends on several factors, including the size and shape of the space, the type of surface you’re working with, and the overall design of your room. Make sure to measure your floor area before purchasing your tiles to ensure you’re getting enough for the job.
### Prepare The Surface
Once you’ve chosen the right tiles for your floor, it’s time to prepare the surface before beginning installation. This involves removing any existing flooring, such as carpet or tile, and cleaning the surface beneath. It’s important to make sure that the surface is level and free from dirt and debris before laying down the vinyl tiles. If necessary, use a putty knife to remove any old adhesive or grout and sand down any rough spots.
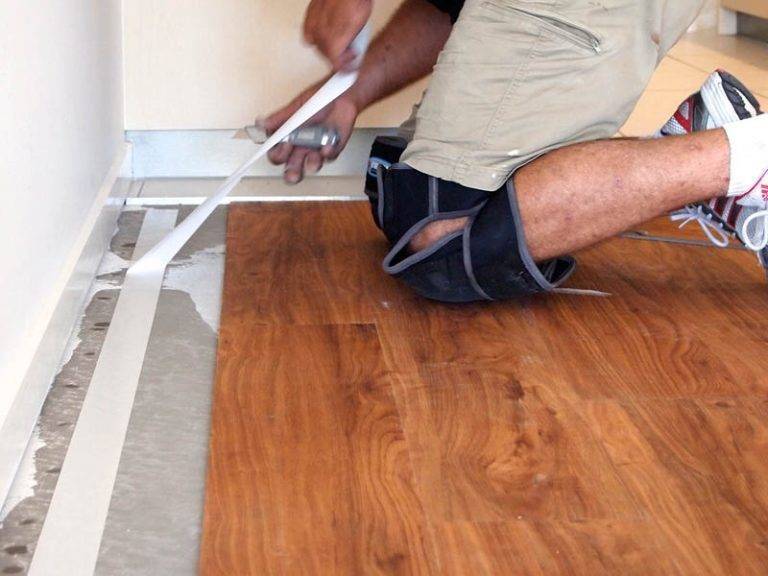
### Apply Adhesive
Once your surface is ready, it’s time to apply adhesive to the back of each tile. For most vinyl tiles, you can use a standard tile adhesive, although some may require a special adhesive designed specifically for vinyl floors. Make sure to read all instructions carefully before applying adhesive. Once applied, let the adhesive dry for at least an hour before beginning installation.
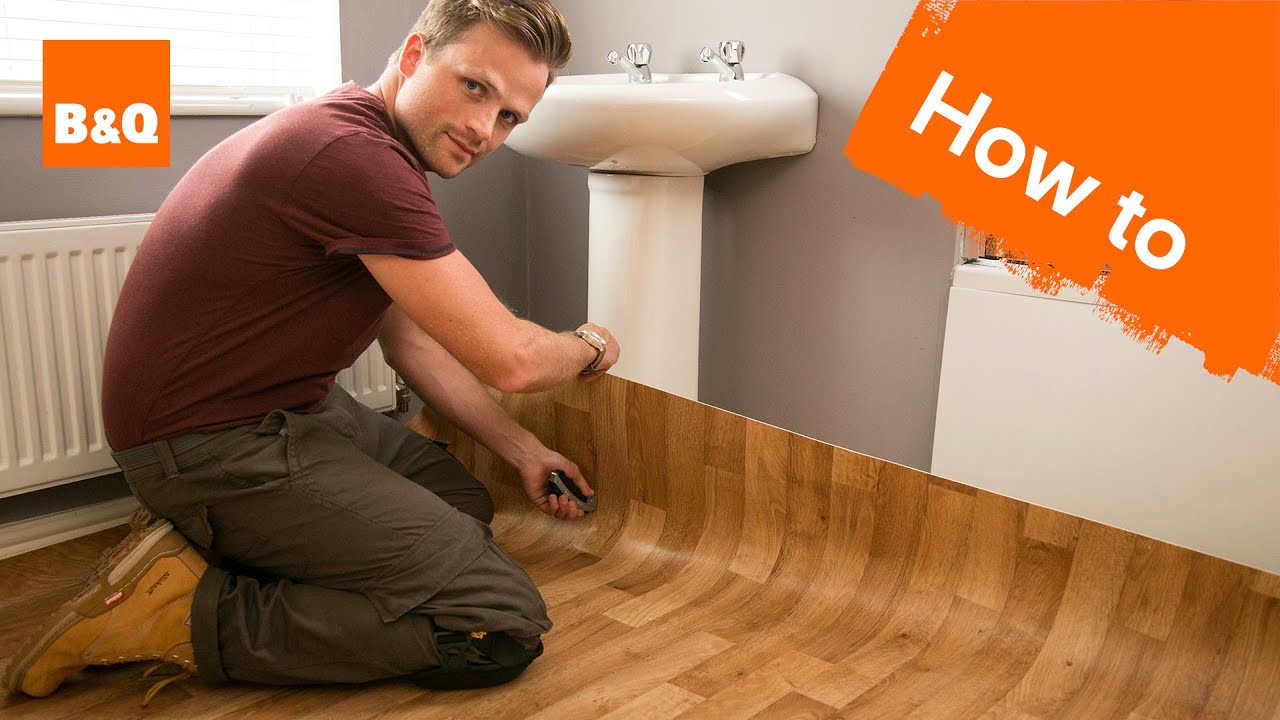
### Lay The Tiles
Once your adhesive has dried, it’s time to begin laying down your vinyl floor tiles. Start in one corner of the room and work your way outward in a straight line. When laying down each tile, make sure that it is firmly pressed into the adhesive and that all edges are lined up correctly. If necessary, use a rubber mallet to gently tap each tile into place.
### Cut Around Fixtures
In most cases, you will need to cut vinyl tiles around fixtures such as door frames or cabinets. To do this, use a utility knife or pair of scissors to cut each tile accurately. Make sure that all cuts are even and that each tile is firmly pressed into place after cutting.
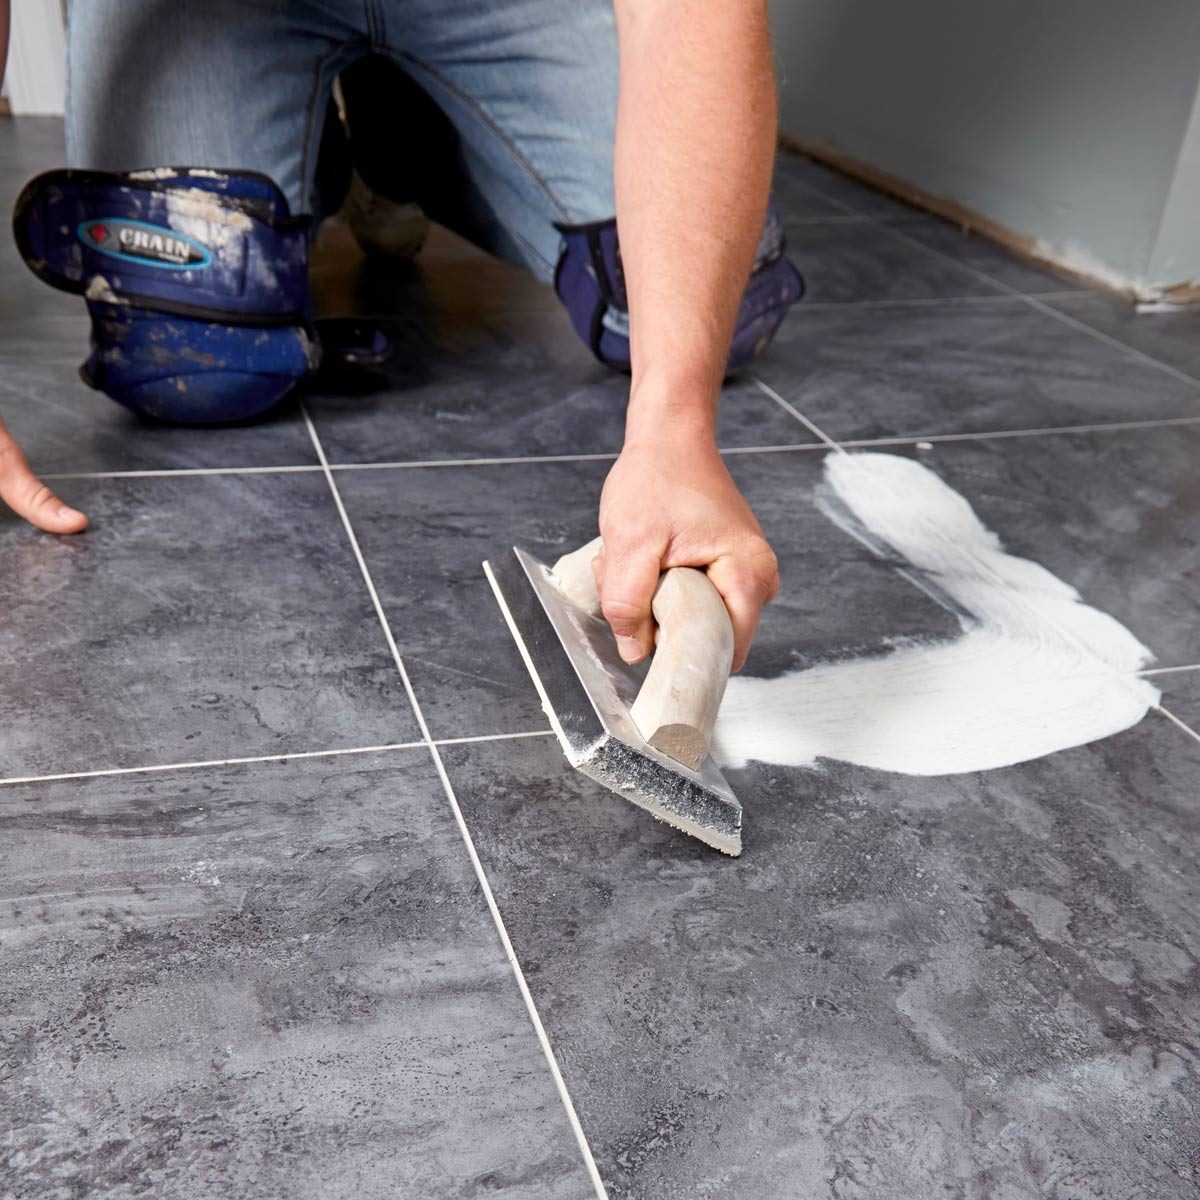
### Seal The Edges
Once all of your tiles are in place, it’s time to seal the edges and finish up your project. Use a sealant designed for vinyl floors around all edges of the room and along any seams or joints between tiles. This will help protect your flooring against water damage and wear and tear over time. Allow the sealant to dry completely before using the floor again.
With these easy steps, you can easily lay your own vinyl floor tiles in no time! From choosing the right tiles to sealing up edges, this simple DIY project is an easy way to update any room in your home without breaking the bank. Now that you know how to lay vinyl floor tiles, you’re ready to get started on this quick and easy project!