How To Nail Hardwood Flooring By Hand
How to Install Hardwood Floors
How To Install Hardwood Flooring Young House Love
Last Row Flooring Hand Nailed
Nail Length For 3 4 Hardwood Flooring Floor Roma
Nailing Wood Flooring JLC Online

Example of how to nail down hand-scraped hardwood floors – YouTube
Nailing down a quality hardwood floor with OSB – Page 2 of 2 – Construction Canada
Nailing Into Concrete Floor – Carpet Vidalondon
How To Install Hardwood Flooring

The Best What Size Nails To Use For Face Nailing Hardwood Flooring And Description Cleaning

How to Fix Popping Hardwood Floors – Ready To DIY

Related Posts:
- Hardwood Floor Cleaning Tips
- Hardwood Floor Decorating Ideas
- Hardwood Floor In A Kitchen
- Engineered Hardwood Flooring
- Rustic Oak Hardwood Flooring
- Parquet Hardwood Flooring
- Hardwood Floor Duster
- Homemade Hardwood Flooring
- Hardwood Floor Stain Colors
- Hardwood Floor Repair DIY
Hardwood flooring is a great way to add style and value to any home. Whether you are installing hardwood in a new home or replacing an existing floor, nailing hardwood flooring by hand is a skill that takes patience and practice. In this article, we will explain the basics of nailing hardwood flooring by hand, and provide some tips for getting the job done right.
## Preparing Your Floor For Nailing
The most important step in nailing hardwood flooring by hand is preparing the floor for nailing. The first step is to remove any existing flooring, such as carpet, vinyl, or linoleum. If possible, use a pry bar and hammer to remove the old flooring. Once the old flooring is removed, you will need to clean and level the subfloor. Use a vacuum or broom to remove any debris, and then use a level to make sure the subfloor is even. If necessary, use self-leveling compound to level out any dips or humps in the subfloor.
## Installing Underlayment
Before you can begin nailing hardwood flooring by hand, you will need to install an underlayment. Underlayment provides extra cushioning and insulation and helps protect your hardwood from moisture damage. When choosing an underlayment, make sure it is suitable for use with wood floors and has the appropriate thickness for your installation. You will need to install the underlayment with either nails or staples; if using nails, make sure they are designed specifically for use with wood floors.
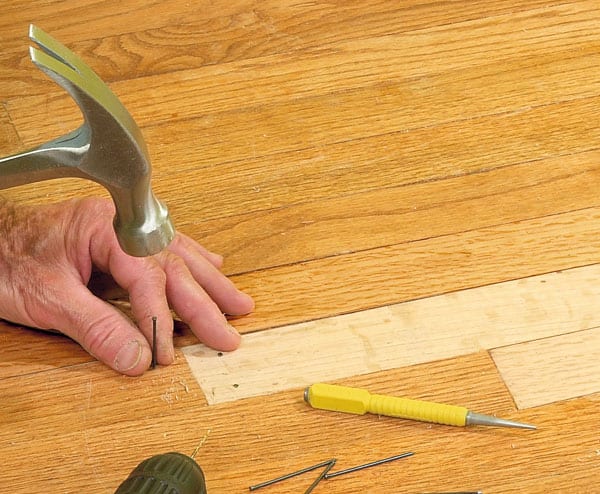
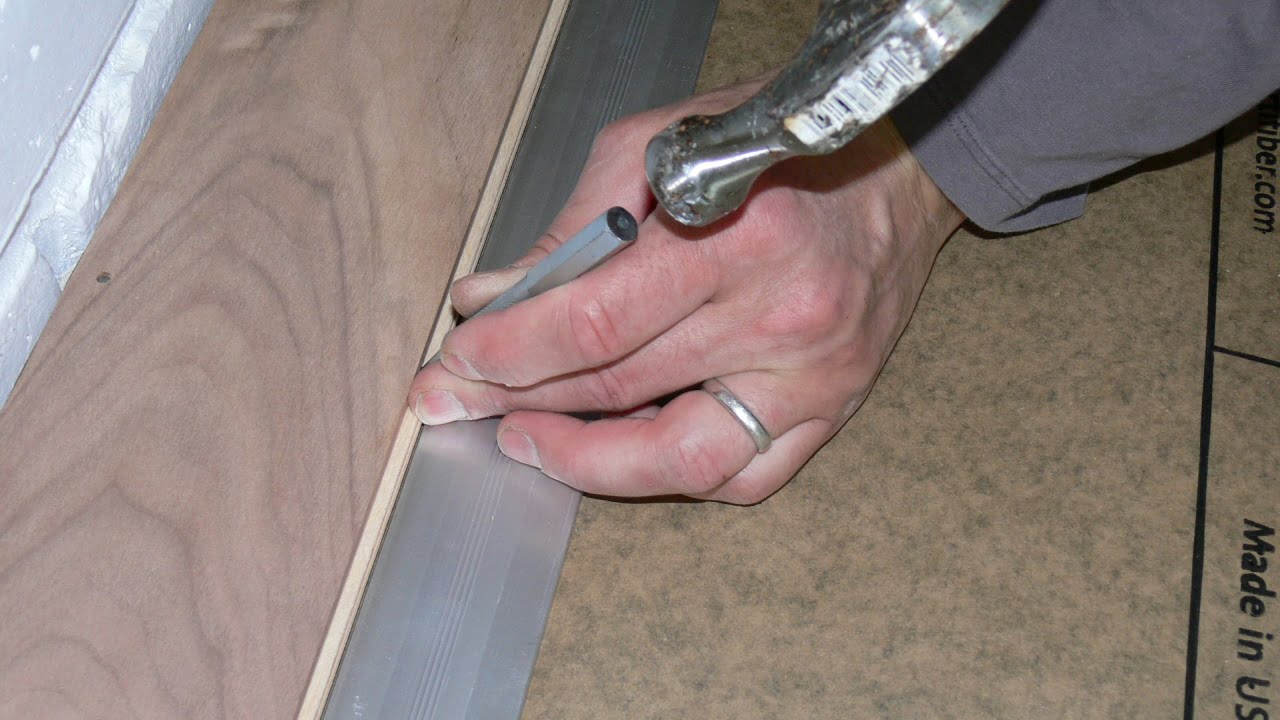
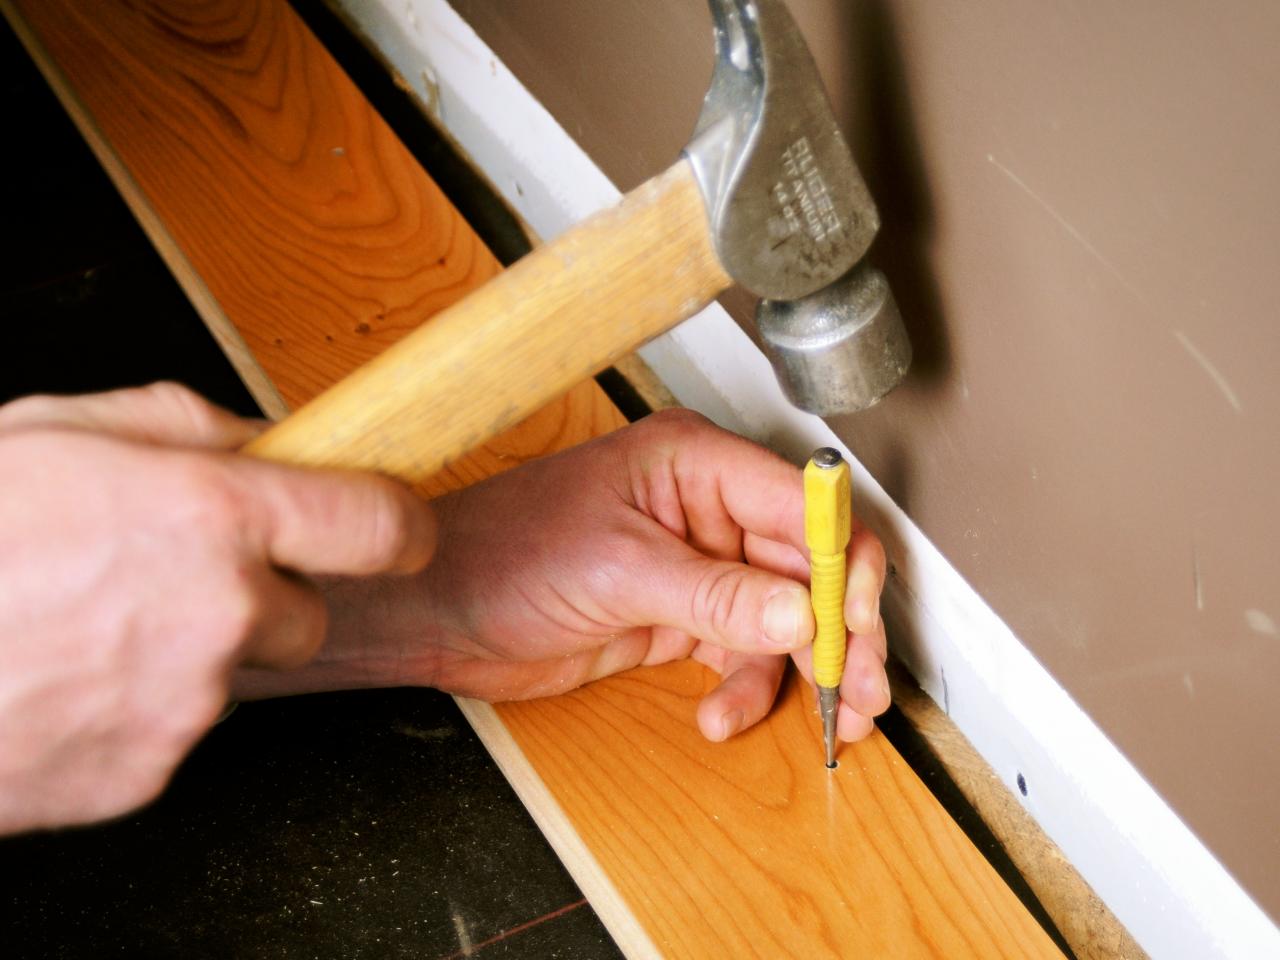
## Nailing The Hardwood Planks
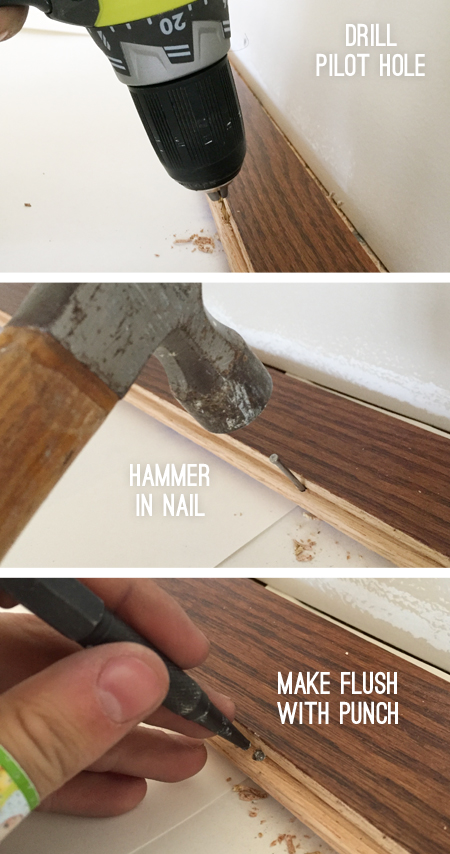
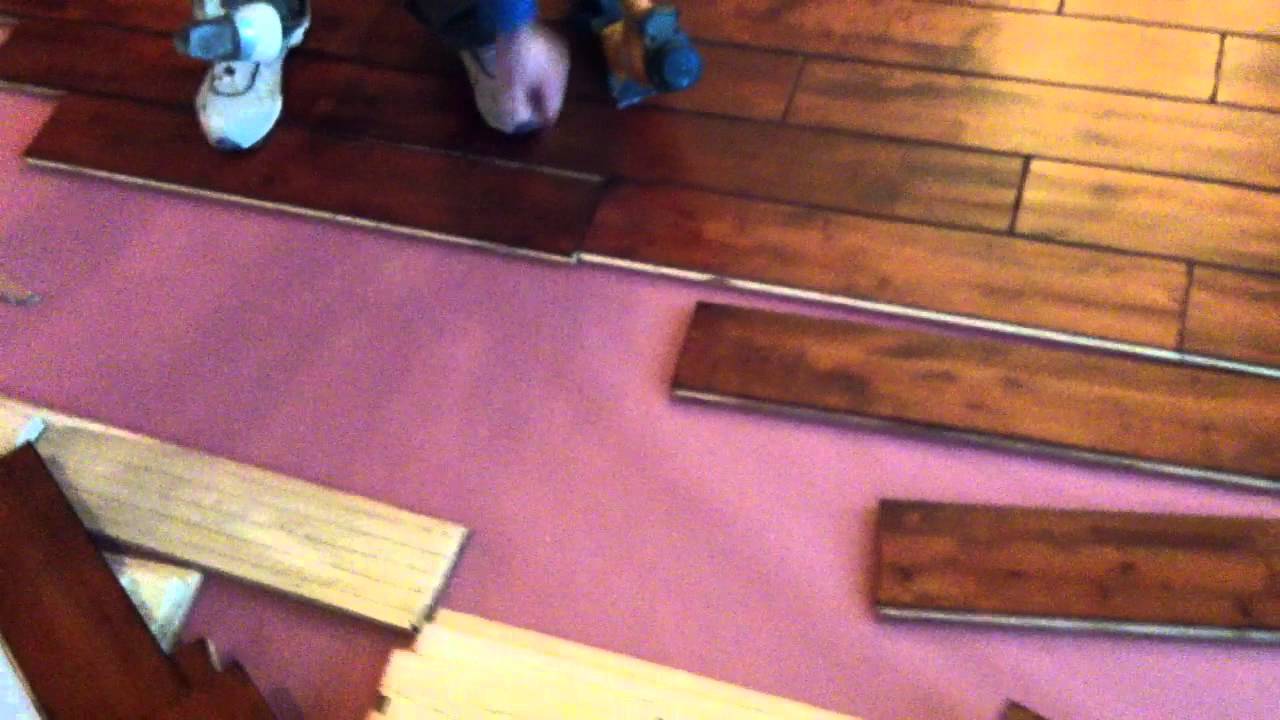
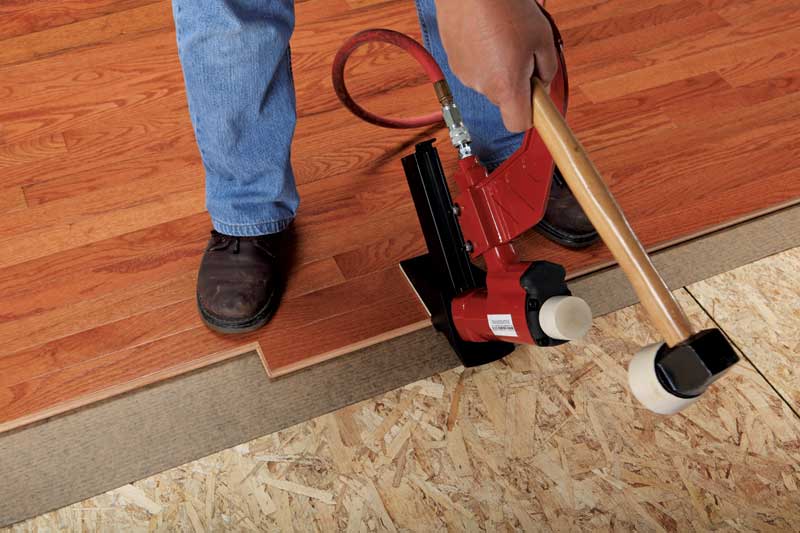
Once you have installed the underlayment, you can begin nailing the hardwood planks. Choose a starting point at one end of the room and begin laying out your planks in rows. Make sure each row is level and that any joints between planks are tight. If using nails, make sure they are long enough to penetrate through both planks and into the subfloor. Once your rows are in place, begin nailing each plank into place using a hammer or pneumatic nail gun. Start at one end of each row and work your way across until all of the planks are secure.
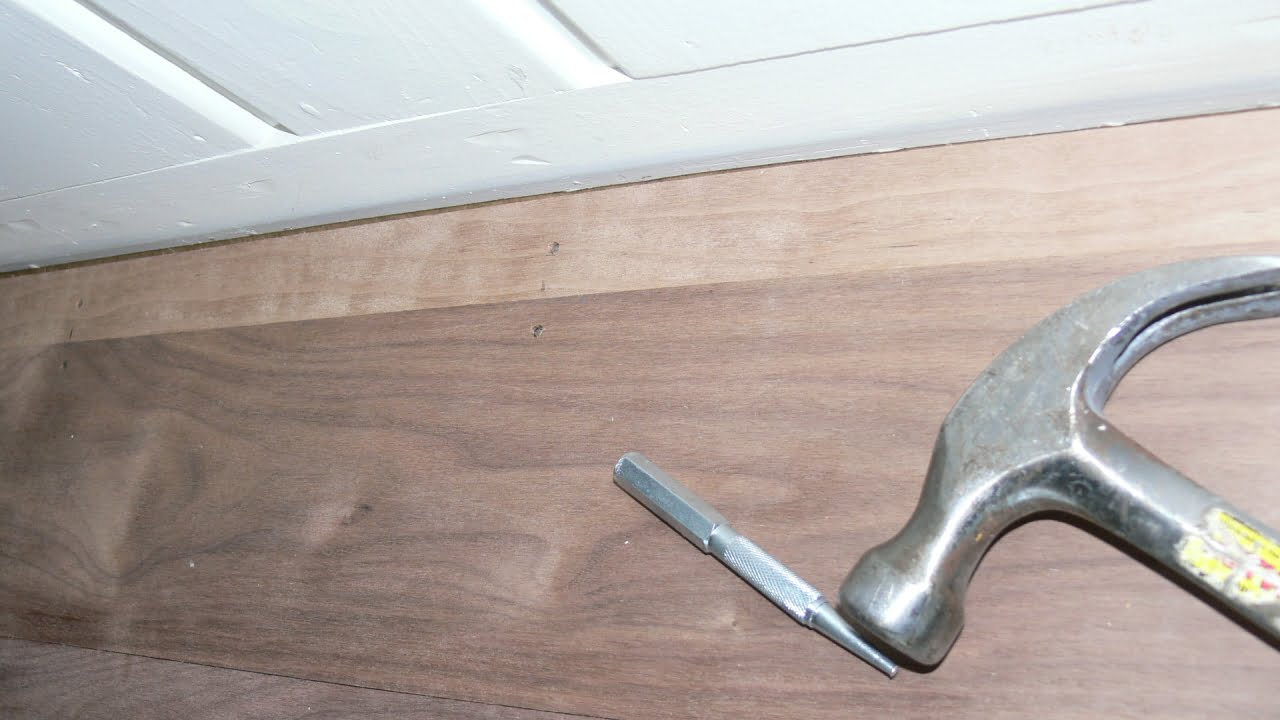
## Finishing Up
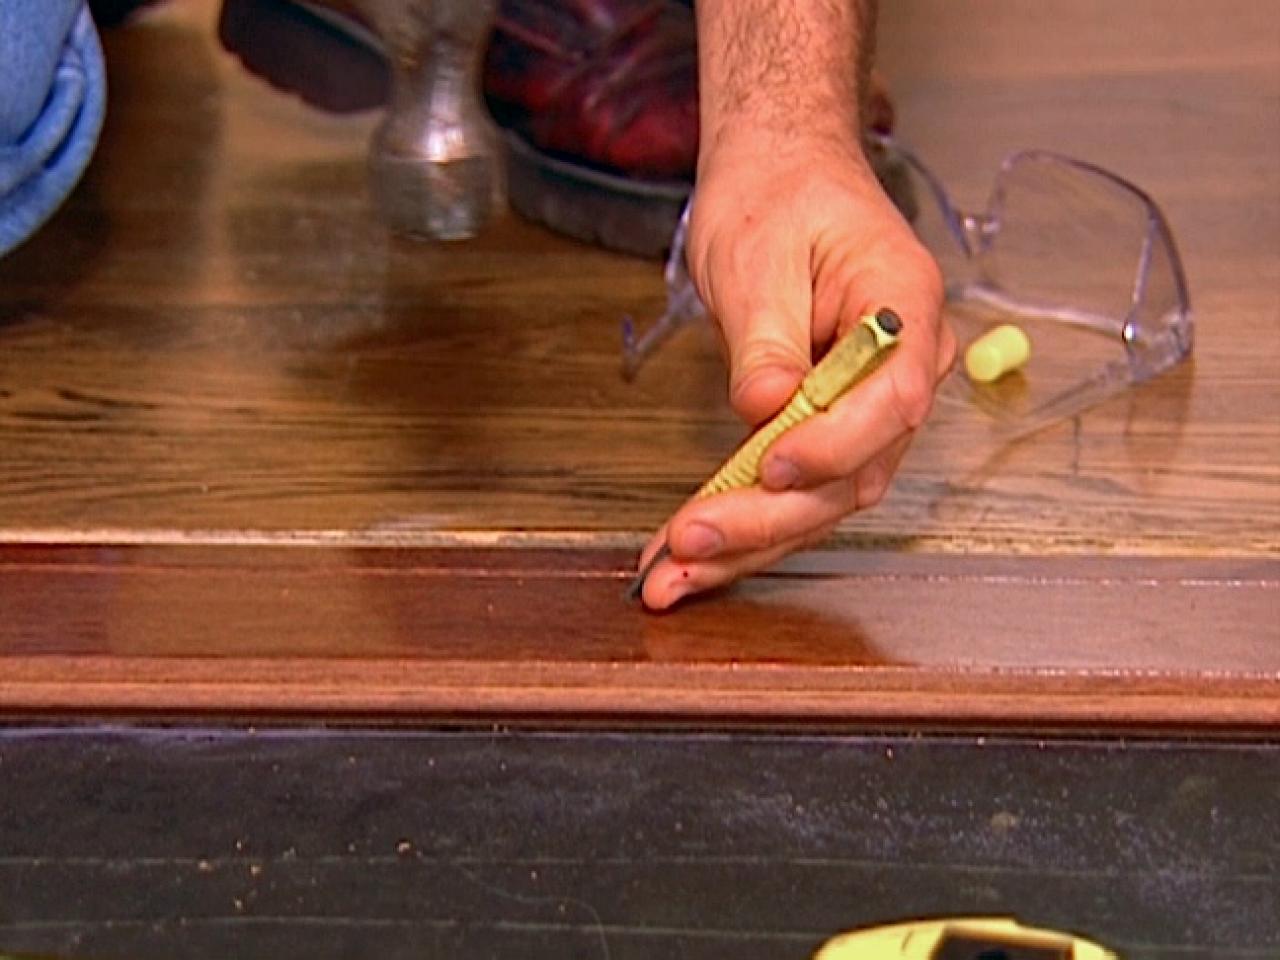
Once all of your planks have been nailed into place, it’s time to finish up. Use a damp cloth to wipe away any excess glue or debris from the surface of the wood. Then apply a coat of sealer or finish to protect the wood from wear and tear.
Nailing hardwood flooring by hand is not an easy task, but with these tips you can get it done right. While it may take some time to master this skill, it can be extremely rewarding when you see how beautiful your finished floor looks!
What tools are needed to nail hardwood flooring by hand?
-Hammer-Nail punch
-Flooring nailer
-Masking tape
-Pencil
-Tapping block
-Safety glasses
-Knee pads