How To Pour A Basement Floor

Pouring Basement Floor Basement flooring, Basement flooring waterproof, Basement insulation

How to Build a House: Step 10: Pour Basement Concrete
Concrete Pouring for the Basement of a Building- Concrete Slab Stock Photo – Image of cement
Home Construction Diaries: Concrete pouring for basement floor

Building Walnut Farm: More Floors and Remember the Silo?

Pouring Concrete in My Basement
pouring basement floor 2017 – YouTube

How to Pour Self Leveling Cement. Cement floor diy, Concrete floors diy, Diy flooring

Pour Concrete Over Dirt Basement Floor Basement flooring, Basement flooring options, Concrete

How to Build a House: Step 10: Pour Basement Concrete
Pouring Concrete Over The Floor Plate Modern Building Design
Related Posts:
- Basement Flooring Ideas
- Basement Floor Heaving Repair
- Basement Flooring Options DIY
- Fixing Basement Floor
- Repainting Basement Floor
- Walkout Basement Flooring
- Brick Basement Flooring
- Budget Basement Flooring
- Waterproofing Your Basement Floor
- Laminate Basement Flooring
When it comes to home improvement projects, there are few larger—or more intimidating—than pouring a basement floor. Despite its size and complexity, however, pouring a basement floor doesn’t have to be an overwhelming task. With the right preparation, tools, and know-how, it can be done with relative ease. Here’s how to pour a basement floor step-by-step.
## Step 1: Gather Necessary Materials
The first step to pouring a basement floor is gathering all the necessary materials. This includes concrete mix, water, wheelbarrows, shovels, trowels, and a leveler. It’s also important to get safety equipment such as goggles and gloves. Additionally, you may need boards or stakes to keep the concrete level while it dries.
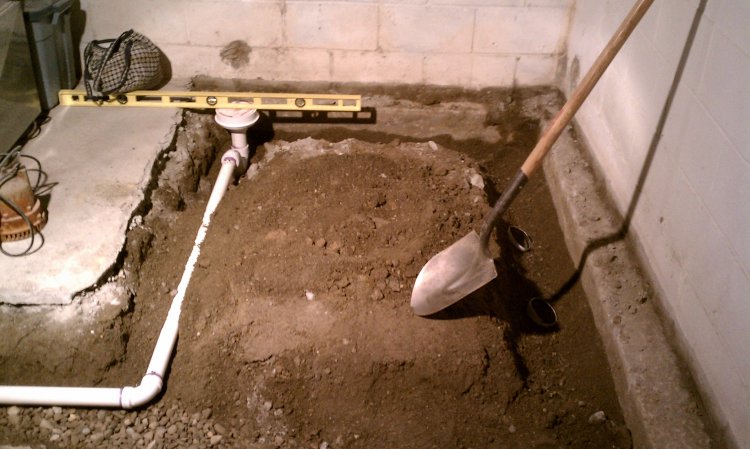
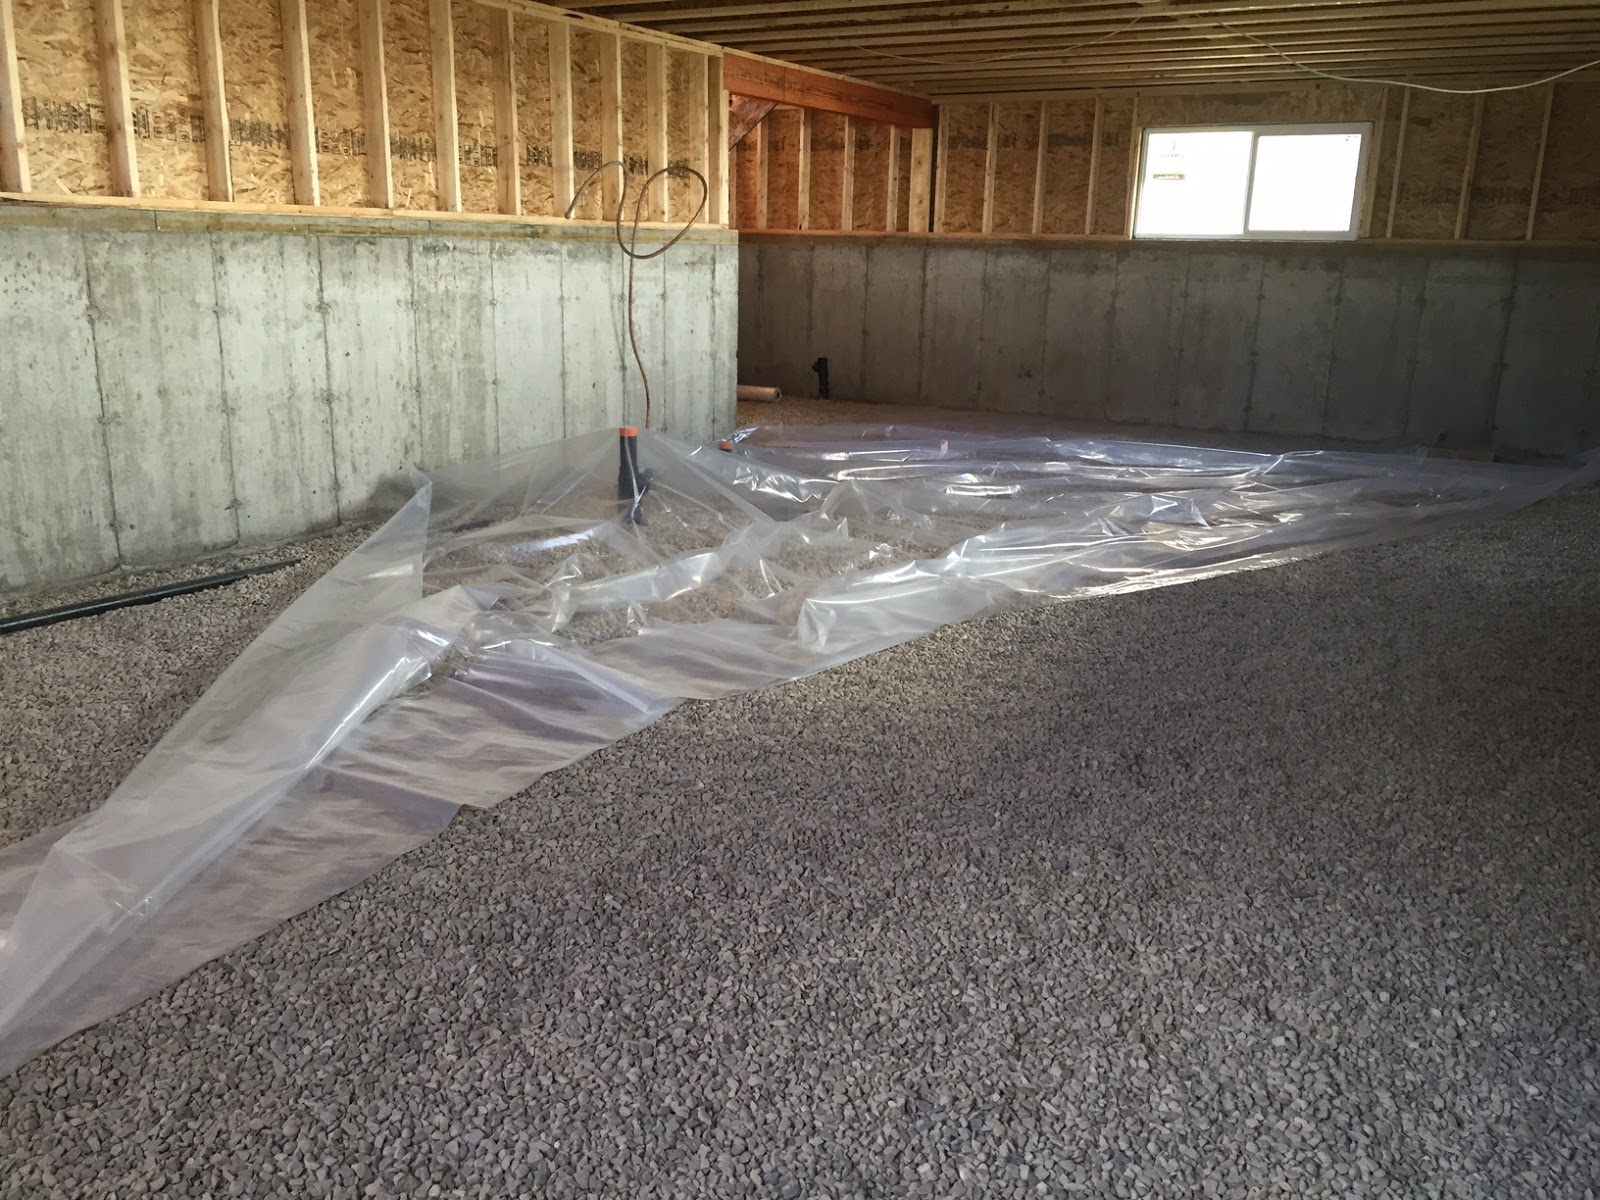
## Step 2: Prepare the Area
Before you start pouring concrete, you need to make sure the area is properly prepared. This includes clearing the area of debris and making sure it is level. You can use a leveler to check for uneven spots and fill them in with gravel or soil as needed. It’s also important to make sure the area is free of moisture and any standing water.
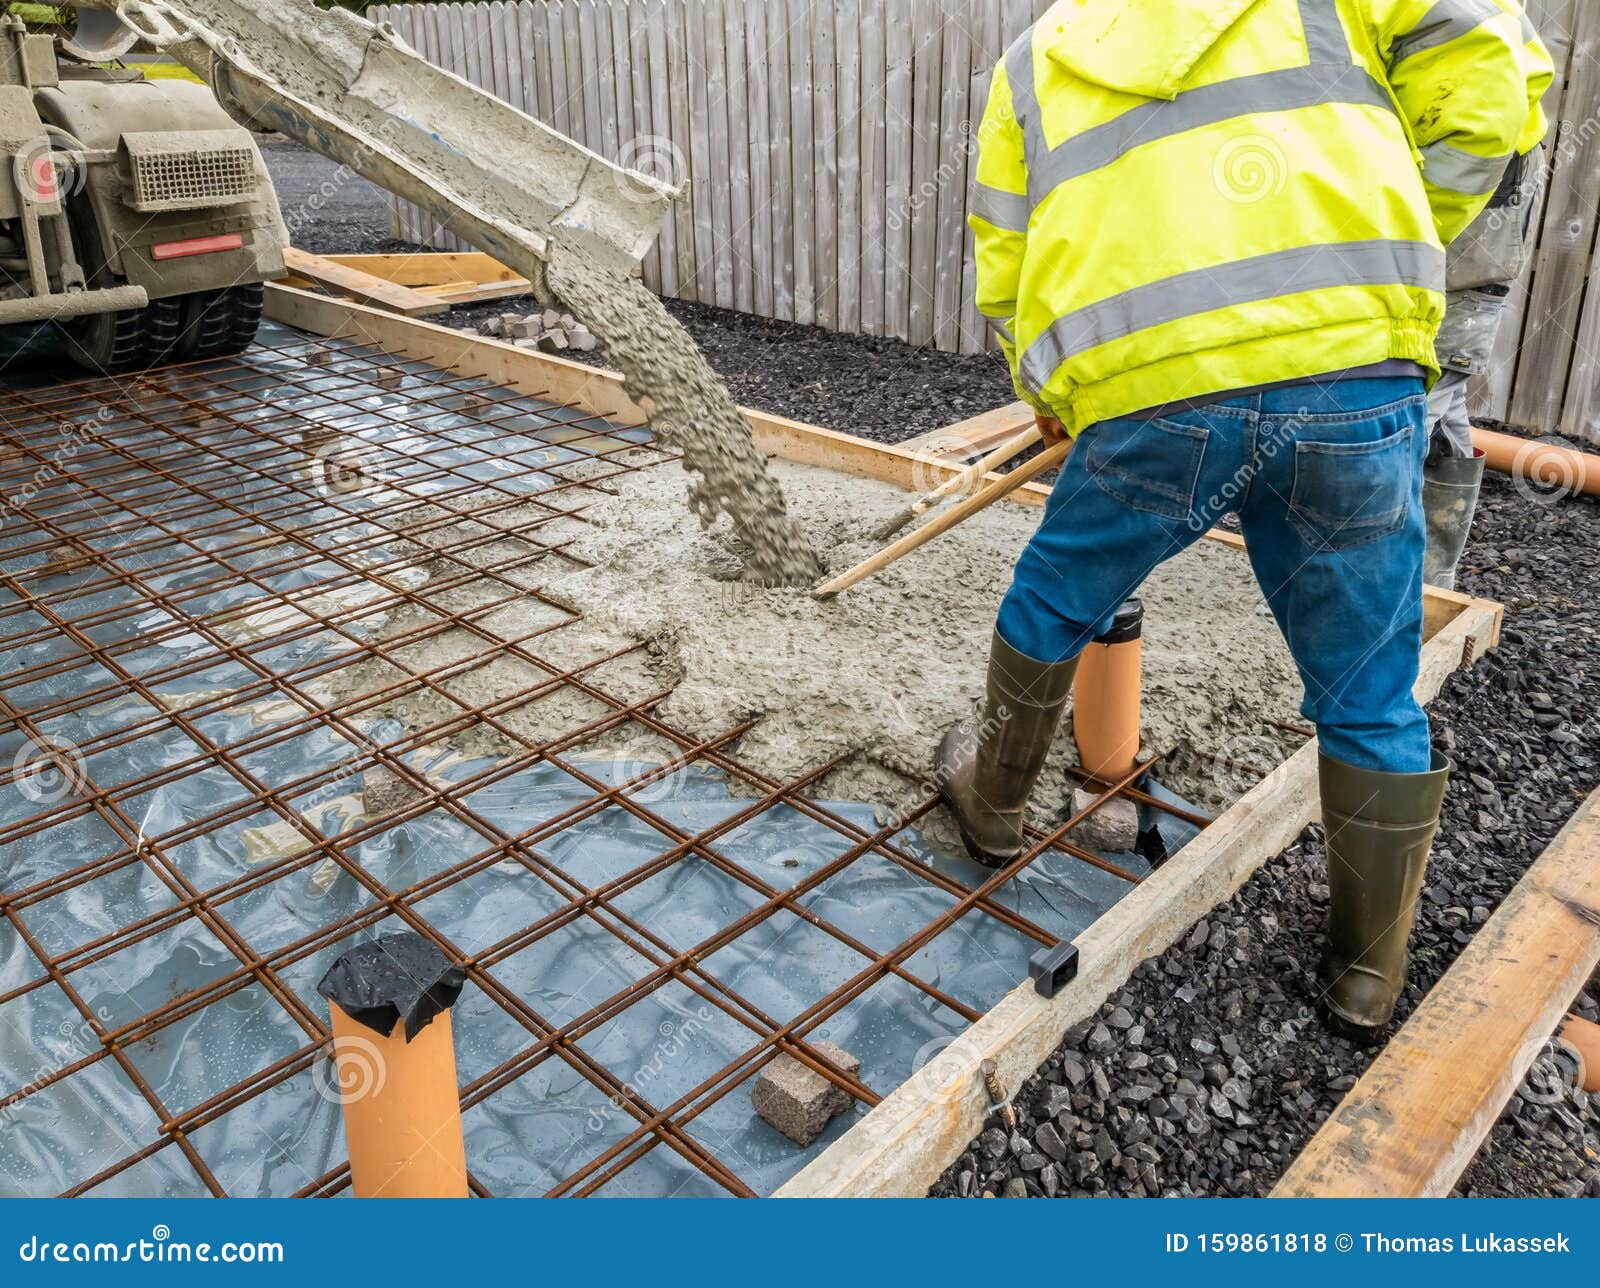
## Step 3: Mix the Concrete
Once your work area is prepped and ready, you can begin mixing the concrete. This is done by combining dry concrete mix with water in a wheelbarrow or large bucket. The amount of water needed will vary depending on the type of concrete mix being used. You want the mix to be thick but still workable. Once everything is combined, you can start pouring it into the work area.
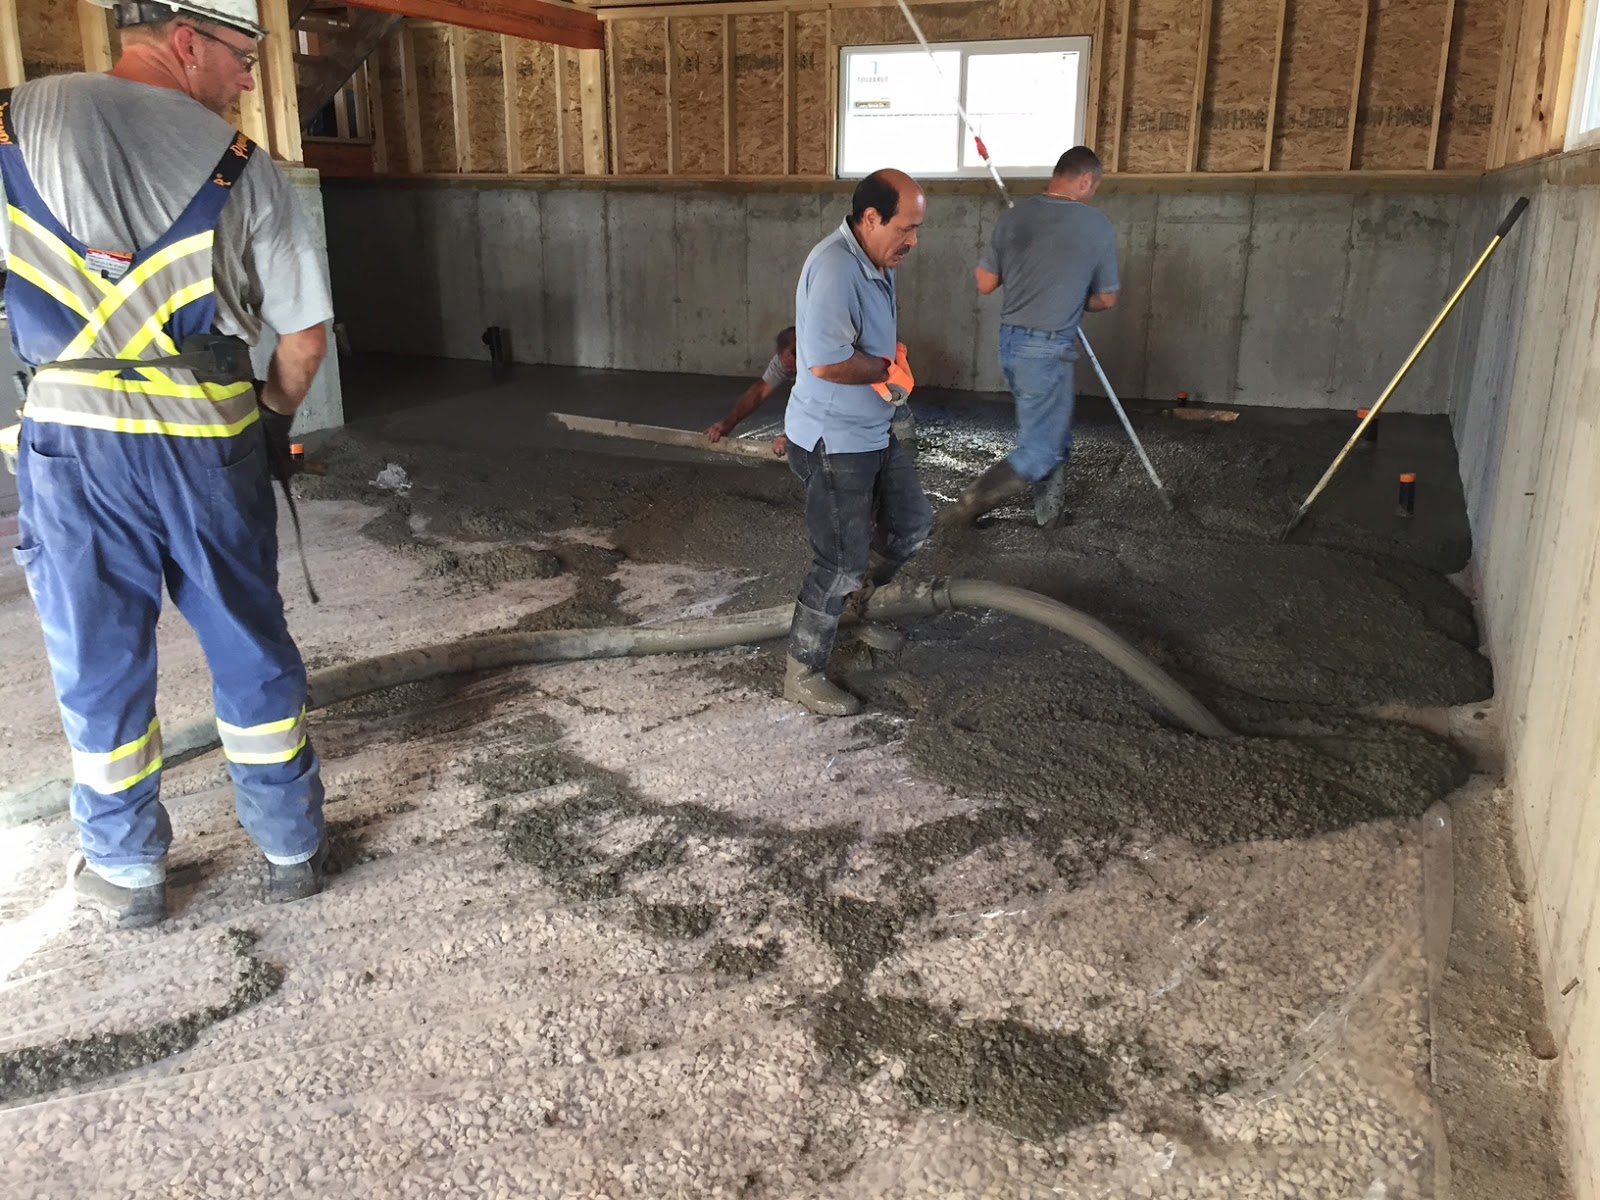
## Step 4: Pour and Level the Concrete
Once your concrete mix is ready, you can start pouring it into the work area. It’s important to do this evenly and slowly so you don’t create any air pockets or weak spots in the concrete. As you pour it, use a leveler to make sure everything is even and smooth out any high or low spots.
## Step 5: Smooth Out Edges
Once all of the concrete has been poured and leveled out, you can use a trowel or other tool to smooth out any rough edges or patches. Doing this will help ensure your basement floor looks neat and uniform when finished.
## Step 6: Allow Time for Curing
Once your basement floor has been poured and smoothed out, it’s important to give it time to cure before using it. Depending on the type of concrete mix used and weather conditions, this could take anywhere from 24 hours to several days. During this time, you should avoid walking on the concrete or exposing it to water or moisture in any way as this could weaken it and cause cracking or other damage down the line.
## Step 7: Enjoy Your New Basement Floor
Once your basement floor has been allowed ample time to cure, you can finally enjoy your new space! Whether you plan on using it as additional storage space or living space, having a newly poured basement floor is sure to add value and appeal to your home.
Pouring a basement floor doesn’t have to be intimidating or overwhelming if you have the right tools and know-how at your disposal. With proper preparation and careful execution of each step outlined above, you can have a beautiful new basement floor in no time at all!