How To Pour A Concrete Floor For An Existing Garage

How To Pour A Concrete Floor For An Existing Garage – Power Tool Idea
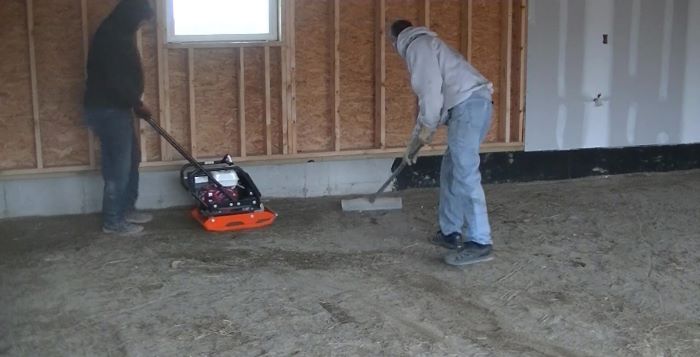
Pouring and Hand Finishing Concrete Garage Floor- Timelapse – YouTube

How to pour a concrete floor for an existing garage Best How-To Guide
Pouring Concrete Floor In Existing Garage – The Floors

Garage Build Part 13 – Preparing the floor to pour concrete – YouTube
Pour Concrete Slab Garage Floor Dandk Organizer

Concrete Floor in Existing Garage – YouTube
How To Lay Concrete Garage Floor Viewfloor.co
How to Pour a Leveling Layer of Concrete over Floor?

Simple Concrete Garage Floor Pour – YouTube

Concrete garage floor demo and re-pour. – YouTube
Related Posts:
- Marble Garage Floor
- Cheap Garage Floor Covering
- Garage Floor Coating
- Heavy Duty Garage Flooring
- Checkerboard Garage Floor Tiles
- Garage Floor Sealer Paint
- Epoxyshield Garage Floor Paint
- Benefits Of Epoxy Flooring In Garage
- Garage Floor Preparation For Epoxy
- Garage Workshop Flooring
Creating a concrete floor in an existing garage is a great way to increase the value, durability, and appeal of the space. If you have an existing garage that needs a new concrete floor, you can do it yourself with a few tools and materials. This guide will help you understand what is needed to properly pour a concrete floor for an existing garage.
### Gather Your Materials and Equipment
Before beginning any project, it is important to make sure that you have all the necessary materials and equipment on hand. For this project, you will need a trowel, float, edger, concrete mix, shovel, level, wheelbarrow, broom, water hose or bucket, sandpaper, and safety gear such as goggles and gloves.
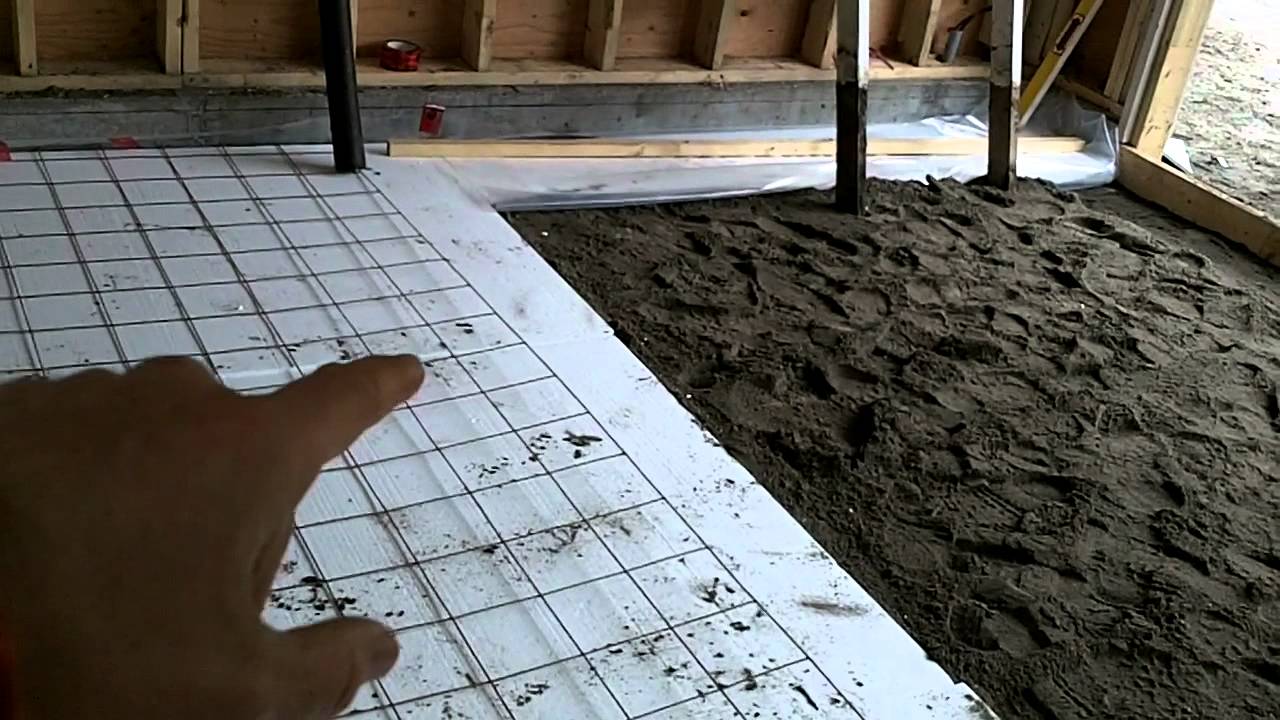
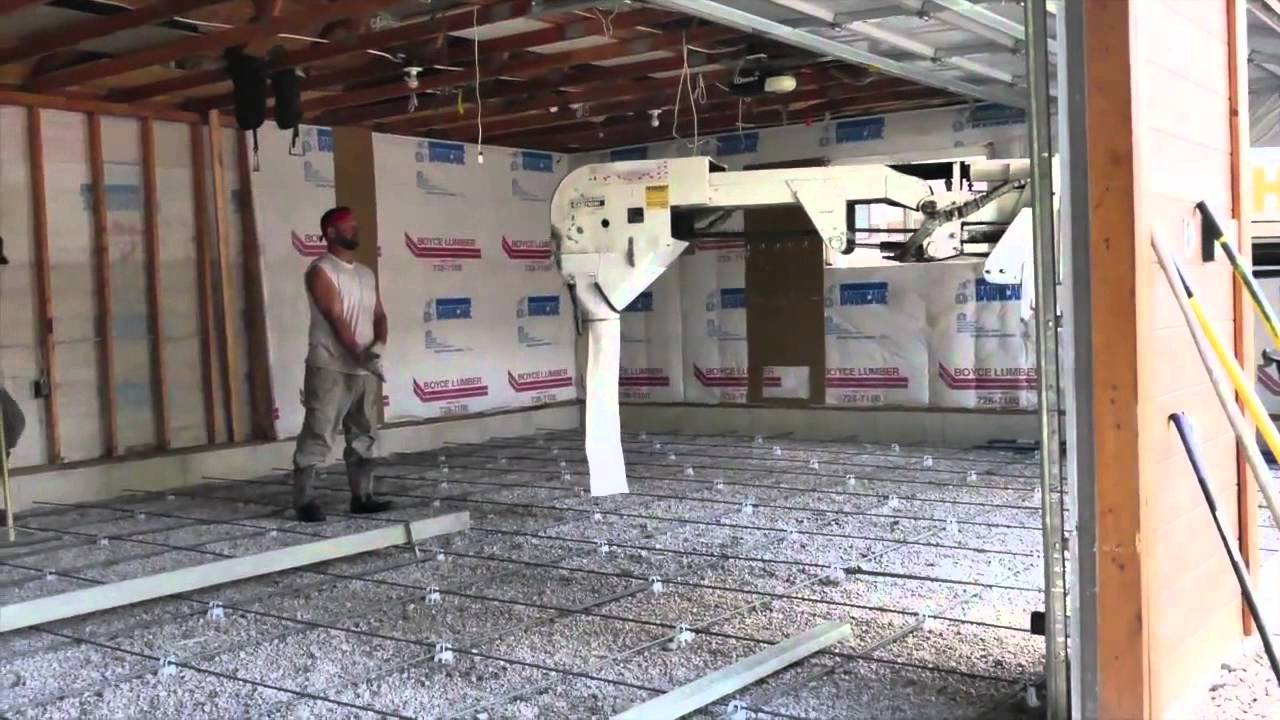
### Step 1: Prepare the Surface
Before pouring the concrete, it is important to ensure that the existing garage floor is clean and even. Begin by sweeping the floor thoroughly and removing any debris or dirt. If there are any uneven areas in the floor, use sandpaper to even them out. You can also use a trowel to scrape away any loose material.
### Step 2: Mix the Concrete
Once you have prepped the surface of the garage floor, it’s time to mix the concrete. Start by measuring out your desired amount of concrete mix and pouring it into your wheelbarrow or bucket. Add water in small amounts until the mixture reaches a thick, but pourable consistency. Use your shovel to stir the mixture until it is completely blended.
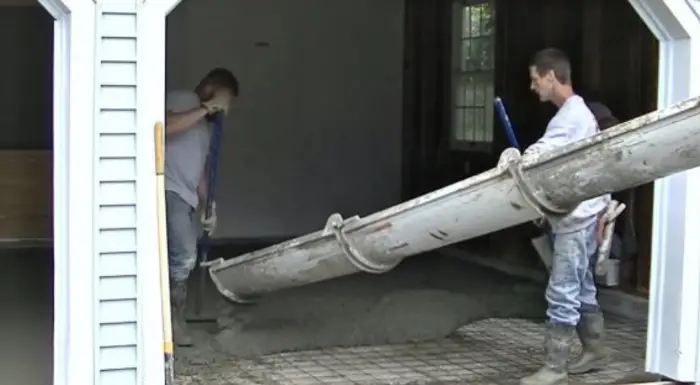
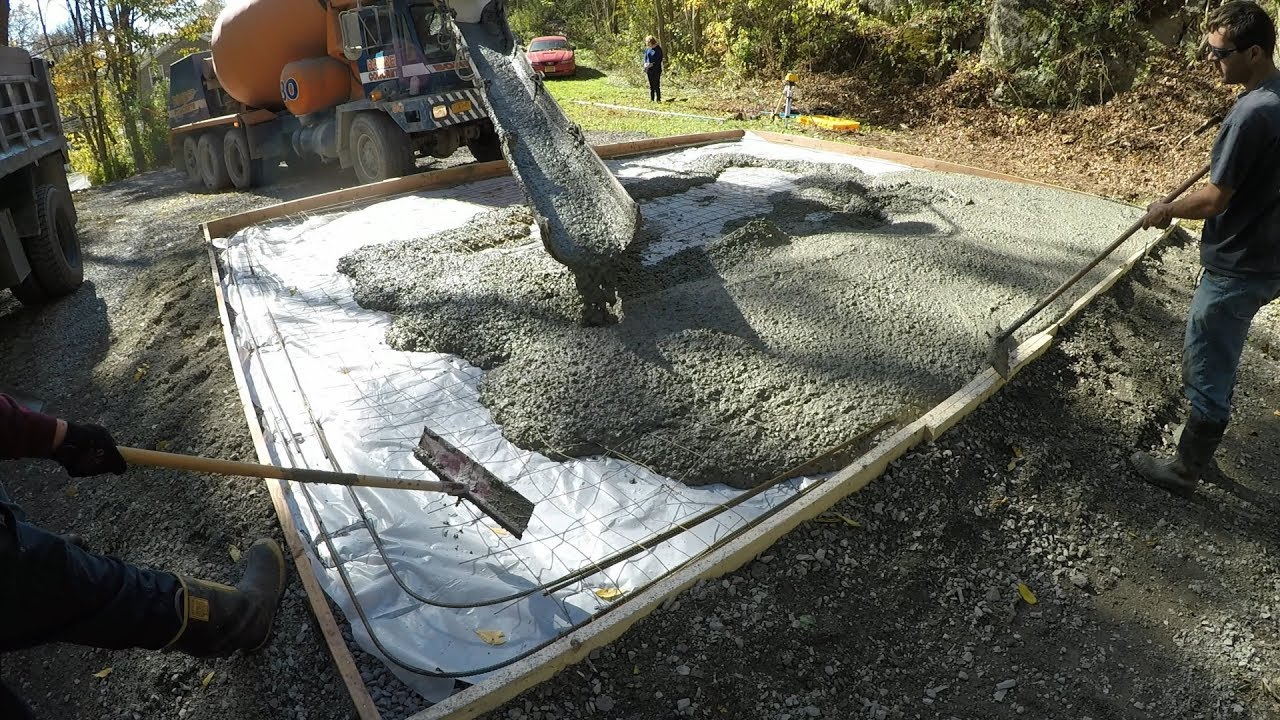
### Step 3: Pour the Concrete
Now that your concrete mix is ready to go, it’s time to pour it onto the surface of your existing garage floor. Start at one corner of the garage and slowly pour the mix across the surface. Make sure to spread it evenly so that it covers all areas of the floor. If you need to fill in any gaps or low spots in the floor, use your trowel to scoop up extra concrete from around the edges and fill them in.
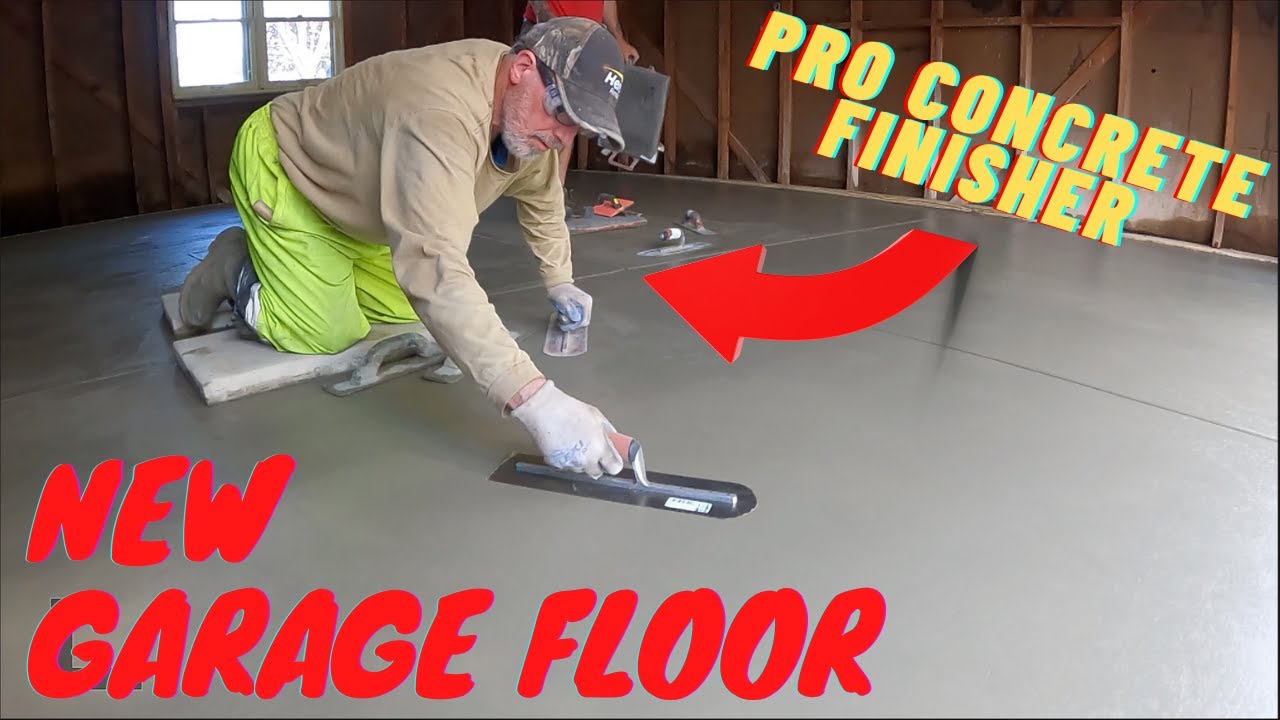
### Step 4: Shape and Smooth the Concrete
Once all of your concrete has been poured, use a float or trowel to smooth out any lumps or bumps in the surface. It is important to keep smoothing until you have achieved an even surface across the entire garage floor. Once finished, use an edger to create a neat edge along the walls of your garage where they meet your new concrete floor.
### Step 5: Cure and Seal
The final step in pouring a concrete floor for an existing garage is curing and sealing it. Begin by spraying your newly poured concrete with water for several days so that it can dry slowly and evenly. Once your concrete has dried completely, apply a sealer or waterproofing agent over its surface to ensure long-lasting protection.
With these steps in mind, you can easily pour a durable concrete floor for your existing garage quickly and efficiently! Not only will this increase its value but also protect it from damage over time.