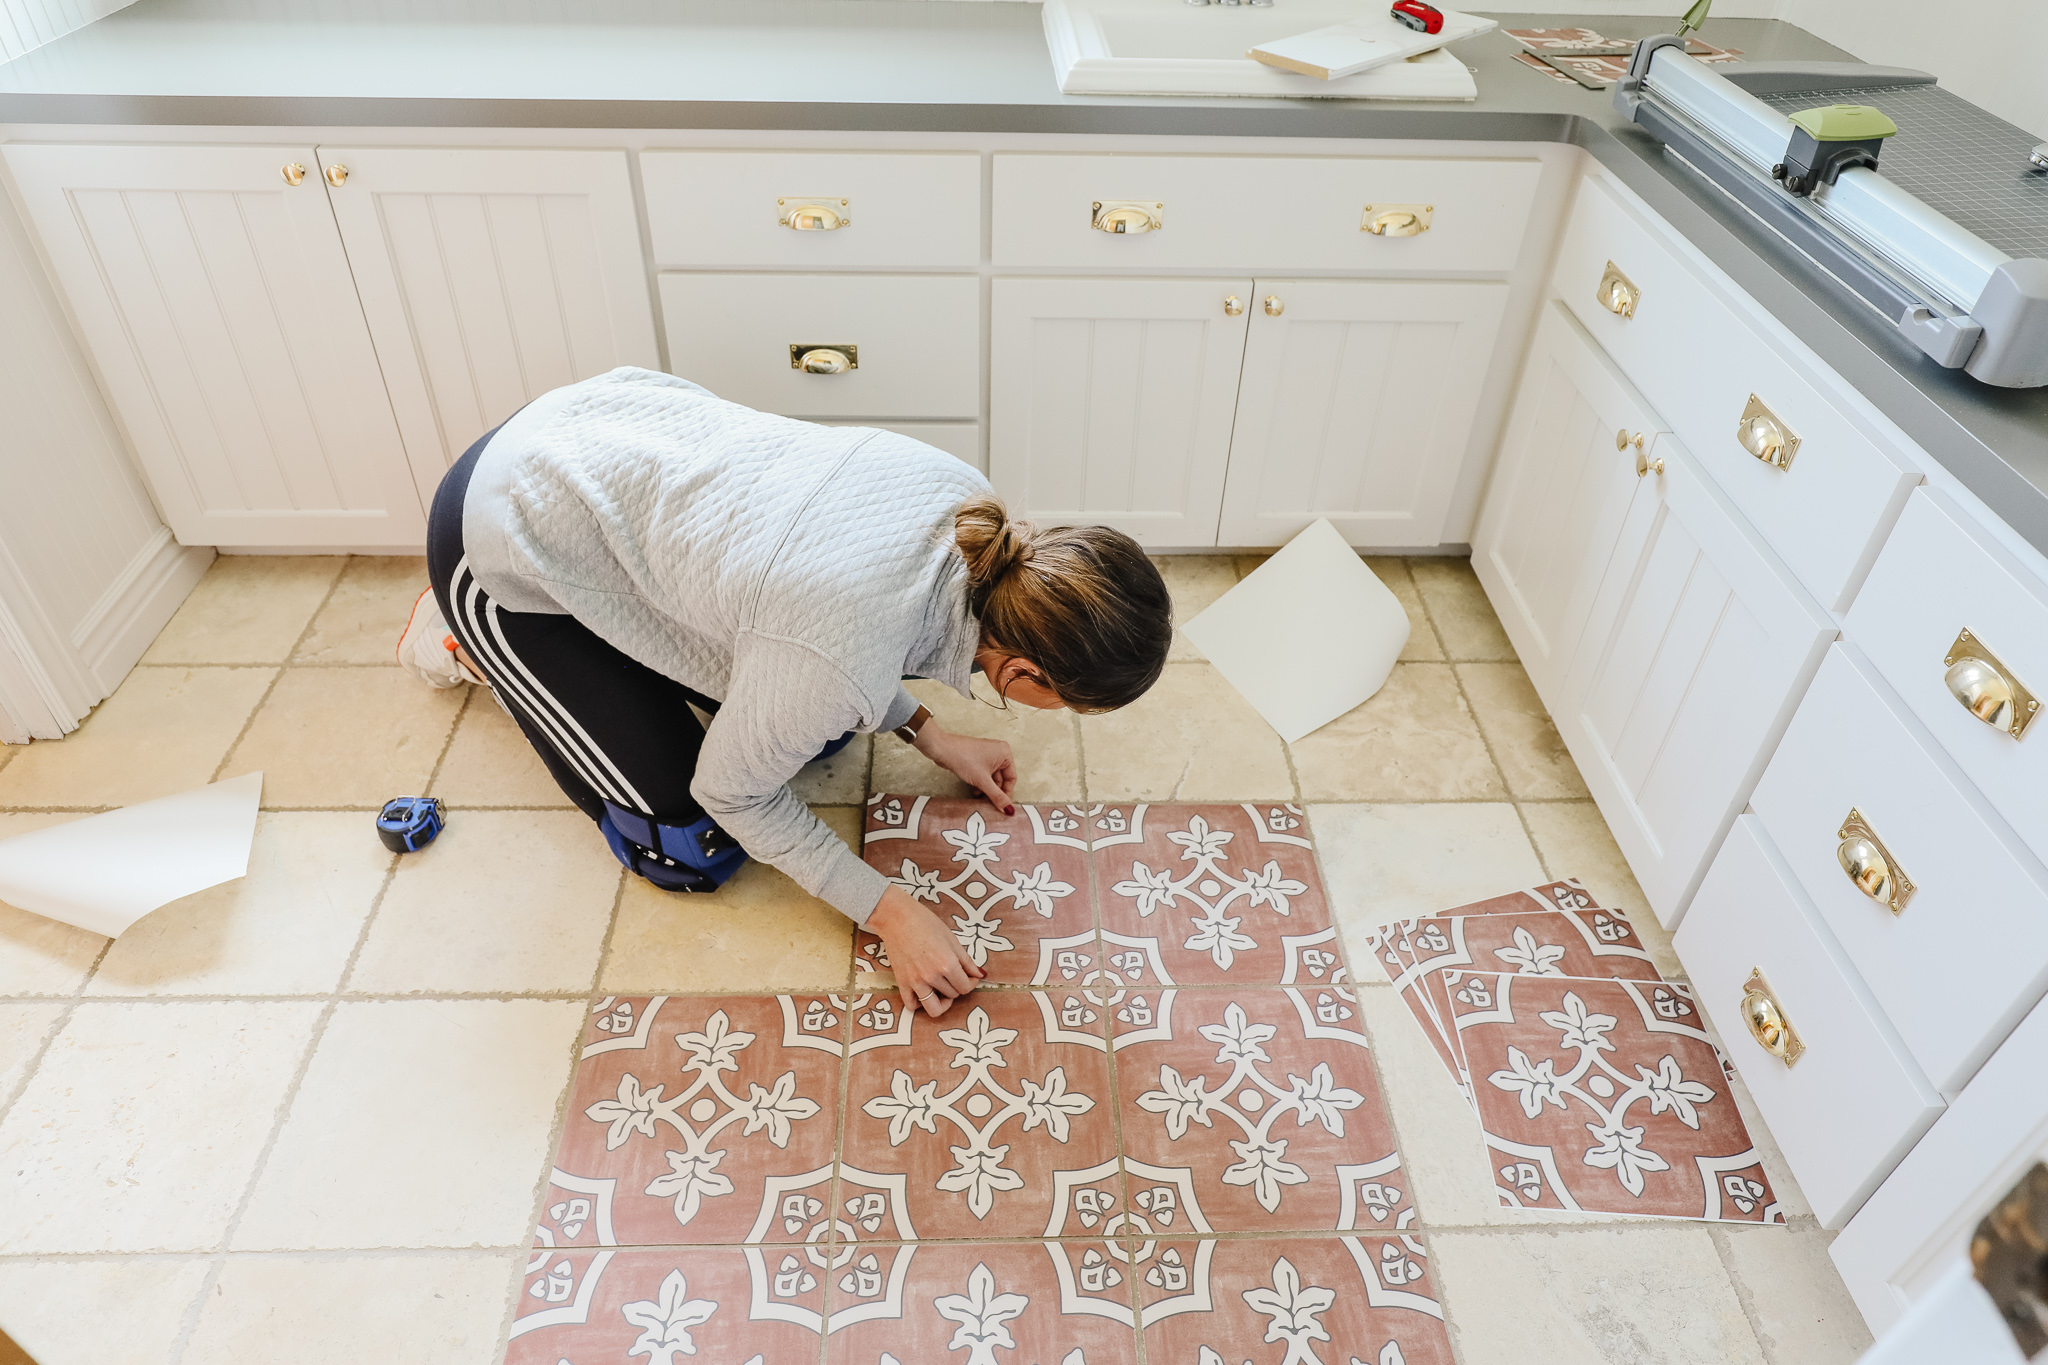
How To: Laying Peel and Stick Tile over the Bathroom Floor! – Chris Loves Julia
Lay Subfloor Bathroom : Tiled Bathroom Floor Progress (Plus A Few Tiling Tips) – Homeadvisor’s

Preparing Wood Floor For Tile In A Bathroom MyCoffeepot.Org
Prepping a Bathroom Floor for Tile JLC Online Tile, Bath, Interiors, Maine

Bathroom Floor Underlayment For Tile – Flooring Site

Installing Ceramic Tile Floor In Bathroom – How to Lay Tile: Install a Ceramic Tile Floor In the

Preparing Wood Floor For Tile In A Bathroom MyCoffeepot.Org
How to Prep and Tile a Floor – At Charlotte’s House
How To: Laying Peel and Stick Tile over the Bathroom Floor! – Chris Loves Julia
How To Prepare Shower Floor For Tile – Black and White Tile bathroom Decorating Ideas

How To Lay Peel And Stick Tile In Bathroom

Preparing Subfloor for Tile Tiles, Hardwood installation

Related Posts:
- French Country Bathroom Flooring
- Mid Century Modern Bathroom Flooring
- Rustic Bathroom Floor Tiles
- Purple Bathroom Flooring
- How To Clean Bathroom Floor Stains
- Tile Design Bathroom Floor
- Terracotta Bathroom Floor
- Cool Bathroom Floor Ideas
- Light Bathroom Floor Tiles
- Classic Bathroom Floor Tile Ideas
Installing tiles in your bathroom can be a great way to add style and elegance to the room. But before you get started, it’s important to ensure that the surface is prepared correctly. Preparing your bathroom floor for tile will help to ensure a successful installation and long-lasting results. This article will provide a step-by-step guide on how to prepare your bathroom floor for tile.
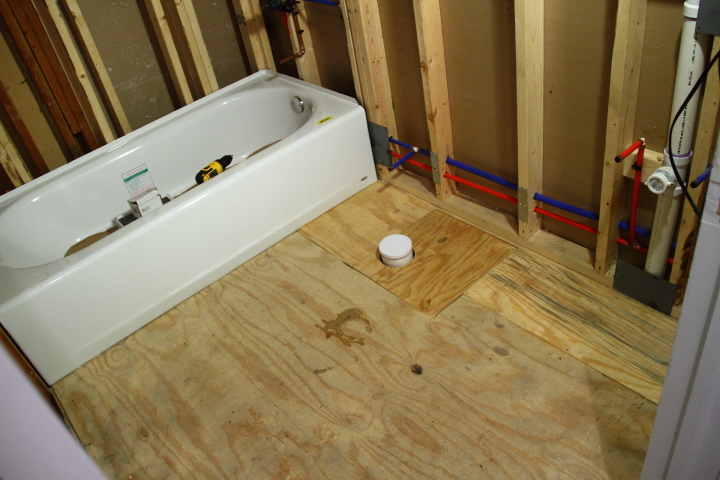
## Step 1: Clean and Repair the Floor
The first step in preparing your bathroom floor for tile is to clean the area thoroughly. Use a vacuum cleaner to remove any dirt or debris that may have accumulated on the floor. You should also inspect the floor closely for any signs of damage. If you find any cracks or holes, make sure to repair them with a concrete patching compound before proceeding.
## Step 2: Remove Any Existing Flooring
If you have any existing flooring, such as linoleum or vinyl, you’ll need to remove it before beginning your tile installation. Use a utility knife or scraper to carefully remove the old flooring and discard it. Make sure to wear safety goggles and gloves when removing the old flooring to protect yourself from any sharp objects or debris.
## Step 3: Level the Subfloor
Once you’ve removed any existing flooring, you’ll need to level the subfloor beneath it. If there are any high spots or low spots, use a trowel and self-leveling compound to even out the surface. Allow the compound to dry completely before proceeding.
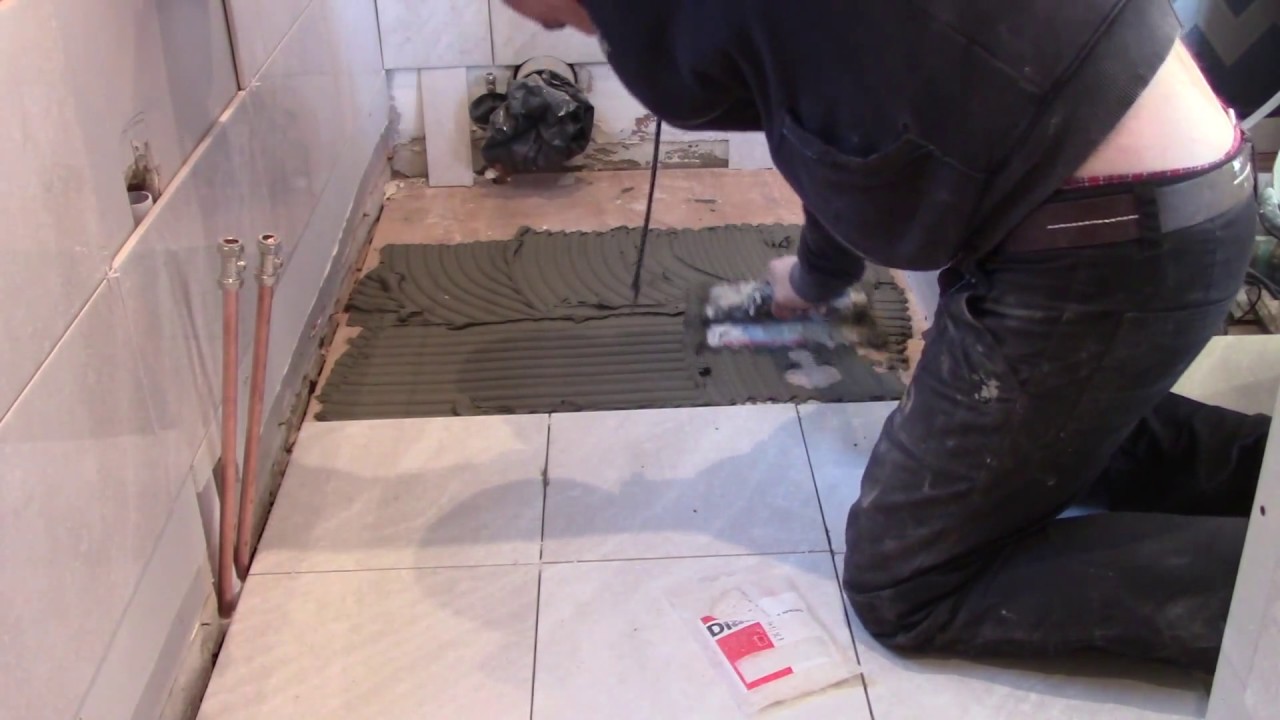
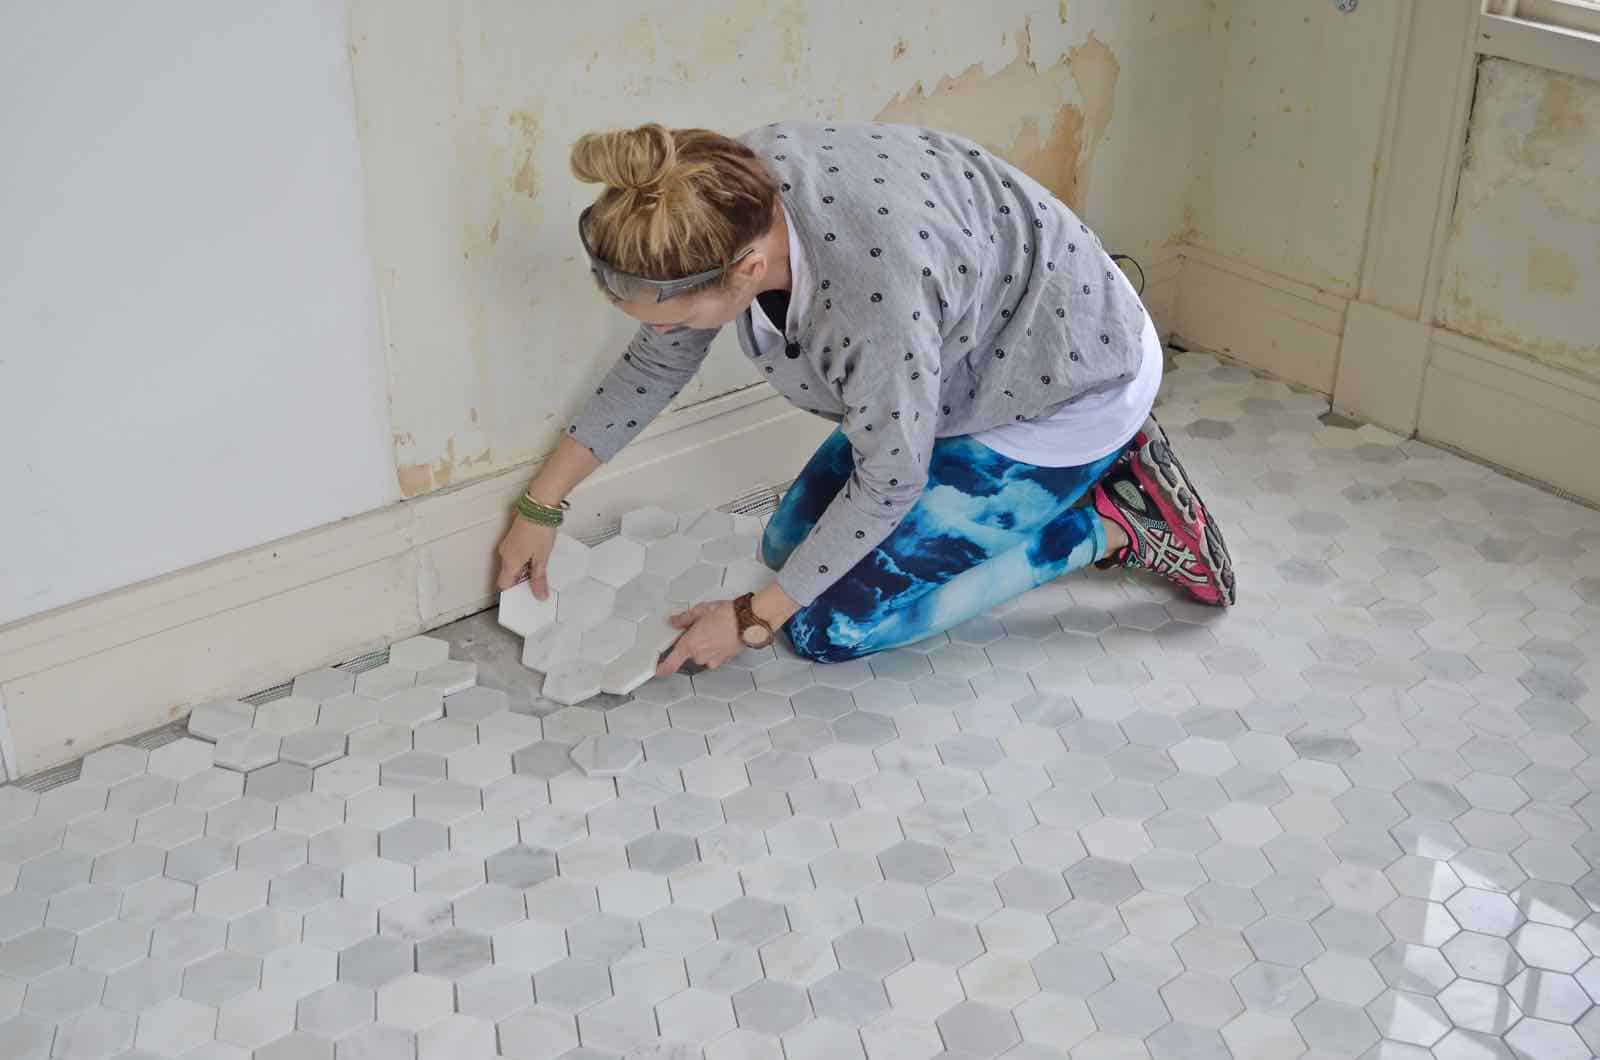
## Step 4: Apply Mortar and Lay the Tiles
Now that your subfloor is level and ready, you can begin installing the tiles. Start by mixing together mortar according to the instructions on the package. Once you’ve mixed the mortar, spread it over an area of about four square feet with a notched trowel. Place the tiles onto the mortar bed and press down firmly. Work your way across the entire surface, adding more mortar as needed until all of the tiles have been installed.
## Step 5: Grout the Tiles
Once all of your tiles have been installed, it’s time to grout them. Start by mixing together grout according to the instructions on the package. Spread a thin layer of grout over the tiles with a grout float and allow it to set up for about 15 minutes. Then, use a damp sponge to wipe away any excess grout and create clean lines between each tile. Allow the grout to dry for 24 hours before walking on it or using it in any way.
## Step 6: Seal Your Tiles
Finally, you’ll want to seal your tiles in order to protect them from water damage and stains. Choose a sealer that is specifically designed for ceramic tile and apply it according to the instructions on the package. This will help keep your bathroom floor looking beautiful for years to come!
Installing new tiles in your bathroom can be an exciting project that adds style and elegance to your space. But before you get started, it’s important to make sure that you prepare your bathroom floor for tile correctly. Following this step-by-step guide will help ensure that your installation is successful and that your tiles last for years without needing repairs or replacements.