How To Remove Old Tile Floor And Install New
18 Tile Removal Tools to Prepare Before Going into Action
How To Remove A Tile Floor and Underlayment – A Concord Carpenter
How To Remove A Tile Floor and Underlayment – A Concord Carpenter
Best way to remove floor tile from linoleum on concrete!!! – YouTube
Old Vinyl Tiles Removal from Floor in a Room or Kitchen Stock Photo – Image of house, installing

How to Remove a Tile Floor how-tos DIY
How to Remove a Tile Floor how-tos DIY
Tile Flooring: Demo + Installation Centsational Style
Removing a Tiled Backsplash + Prepping Walls for New Tiles One Room Challenge Week 3

How To Remove Bathroom Tiles Without Breaking Them – Rispa
HOW TO REMOVE TILE FLOOR Deluxe art home improvement

Related Posts:
- Cuban Tile Floors
- Easy Way To Grout Tile Floor
- Types Of Marble Tile Flooring
- Slate Tile Floor
- Classic Bathroom Tile Floors
- Tile Floor Color Ideas
- Wet Mops For Tile Floors
- Staining Saltillo Tile Floors
- Terrazzo Tile Floor Outdoor
- Tile Flooring For Screened Porch
Flooring is an important part of any home, and it can be a daunting task to replace old floor tiles with new ones. However, if you take the time to learn how to do it properly, you can make your home look like new again in no time. In this article, we’ll give you an overview of how to remove old tile floor and install new. Keep reading to find out all the steps you need to take for a successful installation.
## Removing Old Tiles
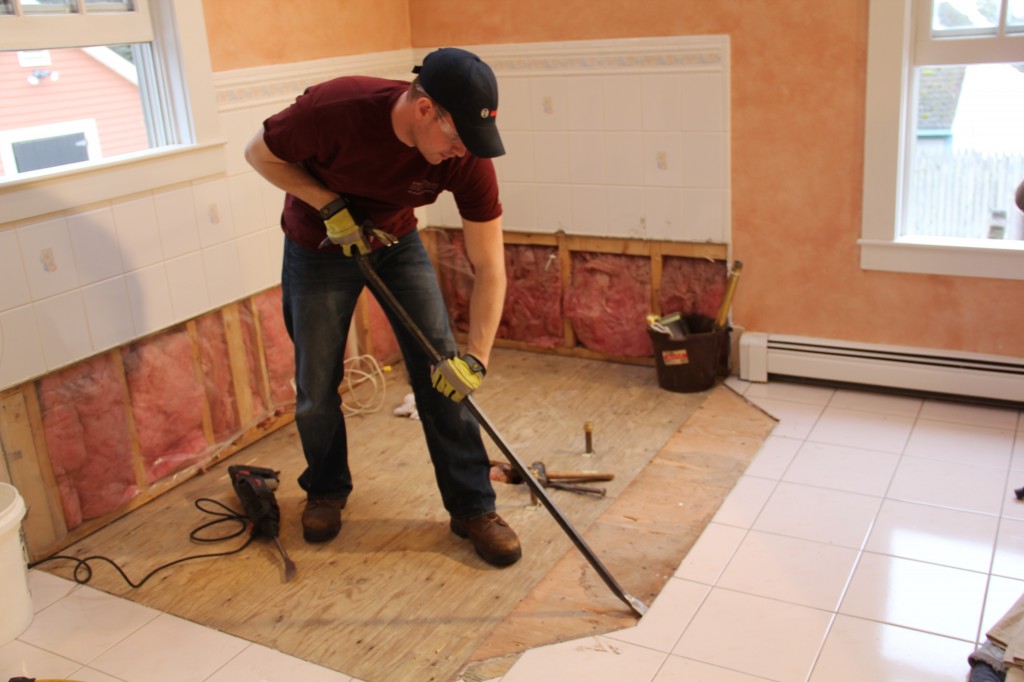
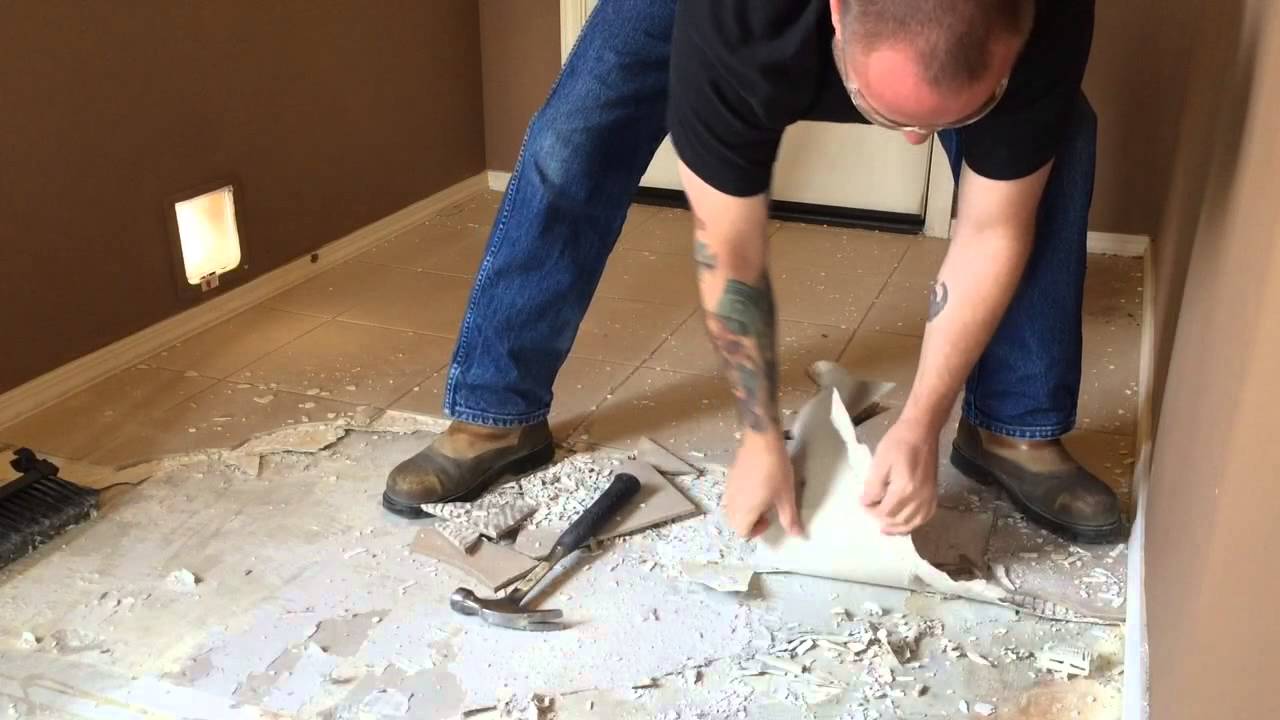
The first step in replacing your old tile floor is to remove the existing tiles. This can be a labor-intensive process, so it’s important that you take the time to do it right. Start by assessing the condition of your tiles. If they are cracked or loose, they may need to be replaced or repaired before you can start the removal process.
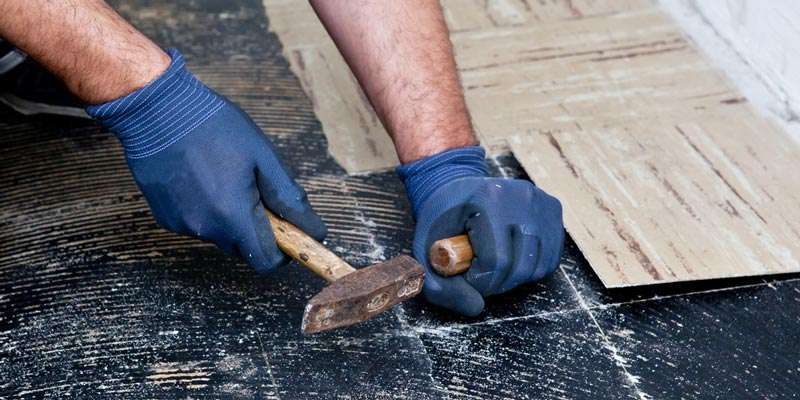
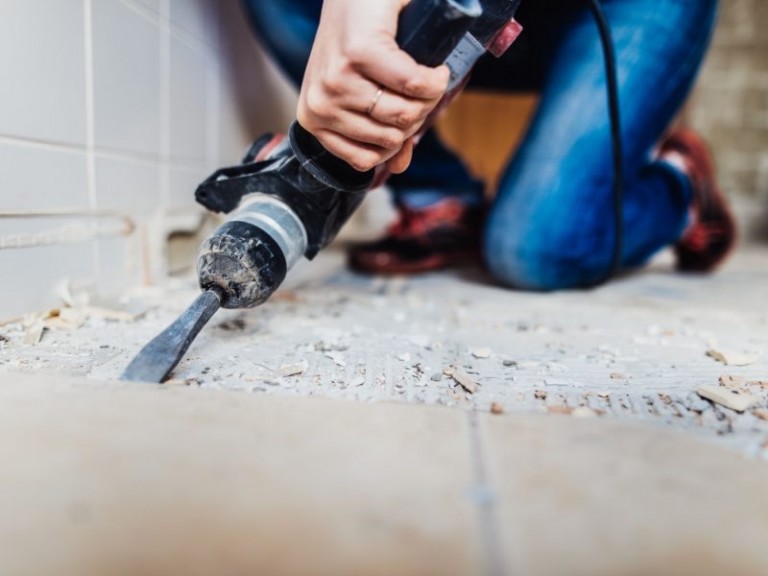
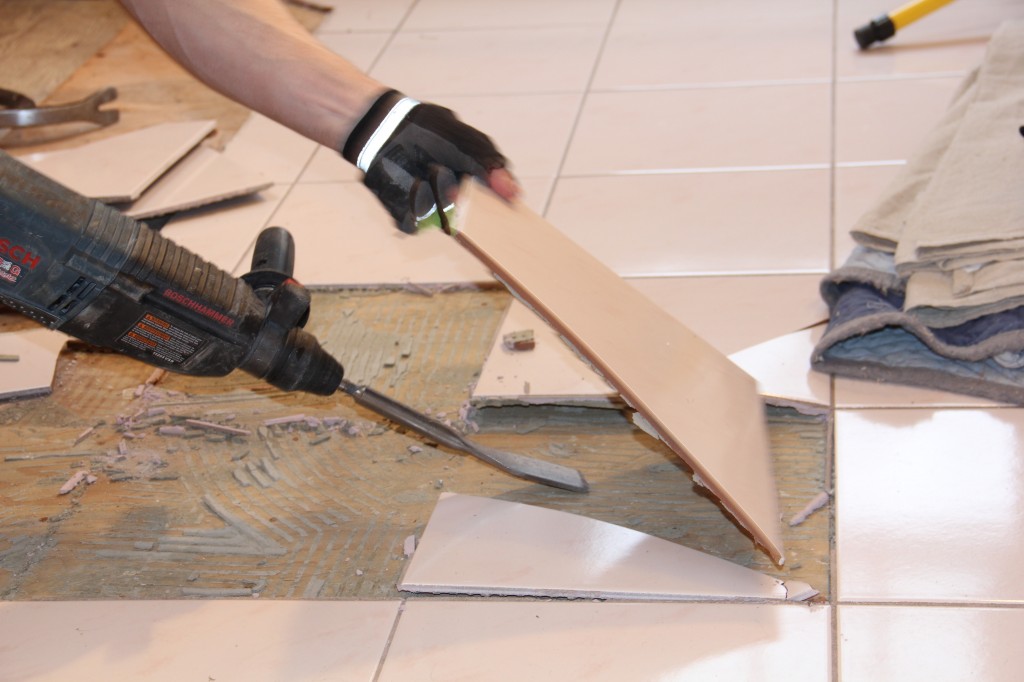
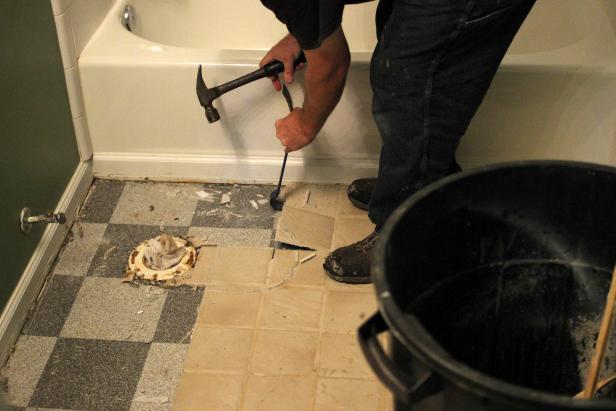
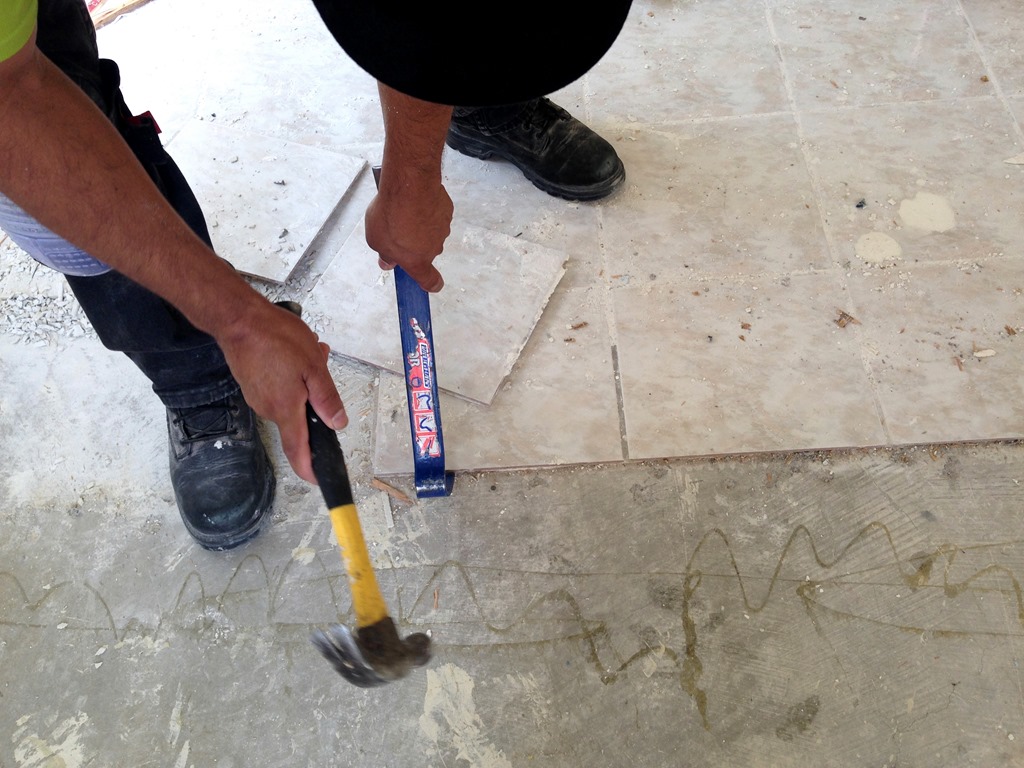
Once you have determined that the tiles are in good condition, it’s time to start removing them. You will need a few tools for this job, including a chisel, hammer, putty knife, and sponges. Start by using the chisel and hammer to score along the grout lines between each tile. This will help loosen them from their base. Once each tile is scored, use the putty knife to pry them up from the floor.
When you have removed all of the tiles, you should give the area a thorough cleaning. Use a damp sponge and some detergent to remove any dirt, dust, or debris that may still be left behind. Wipe down all surfaces with a dry cloth and make sure that all adhesive has been thoroughly removed.
## Installing New Tiles
Once you have finished removing the old tiles, it’s time to install your new ones. Start by measuring the area where you will be installing the new tiles and creating a template for yourself. This will help ensure that your tiles fit correctly and will provide a more professional finish once they are installed.
Before installing your new tiles, make sure that the area is clean and dry. You’ll also want to spread mortar over the surface and let it dry for 24 hours before beginning installation. This will help create a strong bond between the tiles and your flooring base.
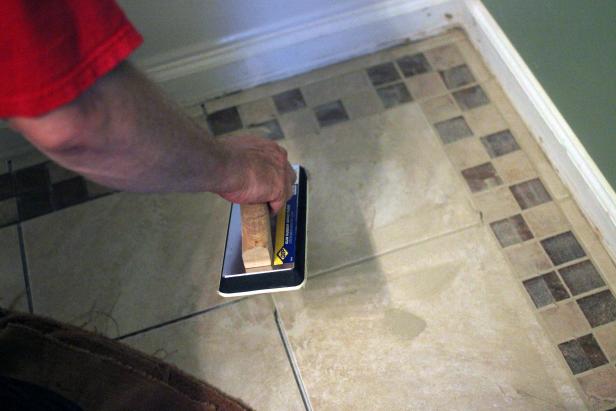
Once everything is ready, begin laying your new tiles in place one by one. Make sure that each tile is flat before pressing it down into place with your hands or a rubber mallet. Once all of your tiles are installed, allow them to dry for 24 hours before grouting them in place with a grout trowel or float.
## Sealing and Finishing Your Tiles
Once all of your tiles are installed and grouted, it’s time to seal them in place with a sealant or grout sealer. This will help protect them from water damage and keep them looking their best for years to come. After allowing the sealant to dry for 24 hours, you can finish off your installation by adding trim molding around the edges of your new tile flooring or installing baseboard trim along its edges.
By following these steps, you can easily replace old tile flooring with new and create a beautiful finished look in no time at all!