How To Replace Bathroom Floor Vinyl (6)

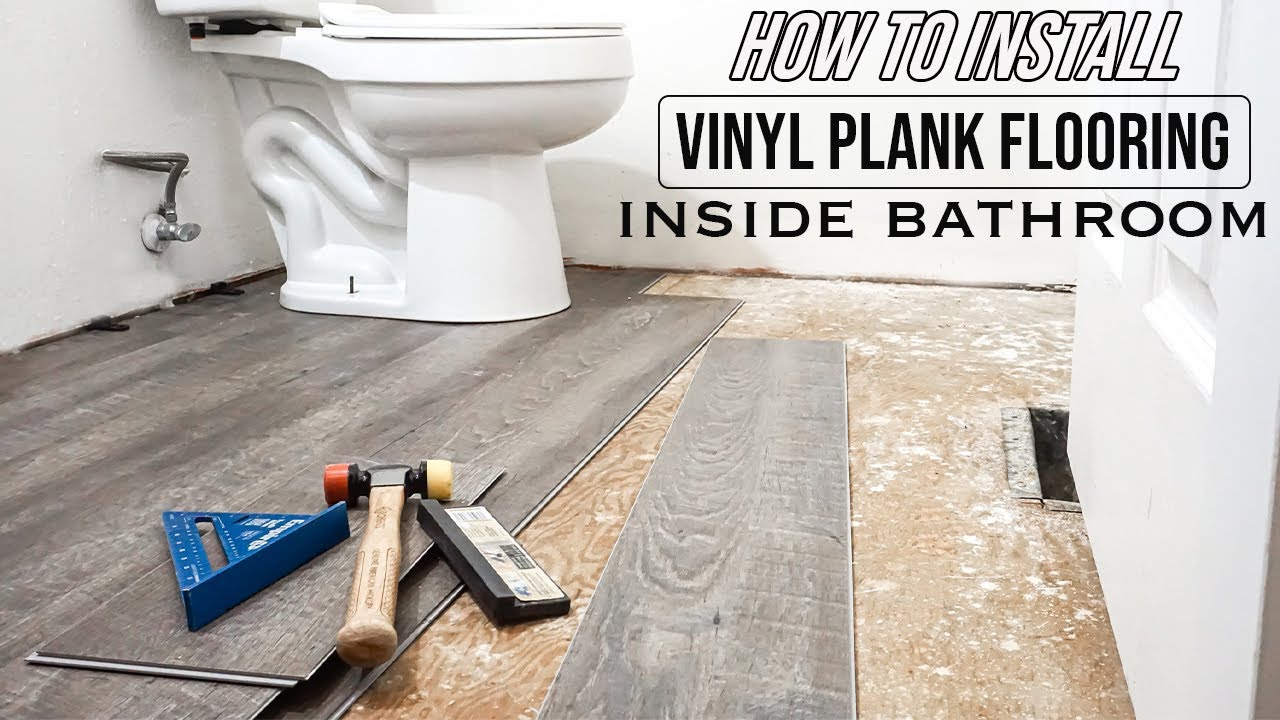
How To Install Vinyl Plank Flooring In A Bathroom As A Beginner Home Renovation – YouTube (6)
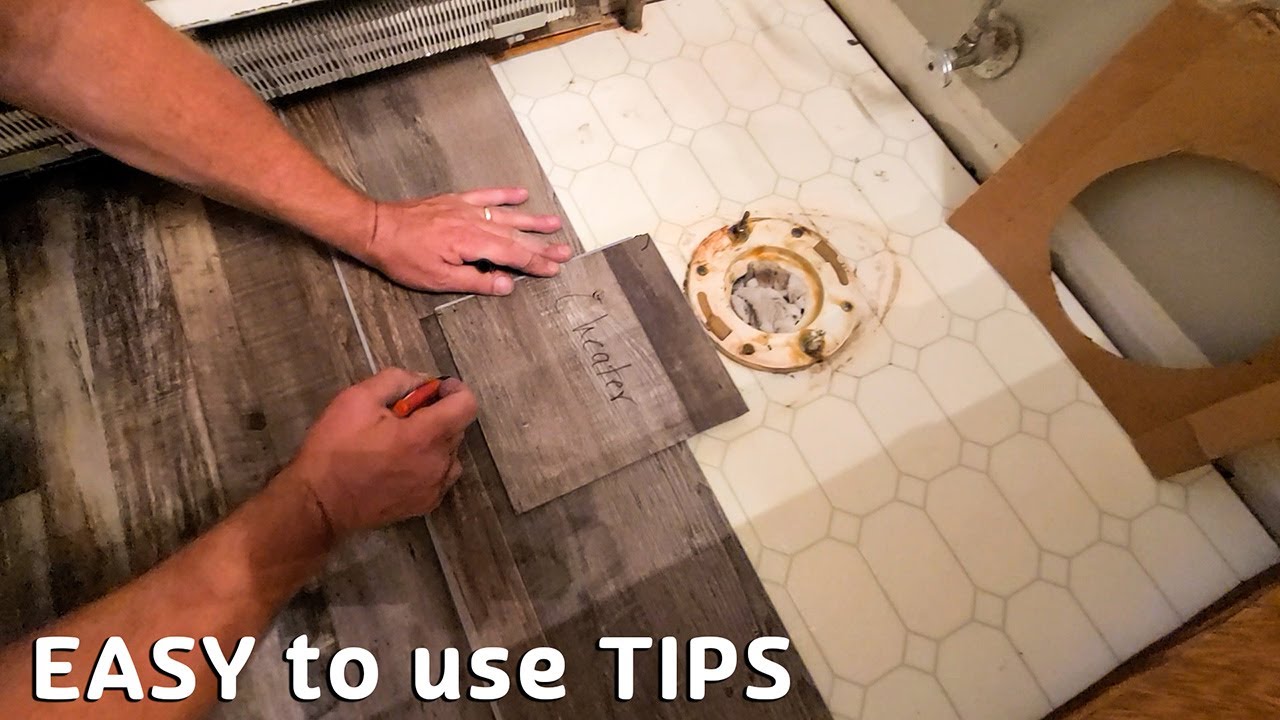
Installing vinyl plank flooring in a bathroom Vinyl plank flooring, Allure vinyl plank (6)

Installing Peel And Stick Vinyl Tile – sclubutorrent (6)

My friend made a helpful video on how to remove vinyl floor and tile a small bathroom. Vinyl (6)

LVT Flooring Over Existing Tile the Easy Way – Vinyl Floor Installation DIY in 2020 Lvt (6)

Which Direction To Lay Vinyl Plank Flooring In A Bathroom Floor Roma (6)
11 Steps to Install Floating Vinyl Plank Flooring In a Bathroom (6)
How to Install Vinyl Sheet Flooring – A Butterfly House (6)

How To Lay A Vinyl Floor In A Bathroom – Installing Vinyl Flooring In Bathroom TcWorks.Org (6)

laying vinyl floor Laying vinyl flooring, Vinyl sheet flooring, Diy flooring (6)

Do It Yourself Bathroom Floor Vinyl – how to remove old vinyl floor glue (6)

Related Posts:
- French Country Bathroom Flooring
- Mid Century Modern Bathroom Flooring
- Rustic Bathroom Floor Tiles
- Purple Bathroom Flooring
- How To Clean Bathroom Floor Stains
- Tile Design Bathroom Floor
- Terracotta Bathroom Floor
- Cool Bathroom Floor Ideas
- Light Bathroom Floor Tiles
- Classic Bathroom Floor Tile Ideas
Replacing the vinyl flooring in your bathroom may seem like a time-consuming project, but it doesn’t have to be. With the right tools and materials, you can easily update your bathroom flooring to make it look brand new. Whether you’re looking for a low-cost, DIY project or want to hire a professional, this article will provide you with all the information you need to know about replacing bathroom floor vinyl.
What To Know Before Replacing Bathroom Floor Vinyl
Before replacing your bathroom floor vinyl, there are some important factors to consider. First, you’ll want to measure the size of the room and determine how much material you’ll need to purchase. Knowing the size of the room will help you choose the best vinyl for your needs. Additionally, you’ll want to take into account any existing damage or wear and tear on the existing flooring. This will help you decide whether you should repair or replace the entire floor.
Tools and Materials Needed for Replacing Bathroom Floor Vinyl
Once you’ve determined the size of the room and any existing damage, it’s time to gather the necessary tools and materials for your project. When it comes to replacing bathroom floor vinyl, there are a few essential items that every homeowner needs. These include:
-Vinyl sheeting
-Utility knife
-Measuring tape
-Flooring adhesive
-Protective gloves
-Roller or squeegee
-Handsaw or miter saw
-Hammer and nails
-Caulk gun
-Crowbar
How To Replace Bathroom Floor Vinyl Step By Step
Once you have all the necessary tools and materials, it’s time to start replacing your bathroom floor vinyl. Here is a step-by-step guide on how to get started:
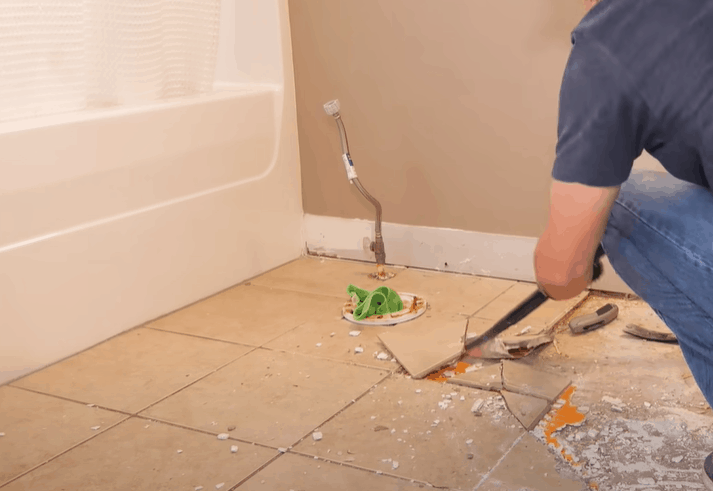
Step One: Remove The Old Flooring
The first step in replacing bathroom floor vinyl is to remove the old flooring. Start by using a pry bar or crowbar to loosen any existing glue or nails that are securing the old flooring in place. Be sure to wear protective gloves and use caution while working with sharp objects such as a utility knife or pry bar. Once all of the old flooring has been removed, use a vacuum cleaner or broom to thoroughly clean the subfloor beneath it.
Step Two: Measure And Cut The Vinyl Sheet
Once the subfloor is clean and dry, it’s time to measure and cut your new vinyl sheet. Using a measuring tape, measure out a piece that is slightly larger than the dimensions of your bathroom floor. Once everything is measured out, use a handsaw or miter saw to cut the sheet according to your measurements. If necessary, use an adhesive remover product to clean any residue from the back of your sheet as well as any remaining glue from your subfloor before moving on to the next step.
Step Three: Install The New Vinyl Sheet
Next, apply an adhesive remover product to both sides of your new vinyl sheet and spread it evenly over both surfaces with a roller or squeegee. Once everything is evenly spread out, place the sheet onto your subfloor and press down firmly until it is firmly attached. Use a hammer and nails if necessary to secure it in place. Finally, use a caulk gun to fill in any gaps between the sheet and subfloor for added protection against moisture damage.
Step Four: Maintain The New Vinyl Sheet
Now that your new vinyl sheet is installed, it’s important to maintain it properly in order to keep it looking good for years to come. To prevent wear and tear from everyday use, consider investing in an anti-slip mat or rug for added protection against scratches and scuffs. Additionally, be sure to regularly sweep or vacuum your floors in order to remove dirt and debris that can build up over time. Finally, use a mild detergent such as dish soap with water when cleaning your floors in order to avoid damaging them with harsh chemicals or abrasives.
Conclusion
Replacing bathroom floor vinyl doesn’t have to be complicated or time consuming – all you need are the right tools and materials, along with some patience! By following these steps carefully, you can easily