Installing Waterproof Vinyl Flooring (Video)
Installation: Waterproof Vinyl Flooring – YouTube

Installing waterproof Vinyl plank flooring – YouTube
Installing Vinyl Plank Floating Floor in my Bedroom Shaw Resilient Luxury Resort Teak

What is Vinyl Plank Flooring? Basement flooring waterproof, Basement flooring options, Vinyl plank

How To Install DuraLux Luxury HP Highland Grey Salvage Waterproof Vinyl Vinyl plank

What Are the Benefits of Installing a Waterproof Vinyl Floor at Home? – Lives On
Installing Vinyl Floors – A Do It Yourself Guide Installing vinyl plank flooring, Diy flooring

Installing Lifeproof Flooring In Bathroom : How To Install Vinyl Plank Flooring In A Bathroom
Installing Lifeproof Flooring In Bathroom : Installing Vinyl Plank Flooring: Lifeproof

How to Install Vinyl Plank Flooring as a Beginner Home Renovation – YouTube

How to install Lifeproof Vinyl Flooring – YouTube

Related Posts:
- Pine Vinyl Flooring
- Vinyl Floor Laying DIY
- Cortex Vinyl Flooring
- Grey Slate Effect Vinyl Floor Tiles
- Dark Oak Vinyl Flooring
- Limestone Effect Vinyl Flooring
- Vinyl Floor With Border
- Adhesive For Vinyl Flooring To Concrete
- Teak Wood Vinyl Flooring
- Cheap Vinyl Flooring
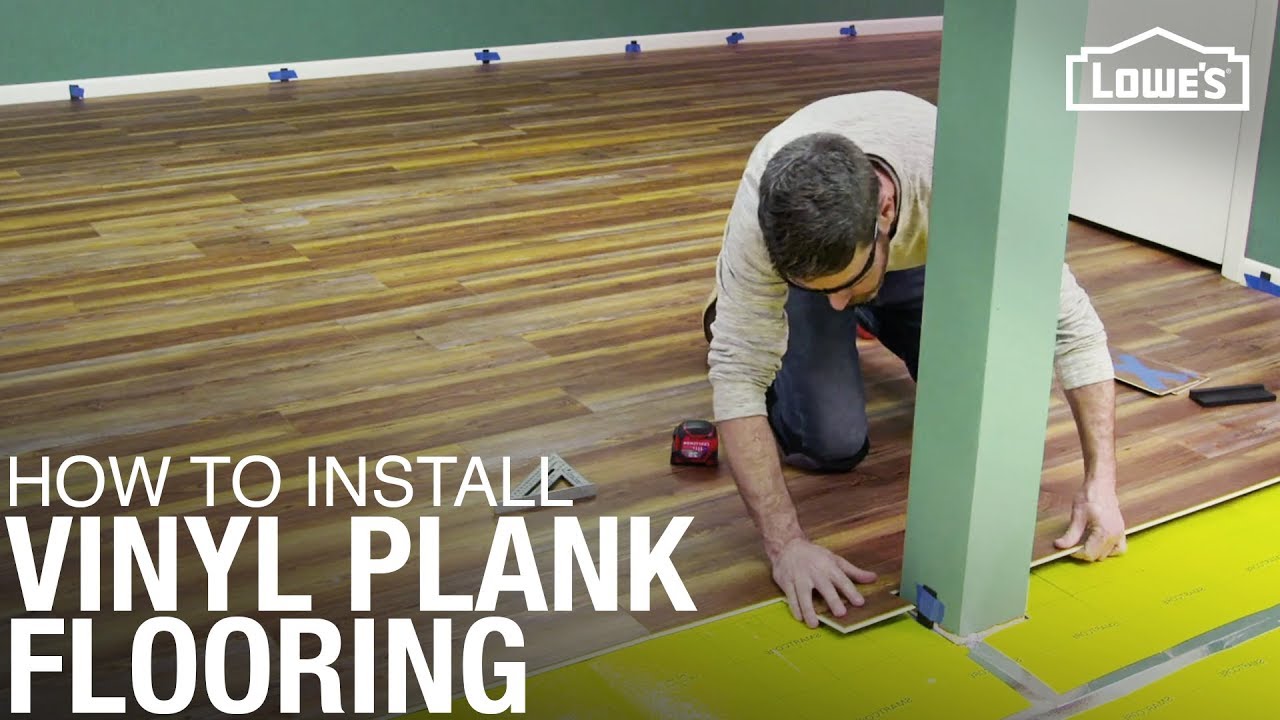
Vinyl flooring is a great choice for a home as it is long-lasting, durable, and easy to maintain. It also comes in a variety of colors and patterns, so you can find something to match your décor. An added benefit of vinyl is that it can be installed with waterproofing, making it perfect for bathrooms and kitchens. In this comprehensive guide, we’ll discuss the steps to installing waterproof vinyl flooring in your home.
### What You’ll Need For Installation
Before you begin installing your vinyl flooring, you’ll need to gather the necessary materials. This list will vary depending on the complexity of your project, but here’s a basic list to get you started:
* Vinyl flooring rolls or tiles
* Seam sealer
* Utility knife
* Tape measure
* Chalk line
* Adhesive
* Tapping block
* Spacers
* Rubber mallet
* PVC trim piece (optional)
You may also need additional items such as a miter saw and hammer depending on the size of your project. Make sure to read the instructions that come with your flooring to determine what other materials may be necessary for installation.
### Preparing Your Subfloor
Once you have all the materials needed for installation, it’s time to prepare the subfloor. Start by inspecting the subfloor for any cracks or uneven surfaces that may affect installation. If you find any problems, use a concrete patch to repair them before moving forward. Make sure the area is clean of dust or debris and completely dry before proceeding.
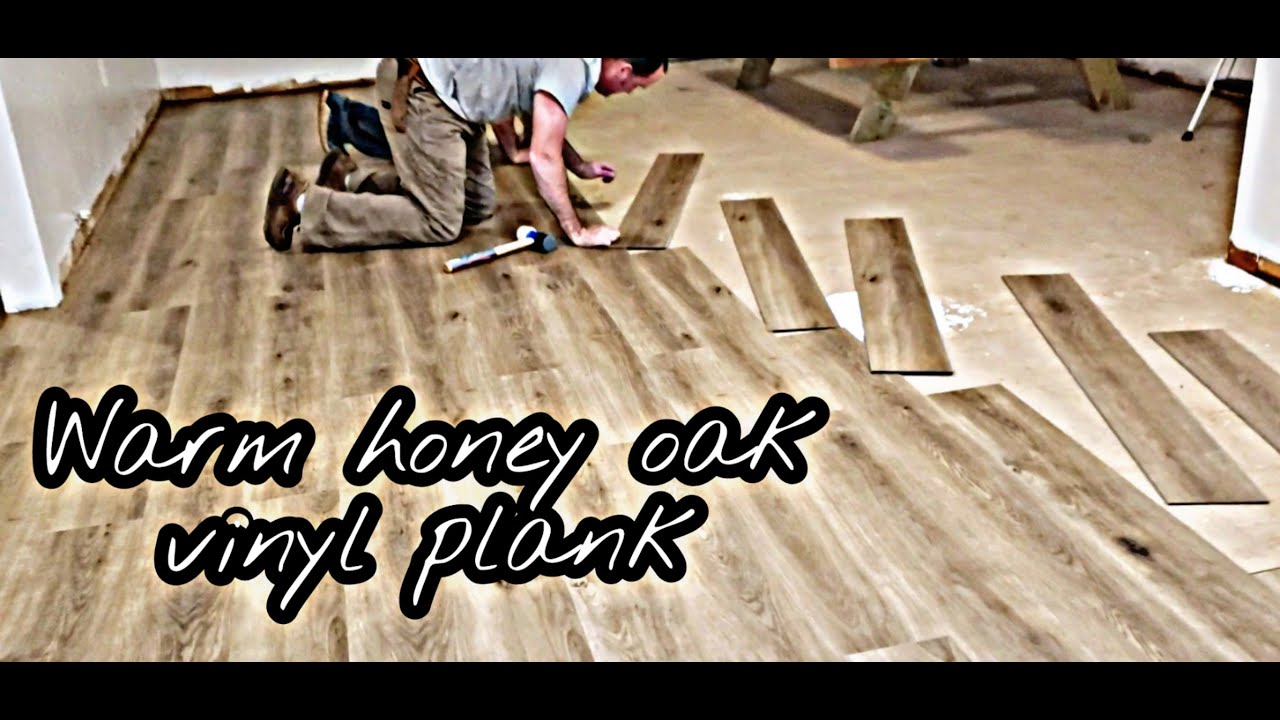
### Laying Out Your Vinyl Flooring
Before you start installing your waterproof vinyl flooring, you’ll need to lay out the pieces so that you can get an idea of how they fit together. Use a tape measure and chalk line to ensure accuracy when laying out your design. It’s important to leave a 3/8-inch gap between all walls and fixtures, as this will help provide room for expansion during temperature changes. Once you have laid out the pieces, use spacers around all edges to ensure proper spacing once installed.
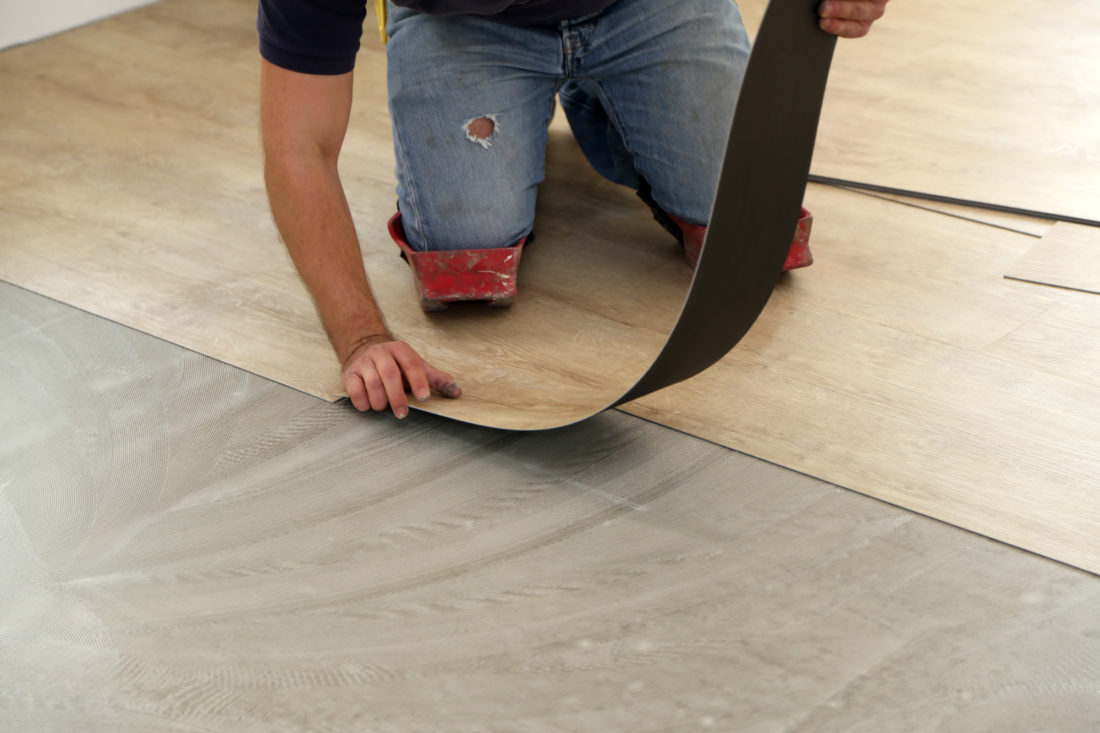
### Installing The Vinyl Flooring
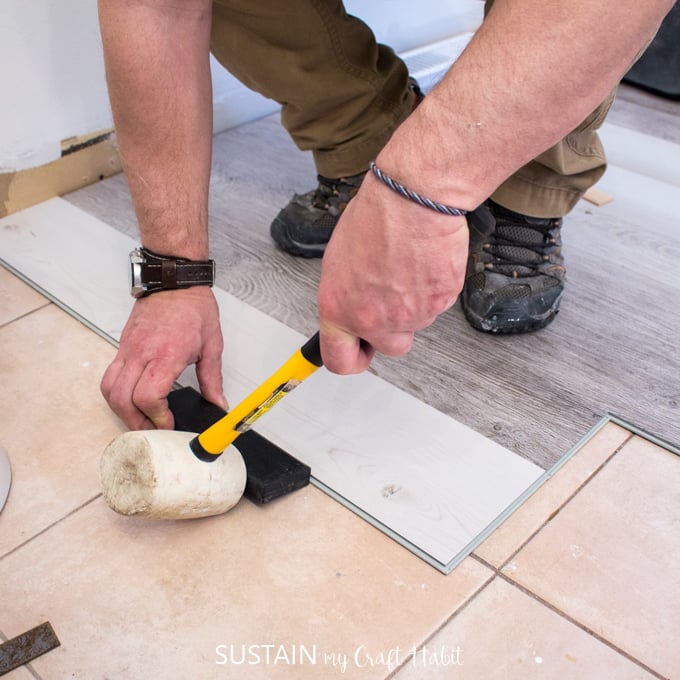
Now that everything is ready for installation, it’s time to get started! Begin at one corner of the room and use an adhesive to secure the first piece of vinyl flooring in place. Make sure it is completely secure before moving on to the next piece. Once it is in place, use a rubber mallet and tapping block along all edges to ensure a snug fit between pieces. Continue this process until all pieces are securely installed. Once complete, allow the adhesive to dry for 24 hours before moving on to the next step.
### Sealing The Seams
Once the adhesive has dried, it’s time to seal the seams between pieces of vinyl flooring. Start by applying a bead of seam sealer along all edges where two pieces meet. Use a utility knife or putty knife to spread the sealer evenly across each seam. Allow this to dry for 24 hours before using a damp cloth to remove any excess sealant from the surface of your vinyl flooring.
### Finishing Touches (Optional)
For an extra touch of style, you can install PVC trim pieces along wall edges and transitions between rooms. To do this, measure each space and cut pieces of PVC trim accordingly using a miter saw or utility knife. Use adhesive to attach each piece in place and use a hammer or rubber mallet to secure them firmly into place. Once all pieces are installed, allow them to dry overnight before using your new waterproof vinyl flooring!