Laying A Concrete Floor For A Shed

Best Floor Shed is a Concrete Slab #sheddesigns Concrete sheds, Shed floor, Shed storage

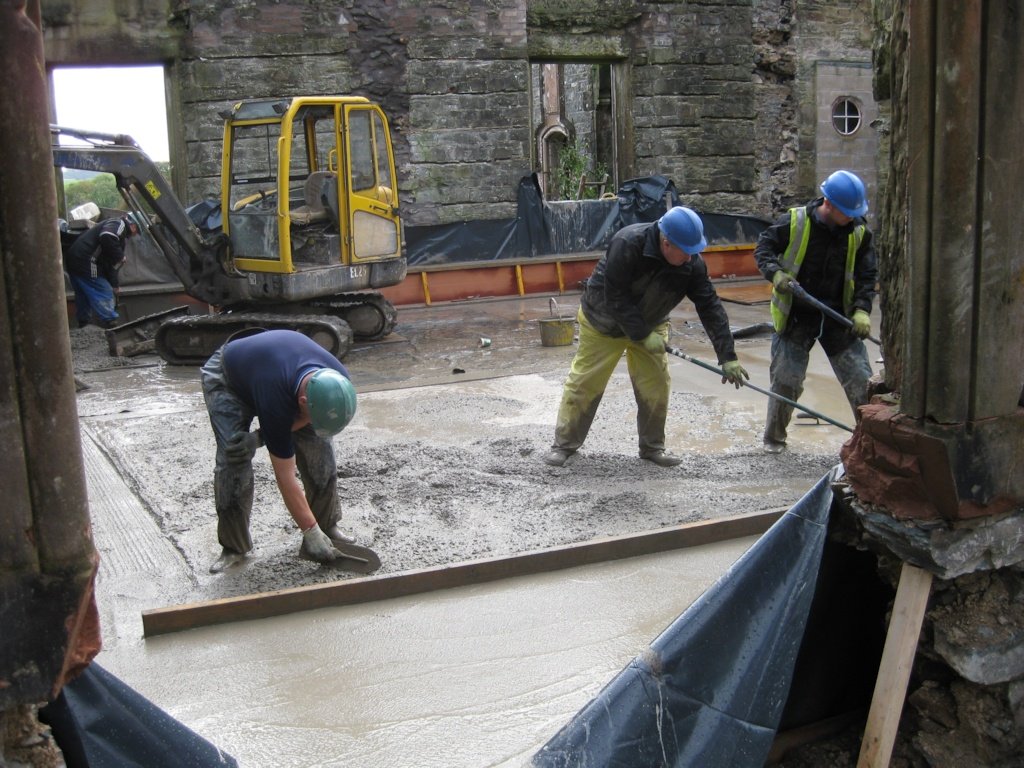
How do I prepare and lay a concrete slab for a garden shed? – Concrete4u

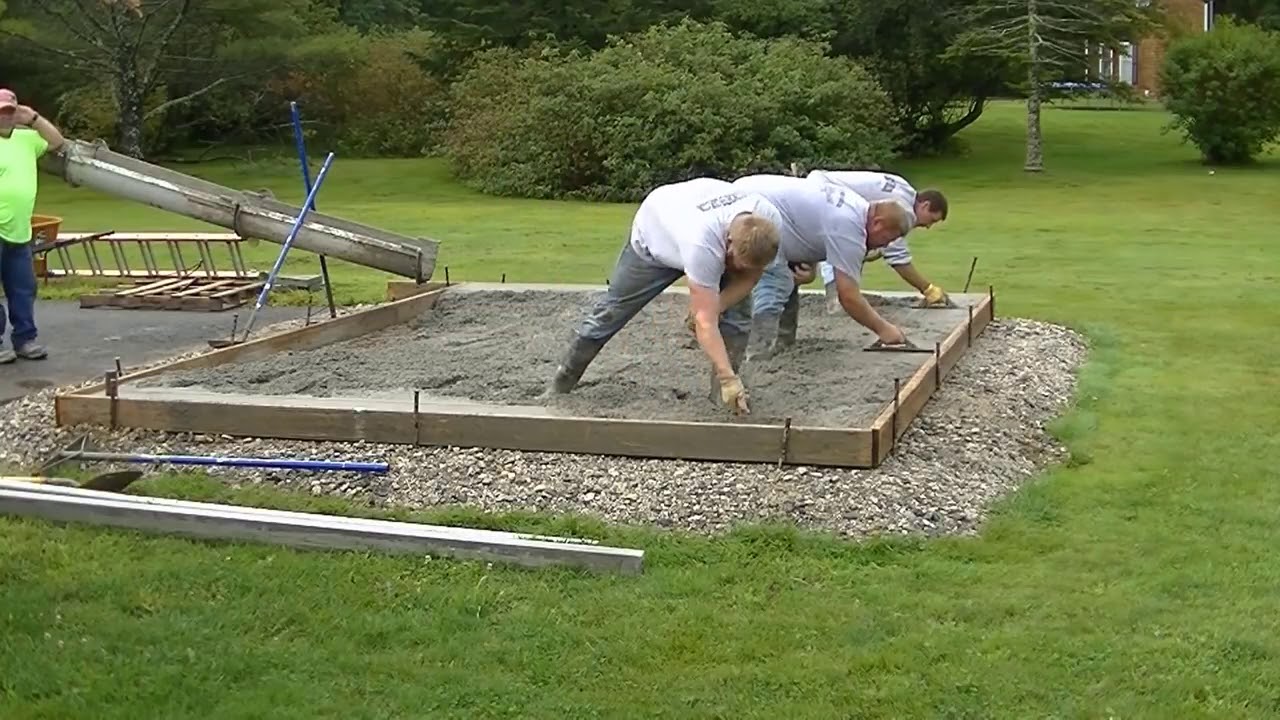
How To Form, Pour, And Finish A Concrete Shed Slab! DIY! – YouTube
Storage house Birmingham, woodworking hand tools UK catalogue, laying a concrete base for a shed
How to Pour a Concrete Slab for a Shed [Complete Guide] Concrete base for shed, Concrete sheds

How to lay a shed base with paving slabs Simply Paving in 2020 Paving slabs, Shed base, Shed

Bobby Crouser: How to build concrete shed base

Pin on Shed Site Preparation

Laying a Foundation for a Tool Shed or Children’s Playhouse : 6 Steps (with Pictures

How to Pour a Concrete Shed Slab for Beginners – YouTube

How to Make a Concrete Shed Base Allotment Book

Related Posts:
- Outdoor Concrete Flooring Ideas
- Concrete Floor Polishing
- Interior Concrete Floor Paint Ideas
- Concrete Floor Epoxy Crack Filler
- Concrete Floor Basement Ideas
- Painting Concrete Floor With Epoxy
- Outdoor Concrete Floor Paint Ideas
- Concrete Floor Painting Tips
- Outdoor Concrete Floor Finishes
- Non Slip Concrete Floor
Laying a concrete floor for a shed is a great way to add value and durability to your outdoor space. A concrete floor can last for decades, so it’s worth taking the time to get it right. In this article, we’ll walk you through the steps you need to take to ensure your concrete floor is laid correctly and looks great.
Getting Ready to Lay the Concrete Floor
Before you begin laying your concrete floor, there are some important things that you need to do first. Here are some of the steps that you should take:
1. Clear the Area: First, you’ll need to clear the area where your concrete floor will go of any debris or plants. Make sure that the ground is level before you start laying the concrete.
2. Choose Your Materials: You’ll need to choose between different types of concrete mix and decide whether or not you want to add reinforcing materials like wire mesh or rebar. Make sure that you purchase enough material for your project.
3. Prepare the Subgrade: Before you lay the concrete, you’ll need to prepare the subgrade (the layer beneath the concrete) by compacting it and adding a layer of gravel or sand. This will help ensure that your concrete floor is strong and durable.
Laying the Concrete Floor
Now that you’ve prepared the area and chosen your materials, it’s time to start laying your concrete floor. Here are some tips for getting it right:
1. Mix the Concrete: You’ll need to mix the concrete according to the instructions on the bag or container. Make sure that you wear protective gear when mixing and pouring the concrete.
2. Pour and Spread: Once you’ve mixed up enough concrete, pour it into the prepared area and spread it out evenly with a trowel or shovel. Make sure that there are no air pockets in the concrete as this can weaken it over time.
3. Level and Smooth: Use a hand float or power trowel to level and smooth out your concrete floor. This will help ensure that it’s even and level when it dries.
4. Cure and Seal: Once your concrete is dry, it’s important to cure it properly by keeping it moist for several days after it has been poured. Once cured, you can seal it for added protection against water and stains.
By following these simple steps, you can easily lay a strong and durable concrete floor in your shed. With a little bit of patience and attention to detail, you can create a beautiful floor that will last for years to come! SEO Title: How To Lay Concrete Flooring For Your Shed | Step-By-Step Guide
What tools are needed for laying a concrete floor for a shed?
1. Tape measure2. Masonry trowel
3. Level
4. Shovel
5. Concrete mix
6. Hand Float
7. Edging tool
8. Power drill and masonry drill bit
9. Hammer and chisel
10. Wheelbarrow
11. Jointer
12. Safety gear (protective eyewear, gloves, etc.)