Light Porcelain Tile Floors

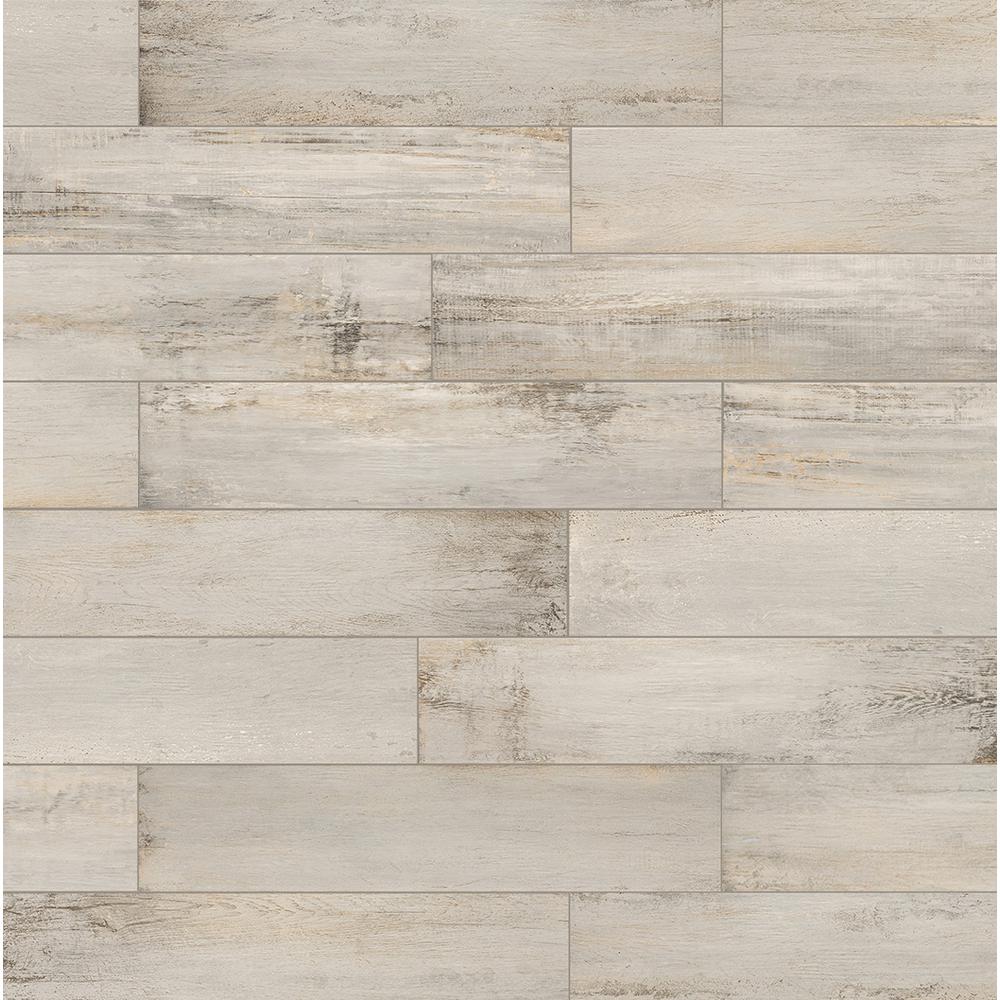
Florida Tile Home Collection Serene Wood Light Grey 8 in. x 36 in. Matte Porcelain Floor and
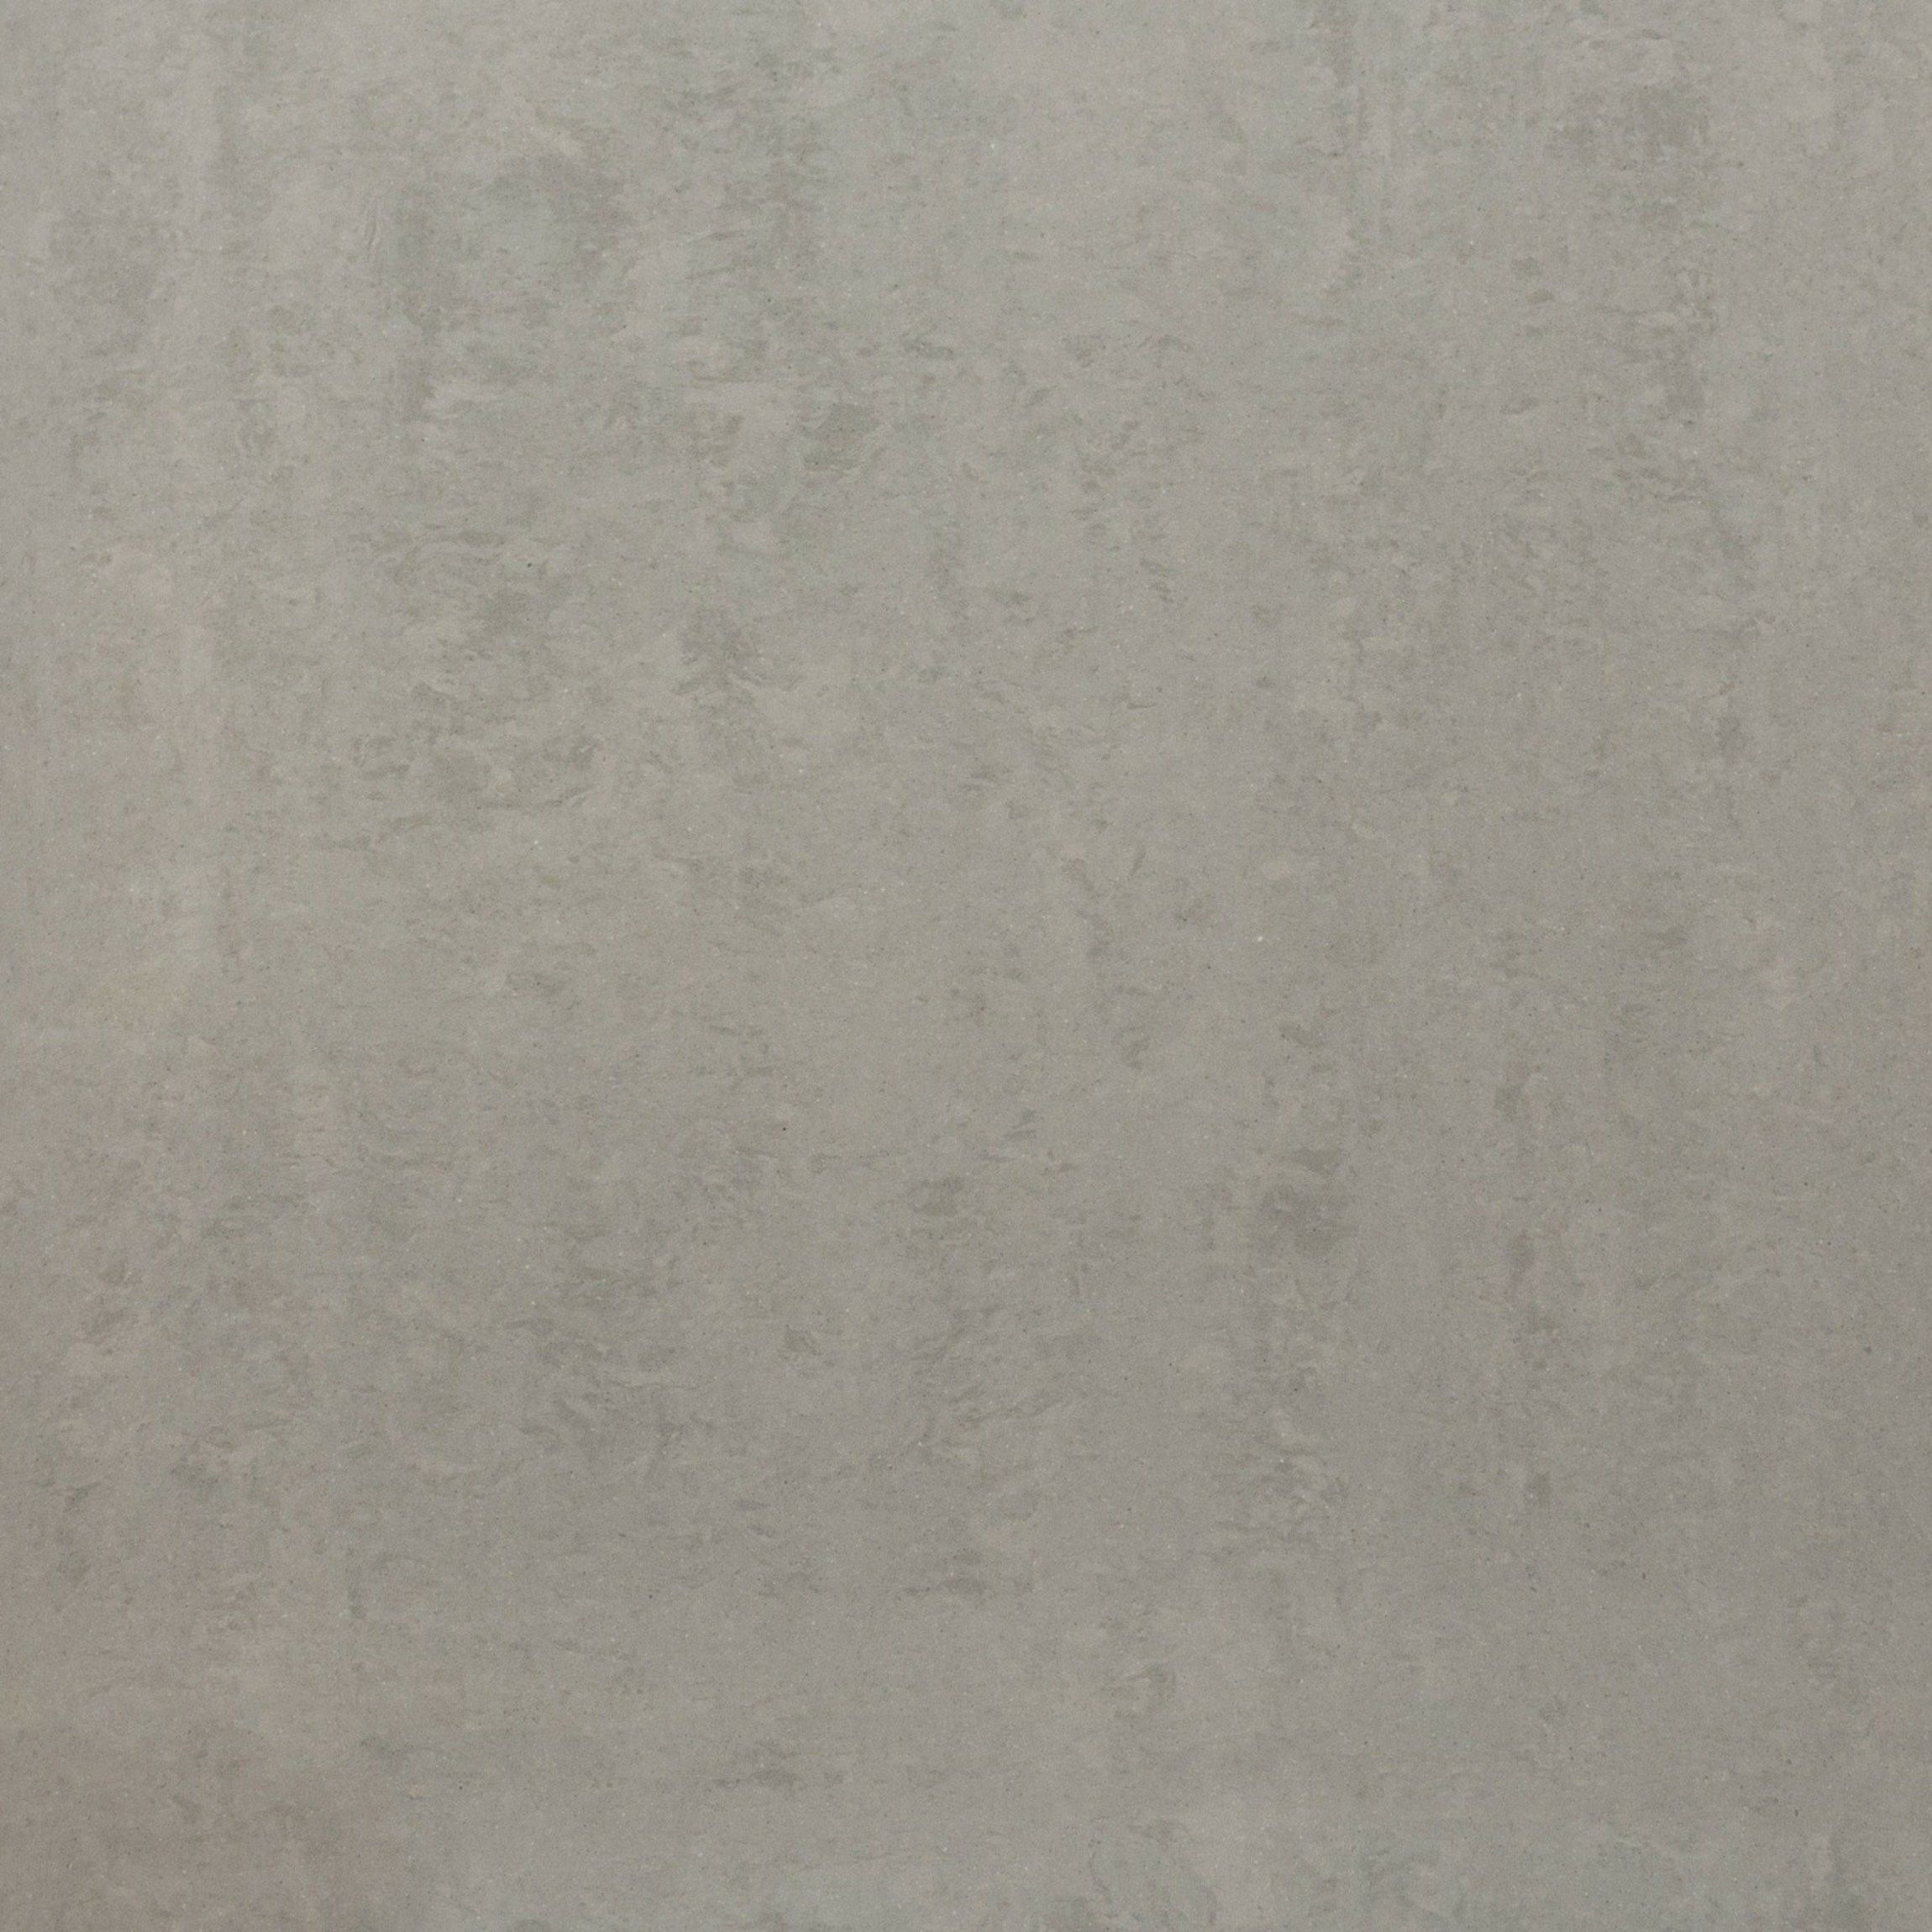
Light Beige 24×24 Porcelain Tile / Stone Look Porcelain Tile 800x800mm
Florida Tile Home Collection Chalet Natural Light Beige 8 in. x 36 in. Matte Porcelain Floor and

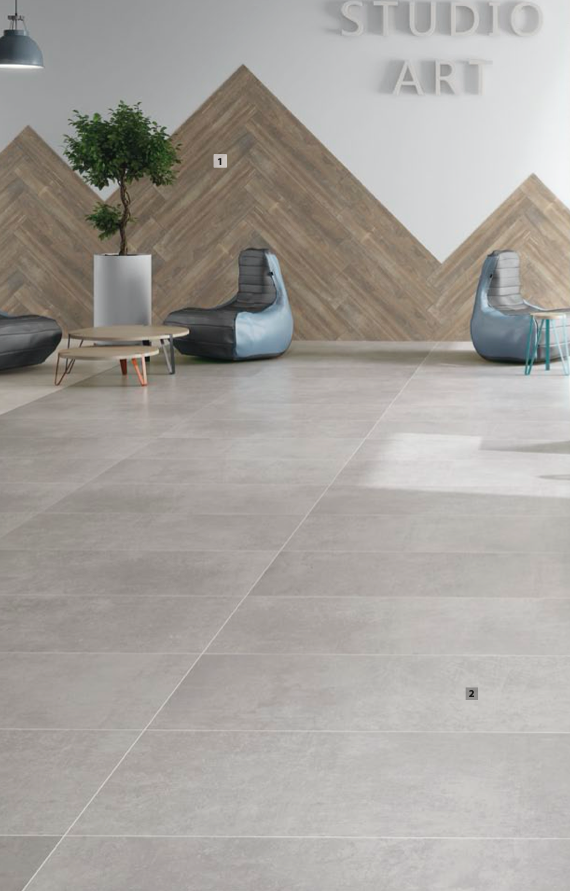
Cement Light Grey Matt Porcelain 60cm x 60cm Floor Tile White tile floor, Grey flooring, Floor

Slate Light grey Matt Stone effect Porcelain Floor tile, Pack of 6, (L)590mm (W)290mm
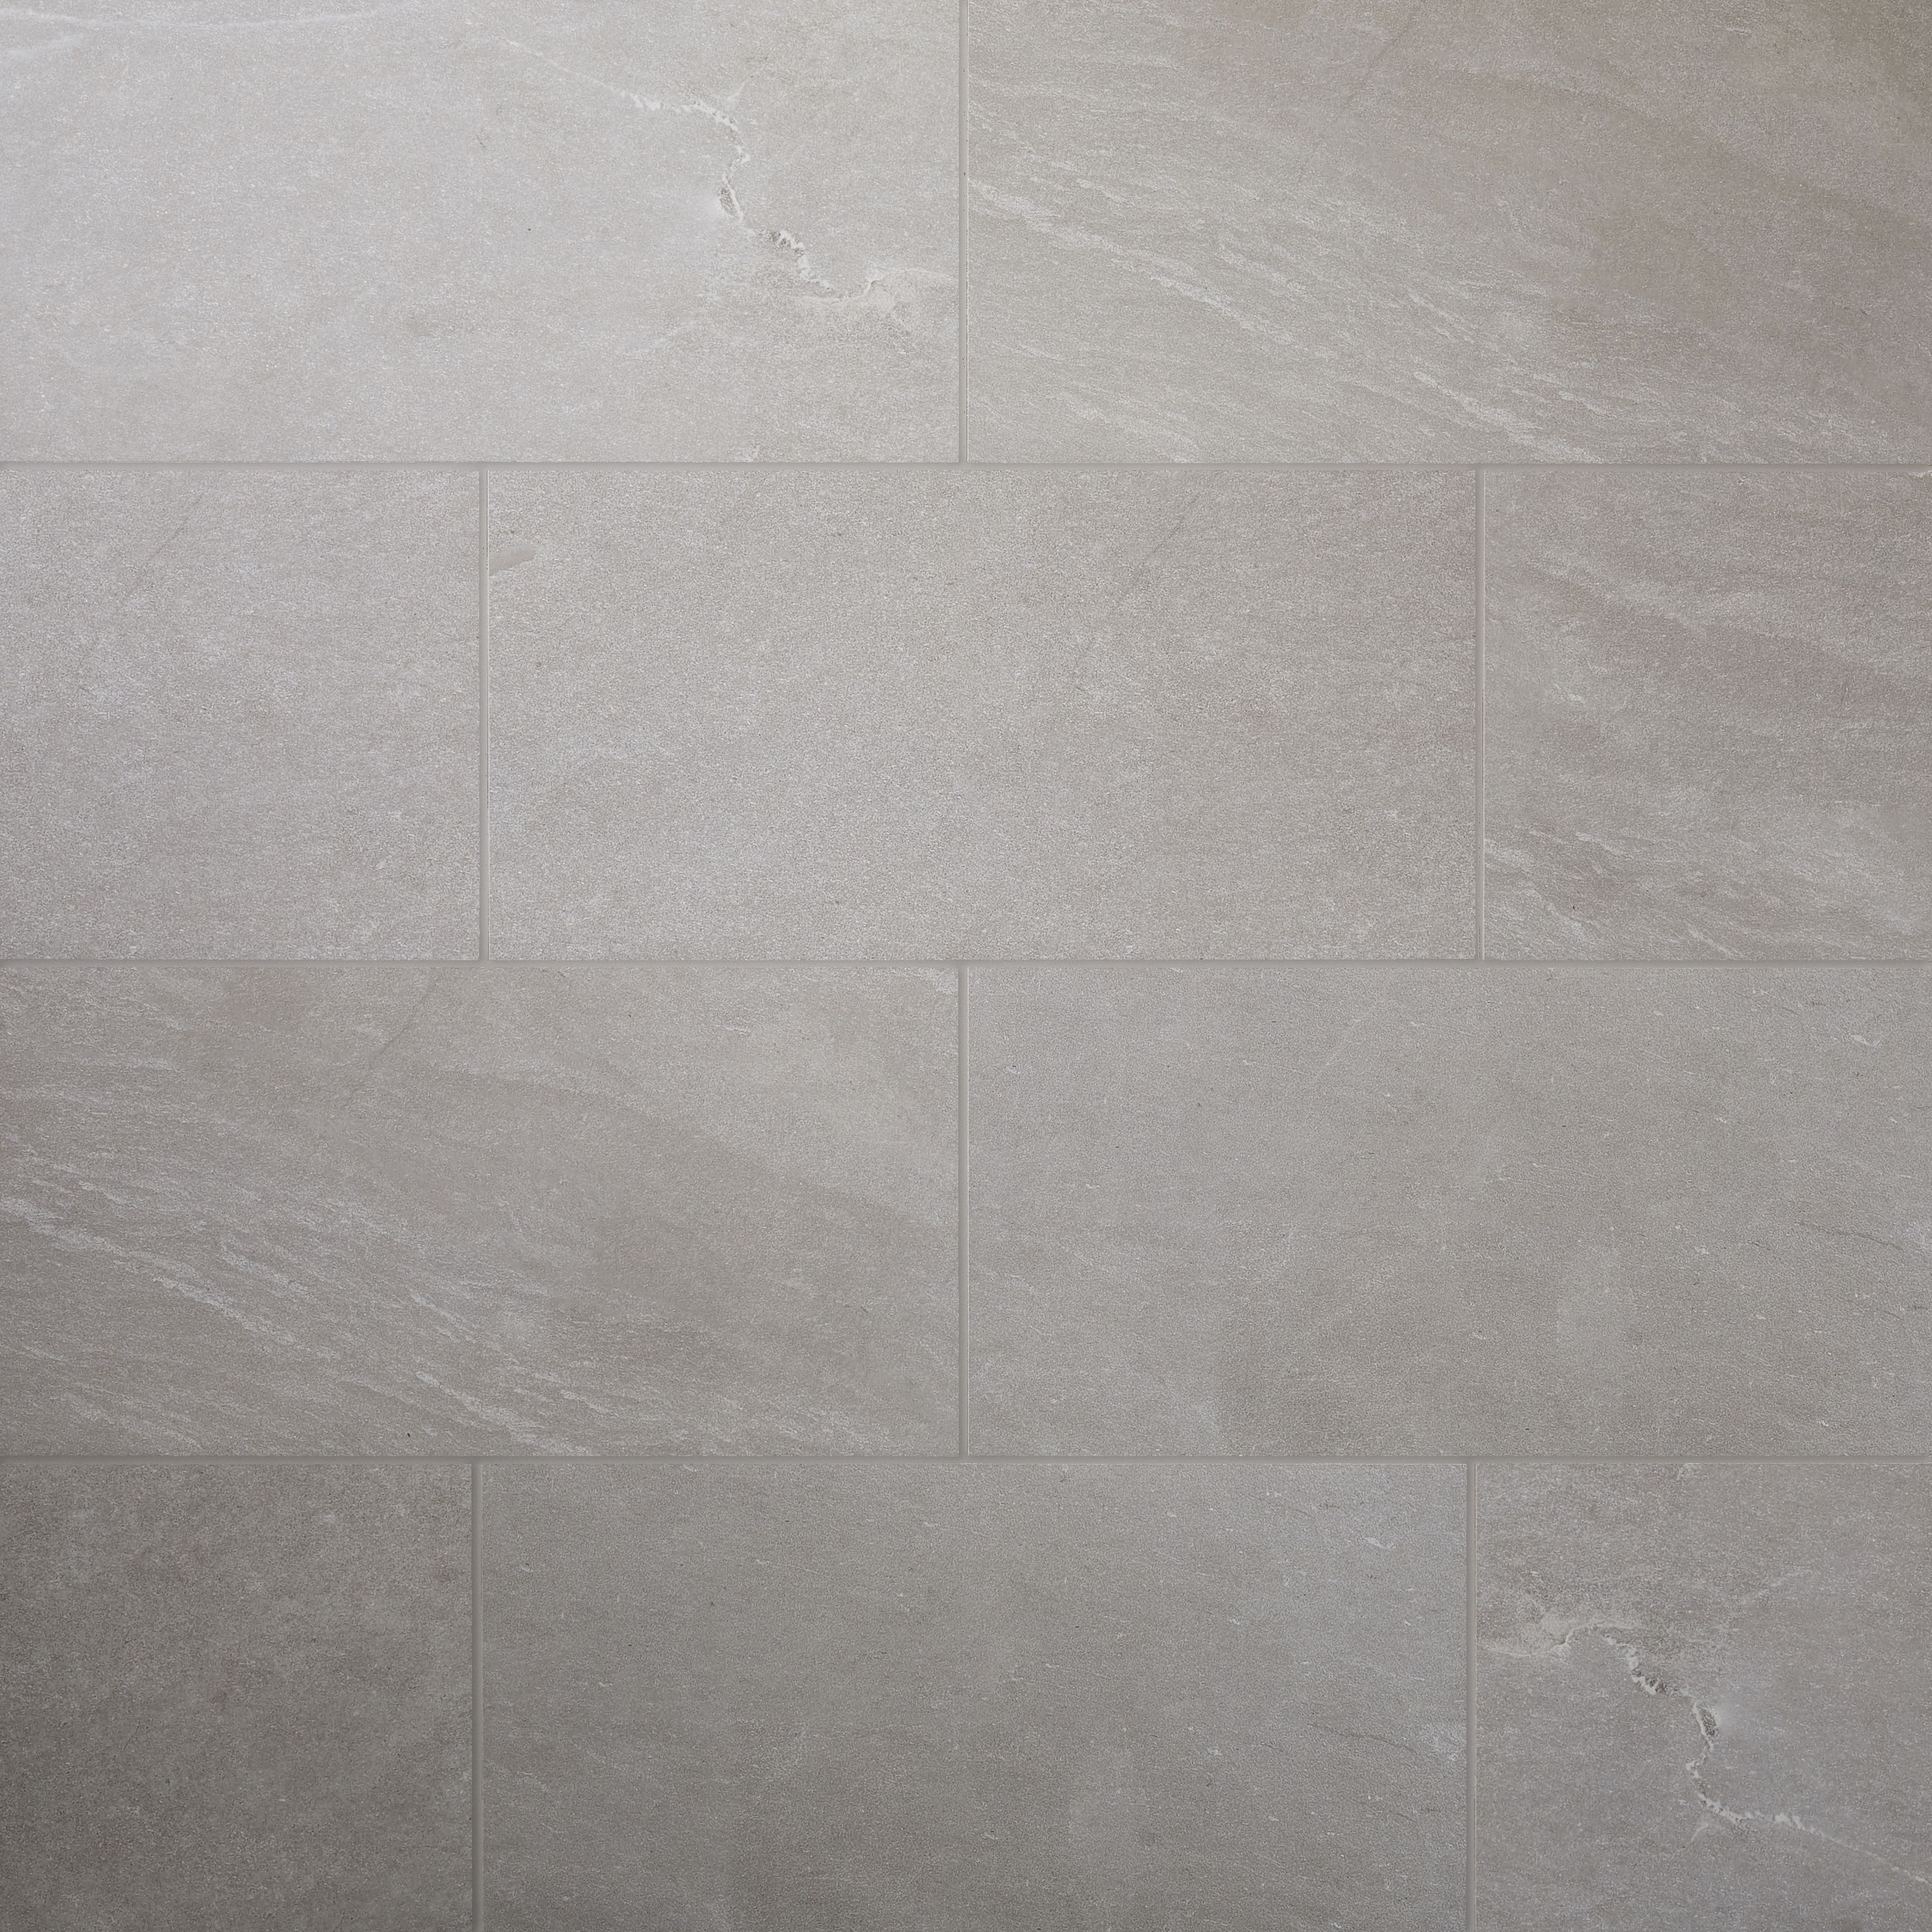
Helsinki Light Grey Matt Porcelain Floor Tile Gray porcelain tile, Porcelain flooring, Tile floor

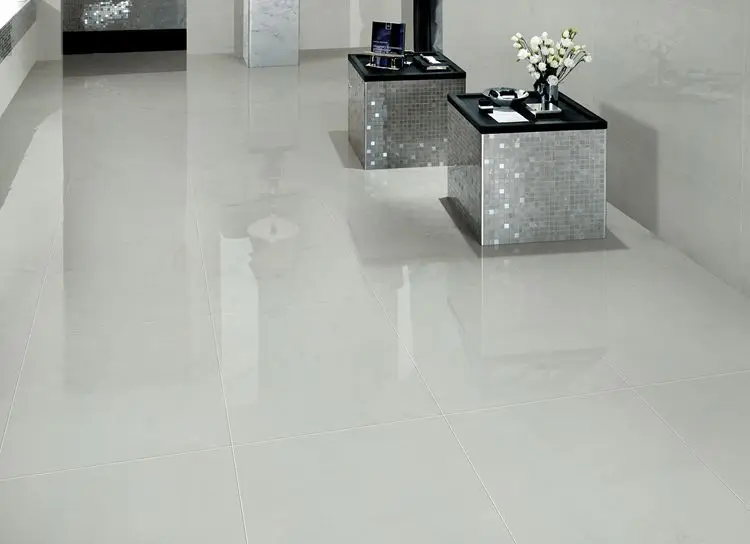
Sunnda Light Gray Porcelain Spanish Floor Tile,Polished Porcelain Tiles Floor – Buy Polished
Cementi Light Grey Porcelain Wall/Floor Tile

Studio Light Grey Porcelain Tile 24×48 – Tiles & Stone Warehouse

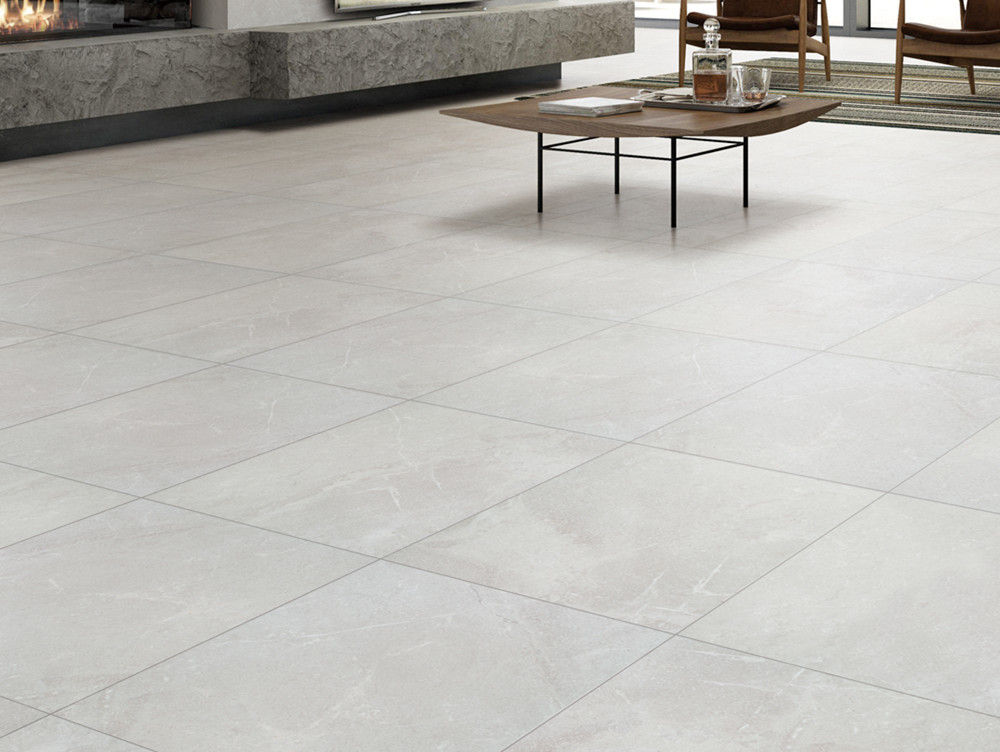
Lounge Light Grey Polished Porcelain 600×600 – Floor Tiles from Tile Mountain
Studio Light Grey Porcelain Tile 24×48 – Tiles & Stone Warehouse
Related Posts:
- Cuban Tile Floors
- Easy Way To Grout Tile Floor
- Types Of Marble Tile Flooring
- Slate Tile Floor
- Classic Bathroom Tile Floors
- Tile Floor Color Ideas
- Wet Mops For Tile Floors
- Staining Saltillo Tile Floors
- Terrazzo Tile Floor Outdoor
- Tile Flooring For Screened Porch
Porcelain tile floors are a popular choice for many homeowners, as they offer a beautiful and durable option for flooring. Light porcelain tile is especially desirable, as its bright and airy look can make any room feel larger and more inviting. Whether you’re looking to install a new floor or update your existing one, this comprehensive guide to light porcelain tile floors will provide you with all the information you need to make an informed decision.
## Benefits of Light Porcelain Tile Floors
When considering any type of flooring, it’s important to weigh the pros and cons of each material. Light porcelain tile offers many benefits, including:
* Durability: Porcelain is one of the most durable materials available for flooring. Made from clay and other minerals, it’s incredibly dense and resistant to moisture and stains. This makes it an ideal choice for high-traffic areas like kitchens and bathrooms.
* Easy Maintenance: Porcelain is also very easy to maintain. All it requires is regular sweeping or vacuuming and occasional mopping or scrubbing. It also doesn’t require any special cleaning solutions or treatments.
* Versatility: Light porcelain tile comes in a variety of shapes, sizes, colors, and textures, so you can find something that fits your style and budget. You can also combine different types of tiles for a unique look.
* Cost: Porcelain tile is generally less expensive than other flooring options such as hardwood or stone. It’s also easy to install yourself, which can save even more money.
## Things to Consider Before Installing Light Porcelain Tile Floors
Before installing light porcelain tile floors, there are a few things you should consider:
* Subfloor Preparation: Make sure that your subfloor is in good condition before installing the tile. If it’s not level or smooth enough, you may need to use a self-leveling compound or additional padding.
* Grout Color: When selecting grout color, consider how much foot traffic the area will receive. Darker grout will show less dirt but may be harder to keep clean. Lighter grout shows dirt more easily but can be easier to clean.
* Sealing: After installation, make sure to seal the grout with a sealant specifically designed for porcelain tile. This will help protect it from water damage and staining.
## Installing Light Porcelain Tile Floors
When it comes time to actually install light porcelain tile floors, there are a few steps you should take:
* Measure and Mark: First, measure the area where you plan to install the tile and mark it off using a chalk line or level. This will ensure that your tiles are aligned properly during installation.
* Layout Pattern: Once you’ve marked off the area, decide on the pattern you want for your tiles (e.g., straight line, diagonal, etc.). This will help you determine how much material you need and how long the project will take.
* Mix Mortar: To adhere the tiles to the floor, mix up a batch of mortar according to package directions and begin spreading it onto the subfloor using a trowel. Make sure to spread an even layer that covers the entire area where you plan to install the tiles.
* Install Tiles: Place each tile into position on top of the mortar bed, making sure that it’s completely covered with mortar. Use spacers between each tile to ensure even spacing throughout your layout before moving on to the next section of flooring.
* Apply Grout: Once all of your tiles are in place, mix up another batch of mortar and apply it as grout between each tile using a rubber float. Smooth out any excess grout with a damp sponge before allowing it to dry overnight.
## Caring For Your Light Porcelain Tile Floors
Once your light porcelain tile floors have been installed, the best way to keep them looking their best is by regular cleaning and maintenance. Here are some tips for caring