Patching Basement Floor

Patching the Basement Floor and Bricks – avoision.com avoision.com

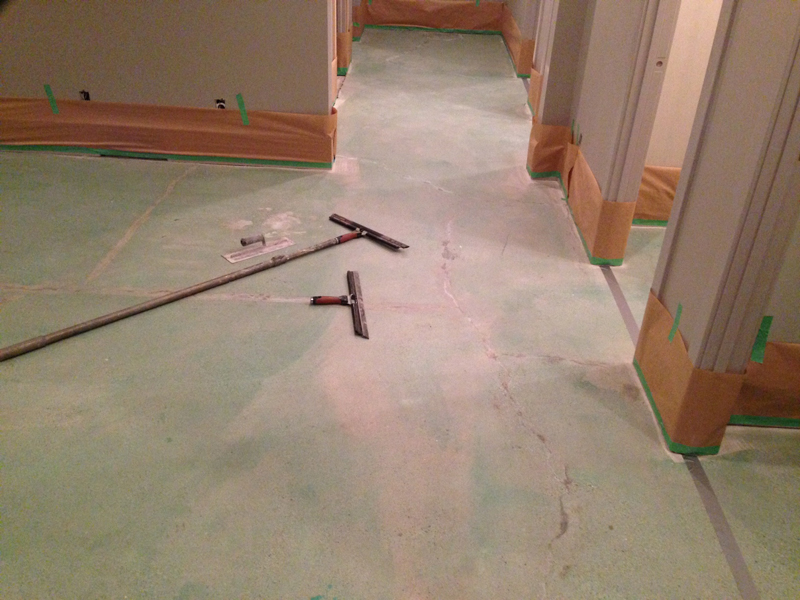
Patching Basement Floor – Flooring Guide by Cinvex
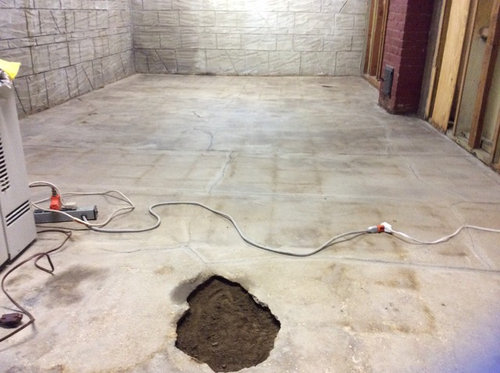
patching #basement floor after #helicalpier installation #meridianenvironmental Phone: 732-281

Started patching the basement floor…….. it’s no – Wishbone studio PipeDream productions

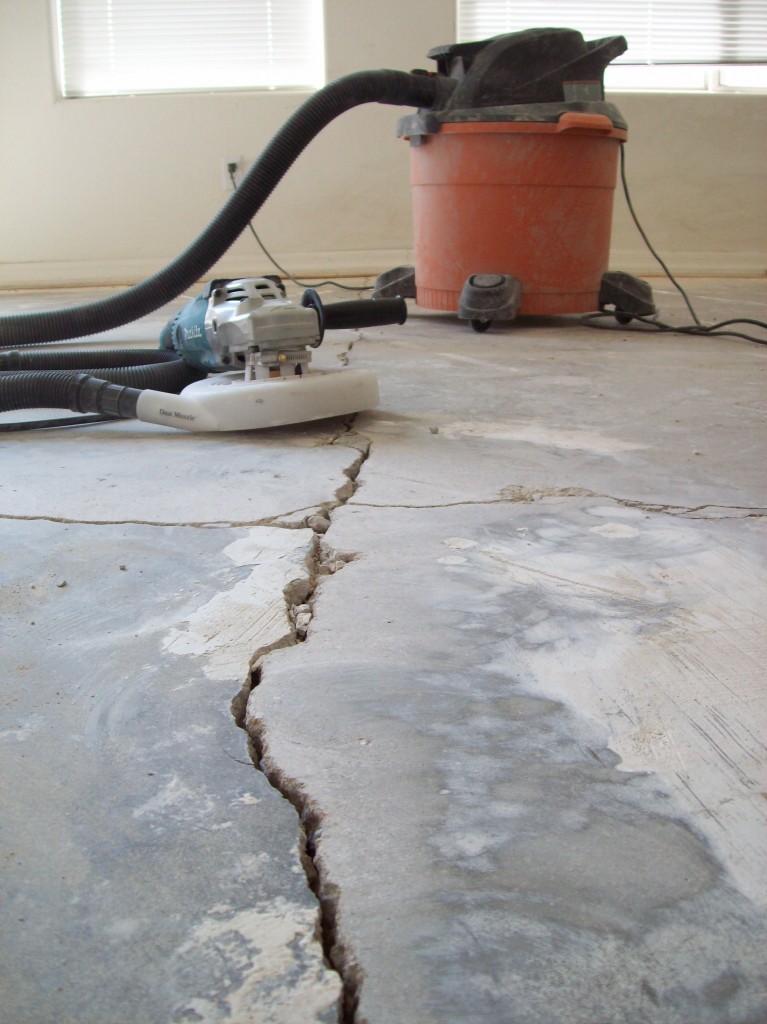
21 Lovely Basement Floor Crack Repair – basement tips
Basement Concrete Polish and Concrete Repair Eco Advantage Painting
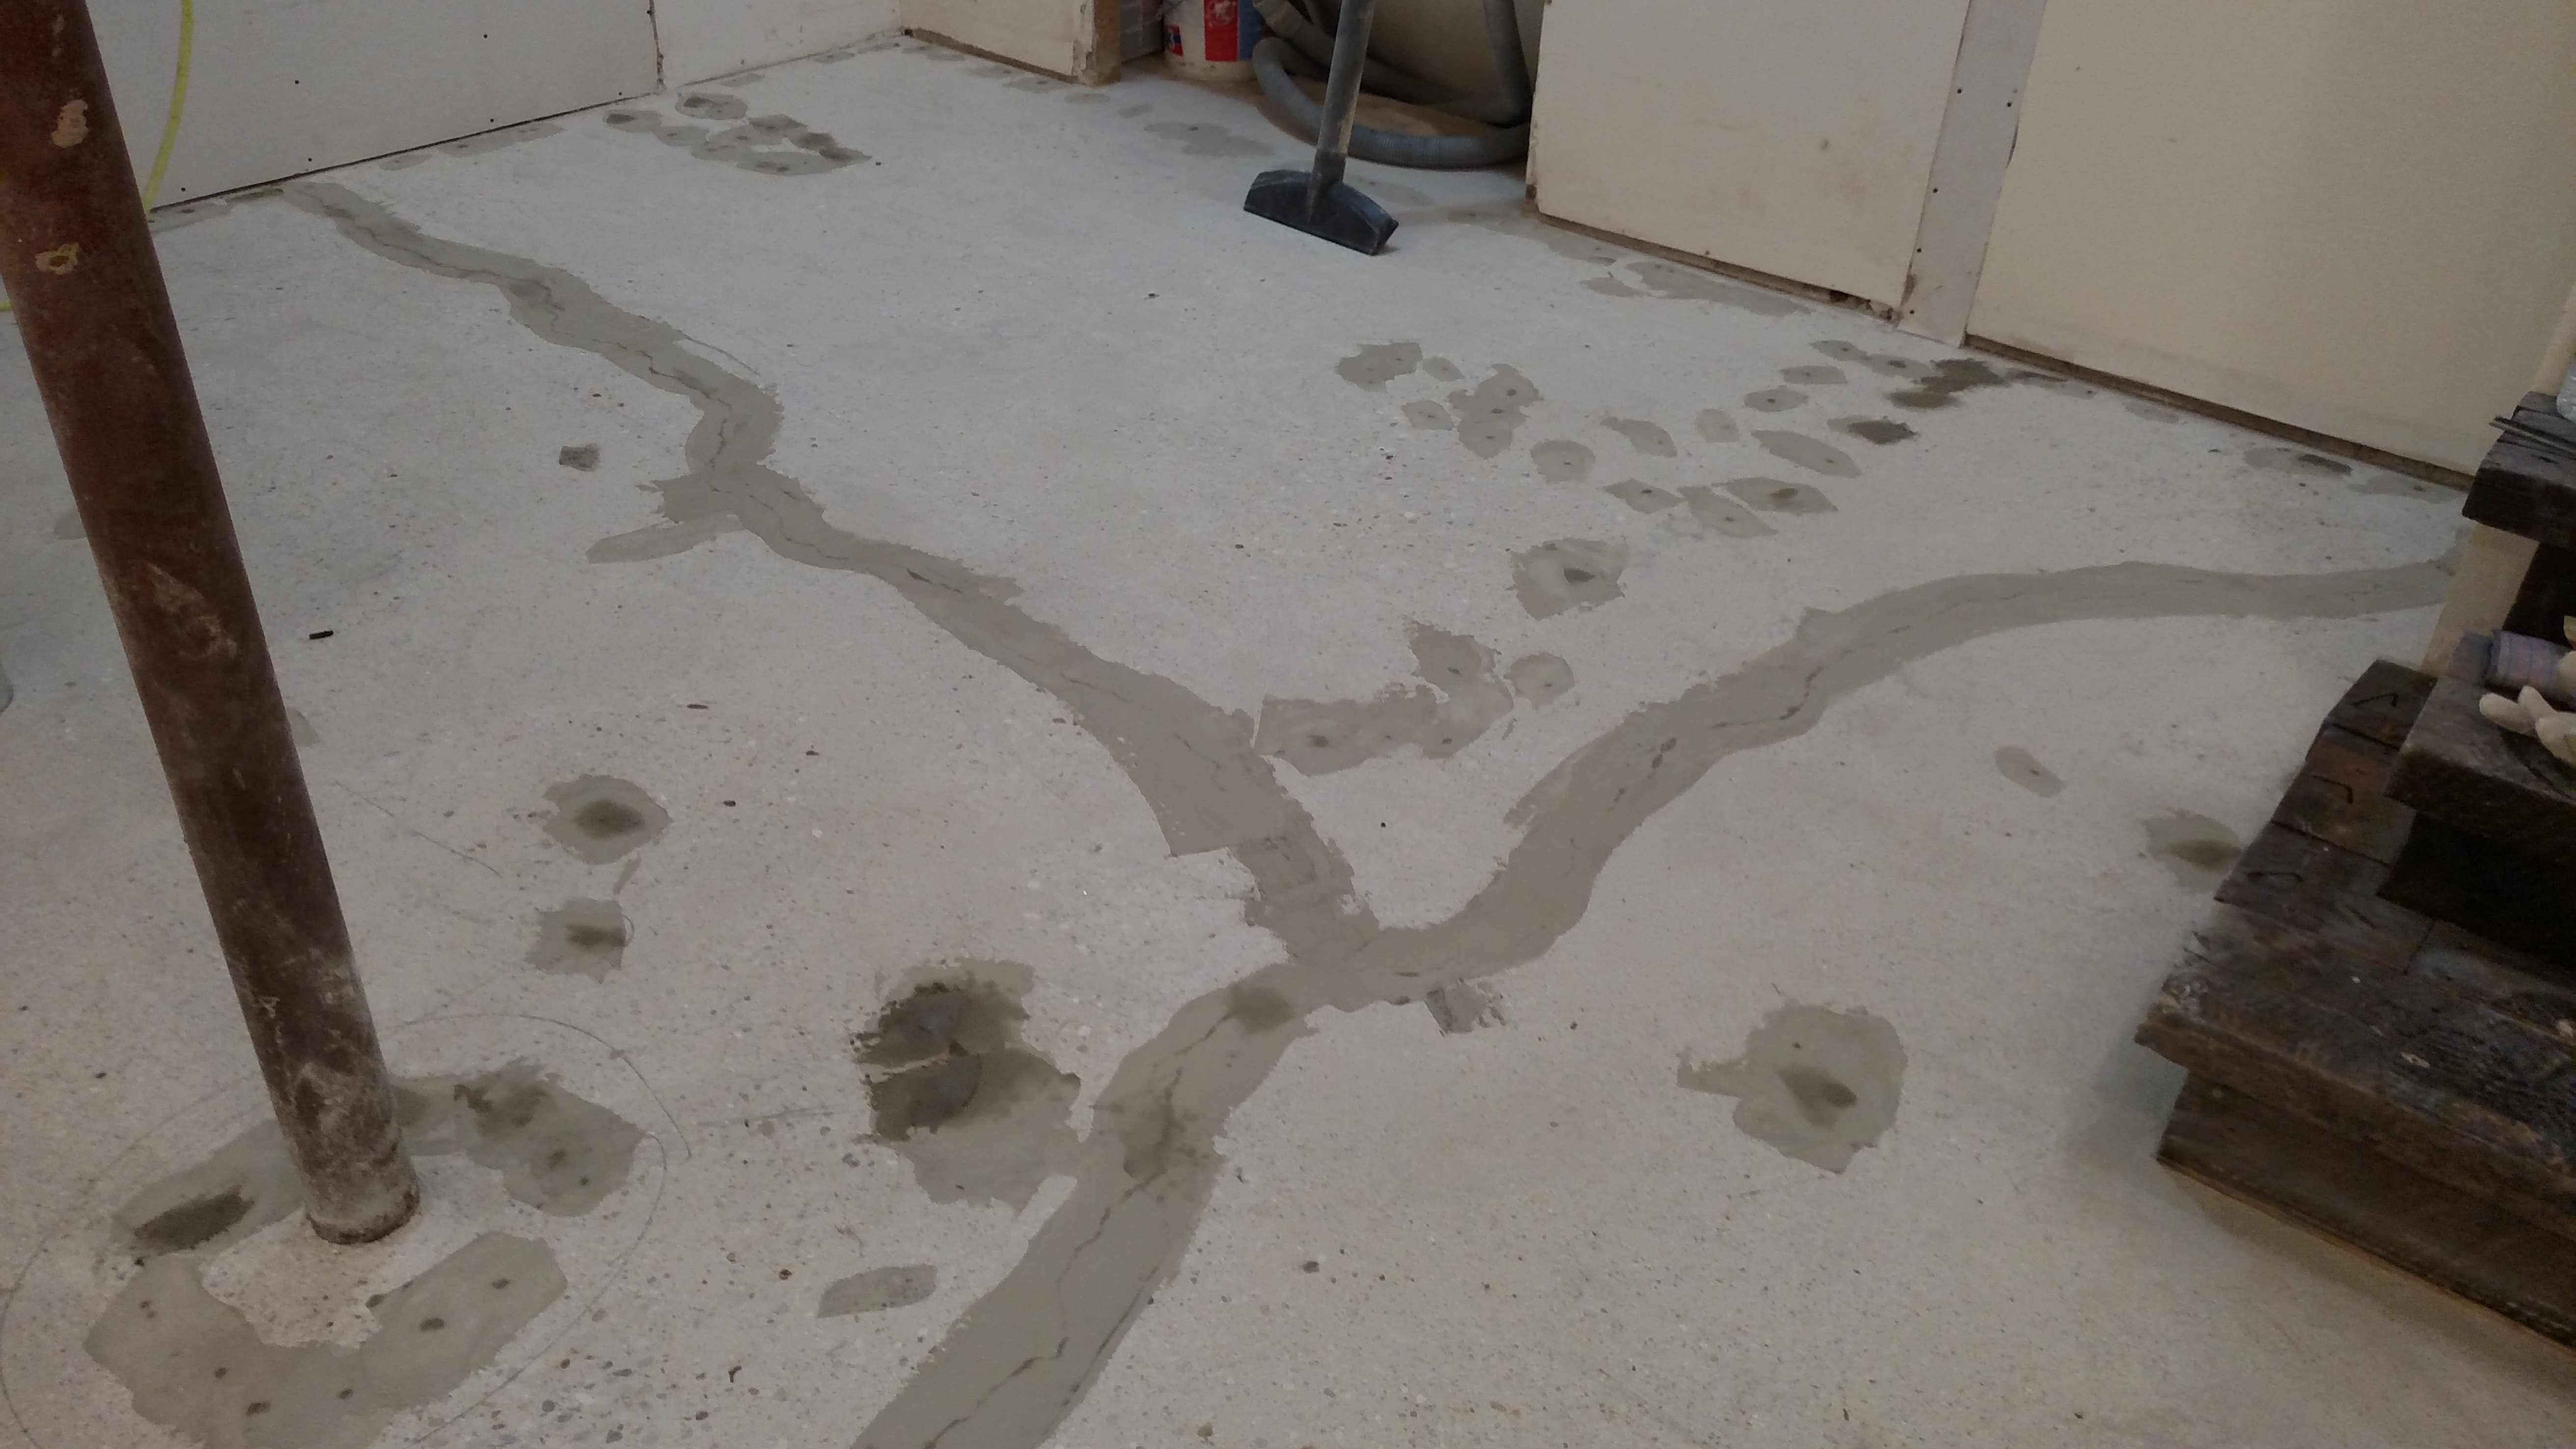
Started patching the basement floor…….. it’s no – Wishbone studio PipeDream productions

Basement Floor Repair
Repairing Uneven Basement Floor • BASEMENT

Started patching the basement floor…….. it’s no – Wishbone studio PipeDream productions

5 Best Concrete Patch for Basement Floor Crack Repair – Homeluf.com
Related Posts:
- Basement Flooring Ideas
- Basement Floor Heaving Repair
- Basement Flooring Options DIY
- Fixing Basement Floor
- Repainting Basement Floor
- Walkout Basement Flooring
- Brick Basement Flooring
- Budget Basement Flooring
- Waterproofing Your Basement Floor
- Laminate Basement Flooring
Just because your basement is a bit damp and musty doesn’t mean you can’t turn it into a livable space. With the right materials and some time, you can patch your basement floor and create a perfect spot for a family room, workshop, or even an extra bedroom. Whether you’re a DIYer looking to save a few bucks or just want to know how to patch basement flooring yourself, this comprehensive guide can help.
## Assess the Damage
The first step in patching your basement floor is to assess the damage. Look over the entire floor carefully and take note of any cracks, chips, or divots. You may also need to check for unevenness in the floor. If you have a concrete subfloor that’s cracked or broken, it’s best to replace it instead of trying to repair it. In addition, if you notice any signs of mold growth, it’s best to remove this before continuing with the patching process.
## Gather Your Tools & Materials
Once you’ve assessed the damage and determined what needs to be done, it’s time to gather your tools and materials. Depending on the type of repair job you need to do, you may need items like concrete patching compound, drywall compound, spackle, putty knife, sandpaper, trowel, plastic sheeting, concrete sealer, and more. Make sure you have everything you need before beginning!
## Prepare the Area for Repair
Before getting started with the actual patching process, make sure that the area is properly prepared. Remove any dirt and debris from the area with a vacuum cleaner or broom. This will help ensure that your repairs stick properly and last longer. Next, you’ll want to cover any nearby furniture or fixtures with plastic sheeting to protect them from dust and debris during the repair process.
## Patching Concrete Floors
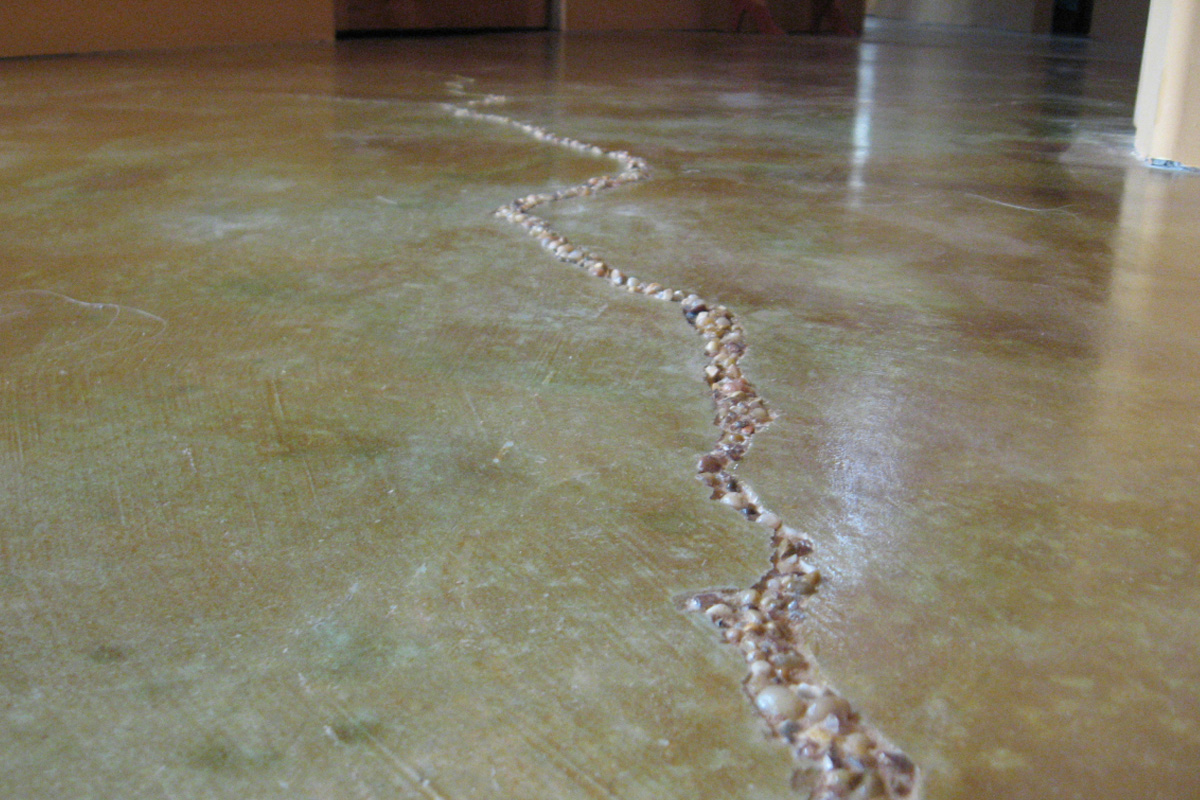
If your basement has a concrete subfloor that needs patching, you’ll want to start by wetting the area with water. This will help the repair material adhere better. Once the area is wet, apply a concrete patching compound using a trowel. Work the compound into the cracks and divots until they are filled in completely. Then smooth out any unevenness with sandpaper. Allow the patch to dry for at least 24 hours before walking on it.
## Patching Wood Floors
If your basement has a wooden subfloor that needs patching, you’ll want to use a drywall compound or spackle for repairs. Start by cleaning out any debris from cracks and divots with a putty knife or screwdriver. Then apply your chosen compound using a putty knife or trowel and allow it to dry completely before sanding it smooth. Once smooth, apply a sealant to protect against moisture damage.
## Finishing Touches
Finally, once all of your patches have dried completely and been smoothed out with sandpaper, you can finish up by applying paint or sealant as desired. This will give your finished product an extra layer of protection against moisture damage and make it look great too!
With these tips on how to patch your basement floor, you should be well on your way to having a great looking space that you can enjoy! Remember that if you ever feel like you need help along the way, there are professionals who specialize in these sorts of jobs who can come in and lend a hand – just make sure that they know exactly what kind of repair job needs to be done before they get started so that everything goes off without a hitch!